Navigation Using Natural Features
When you’re outdoors, the landscape around you can provide a surprising amount of information.
Hills, valleys, streams, ridges, woodland edges and other natural features can all help you understand where you are and which way you’re travelling.
Learning to read these features is an excellent way to develop your navigation skills.
But there is an important rule:
Natural features are clues, not guarantees.
They can change, be difficult to identify or look very different depending on weather, season and visibility.
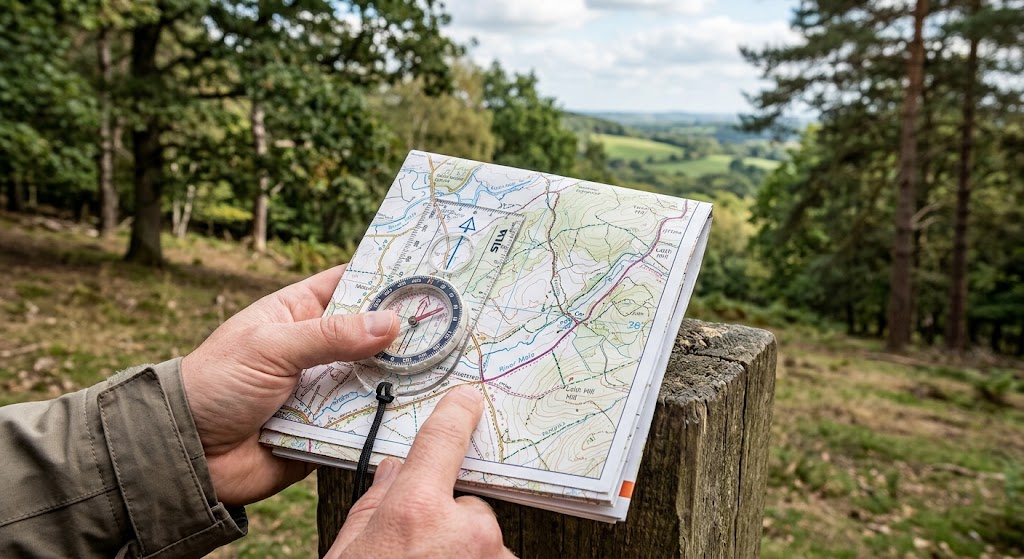
For serious navigation, use appropriate maps, a compass and other reliable navigation methods.
Safety First
Never rely solely on natural navigation when travelling somewhere unfamiliar or potentially hazardous.
Before heading outdoors, plan your route, check the weather and carry appropriate navigation equipment.
If you become unsure of your location:
STOP → THINK → CHECK YOUR MAP → MAKE A PLAN
Don’t continue simply because you hope you’ll recognise something further ahead.
What Are Natural Features?
Natural features are parts of the landscape created by nature.
Examples include:
- Hills
- Ridges
- Valleys
- Rivers and streams
- Woodlands
- Marshes
- Rocky areas
- Coastlines
- Peaks
- Open areas
These features can help you build a picture of the landscape.
For example:
“We’re walking along a ridge with a valley on our left.”
That’s useful navigation information.
1. Start Looking Around You
Good natural navigation starts with observation.
Don’t just look at the path directly in front of you.
Look around.
Ask yourself:
- What’s higher?
- What’s lower?
- Where does the ground slope?
- Is there a valley?
- Is there a ridge?
- Is there woodland?
- Is there running water?
- What direction is the landscape leading?
You’re trying to understand the shape of the land.
2. Use Hills
Hills can be excellent navigation features.
If you’re approaching a prominent hill, you may be able to use it as a reference point.
You might know:
“The hill should be ahead of us.”
But don’t stop there.
Ask:
“What should the landscape look like when we’re near the hill?”
Perhaps there should also be:
- A valley to one side
- A stream below
- Woodland nearby
- A ridge leading away from it
Using several clues together makes your navigation more reliable.
3. Follow Ridges
A ridge is a high area of land extending between lower areas.
Ridges can sometimes provide useful routes and navigation references.
If you’re following a ridge, you may be able to maintain your general direction by staying along the higher ground.
However, never assume that a ridge is automatically a safe route.
It could contain:
- Steep drops
- Exposed ground
- Difficult terrain
- Strong winds
- Other hazards
Always check your map and the terrain.
4. Use Valleys
A valley is lower ground between higher areas.
Valleys can be useful because their shape often makes them easy to recognise.
You might notice:
High ground → lower ground → high ground
The valley may also contain:
- A stream
- River
- Path
- Road
- Woodland
These additional features can help confirm your location.
5. Follow Water Carefully
Streams and rivers can be useful navigation features.
If you know where a particular stream is on your map, finding it can help you confirm your position.
Watercourses can also provide obvious linear features.
For example:
“The stream runs roughly north to south.”
That gives you a useful directional reference.
But be careful.
Streams can:
- Change course
- Split
- Become difficult to follow
- Become dangerous after heavy rain
- Lead into unsuitable terrain
Never assume that following water is automatically the safest route.
6. Use Woodland Edges
The edge of a woodland can be easier to recognise than the interior.
You might be able to use the boundary between:
Woodland → Open ground
as a navigation feature.
However, woodland edges can change over time.
Trees can be:
- Cut down
- Planted
- Damaged
- Blown over
So use them alongside other information.
7. Notice Rock and Ground Features
Rocky areas, cliffs and exposed ground can provide useful clues.
For example:
“We’re approaching a large rocky area shown on the map.”
But natural features can be surprisingly difficult to identify from a distance.
A rock formation may look completely different from different directions.
Don’t assume.
Get closer only if it is safe to do so, and compare what you’re seeing with your map.
8. Use the Coastline
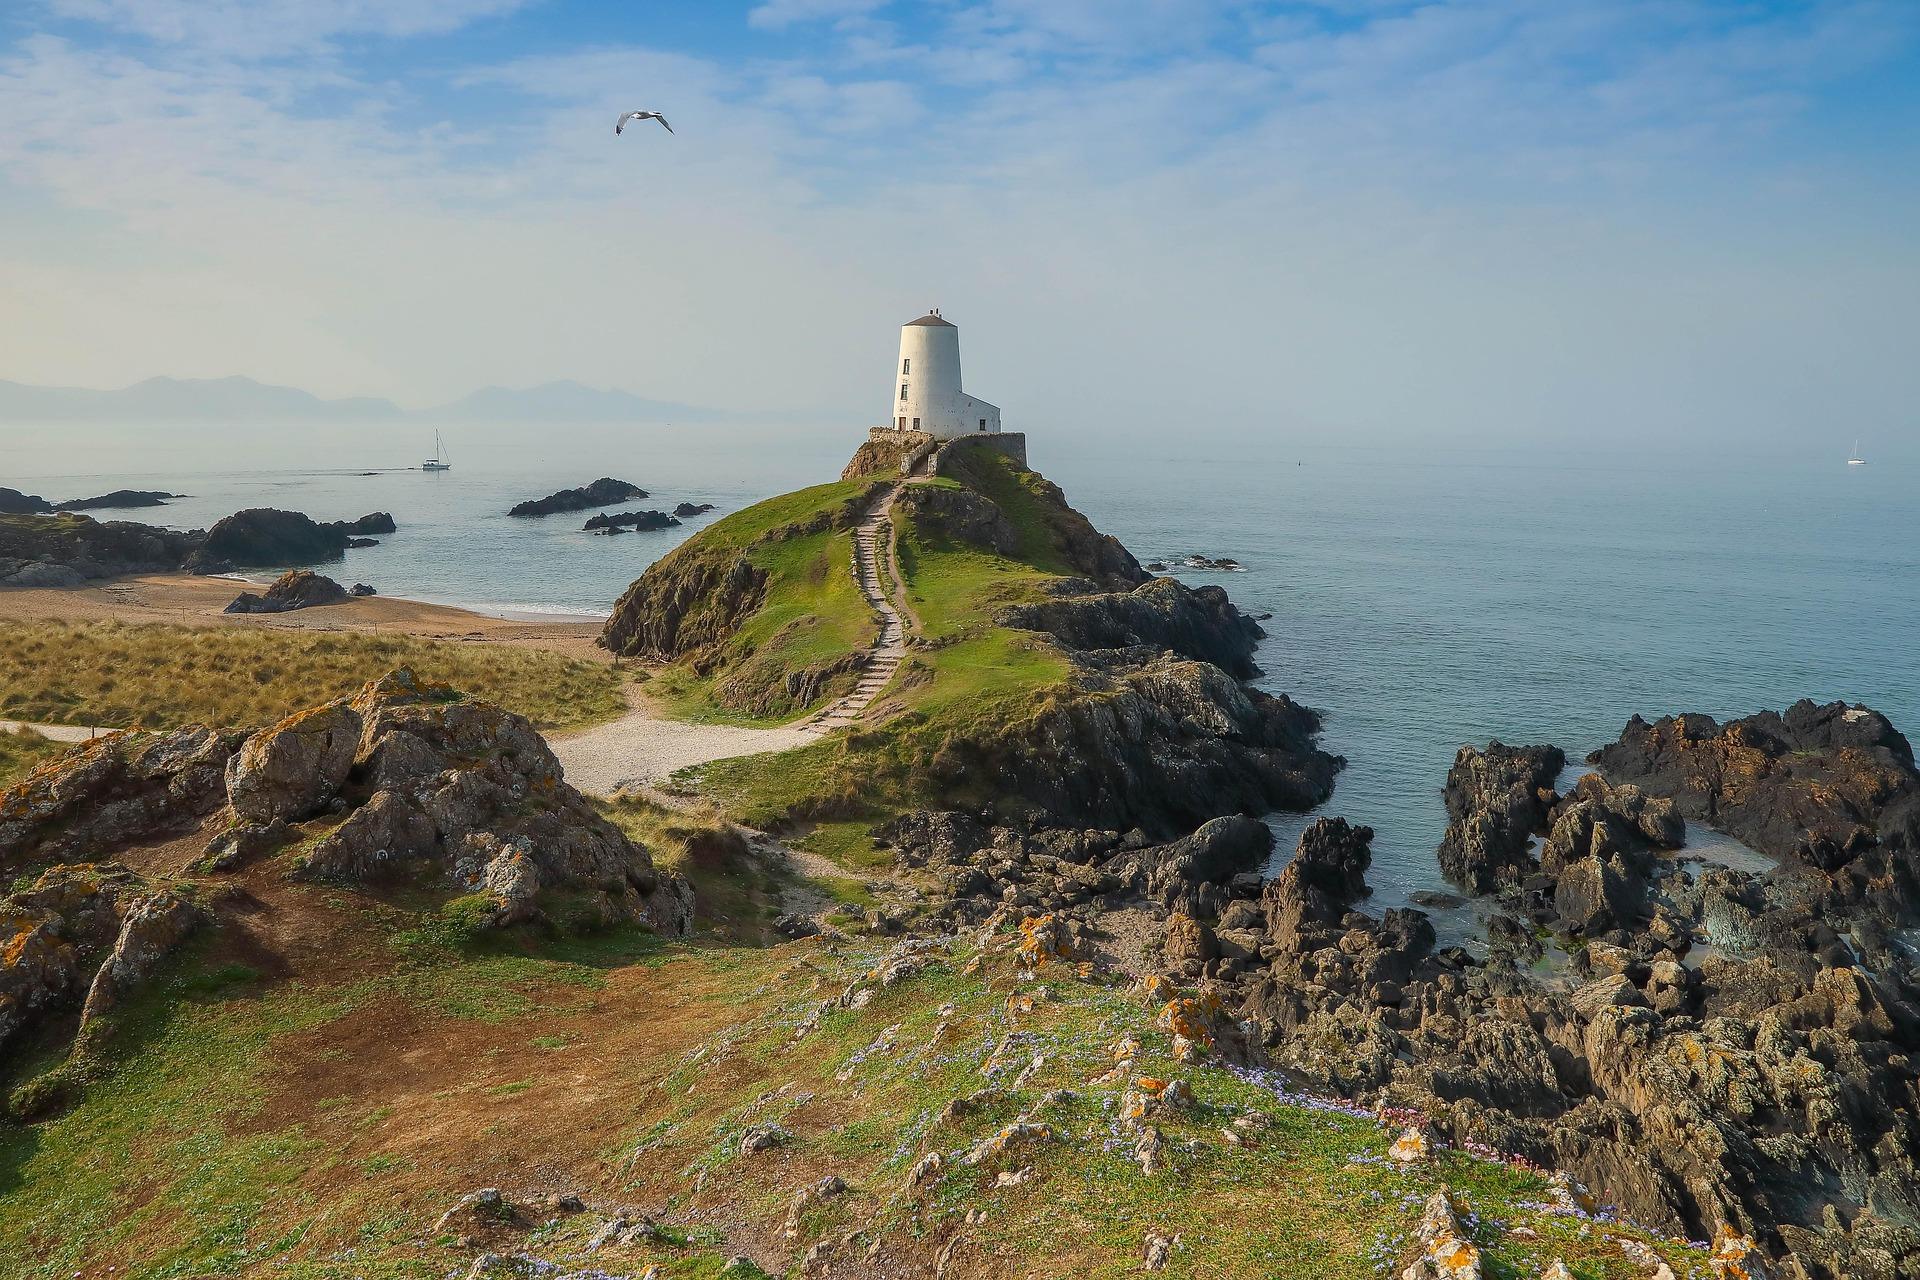
If you’re navigating near the coast, the coastline itself can be a powerful natural feature.
You might be able to identify:
- Bays
- Headlands
- Cliffs
- Beaches
- Estuaries
However, coastal environments can contain serious hazards.
Be aware of:
- Tides
- Cliffs
- Slippery rocks
- Waves
- Rapidly changing weather
The coastline can help you navigate.
It doesn’t make the coastline safe.
9. Think About Direction
Natural features become more useful when you combine them with direction.
Imagine you’re walking south.
You know:
“The ridge should remain on our right.”
That gives you two pieces of information:
Direction + landscape feature
If you suddenly find the ridge on your left, something has changed.
You can then stop and investigate.
10. Use Features as Confirmation
One of the biggest mistakes beginners make is using a single feature to decide where they are.
For example:
“There’s a stream, so this must be the stream on the map.”
Maybe.
But there could be several streams.
Instead, look for multiple clues.
For example:
Stream + ridge + path junction + direction
If all four agree with your map, you’re much more confident.
This is called cross-checking.
11. Learn to Build a Landscape Picture
Try to imagine your map as a 3D landscape.
Look at the map and ask:
“What should I be seeing?”
If the map shows:
Hill → valley → stream → ridge
you should be able to look around and try to find those features.
This is a powerful navigation skill.
Instead of simply following a line on a map, you’re learning to understand the landscape itself.
12. Remember That Nature Changes
Natural features aren’t always permanent.
A stream may change.
Vegetation grows.
Woodland changes.
Weather changes how things look.
Snow can completely transform a landscape.
Fog can hide major features.
Heavy rain can change streams and paths.
This is why:
Never depend on one feature alone.
Use multiple sources of information.
13. Poor Visibility Changes Everything
Natural navigation becomes much harder in:
- Fog
- Heavy rain
- Snow
- Darkness
- Dense vegetation
- Low cloud
A hill that is obvious in clear weather may disappear completely in fog.
A valley may become difficult to recognise.
A stream may be impossible to hear over heavy rain.
This is where your map, compass and other navigation techniques become particularly important.
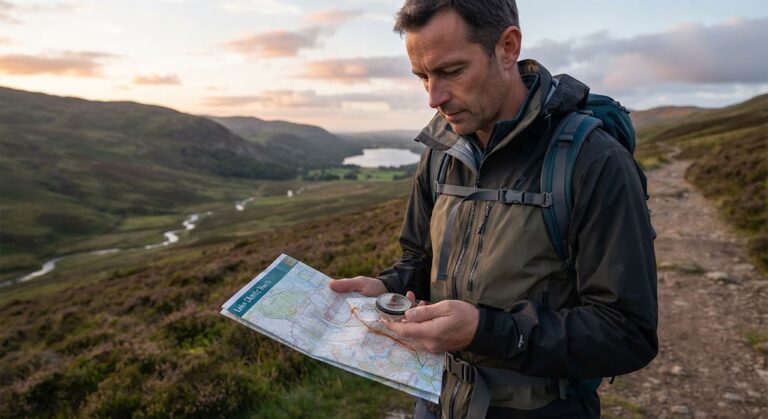
14. Match the Landscape to Your Map
This is the key skill.
Look at your surroundings.
Then look at your map.
Ask:
“Does what I’m seeing match what’s on the map?”
If yes:
Continue while continuing to cross-check.
If no:
🛑 STOP.
Don’t immediately assume the map is wrong.
Consider:
- Are you actually where you think you are?
- Could you have missed a turn?
- Are you looking at the correct feature?
- Has the landscape changed?
- Is visibility affecting what you can see?
The Natural Navigation Process
Here’s the process I want Scouts to remember:
OBSERVE → IDENTIFY → COMPARE → CONFIRM → CONTINUE
OBSERVE
Look at the landscape.
IDENTIFY
Work out what natural features you’re seeing.
COMPARE
Compare them with your map.
CONFIRM
Use multiple clues to confirm your position.
CONTINUE
Only continue once you’re confident.
Your First Natural Navigation Challenge
The Landscape Detective
Go somewhere safe and familiar with a map.
Choose a location with several natural features.
For example:
- A hill
- A valley
- Woodland
- A stream
- Open ground
Your challenge:
Identify five natural features.
For each one, record:
Feature: __________
What does it look like? __________
Where is it on the map? __________
How do you know? __________
What other feature confirms it? __________
The goal isn’t simply to name five things.
You need to explain how you know where they are.
Bonus Challenge: Which Way?
Stand somewhere with a clear view of the surrounding landscape.
Choose three natural features.
For example:
A hill
A valley
A woodland
Without looking at your compass, point towards each one.
Now use your compass.
How accurate were you?
Try again.
Over time, you’ll become better at estimating direction from the landscape.
Explorer Challenge: The Natural Navigation Route
Plan a short route that uses natural features as navigation checkpoints.
For example:
START
↓
Woodland edge
↓
Stream
↓
Hill
↓
Valley
↓
FINISH
For each checkpoint, explain:
What should you see?
How will you know you’ve reached it?
What other feature confirms your position?
What will you do if you can’t identify it?
Your leader can then test your route by asking you to explain your position at each stage.
What Have You Learned?
You should now understand that the landscape itself can provide valuable navigation information.
You’ve learned how to:
Most importantly:
Don’t just look at the landscape. Learn to read it.
Scout Connection
Natural navigation is a fantastic way to develop your wider outdoor skills.
OBSERVATION
Notice features that other people might overlook.
NAVIGATION
Understand how the landscape relates to your map.
MAP READING
Learn to connect two-dimensional maps with the real world.
WEATHER AWARENESS
Understand how weather and visibility affect what you can see.
DECISION-MAKING
Recognise when the information you have isn’t reliable enough.
OUTDOOR CONFIDENCE
Become more comfortable understanding your surroundings.
Natural navigation also combines really well with our article Calling for Help.
SurvivalGuidesUK is an independent educational resource and isn’t an official Scouts website. Always follow the current Scouts programme requirements and your leader’s instructions.
SurvivalGuidesUK Safety Notice
Natural features can be useful navigation aids, but they should not be treated as a guaranteed way of finding your position.
Always carry appropriate navigation equipment for the activity and environment.
Natural terrain can also contain hazards such as cliffs, deep water, unstable ground, steep slopes and dense vegetation.
Never approach a natural feature simply because you believe it will help you navigate if doing so creates an unnecessary risk.
For Scout activities, always follow your leader’s instructions, appropriate risk assessments and current official Scouts safety guidance.
🔒Ready to test your survival skills?
Join Survival Guides UK for free, complete challenges, earn badges and increase your Survival Level.
JOIN FREE →
CRAIG BURR
FOUNDER · SURVIVAL GUIDES UK
I'm Craig, the person behind Survival Guides UK. I created SGUK because I wanted somewhere people could learn real outdoor skills in a practical, straightforward way — from lighting a fire and tying knots to navigation, campcraft and everything in between.
You can read more about the story behind SGUK here as well as our approach here.