Planning and Navigating a Complete Route
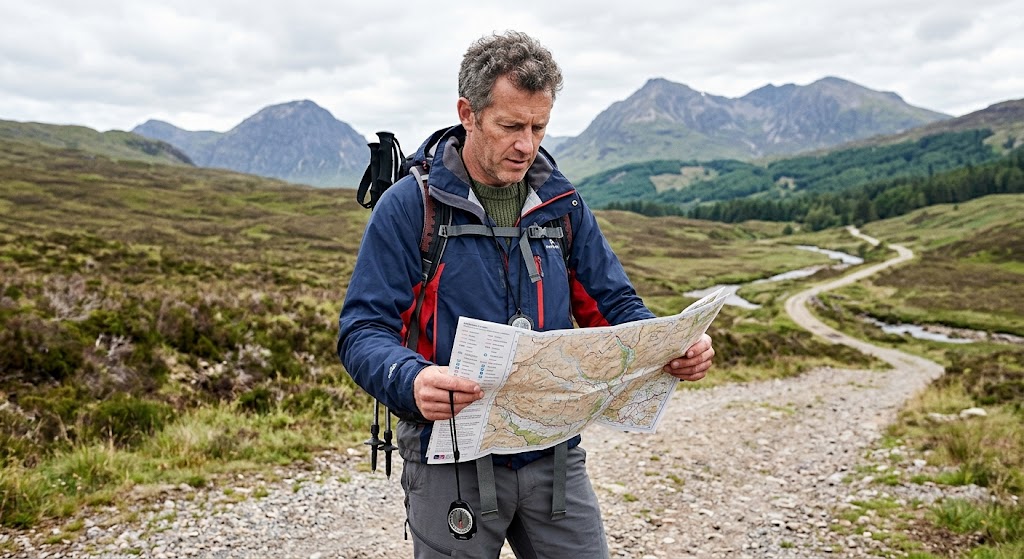
Being able to take a bearing is one skill. Being able to navigate an entire route is another.
A successful route requires more than knowing which direction to walk. You need to understand the terrain, identify useful navigation features, decide where to check your position and have a plan for what to do if something doesn’t go as expected.
The aim is to turn a long journey into a series of manageable navigation sections.
This guide brings the navigation skills you have already learned together and shows you how to plan and navigate a complete route from start to finish.
What You’ll Learn
By the end of this guide, you should be able to:
- Plan a complete route using a map.
- Break a route into manageable sections.
- Identify important navigation points.
- Choose useful attack points and catching features.
- Estimate distances and bearings.
- Identify potential hazards and difficult terrain.
- Plan alternative options.
- Navigate the route while regularly checking your position.
- Recognise when you need to stop and reassess.
Equipment
You will need:
- A suitable map of the area.
- A baseplate compass.
- A pencil.
- A ruler or map romer if required.
- A waterproof map case if required.
- A watch or other method of keeping track of time.
- Optional: a navigation notebook or route card.
Prerequisites
Before attempting this lesson, you should be comfortable with:
- Reading a topographic map.
- Understanding grid references.
- Reading contour lines.
- Orientating a map.
- Taking and following bearings.
- Estimating distance.
- Using attack points and catching features.
Instructions
1. Start with the whole route
Before looking at individual bearings, look at the entire journey.
Identify:
- Your starting point.
- Your destination.
- Major features along the route.
- Roads and tracks.
- Rivers and streams.
- Hills and valleys.
- Woodland.
- Areas of steep or difficult terrain.
- Possible alternative routes.
Don’t immediately start calculating bearings.
First understand the shape of the journey.
2. Choose sensible navigation points
A long route should not normally be treated as one continuous bearing.
Divide it into sections using obvious features.
For example:
Start → track junction → bridge → woodland edge → ridge → summit
Each point gives you somewhere to check your position.
Good navigation points are features that are easy to identify on both the map and the ground.
3. Measure each section
Measure the approximate distance between each navigation point.
Record the distances somewhere convenient.
For example:
| Section | Distance |
|---|---|
| Start → track junction | 450 m |
| Track junction → bridge | 600 m |
| Bridge → woodland edge | 350 m |
| Woodland edge → ridge | 700 m |
The exact method you use to estimate distance will depend on the terrain and your equipment.
Remember that the distance measured on the map may not equal the actual distance travelled if the route climbs, descends or follows a winding path.
4. Calculate the bearings you need
For each section, determine the appropriate bearing.
Don’t assume that one bearing will work for the entire route.
Your direction may change at every navigation point.
Record each bearing clearly.
For example:
| Section | Bearing | Distance |
|---|---|---|
| Start → track junction | 045° | 450 m |
| Track junction → bridge | 110° | 600 m |
| Bridge → woodland edge | 075° | 350 m |
The purpose of recording this information is to reduce the amount you have to work out while travelling.
5. Look for handrails
A handrail can make a route easier to navigate.
Look for linear features such as:
- Paths.
- Tracks.
- Roads.
- Rivers.
- Streams.
- Walls.
- Fences.
- Ridges.
- Woodland edges.
For example, instead of crossing open ground on a bearing for several kilometres, you might use a bearing to reach a track and then follow the track.
This can make your route easier to monitor.
6. Identify attack points
Look for places where you can make a precise navigation decision.
A large feature is often easier to identify than a small one.
For example, if your final destination is a small footpath junction, use a larger track junction as an attack point.
Your route could become:
Start → large track junction → small footpath junction
This gives you a clearly identifiable location from which to make the final navigation decision.
7. Identify catching features
Look beyond each destination and ask:
What would tell me that I have gone too far?
This might be:
- A major road.
- A river.
- A large track.
- A ridge.
- A settlement.
- A distinctive woodland boundary.
Knowing what lies beyond your destination gives you another way of checking your progress.
8. Study the contours
Before setting off, look at the shape of the land.
Identify:
- Steep slopes.
- Gentle slopes.
- Ridges.
- Valleys.
- Summits.
- Saddles.
- Gullies.
- Depressions.
Think about how the terrain will affect your route.
A route that looks short on the map may involve a steep climb.
A slightly longer route along a contour or track may be easier to navigate and travel.
The map should help you understand not just where you are going, but what the journey will be like.
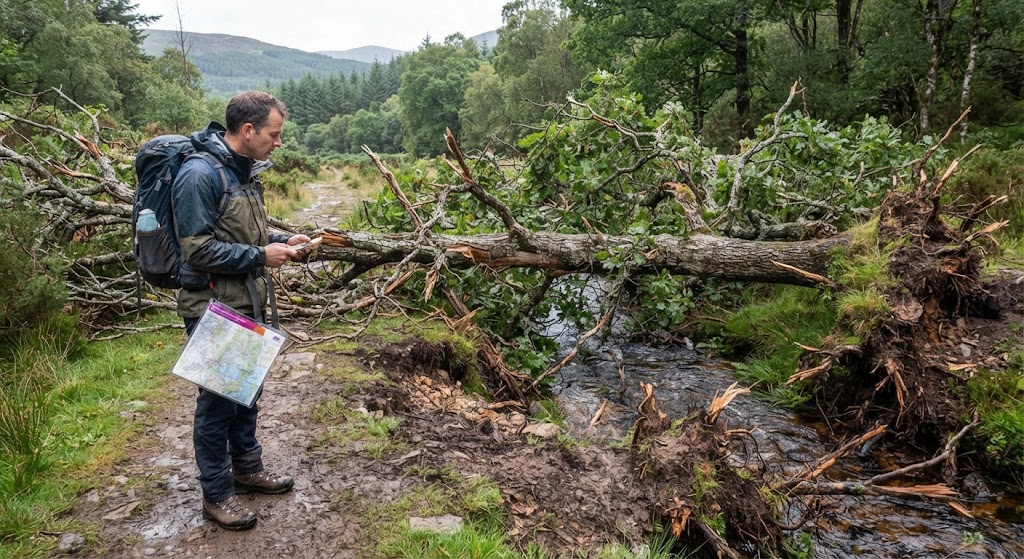
9. Identify difficult sections
Mark sections where navigation may become harder.
These could include:
- Dense woodland.
- Open moorland.
- Featureless terrain.
- Steep slopes.
- Areas with many paths.
- Poor visibility.
- Complex path junctions.
- Areas where several landscape features look similar.
These sections deserve extra attention.
You may want to add an additional checkpoint or navigation point before entering them.
10. Plan your route around visibility
Think about what you will actually be able to see.
A route across open ground may allow you to use distant landmarks.
A route through woodland may require shorter navigation legs.
In poor visibility, features that would normally be obvious may disappear.
Your route should therefore be appropriate for the conditions you expect to encounter.
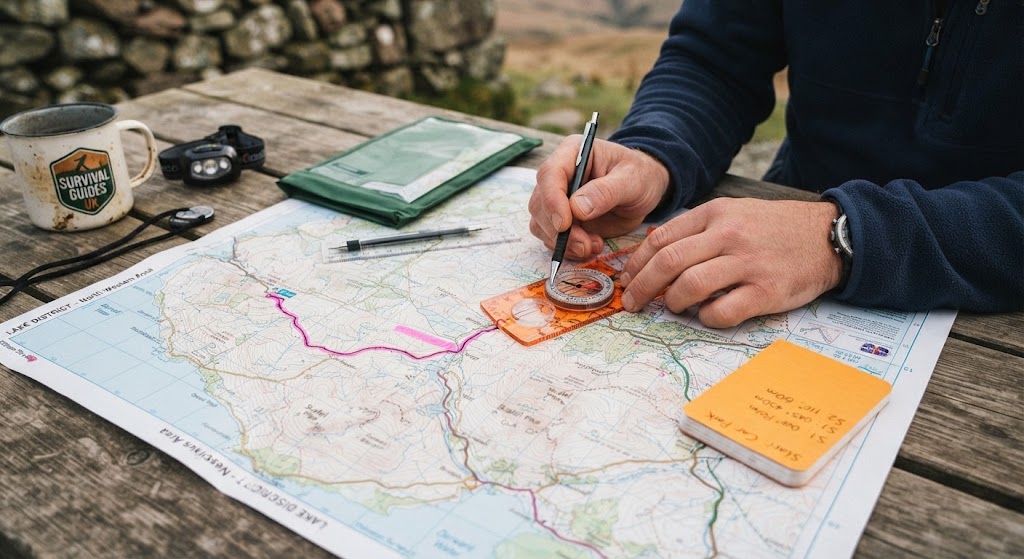
11. Create a navigation plan
Put your important information together.
For each section, record:
- Starting point.
- Destination.
- Bearing.
- Approximate distance.
- Expected features.
- Attack point.
- Catching feature.
- Any hazards or difficult terrain.
You don’t need to produce a complicated document.
The purpose is simply to know what you are doing before you start walking.
12. Navigate the first section
Once you are ready to begin, confirm your starting position.
Orientate the map.
Take your first bearing.
Identify an aiming point.
Begin travelling.
Don’t think about the entire route at once.
Concentrate on the section immediately ahead.
13. Check your progress
As you travel, continually compare your expectations with reality.
Ask:
- Am I travelling in the correct direction?
- Have I travelled roughly the expected distance?
- Have I seen the features I expected?
- Does the terrain match the map?
- Am I approaching my destination?
You don’t have to stop every few metres.
The important thing is to maintain awareness of your position.
14. Confirm each navigation point
When you reach a planned navigation point, don’t immediately continue.
Take a moment to confirm where you are.
Look for the features that should be present.
Check the map.
Then prepare for the next section.
This creates a series of confirmed positions throughout the route.
15. Don’t allow small errors to grow
Suppose you think you may have drifted 20 metres off your intended line.
Don’t simply continue and hope it will correct itself.
Stop and check.
Small errors are much easier to correct than large ones.
The same principle applies to distance.
If you have travelled further than expected without finding your navigation point, stop and investigate before continuing.
16. Have a plan for getting back on track
Before starting, think about what you will do if you become uncertain.
A sensible recovery process is:
- Stop.
- Stay calm.
- Work out the last point where you were certain of your position.
- Check the map.
- Look for identifiable landscape features.
- Use the compass if appropriate.
- Return to a known point if necessary.
- Re-plan the next section.
Do not continue walking randomly in the hope that you will eventually recognise something.
17. Use alternative routes
Good route planning includes alternatives.
A path may be inaccessible.
A stream may be higher than expected.
Weather may make a section unsuitable.
Visibility may become poor.
If you have identified an alternative route before starting, you can make a controlled decision rather than trying to invent a new route under pressure.
18. Know when to change the plan
A route plan is not a promise that you must follow regardless of circumstances.
Conditions may change.
You may discover that a route is unsuitable or that you have less time than expected.
If necessary, choose a safer or simpler alternative.
The ability to change a route is part of good navigation.
Example of a Complete Navigation Plan
Imagine you are planning a route from a car park to a hill summit.
Your plan might look like this:
Section 1: Car park → track junction
Use the track as a handrail.
Section 2: Track junction → woodland edge
Take a bearing and use the woodland boundary as confirmation.
Section 3: Woodland edge → ridge
Navigate across open ground while monitoring distance.
Section 4: Ridge → summit
Follow the ridge and use the summit as the final objective.
At each stage you have:
- A starting point.
- A destination.
- A method of navigation.
- Features to look for.
- A way of confirming your position.
That is much more reliable than simply taking one bearing from the car park and hoping it leads all the way to the summit.
The Complete Navigation Process
A useful way to remember the process is:
Plan → Divide → Measure → Bear → Travel → Check → Confirm → Repeat
Plan
Understand the whole route.
Divide
Break it into manageable sections.
Measure
Estimate distances.
Bear
Determine the direction for each section.
Travel
Navigate towards the next point.
Check
Compare your position with the map and landscape.
Confirm
Make sure you have reached the intended point.
Repeat
Prepare for the next section.
Practise the Skill
Choose a familiar area and plan a route with at least four navigation sections.
For each section, record:
- Bearing.
- Distance.
- Navigation point.
- Attack point if needed.
- Catching feature.
- Expected landscape features.
Walk the route with your map and compass.
At each navigation point, stop and confirm your position before continuing.
Afterwards, compare your planned route with the route you actually followed.
Identify any sections where you:
- Drifted off course.
- Misjudged distance.
- Missed a feature.
- Took a different route.
- Needed to correct your bearing.
This turns a simple walk into a useful navigation exercise.
Final Tip
Don’t think of a complete route as one big navigation problem.
Break it into small, manageable decisions.
If you always know where you are, where you are going next, how you will get there and how you will know when you have arrived, even a complicated route becomes much easier to manage.
🔒Ready to test your survival skills?
Join Survival Guides UK for free, complete challenges, earn badges and increase your Survival Level.
JOIN FREE →
CRAIG BURR
FOUNDER · SURVIVAL GUIDES UK
I'm Craig, the person behind Survival Guides UK. I created SGUK because I wanted somewhere people could learn real outdoor skills in a practical, straightforward way — from lighting a fire and tying knots to navigation, campcraft and everything in between.
You can read more about the story behind SGUK here as well as our approach here.