Navigating in Poor Visibility: A Beginners Guide
Affiliate disclosure: This article contains affiliate links. If you purchase something through one of our links, we may earn a commission at no additional cost to you.
Poor visibility can turn a familiar route into a challenging navigation exercise.
Fog, heavy rain, snow, darkness and low cloud can make it difficult to see landmarks and follow paths. Even somewhere you’ve visited before can suddenly look completely different.
The key to navigating in poor visibility isn’t walking faster or relying on your memory.
It’s slowing down, using your navigation tools properly and making good decisions.
This guide introduces the skills you can use to navigate more safely when visibility is reduced.
Safety First
Poor visibility can significantly increase the risk of becoming lost, particularly in unfamiliar or remote areas.
Don’t deliberately enter dangerous conditions just to practise navigation. Build these skills in controlled conditions and with appropriate supervision.
If conditions deteriorate during a real walk, be prepared to stop, turn around or change your route.
For Scout activities, follow your leader’s instructions, the current Scouts safety guidance and the appropriate risk assessment for the activity.
What Does Poor Visibility Mean?
Poor visibility isn’t just fog.
It can include:
- Fog
- Heavy rain
- Snow
- Darkness
- Low cloud
- Blowing mist
- Dense vegetation
- Haze
In all of these situations, your ability to use visual landmarks can be reduced.
A hill that is obvious in clear weather may disappear completely in fog.
A path junction that you would normally recognise may become difficult to identify.
That’s why you need to rely more heavily on map, compass, direction, distance and careful observation.
1. Know Your Route Before You Start
Good navigation begins before you leave.
Look at your route while visibility is still good.
Identify:
- Your starting point
- Your destination
- Major paths
- Roads
- Rivers
- Bridges
- Buildings
- Hilltops
- Valleys
- Junctions
- Other obvious landmarks
Try to understand the shape of the landscape.
Don’t just memorise:
“Walk towards that hill.”
Instead, think:
“I’ll follow this path, cross this stream, pass this junction and then take the path heading towards my next checkpoint.”
That way, you have several ways of confirming where you are.
2. Carry the Right Equipment
For navigation in poor visibility, your equipment matters.
A basic navigation kit could include:
MAP
Use an appropriate, detailed map for your activity and area.
COMPASS
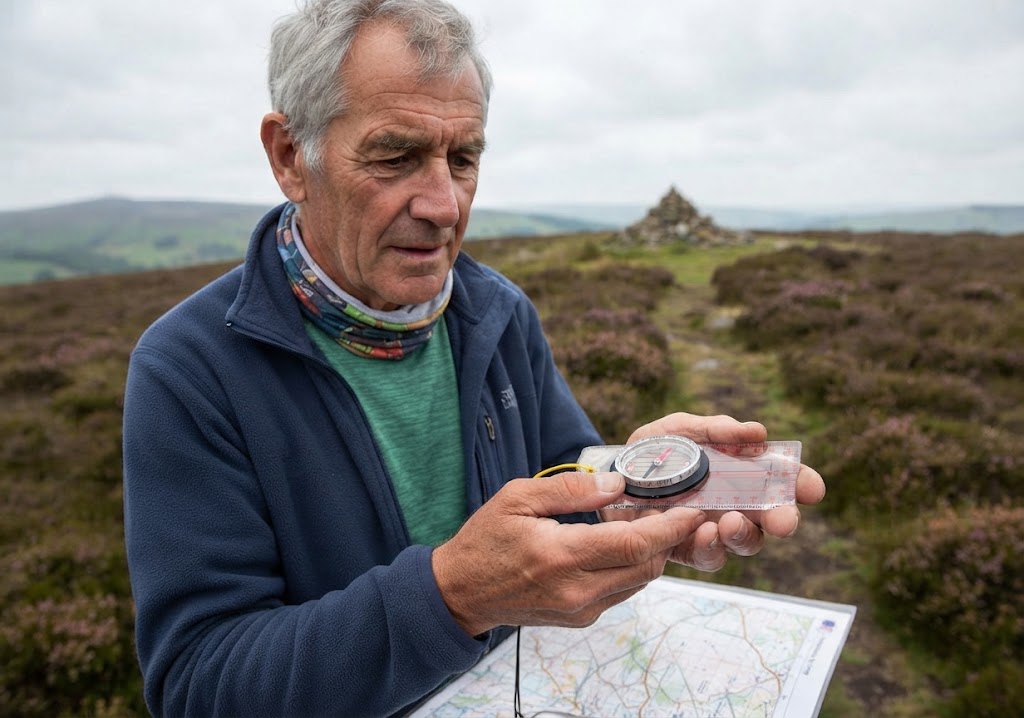
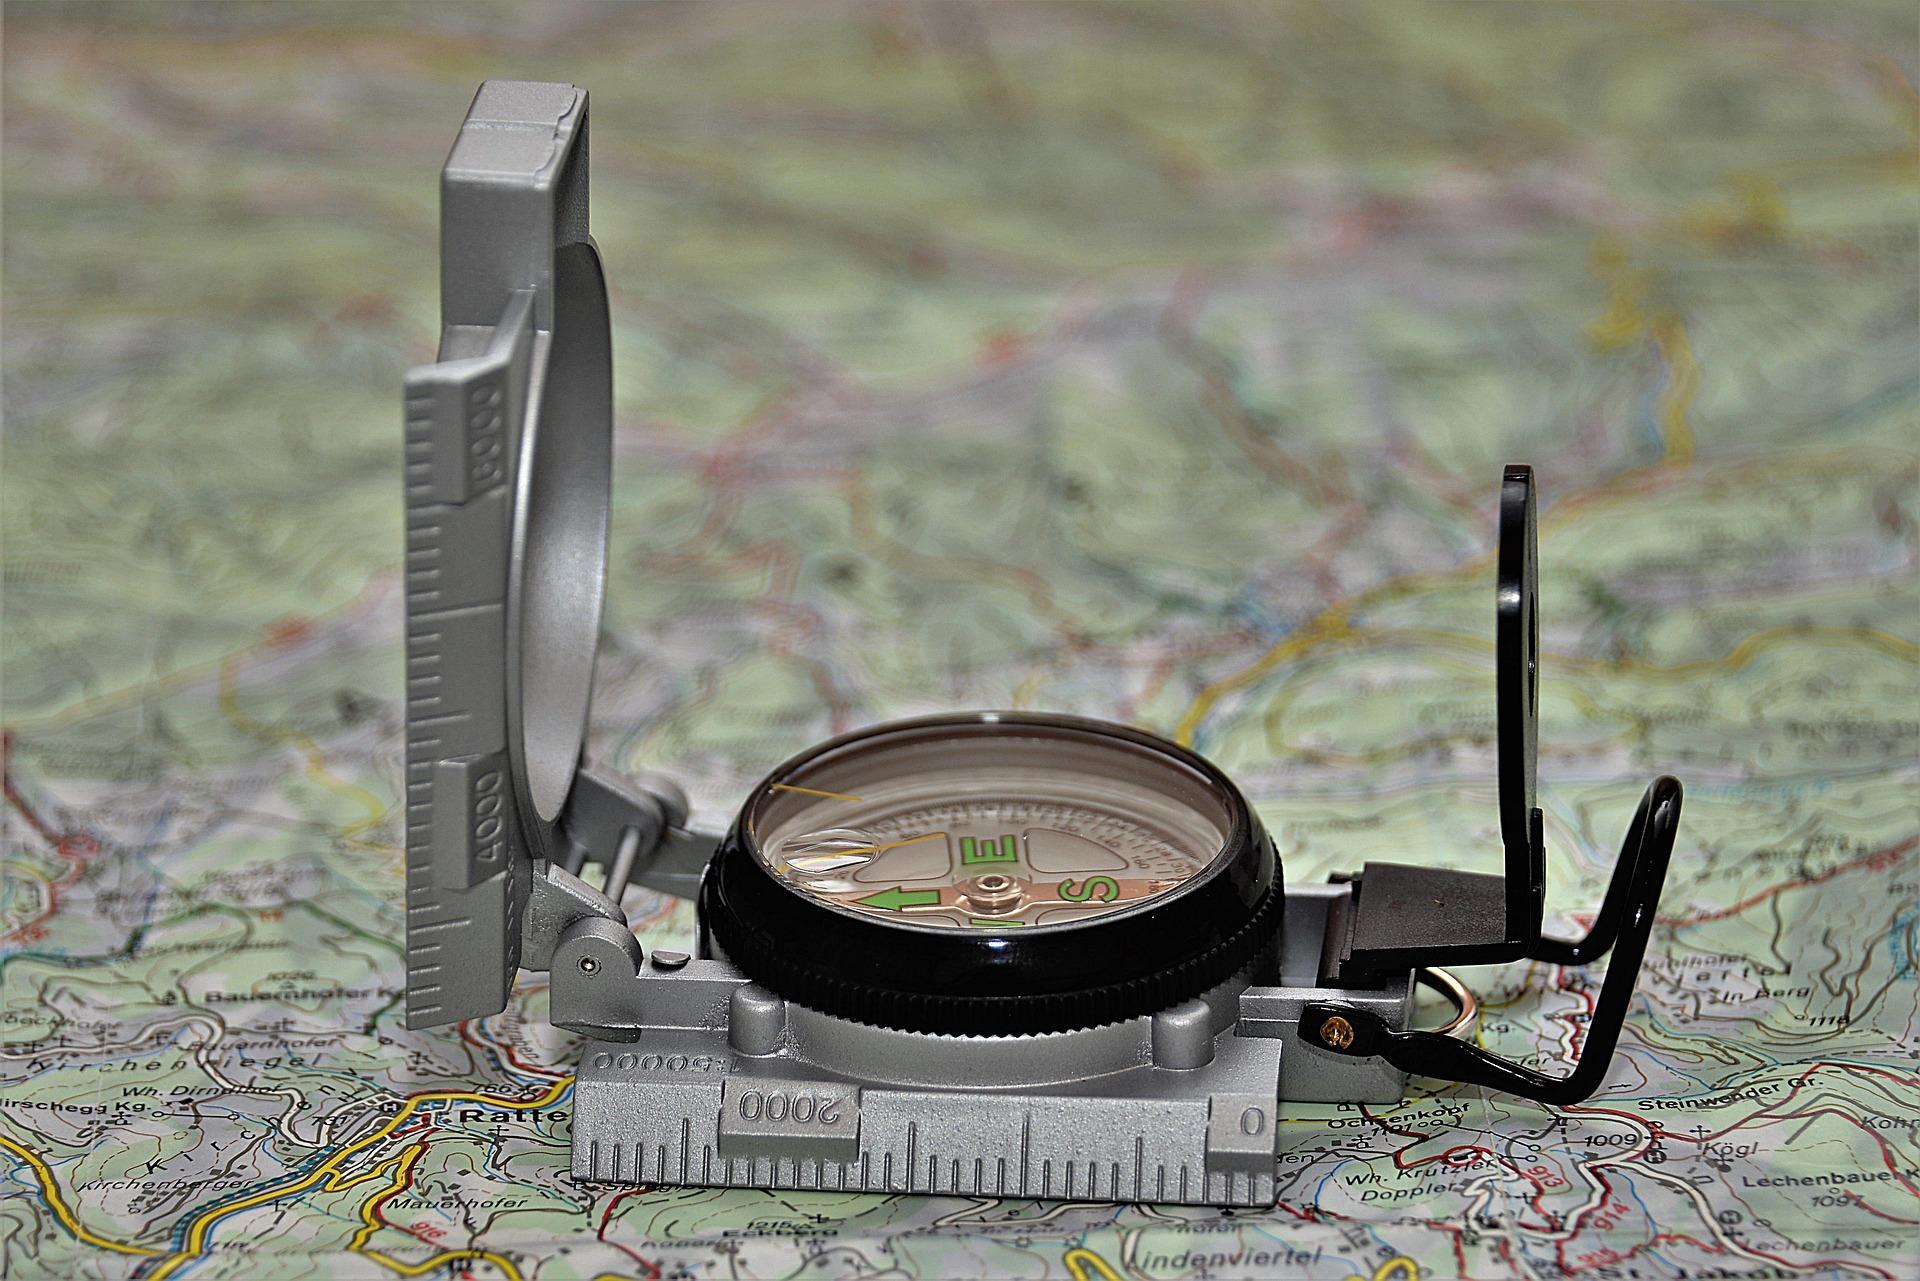
A compass can help you maintain a direction even when landmarks disappear.
HEADTORCH
Particularly important when darkness is possible.
Carry spare batteries or an appropriate backup light.
PHONE
A phone can be useful for communication and additional navigation information, but it shouldn’t necessarily be your only navigation method.
POWER BANK
Useful for longer activities where battery life could become an issue.
EMERGENCY INFORMATION
Know how to raise the alarm and who to contact if something goes wrong.
Your exact equipment should match the activity, location, weather and group.
3. SLOW DOWN
One of the biggest mistakes people make when visibility gets worse is continuing at the same speed.
Don’t.
As visibility decreases:
Slow down.
This gives you more time to:
- Check your map
- Check your direction
- Identify features
- Avoid hazards
- Confirm your position
- Make decisions
Remember:
Poor visibility means you need more information, not more speed.
4. Use Your Map Properly
A map becomes particularly valuable when you can’t see far ahead.
First, make sure your map is oriented correctly.
That means matching the map’s direction with the landscape around you.
In very poor visibility, you may have fewer visible features to work with, so map orientation and accurate position become even more important.
Look for features you can actually confirm:
- Paths
- Walls
- Streams
- Fences
- Roads
- Buildings
- Contours
- Bridges
- Junctions
Don’t assume that you’ve reached a feature simply because you’ve walked for the expected amount of time.
Confirm it.

PAVLED Head Torch Rechargeable
Experience next-level hands-free lighting with this compact and powerful USB Rechargeable LED Headlamp.
Built for convenience and outdoor adventure, it features a motion sensor for touch-free use and weather-resistant design for all conditions.
5. Use Your Compass
A compass becomes particularly useful when you can’t see your destination or a distant landmark.
A basic process is:
ESTABLISH DIRECTION
Use your map and compass to determine the direction you need to travel.
IDENTIFY ROUTE
Choose a safe route that follows identifiable features where possible.
CHECK REGULARLY
Don’t assume that you are still travelling in the correct direction.
CONFIRM YOUR POSITION
Use map features and distance travelled to check where you are.
The compass is not a magic device that tells you exactly where you are.
It helps you maintain direction.
6. Use Distance
Distance is another important navigation tool.
If you’ve travelled a known distance along a route, that information can help you determine where you should be.
For example:
“We’ve followed this path for approximately 500 metres since the junction.”
That is much more useful than:
“We’ve been walking for a while.”
You can estimate distance using:
- Timing
- Pacing
- Known route distances
- Map measurements
But remember:
Your pace changes.
You may walk more slowly because of:
- Mud
- Steep slopes
- Snow
- Heavy rain
- Darkness
- Difficult terrain
So distance should be used alongside other information rather than on its own.
7. Don’t Ignore Small Features
When visibility is poor, major landmarks may disappear.
That’s when smaller features become valuable.
Look for:
- Path junctions
- Fence Lines
- Walls
- Streams
- Bridges
- Changes in terrain
- Buildings
- Track surfaces
- Signposts
Instead of looking for one huge landmark, build a picture from several smaller clues.
8. Understand Contours
Contours are lines on a map that represent changes in elevation.
They can help you understand:
- Hills
- Ridges
- Valleys
- Slopes
- Saddles
- Steep ground
This becomes especially useful when you can’t see the terrain clearly.
For example, if your map shows that you’re approaching a steep slope but you can’t see it through fog, the contours can still tell you what’s ahead.
A useful question:
What should the ground feel like if I’m where I think I am?
If the terrain doesn’t match your map, stop and reassess.
9. Stop if You’re Not Sure
This might be the most important skill in this entire article.
If you aren’t sure where you are:
STOP.
Don’t keep walking in the hope that things will become clearer.
Continuing in the wrong direction can turn a small navigation error into a much bigger problem.
Use the time to:
- Check your map
- Check your compass
- Think about the last feature you definitely recognised.
- Work out where you could have gone wrong.
- Decide what to do next.
Stopping is a navigation skill.
10. Know When to Turn Around
Good navigation isn’t about reaching your destination at any cost.
Sometimes the correct decision is:
Turn around.
Conditions may become too difficult because of:
- Fog
- Darkness
- Heavy rain
- Snow
- String winds
- Flooding
- Fatigue
- Equipment problems
Before setting out, consider:
What conditions would make us turn back?
Make that decision before you’re under pressure.
11. Use Attack Points and Catching Features
These are useful navigation concepts to learn as you become more confident.
ATTACK POINT
An attack point is an easily identifiable feature near your destination that you can navigate towards first.
Instead of trying to find a tiny feature directly, you navigate to a larger, easier-to-identify feature and then continue from there.
CATCHING FEATURE
A catching feature is a prominent feature that tells you when you’ve gone too far. For example:
“If we reach the stream, we’ve gone too far.”
These techniques can make navigation more reliable when visibility is poor.
12. Use More Than One Navigation Method
Don’t rely on a single clue.
Try to confirm your position using several pieces of information.
For example:
Compass → Direction
Map → Terrain
Pacing → Distance
Path → Location
Contours → Elevation
When several clues agree, you can be much more confident in your position.
This is called cross-checking.
The Poor-Visibility Navigation Process
Here’s the process I’d like SurvivalGuidesUK readers to remember:
STOP → CHECK → ORIENT → CONFIRM → MOVE
STOP
Don’t rush.
CHECK
Look at your map.
ORIENT
Make sure you understand your direction.
CONFIRM
Use terrain, distance and identifiable features.
MOVE
Continue carefully once you’re confident.
Then repeat the process regularly.
What If Visibility Gets Worse?
Imagine you’re walking on a route you’ve planned.
You expected clear weather.
Then fog begins to develop.
Visibility falls from hundreds of metres to less than 50 metres.
What should you do?
Don’t simply continue as normal.
Instead:
- Stop somewhere safe.
- Check your position.
- Check the route ahead.
- Check the weather forecast if possible.
- Consider whether the route is still appropriate.
- Decide whether to continue, change route or turn back.
The correct answer depends on the circumstances.
The important thing is that you make a deliberate decision rather than simply carrying on.
12. Your First Poor-Visibility Challenge
The Blind Navigation Challenge
This challenge should be carried out in a safe, controlled environment with appropriate supervision.
Choose a familiar area where the route is straightforward and safe.
Have one person act as the navigator.
The navigator should use:
- A map
- A compass
- Distance
- Recognisable features
Challenge:
Can you navigate between several predetermined points without relying on distant landmarks?
At each point, the navigator should explain:
Where am I?
How do I know?
What feature confirms my position?
What direction am I travelling next?
The aim isn’t speed.
The aim is accurate decision-making.
Bonus Challenge: The Visibility Test
Choose a familiar route.
First, walk part of it in good visibility.
Pay attention to:
- Path junctions
- Walls
- Streams
- Buildings
- Changes in elevation
- Other useful features
Now imagine that visibility has dropped dramatically.
Ask yourself:
Which features would disappear first?
Which would remain useful?
Which features would help me confirm my position?
This teaches you to think about navigation before conditions become difficult.
Explorer Challenge
Plan a Poor-Visibility Route
Take a suitable route on a map.
Identify:
THREE ATTACK POINTS
Features you could use to help navigate towards your destination.
THREE CATCHING FEATURES
Features that would tell you you’ve gone too far.
THREE DIRECTION CHANGES
Places where you’ll need to change your bearing.
THREE POTENTIAL HAZARDS
Things that could become more difficult in poor visibility.
Then explain your route to another person.
The final question:
At what point would you decide to turn back?
If you can’t answer that question, your route plan isn’t finished.
What Have You Learned?
You should now understand that navigating in poor visibility isn’t about having an amazing sense of direction.
It’s about using reliable information.
You’ve learned how to:
And most importantly:
A good navigator knows when to stop and reassess.
Scout Connection
Navigation is a fundamental outdoor skill within Scouting.
Poor-visibility navigation develops:
MAP SKILLS
Understanding and interpreting maps.
COMPASS SKILLS
Maintaining direction and taking bearings.
OBSERVATION
Recognising small environmental clues.
DECISION-MAKING
Knowing when to continue, stop or turn back.
LEADERSHIP
Communicating decisions clearly to the rest of the group.
RISK AWARENESS
Recognising when conditions are becoming unsuitable.
For Scout activities, always follow the current official programme requirements, activity rules, risk assessments and your leader’s instructions.
SurvivalGuidesUK is an independent educational resource and isn’t an official Scouts website. Always follow the current Scouts programme requirements and your leader’s instructions.
SurvivalGuidesUK Safety Notice
Navigation in poor visibility can become hazardous very quickly.
Never deliberately enter dangerous conditions to practise these skills. Choose training environments appropriate to your experience and ability, and use suitable supervision where required.
Before an outdoor activity, check the weather and route conditions, carry appropriate equipment and make sure someone responsible knows your plans where appropriate.
If conditions deteriorate, stop and reassess. Turning around or seeking assistance is not a failure — it is responsible navigation.
For Scout activities, always follow current Scouts safety guidance and your leader’s instructions.
🔒Ready to test your survival skills?
Join Survival Guides UK for free, complete challenges, earn badges and increase your Survival Level.
JOIN FREE →
CRAIG BURR
FOUNDER · SURVIVAL GUIDES UK
I'm Craig, the person behind Survival Guides UK. I created SGUK because I wanted somewhere people could learn real outdoor skills in a practical, straightforward way — from lighting a fire and tying knots to navigation, campcraft and everything in between.
You can read more about the story behind SGUK here as well as our approach here.