Using a Map and Compass Together
A map tells you where you are and where you want to go. A compass helps you keep moving in the right direction.
Using the two together is one of the most useful navigation skills you can develop.
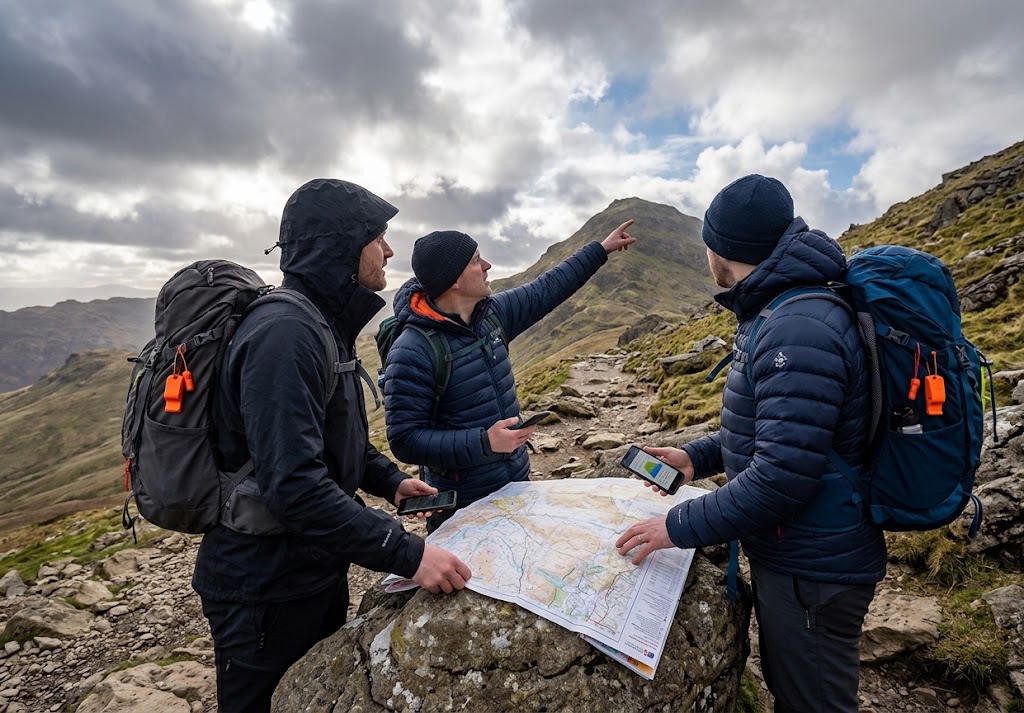
A compass on its own cannot tell you exactly where you are. A map on its own cannot always tell you which direction to walk. When you combine them, you can plan a route, identify features around you, take accurate bearings and regularly check that you are still on course.
This guide brings those skills together and shows how to use a map and compass as part of a complete navigation process.
What You’ll Learn
By the end of this guide, you should be able to:
- Orientate a map using a compass.
- Relate the map to the landscape around you.
- Take a bearing from a map.
- Use a bearing to travel between features.
- Use the landscape to confirm your position.
- Combine bearings, distances and map features.
- Check your route as you travel.
- Recover when your navigation does not match your expectations.
Equipment
You will need:
- A suitable topographic map.
- A baseplate compass.
- A pencil.
- A ruler or map romer if required.
- A waterproof map case if conditions require one.
- A watch or other method of keeping track of time.
Prerequisites
Before attempting this lesson, you should understand:
- Basic map symbols.
- Grid references.
- Contour lines.
- How to orientate a map.
- What a bearing is.
- How to take a bearing from a map.
- How to follow a bearing.
Instructions
1. Start by knowing where you are
Before using the map and compass together, establish your starting position.
Ideally, identify your location from a clear feature such as:
- A path junction.
- A road junction.
- A bridge.
- A building.
- A distinctive hill.
- A prominent woodland edge.
- A known grid reference.
If you are unsure of your starting position, don’t simply guess.
Use the map, landscape and compass to establish where you are before beginning the route.
2. Orientate the map
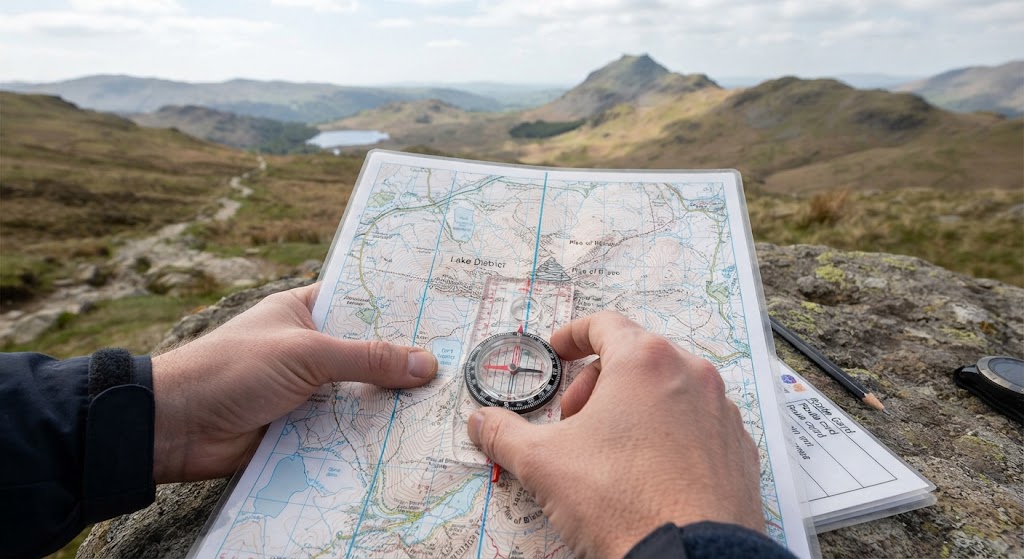
Lay the map flat.
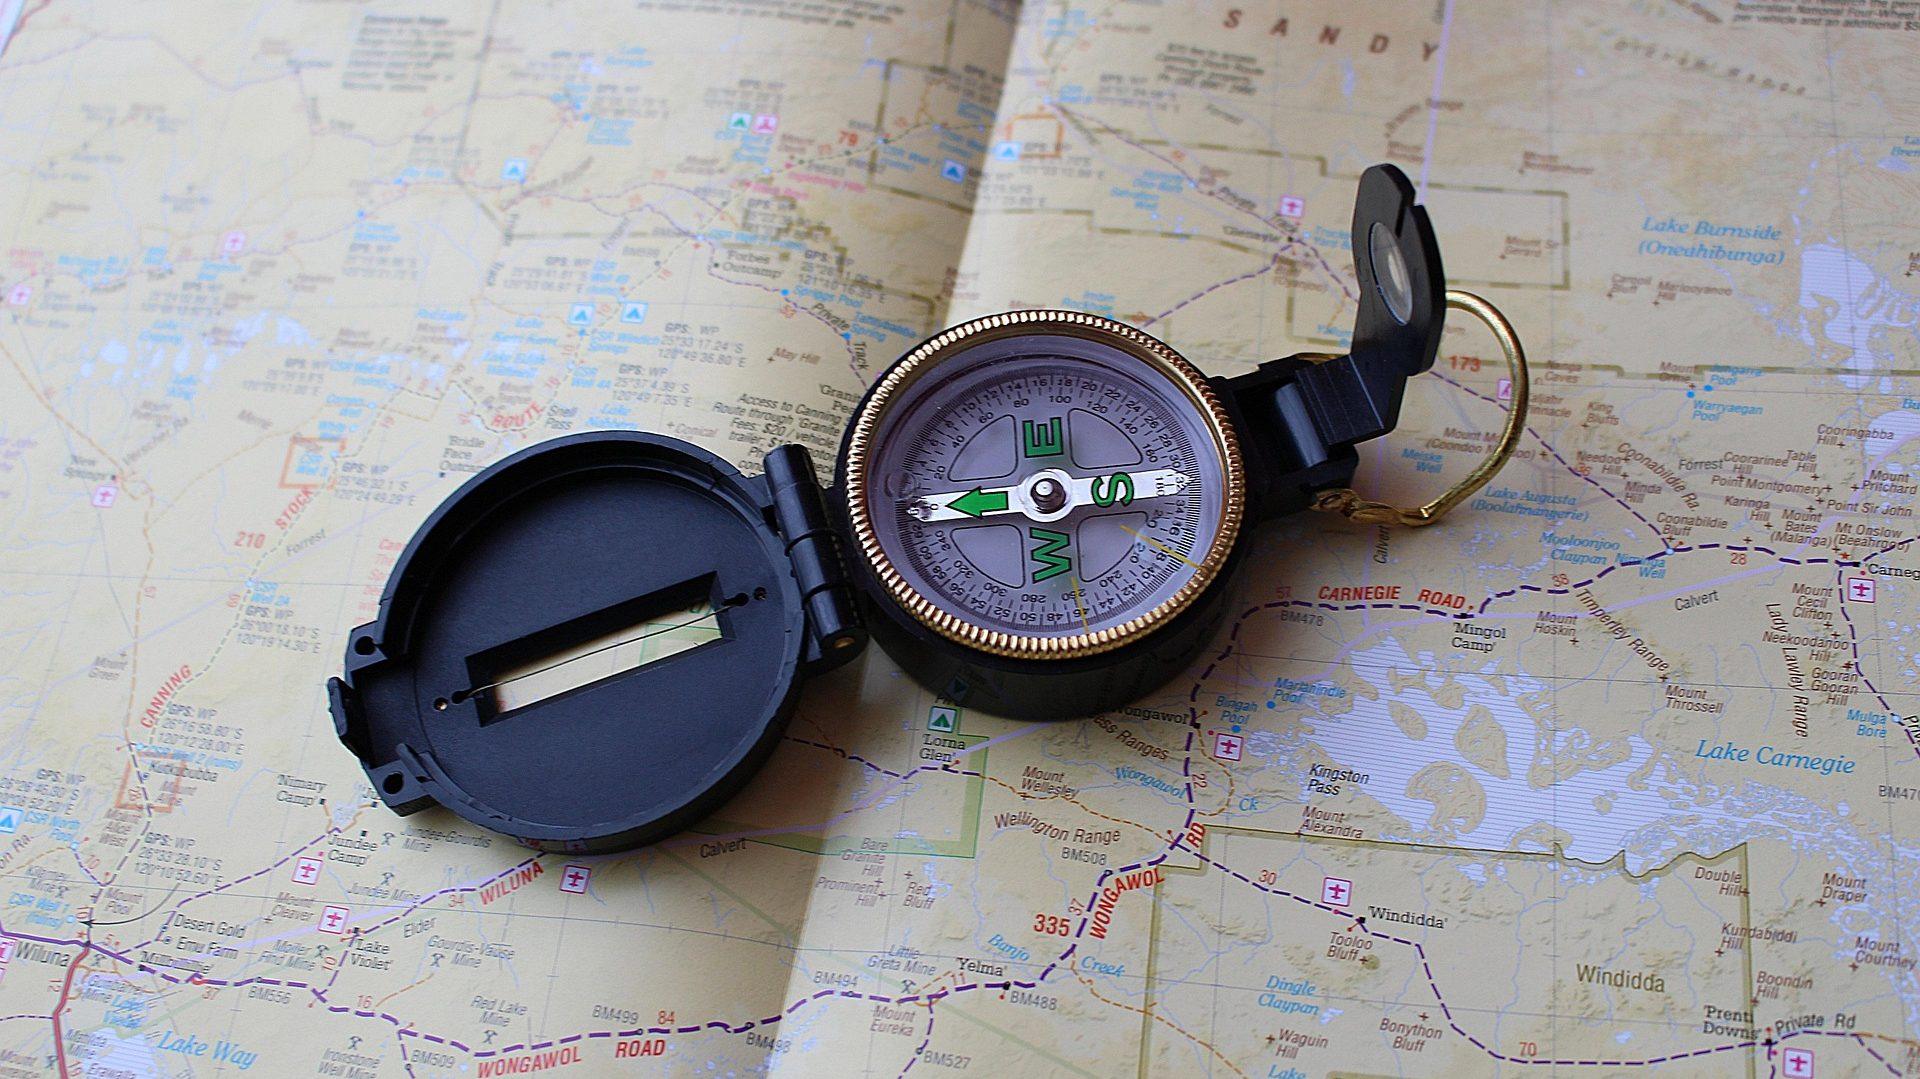
Place the compass on the map and use it to orientate the map so that the map’s north corresponds with the direction of north around you.
Once the map is orientated, features on the map should correspond more naturally with features in the landscape.
For example, if a hill appears to the east of you on the map, the actual hill should appear in the same general direction when you look around.
An orientated map makes navigation much easier because you can begin thinking in terms of the landscape in front of you rather than constantly translating between the map and the real world.
3. Match the map to the landscape
Look around you and identify features that you can also find on the map.
Look for things such as:
- Hills.
- Ridges.
- Valleys.
- Streams.
- Roads.
- Tracks.
- Buildings.
- Woods.
- Field boundaries.
- Bridges.
Try to build a mental picture of the area.
For example, if the map shows you standing beside a track with a woodland to your left and a stream ahead, look for exactly those features around you.
The more features you can match, the more confidence you can have in your position.
4. Identify your destination
Before setting off, locate your next destination on the map.
Don’t simply look at the final destination of the entire journey.
Break a longer route into smaller sections.
For example:
Start → track junction → bridge → woodland edge → summit
Each point becomes a navigation objective.
This makes the route easier to manage and gives you regular opportunities to confirm that you are still on course.
5. Take a bearing from the map
Place the edge of your compass between your current position and your next destination.
Make sure the direction-of-travel arrow points towards the destination.
Rotate the compass housing until its orienting lines are aligned with the map’s north–south grid lines.
Take the compass off the map and hold it level.
Turn yourself until the magnetic needle lines up correctly with the orienting arrow.
The direction-of-travel arrow now indicates the direction you need to travel.
6. Look beyond the compass
Once you have established your bearing, look up.
Find a suitable feature in the direction you need to travel.
This might be:
- A tree.
- A fence post.
- A hill.
- A rock.
- A track.
- A distinctive building.
Use this as an aiming point.
You can then walk towards it without constantly looking down at the compass.
When you reach it, check your bearing again and select another aiming point.
7. Use the map to understand what should happen next
The map should tell you what you are likely to encounter.
Suppose you are walking towards a bridge.
The map might show:
- A path leading towards the bridge.
- A stream crossing the path.
- Woodland on one side.
- A field on the other.
As you travel, compare what you see with what the map tells you to expect.
If those features appear in the correct order, they provide evidence that your navigation is working.
8. Use contours to understand the ground
Contours provide information that a compass cannot.
They show the shape and height of the land.
If the contours become closer together, the slope becomes steeper.
If they become further apart, the slope becomes gentler.
You can therefore use the map to predict the terrain ahead.
For example, if your route crosses a steep slope but you are walking across completely flat ground, something may need checking.
Likewise, if the map shows that you should be descending into a valley and you are still climbing, stop and reassess.
9. Use bearings for direction and the map for context
Think of the two tools as having different jobs.
The compass helps you maintain direction.
The map tells you what is around you and what you should expect.
Neither should be used in isolation when accurate navigation matters.
A useful routine is:
Map → Bearing → Travel → Observe → Check map → Repeat
10. Measure or estimate distance
Knowing your direction is only part of the problem.
You also need to know approximately how far you have travelled.
Use the map to determine the distance between navigation points.
Then estimate your progress using:
- Pacing.
- Timing.
- Known distances.
- Features along the route.
For example, if your next feature is approximately 500 metres away, you should expect to reach it after travelling roughly that distance.
If you have travelled considerably further without finding it, stop and investigate.
11. Use attack points
Small features can be difficult to locate precisely.
Instead of navigating directly to a tiny feature, use a larger and easier-to-identify feature nearby.
For example:
Current position → large track junction → small footbridge
The track junction becomes your attack point.
Once you reach it, you can make the shorter journey to the footbridge.
This reduces the amount of uncertainty involved in finding small features.
12. Use catching features
Plan what you will encounter if you travel too far.
A road, river, major track or large ridge can act as a catching feature.
For example, if you are looking for a small path junction and a major road lies beyond it, reaching the road tells you that you have gone too far.
This gives you a clear warning and helps prevent a small navigation error from becoming a much larger one.
13. Stop when the evidence doesn’t agree
One of the most important navigation habits is knowing when to stop.
Imagine that:
- Your bearing says you should be travelling north-east.
- Your map shows a stream should appear after 300 metres.
- You have travelled around 500 metres.
- There is still no stream.
- The terrain does not look like the map.
Don’t continue simply because you think you must be nearly there.
Stop and work out what has happened.
You may have:
- Started from the wrong position.
- Taken the wrong bearing.
- Drifted away from your intended route.
- Misjudged the distance.
- Misidentified a landscape feature.
The earlier you identify an error, the easier it usually is to correct.
14. Reorientate and reassess
If you become uncertain, return to the basic process.
First, establish where you are.
Then:
- Orientate the map.
- Identify surrounding features.
- Confirm your position.
- Identify your next destination.
- Take a new bearing.
- Estimate the distance.
- Continue towards your next navigation point.
Don’t be afraid to stop and start again from a known position.
Good navigation is not about never making an error. It is about detecting errors before they become serious.
A Simple Map and Compass Navigation Routine
Use this routine whenever you begin a new section of a route:
Where am I?
Identify your position on the map.
Where am I going?
Identify the next navigation point.
Which way?
Take or confirm your bearing.
How far?
Estimate the distance.
What should I see?
Identify features you expect to encounter.
How will I know I’ve arrived?
Choose a feature that confirms your position.
What comes next?
Plan the next section before setting off again.
This turns navigation into a series of small decisions rather than one complicated task.
Practise the Skill
Choose a familiar outdoor area with several obvious features.
Plan a short route using a map and compass.
For each section, record:
- Starting point.
- Destination.
- Bearing.
- Approximate distance.
- Features you expect to see.
- Catching feature.
- Attack point if required.
Then walk the route and compare what you expected with what you actually encountered.
The aim is not simply to reach the destination.
The aim is to understand why you were able to reach it.
Final Tip
Don’t treat your map and compass as two separate pieces of equipment.
Use them together throughout your journey.
The compass gives you direction. The map gives you context. The landscape provides confirmation.
When all three agree, you can navigate with much greater confidence.
🧭 Grid Reference & Compass Simulator
Training Scenario: Click anywhere on the topographic grid map to plot your destination waypoint from the fixed Basecamp (SK 124 853) and instantly calculate your tactical bearing course.
🔒Ready to test your survival skills?
Join Survival Guides UK for free, complete challenges, earn badges and increase your Survival Level.
JOIN FREE →
CRAIG BURR
FOUNDER · SURVIVAL GUIDES UK
I'm Craig, the person behind Survival Guides UK. I created SGUK because I wanted somewhere people could learn real outdoor skills in a practical, straightforward way — from lighting a fire and tying knots to navigation, campcraft and everything in between.
You can read more about the story behind SGUK here as well as our approach here.