Taking and Following Bearings Over a Route
Knowing what a bearing is and knowing how to take one are important navigation skills. The next step is being able to use bearings successfully while travelling.
Following a bearing across open ground sounds simple: set the compass, point in the right direction and walk. In practice, things such as uneven ground, obstacles, poor visibility, distance and small navigation errors can gradually take you away from your intended route.
Good navigation is therefore not just about following the needle. You need to continually check where you are, where you are going and whether what you can see around you matches the map.
This guide explains how to use bearings as part of a route and how to keep yourself on course.
What You’ll Learn
By the end of this guide, you should be able to:
- Take a bearing from a map.
- Set a compass to a bearing.
- Follow a bearing across different types of terrain.
- Use distant and nearby aiming points.
- Estimate distance travelled.
- Deal with obstacles without losing your intended direction.
- Recognise when you may have drifted off course.
- Check your position during a route.
- Correct small navigation errors before they become large ones.
Equipment
You will need:
- A suitable map of the area.
- A baseplate compass.
- A pencil.
- A ruler or map romer if required.
- Waterproof map case if conditions require one.
- A watch or other method of keeping track of time.
- Optional: a navigation notebook for recording bearings and distances.
Prerequisites
Before attempting this lesson, you should be comfortable with:
- Understanding map symbols.
- Reading grid references.
- Orientating a map.
- Understanding what a bearing is.
- Taking a bearing from a map.
- Taking a bearing in the field.
- Using a compass correctly.
If you are still learning these skills, practise them before attempting a longer route.
Instructions
1. Start with a clear objective
Before setting off, identify exactly where you are trying to get to.
Do not simply think:
“I need to walk north-east.”
Instead, identify a specific feature or location on the map.
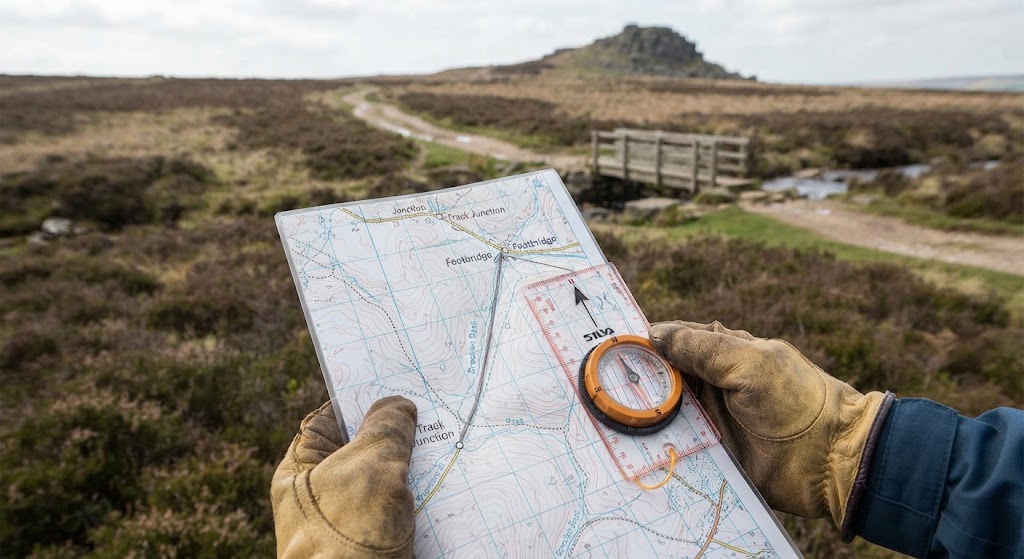
For example, you might need to travel from a track junction to a footbridge, then from the footbridge to a woodland edge.
This gives you something specific to navigate towards and something you can check when you arrive.
2. Take your bearing from the map
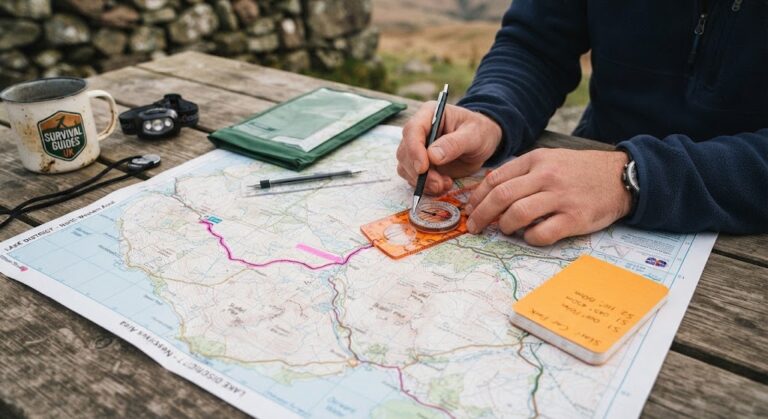
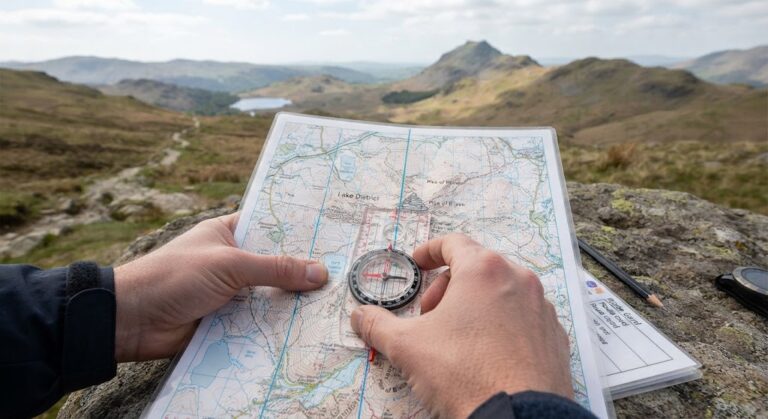
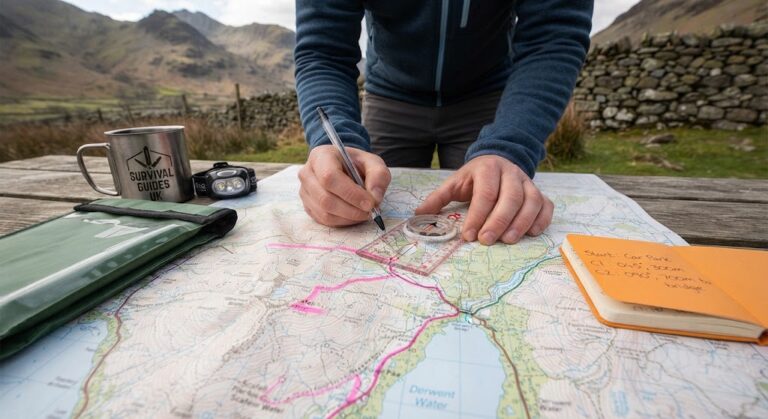
Place your compass on the map with the direction-of-travel arrow pointing from your starting point towards your destination.
Rotate the compass housing so that the orienting lines are aligned with the map’s north–south grid lines, with the north markings pointing towards grid north.
Remove the compass from the map and hold it level.
Rotate yourself until the magnetic needle lines up with the orienting arrow.
The direction-of-travel arrow now shows the bearing you need to follow.
Make sure you have accounted for the difference between grid north and magnetic north when required for the map and navigation method you are using.
3. Look for an aiming point
One of the biggest mistakes when following a bearing is trying to stare at the compass while walking.
Instead, use the compass to establish your direction and then find a feature ahead of you that lies along that direction.
This could be:
- A tree.
- A rock.
- A fence post.
- A building.
- A prominent hill.
- A bend in a track.
- A distinctive point on the landscape.
Walk towards that feature rather than constantly looking down at the compass.
Once you reach it, check your direction again and choose another aiming point.
This technique makes following a bearing much easier.
4. Use handrails when they are available
A handrail is a linear feature that you can follow while navigating.
Examples include:
- Paths.
- Tracks.
- Streams.
- Rivers.
- Walls.
- Fences.
- Ridges.
- Woodland edges.
A bearing does not always have to be followed through the landscape from start to finish.
For example, you might use a bearing to reach a track and then follow the track to your next navigation point.
Using obvious features in this way can make a route easier to check and reduce unnecessary compass work.
5. Keep track of distance
Direction alone is not enough.
Imagine that you need to walk on a bearing for 600 metres. If you maintain the correct direction but have no idea how far you have travelled, you could easily walk past your destination.
There are several ways to estimate distance.
You can use:
- Map measurements.
- Pacing.
- Timing.
- Known distances along paths or tracks.
- Obvious terrain features.
Pacing is particularly useful when travelling across open ground.
If you know approximately how many double paces you take over 100 metres, you can use that information to estimate the distance you have travelled.
Your pace will change depending on terrain, slope, vegetation and conditions, so pacing is an estimate rather than an exact measurement.
6. Don’t blindly follow a bearing around obstacles
You may encounter an obstacle directly in your path.
For example, you might reach:
- A fence.
- A steep drop.
- Dense vegetation.
- A stream.
- A wall.
- A private area.
- Difficult or unsafe ground.
Do not simply walk around the obstacle and then continue in whichever direction seems right.
That can introduce a significant navigation error.
Instead, decide how you are going to bypass the obstacle while keeping track of your original direction.
One simple method is to deliberately move a known distance in one direction, travel around the obstacle, and then move back towards your original line.
For larger obstacles, it may be safer to use the map to find an alternative route rather than attempting to maintain the original bearing.
7. Recheck your bearing regularly
A compass bearing should be treated as a navigation tool, not a one-time instruction.
Terrain can cause you to drift sideways.
You may also turn slightly while walking around obstacles, talking to someone or moving through difficult ground.
Stop regularly and check:
- Is the compass still giving the direction I expect?
- Am I still travelling towards my destination?
- Does the landscape match the map?
- Have I travelled approximately the expected distance?
- Have I passed any features I expected to see?
These checks help catch errors early.
8. Use the landscape to confirm your position
Do not rely entirely on the compass.
Good navigation combines several sources of information.
Suppose your route should take you across a field, past a woodland edge and towards a stream.
If you have travelled the expected distance but the woodland and stream are nowhere to be seen, stop and investigate.
You may have:
- Taken the wrong bearing.
- Started from the wrong position.
- Drifted off your intended line.
- Misjudged the distance.
- Misidentified a feature.
The landscape provides valuable evidence about where you are.
9. Use attack points
An attack point is an obvious feature that you can navigate to before making a shorter, more precise move towards your final destination.
For example, imagine your destination is a small footbridge that would be difficult to identify from a distance.
Instead of trying to navigate directly to it, you could:
- Navigate to a clearly identifiable track junction.
- Confirm your position.
- Take a new bearing.
- Walk the shorter distance to the footbridge.
This reduces the amount of uncertainty involved in finding small or indistinct features.
Attack points are particularly useful when the final destination is difficult to see or identify.
10. Use catching features
A catching feature is a prominent feature that tells you when you have gone too far.
For example, if you are navigating towards a small track junction, a larger road beyond it could act as a catching feature.
If you reach the road without finding the junction, you know that something has gone wrong.
Catching features are an important part of route planning because they give you a clear warning rather than leaving you wondering how far you have travelled.
11. Check your position before continuing
When you reach an important point on your route, stop and confirm where you are.
Ask yourself:
Where am I?
Where am I going next?
What should I see along the way?
How far is it?
What feature will confirm that I have arrived?
This simple habit turns navigation into a series of manageable decisions rather than one long journey.
Common Problems When Following Bearings
Drifting to one side
It is surprisingly easy to walk slightly left or right of your intended line.
The further you travel, the larger this error can become.
Use aiming points and regular compass checks to reduce drift.
Looking at the compass constantly
You should not need to stare at your compass for the entire journey.
Set your direction, identify an aiming point and walk towards it. Check the compass again when necessary.
Ignoring distance
A correct bearing does not tell you when you have reached your destination.
Always consider both direction and distance.
Continuing when things don’t make sense
If the landscape does not match the map, stop.
Do not continue simply because you think you must be close.
A short pause to work out where you are is usually much easier than trying to recover after travelling a long distance in the wrong direction.
Following a route without checking it
Even if you planned the route carefully, conditions can change.
Paths may be difficult to identify, terrain may be different from expected and temporary obstacles may appear.
Keep checking your surroundings and your position throughout the journey.
Putting It All Together
A strong bearing-based navigation routine looks like this:
Plan → Take a bearing → Choose an aiming point → Travel → Check distance → Confirm your position → Repeat
You are not simply following a compass needle.
You are constantly comparing three things:
Your intended route
Your actual direction and distance
The landscape around you
When all three agree, your confidence in your position increases.
Final Tip
Don’t wait until you are completely lost before checking your navigation.
The best navigators make small corrections early.
If your direction seems slightly wrong, your distance does not make sense or the landscape does not match the map, stop and check.
A few seconds spent confirming your position can prevent a much bigger problem later.
🔒Ready to test your survival skills?
Join Survival Guides UK for free, complete challenges, earn badges and increase your Survival Level.
JOIN FREE →
CRAIG BURR
FOUNDER · SURVIVAL GUIDES UK
I'm Craig, the person behind Survival Guides UK. I created SGUK because I wanted somewhere people could learn real outdoor skills in a practical, straightforward way — from lighting a fire and tying knots to navigation, campcraft and everything in between.
You can read more about the story behind SGUK here as well as our approach here.