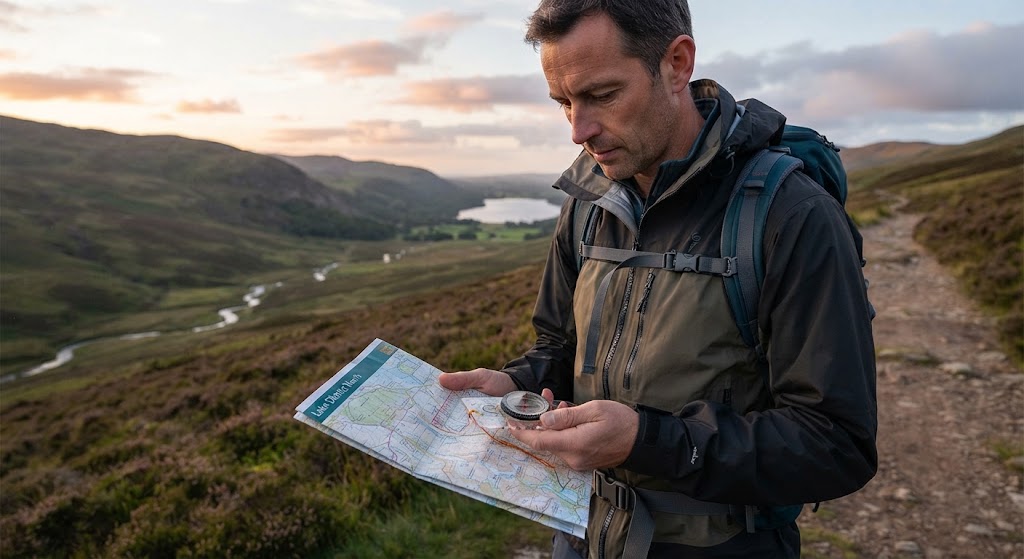
Navigating Without Relying on GPS
GPS and digital mapping can be extremely useful outdoors, but they should not be the only navigation skills you have.
A phone can lose battery, lose signal, become damaged or simply stop working when you need it most. Electronic navigation can also make it tempting to follow a moving dot without understanding the landscape around you.
Being able to navigate without GPS means you can use a map, compass and the environment around you to work out where you are and where you need to go.
This does not mean avoiding technology completely. It means making sure that your navigation ability does not depend on it.
What You’ll Learn
By the end of this guide, you should be able to:
- Navigate using a map and compass without GPS.
- Orientate yourself using the landscape.
- Use bearings and distances to plan a route.
- Identify useful natural and man-made features.
- Use handrails, attack points and catching features.
- Estimate your position when you cannot see your destination.
- Recognise when electronic navigation should not be relied upon.
- Practise navigating independently of GPS.
Equipment
You will need:
- A suitable paper map.
- A baseplate compass.
- A pencil.
- A ruler or map romer if required.
- A waterproof map case if required.
- A watch.
- Optional: a route card or navigation notebook.
A GPS device or phone can be carried as a backup, but the purpose of this exercise is to navigate without depending on it.
Prerequisites
Before attempting this lesson, you should be comfortable with:
- Reading a map.
- Understanding grid references.
- Reading contours.
- Orientating a map.
- Taking and following bearings.
- Estimating distance.
- Using attack points.
- Using catching features.
- Planning navigation checkpoints.
Instructions
1. Start with the map
Before setting off, study the route on your paper map.
Identify:
- Your starting point.
- Your destination.
- Major landmarks.
- Paths and tracks.
- Roads.
- Rivers and streams.
- Hills and ridges.
- Woodland.
- Buildings.
- Navigation checkpoints.
You should have a clear mental picture of the route before you begin.
2. Orientate the map
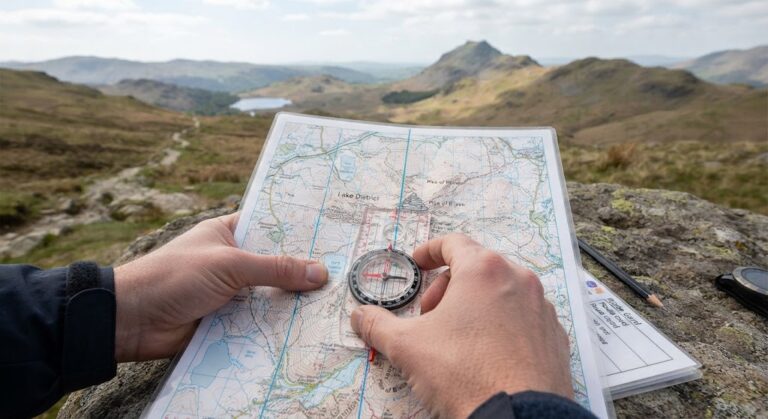
Use your compass to orientate the map.
Once the map is correctly aligned, the features shown on it should correspond with the landscape around you.
Look around and identify several features that you can see on the map.
For example:
- A hill to the north.
- A road running east to west.
- A woodland to the south.
- A stream crossing the valley.
This gives you a starting picture of where you are.
3. Establish your position
Before leaving your starting point, make sure you know exactly where you are.
Use obvious features to confirm your position.
If you are starting at a path junction, for example, check the paths, nearby terrain and surrounding features against the map.
Don’t simply assume that the first path junction you see must be the one marked on the map.
4. Plan the first section
Don’t try to navigate the entire route at once.
Identify your first destination.
Then determine:
- Which direction you need to travel.
- Approximately how far it is.
- What features you should encounter.
- How you will know you have arrived.
- What feature will tell you if you have gone too far.
This creates a clear navigation objective.
5. Take a bearing
Use your compass to take the bearing for the first section.
Once you have your bearing, identify a suitable aiming point.
This could be:
- A tree.
- A hill.
- A rock.
- A fence post.
- A building.
- A distant landmark.
Walk towards the aiming point and periodically check your direction.
6. Estimate your distance
Without GPS, you need another way to monitor how far you have travelled.
Useful methods include:
- Pacing.
- Timing.
- Measuring the route on the map.
- Using known distances.
- Recognising landscape features.
If you have calibrated your pacing, you can use your approximate number of paces to estimate distance across suitable terrain.
Remember that pacing becomes less reliable on steep, rough or uneven ground.
7. Use natural features
The landscape itself provides navigation information.
Look for:
- Ridges.
- Valleys.
- Streams.
- Rivers.
- Lakes.
- Hills.
- Saddles.
- Woodland edges.
- Distinctive rock formations.
These features can help you confirm both your direction and your position.
For example, if the map shows that a stream should run approximately east to west and you encounter it while travelling north, that provides useful evidence about your location.
8. Use handrails
A handrail is a feature that you can follow in a particular direction.
Examples include:
- A path.
- A track.
- A wall.
- A fence.
- A river.
- A stream.
- A ridge.
Handrails are particularly useful when there are few obvious landmarks.
Instead of crossing a large area of featureless ground, you may be able to navigate to a clear linear feature and follow it towards your next checkpoint.
9. Use attack points
When your destination is small or difficult to identify, use a larger feature as an attack point.
For example:
Current position → large track junction → small path junction
The track junction is easier to identify.
Once you reach it, you can make a shorter and more precise navigation move towards the path junction.
10. Use catching features
Plan what you should encounter if you go too far.
For example:
Destination: small bridge
Catching feature: major road beyond the bridge
If you reach the road without finding the bridge, you know that you need to stop and reassess.
This is particularly important when you cannot see your destination from a distance.
11. Use contours
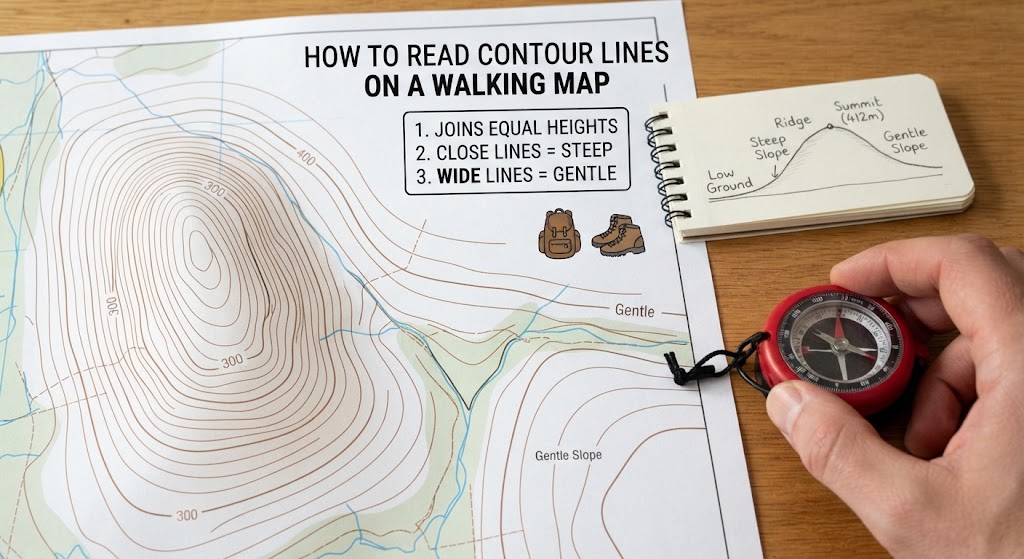
Contours can provide valuable information even when there are few visible landmarks.
They allow you to understand:
- The direction of slopes.
- The steepness of terrain.
- Ridges.
- Valleys.
- Summits.
- Saddles.
- Depressions.
For example, if you know you are crossing a valley and the ground should descend before climbing again, the changing slope can help confirm your position.
12. Navigate using several clues
Never depend on a single piece of information when you can use several.
For example, your position might be supported by:
- A compass bearing.
- The distance travelled.
- A stream.
- A woodland edge.
- A change in slope.
When several clues agree, you can have greater confidence in your position.
This is known as corroborating your position.
13. Keep your map accessible
Don’t put your map away simply because you know the general direction.
You should be able to refer to it regularly.
A good navigation routine might be:
Check map → Check compass → Look at landscape → Travel → Check again
You don’t need to stop constantly, but you should maintain awareness of where you are.
14. Don’t follow a path blindly
A path can be useful, but following one does not automatically mean you are going the right way.
Paths can:
- Change direction.
- Split into several paths.
- Join other paths.
- Become difficult to identify.
- Lead somewhere different from your intended destination.
Use the map to understand where the path should take you.
If the path does not match the map, stop and investigate.
15. Use time as another clue
A watch can provide another useful navigation check.
Suppose you normally walk approximately 4 kilometres per hour on a particular type of terrain.
If you expect a navigation point to be about 1 kilometre away, you would expect to reach it in roughly 15 minutes under similar conditions.
This is only an estimate.
Terrain, weather, stops and walking speed can all affect your timing.
Time should therefore support other navigation evidence rather than replace it.
16. Recognise when you are uncertain
There will be times when you are not sure exactly where you are.
That is normal.
The important thing is what you do next.
Stop moving.
Ask yourself:
Where was the last place I knew I was definitely?
Then look for features that can help you work out where you are now.
Check:
- Your map.
- Your compass.
- Your direction of travel.
- Your estimated distance.
- The terrain.
- Nearby features.
If necessary, return to your last known position.
17. Don’t wander around looking for the answer
One of the biggest dangers when uncertain is walking around randomly trying to find a familiar feature.
This can make the problem much worse.
Instead, stop and use the information available to you.
If you cannot establish your position confidently, returning to the last known point is often a better option than continuing deeper into unknown territory.
18. Carry electronic navigation as a backup
Navigating without GPS does not mean that GPS should never be carried.
A phone or GPS device can provide useful additional information and may be valuable in an emergency.
The important distinction is between:
Using GPS as a backup
and
Being unable to navigate without GPS.
Your map-and-compass skills should remain usable even if the electronic device is unavailable.
A GPS-Free Navigation Exercise
Choose a familiar outdoor route.
Before setting off:
- Study the entire route on a paper map.
- Mark your navigation checkpoints.
- Calculate or estimate your bearings.
- Measure approximate distances.
- Identify attack points.
- Identify catching features.
- Identify important landscape features.
Then put your phone or GPS device away.
Navigate the route using only your map, compass, watch and observations of the landscape.
At each checkpoint, confirm your position before continuing.
After completing the route, compare your experience with your original plan.
Think about:
- Which features were easiest to identify?
- Where was navigation most difficult?
- How accurate were your distance estimates?
- Did you drift from your intended bearings?
- Which checkpoints were most useful?
Increasing the Difficulty
Once you are comfortable navigating without GPS, make the exercise progressively harder.
Try:
Exercise 1 — Familiar area
Navigate somewhere you already know.
Exercise 2 — Unfamiliar route
Use a map of an area you have not previously explored.
Exercise 3 — Limited visibility
Practise when distant landmarks are less obvious, while remaining within safe conditions.
Exercise 4 — Featureless terrain
Choose an area with fewer obvious landmarks and rely more heavily on bearings, distance and contours.
Exercise 5 — Complete route
Plan and navigate a longer route containing multiple checkpoints, attack points and catching features.
Always choose an environment appropriate to your experience and the conditions.
Final Tip
Technology is useful, but navigation should not depend on it.
A skilled navigator can put a phone away, unfold a map, pick up a compass and still understand where they are, where they need to go and how to get there.
That is the real goal of learning navigation.
🔒Ready to test your survival skills?
Join Survival Guides UK for free, complete challenges, earn badges and increase your Survival Level.
JOIN FREE →
CRAIG BURR
FOUNDER · SURVIVAL GUIDES UK
I'm Craig, the person behind Survival Guides UK. I created SGUK because I wanted somewhere people could learn real outdoor skills in a practical, straightforward way — from lighting a fire and tying knots to navigation, campcraft and everything in between.
You can read more about the story behind SGUK here as well as our approach here.