Scout Hazard Identification UK: How to Identify Risks Before an Activity
Activity Overview
Difficulty: Easy
Time: 15–30 minutes
Location: Scout hut, campsite, woodland, field or activity area
Best for: Cubs, Scouts, Explorers, Patrol Leaders and adult volunteers
Skills: Observation, risk awareness, planning, problem-solving and decision-making
Quick Answer
Hazard identification is the process of looking for things that could cause harm before an activity starts.
A hazard could be something obvious, such as a busy road or deep water, or something less obvious, such as a slippery surface, poor weather, damaged equipment or tired participants.
The simplest approach is to walk through the activity in your head — or physically inspect the location — and ask:
What could hurt someone? Who could be affected? How could it happen? What can we do to reduce the risk?
Hazard identification is one part of planning a safe activity. It doesn’t mean trying to remove every possible risk. Outdoor activities inevitably involve some risk, and Scouts should be given opportunities to learn how to recognise and manage appropriate risks.
What You’ll Learn
You will learn how to spot hazards before and during an activity, consider who might be affected and decide what controls could make the activity safer.
You’ll also learn why hazard identification should continue throughout an activity rather than being treated as something that happens once before everyone arrives.
🟢 SAFETY – LOW RISK
Hazard identification itself is low risk, but it is an important part of preparing for activities that may have much higher levels of risk.
The person carrying out the assessment should have enough knowledge and experience to recognise the hazards associated with the activity.
For activities involving significant hazards, young people should not be expected to carry out the entire safety assessment themselves. They can contribute observations and ideas, but appropriate adult oversight remains important.
If conditions change significantly — such as severe weather, a change of location, equipment failure or an unexpected hazard — stop and reassess rather than simply continuing with the original plan.
Equipment
You don’t need specialist equipment for basic hazard identification.
A notebook and pen can be useful for recording hazards and controls.
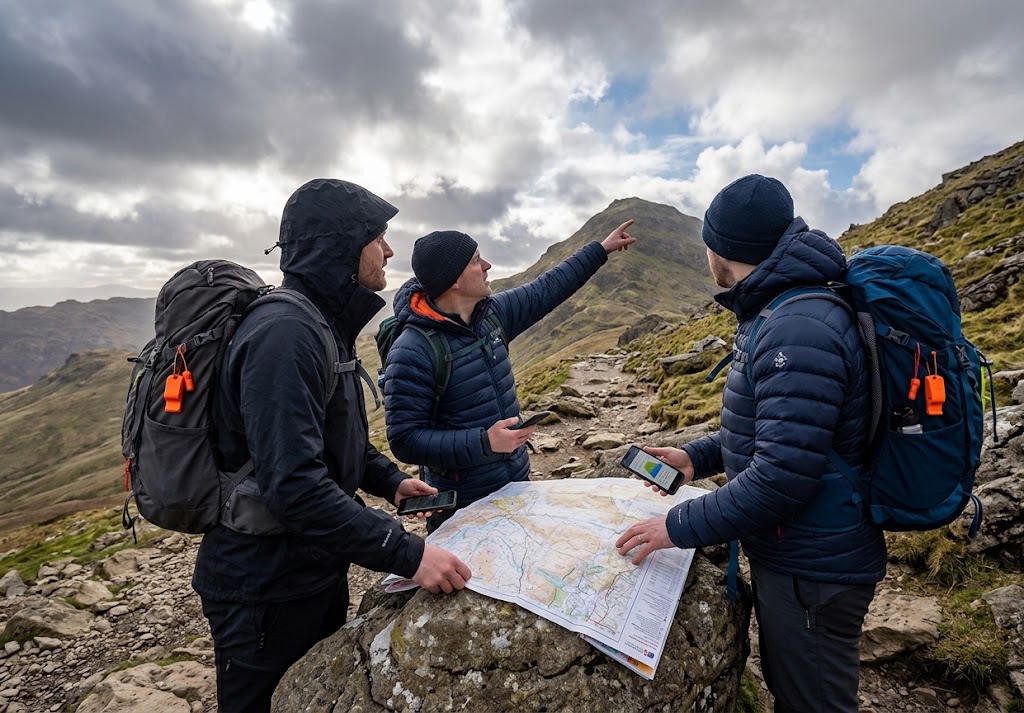
For outdoor activities, a map, route description, weather information and details of the site can help identify hazards before you arrive.
A phone or camera can also be useful for recording an area that needs attention, although it should never distract from observing the environment.
Prerequisites
No specialist qualification is needed to learn the basic principles of hazard identification.
Before assessing an activity, however, you need to understand what the activity involves.
Think about the people taking part, the location, equipment, weather, duration and activities being carried out.
Someone unfamiliar with an activity may not recognise an important hazard, which is why more complex activities require appropriate knowledge, planning and supervision.
Instructions
1. Understand the Activity
Start by describing exactly what you are going to do.
“Going camping” isn’t specific enough.
Break it down into the actual activities involved: travelling to the campsite, carrying equipment, pitching tents, cooking, lighting fires, walking, sleeping and packing up.
Each part can introduce different hazards.
2. Look at the Location
If possible, inspect the location before the activity.
Look at the ground, access points, buildings, water, roads, slopes, vegetation and other features.
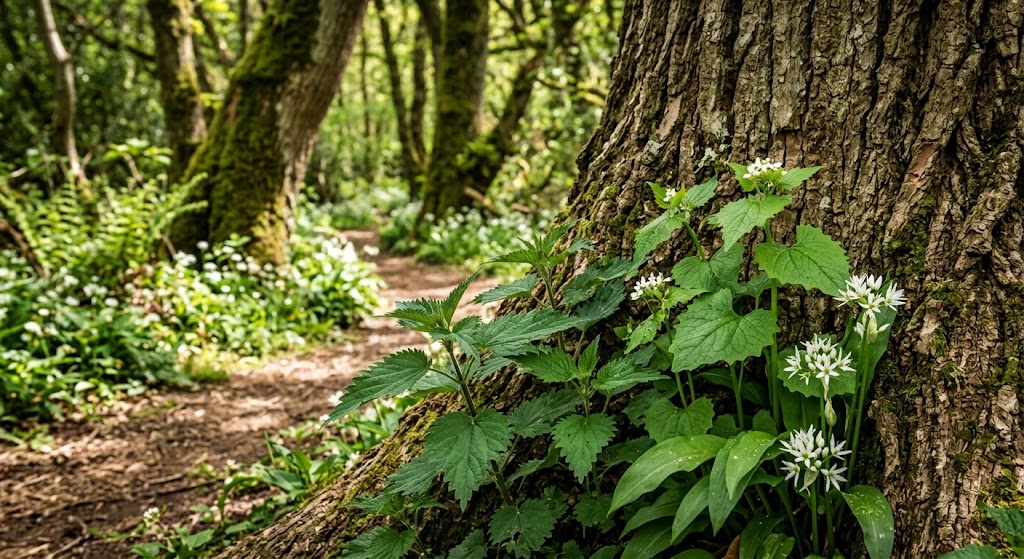
For a woodland activity, for example, you might identify uneven ground, low branches, dead trees, brambles or streams.
Don’t just look at the area from where you’re standing. Think about where Scouts will actually be moving and working.
3. Look Up, Down and Around
A useful habit is to deliberately inspect the environment in different directions.
Look down for holes, roots, slippery surfaces and trip hazards.
Look around for obstacles, traffic, water, unstable structures and other people.
Look up for low branches, overhead equipment, falling objects and electrical hazards.
This simple approach can help prevent obvious hazards from being overlooked.
4. Consider the People Taking Part
The same hazard doesn’t affect everyone in exactly the same way.
Consider the age, experience, confidence and abilities of the people taking part.
A steep muddy slope might be manageable for an experienced Scout but more difficult for a younger or less confident participant.
You should also consider whether anyone has a particular requirement that needs to be accommodated.
The answer isn’t automatically to exclude someone. Often the better solution is to adapt the activity or provide appropriate support.
5. Think About the Equipment
Inspect equipment before it is used.
Look for damaged ropes, broken tent poles, blunt or damaged tools, leaking fuel containers, faulty cooking equipment or anything else that could create a problem.
Don’t assume equipment is safe simply because it was safe during the previous activity.
Equipment can become damaged during storage or transport.
6. Consider the Weather
Weather can completely change the hazards associated with an activity.
Rain can make paths slippery.
Strong winds can make trees and tents more hazardous.
Hot weather can increase the risk of dehydration and sun exposure.
Cold weather can increase the risk of cold-related illness.
Check the forecast before the activity and continue monitoring conditions where appropriate.
The weather should be treated as an active part of your hazard assessment, not just something to check when deciding what clothes to wear.
7. Consider What Could Go Wrong
Now deliberately imagine the activity going wrong.
Ask:
“What is the worst realistic thing that could happen here?”
Then consider less serious problems too.
For example, on a hike someone could become separated from the group, slip on a path, become exhausted, get lost or encounter unexpectedly difficult terrain.
Thinking through these scenarios helps identify hazards that aren’t immediately visible.
8. Decide Who Could Be Harmed
For each hazard, consider who is actually exposed to it.
It could be:
This matters because a hazard may affect people who aren’t directly participating in the activity.
9. Decide How to Control the Risk
Once you’ve identified a hazard, decide what you can do about it.
There are several approaches.
You might remove the hazard entirely, avoid the area, change the activity, introduce additional supervision, use appropriate equipment or change the way the activity is carried out.
For example, if a section of a route becomes unsafe after heavy rain, the answer may simply be to use an alternative route.
Don’t automatically try to control every hazard with more rules. Sometimes changing the plan is the simplest and safest solution.
10. Explain Important Hazards to Scouts
Scouts should understand the hazards that are relevant to what they’re doing.
Don’t overwhelm them with a long list of risks they don’t need to think about.
Instead, explain the important points clearly.
For example:
“This path is slippery after the rain, so we’re going to walk rather than run and keep some space between us.”
That gives Scouts useful information while teaching them how to recognise hazards themselves.
11. Keep Looking During the Activity
Hazard identification doesn’t stop when the activity begins.
Conditions can change.
A dry path can become slippery. A campsite can become crowded. A tree can lose a branch in high winds. Equipment can become damaged.
Encourage Scouts to speak up if they notice something that could be dangerous.
A good safety culture means that everyone is allowed to say:
“I think there’s a problem here.”
12. Review Afterwards
After the activity, think about what actually happened.
Did you identify the important hazards?
Did any unexpected hazards appear?
Did the controls work?
Was there anything you would do differently next time?
This is where a debrief can help turn an experience into better planning for future activities.
Common Outdoor Hazards
Different environments create different hazards.
On a hike, consider roads, water, weather, terrain, navigation, livestock and getting separated.
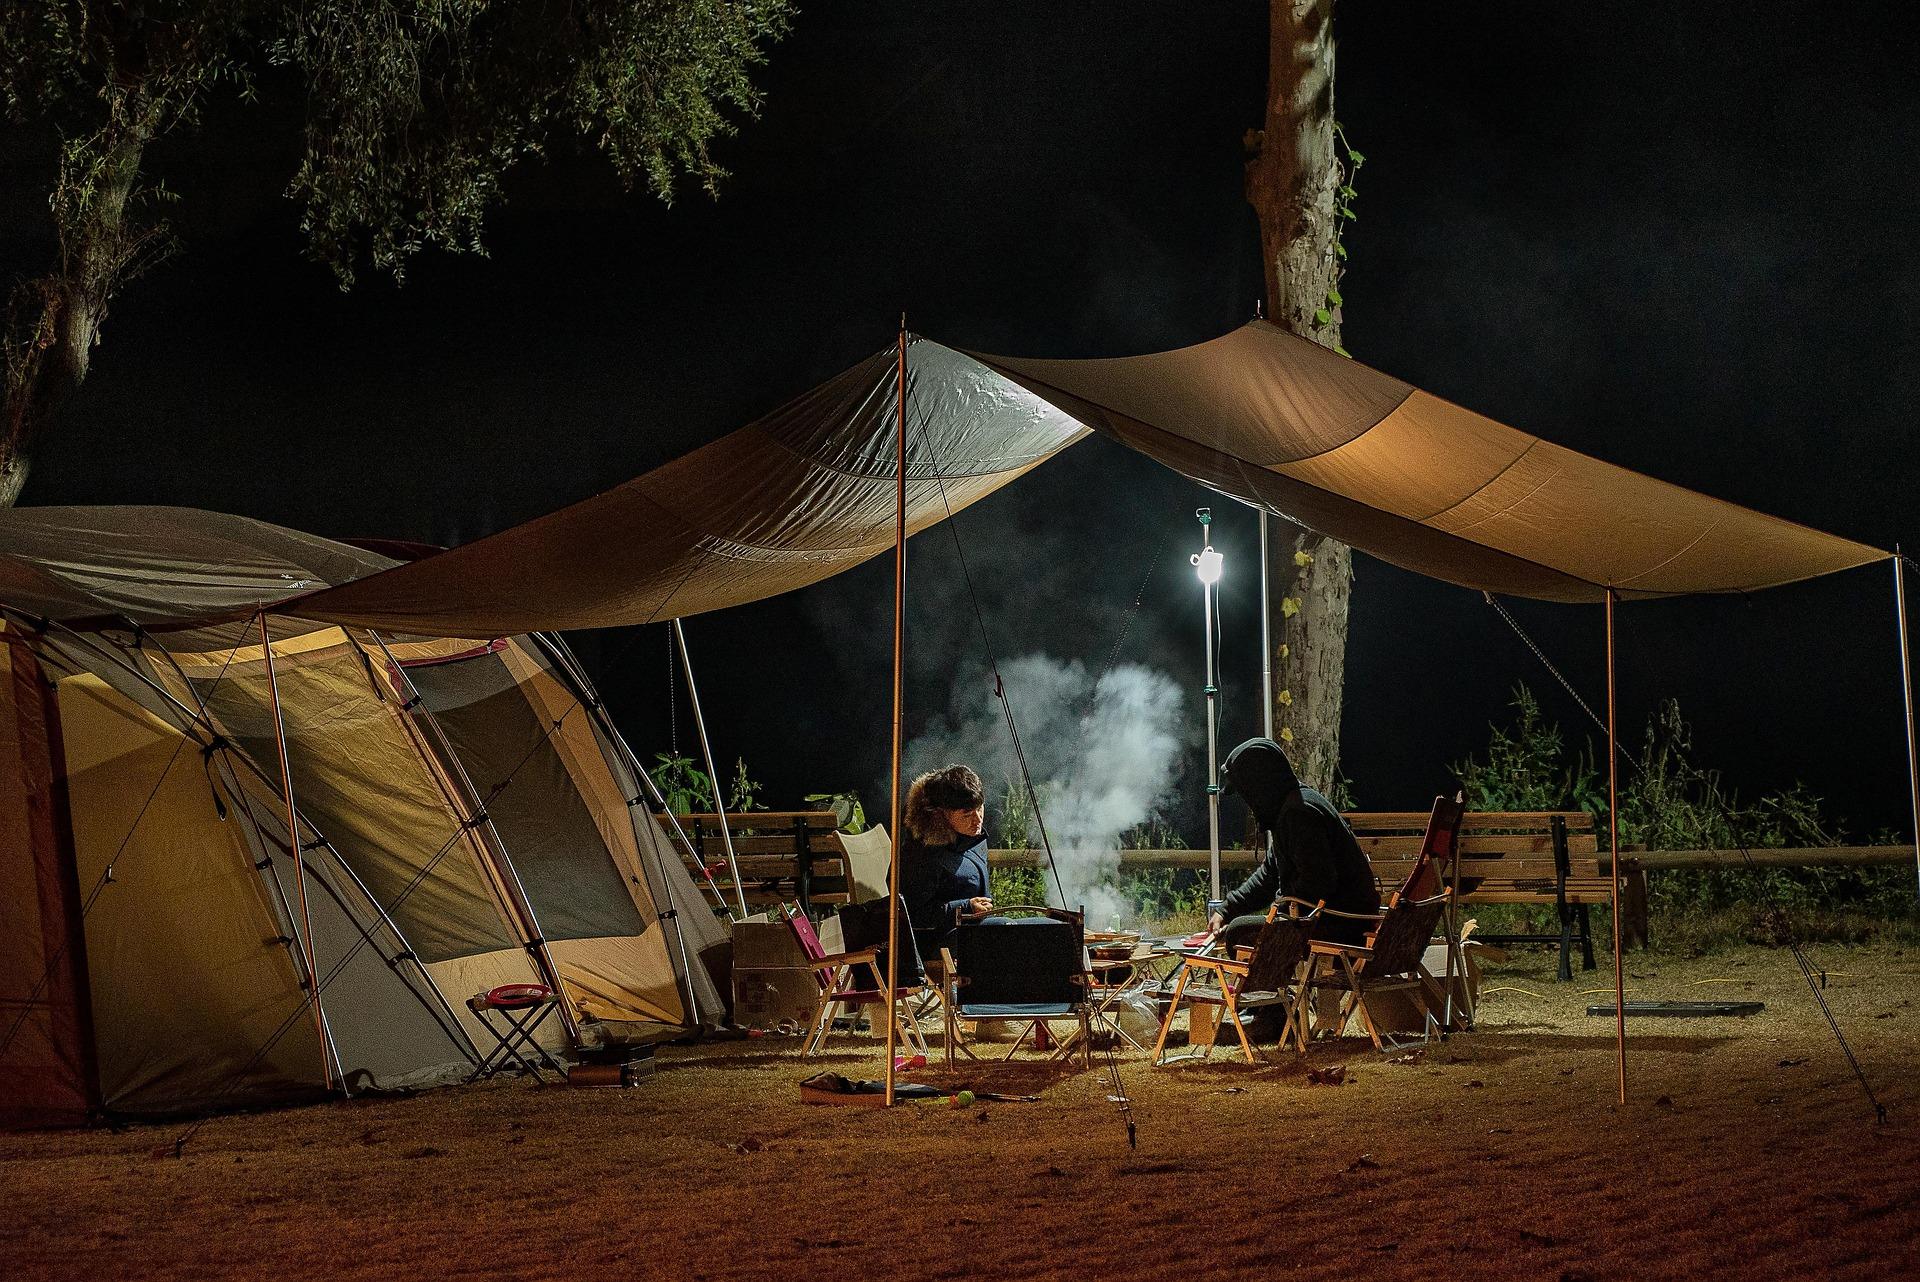
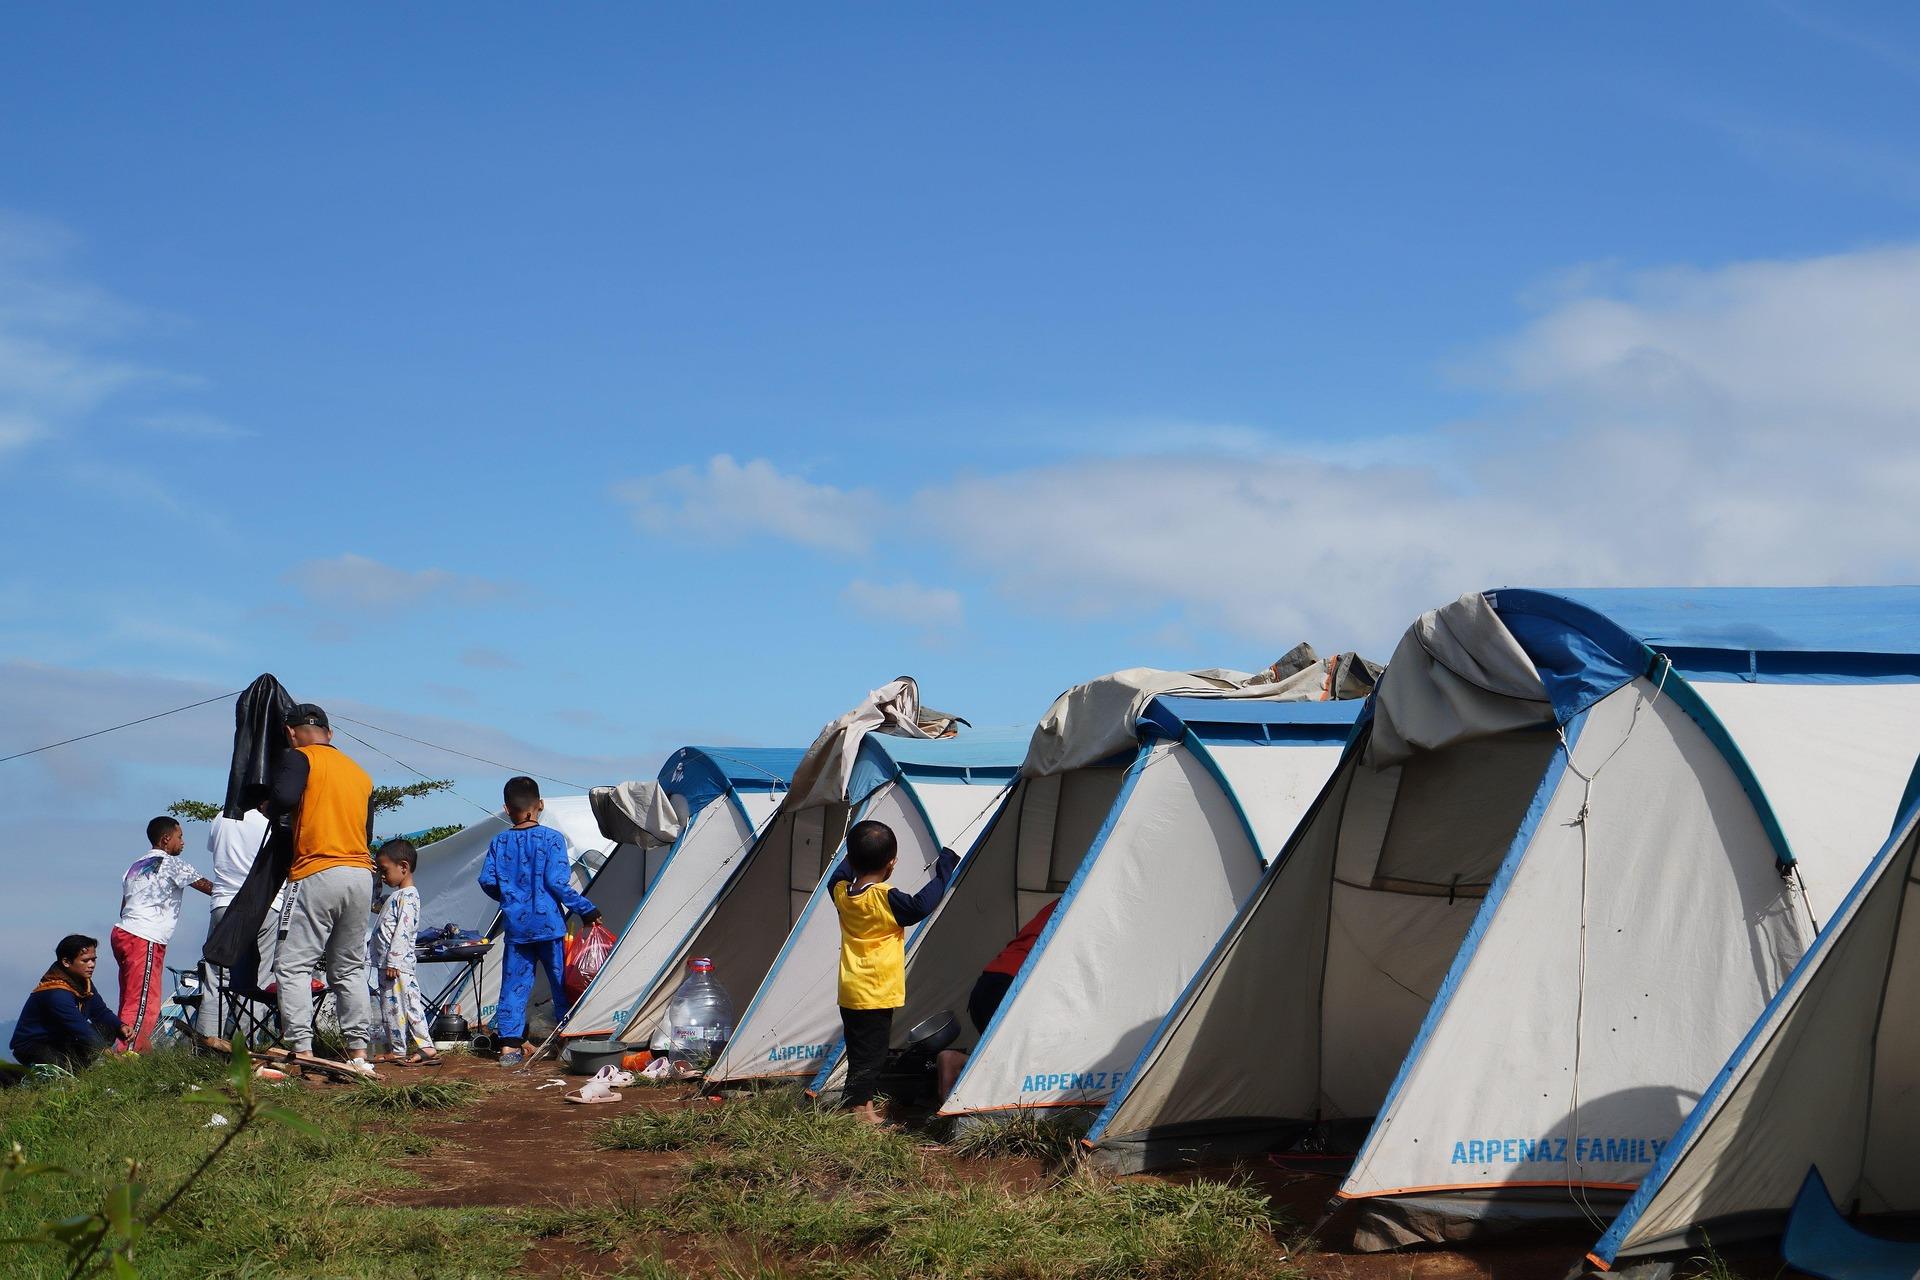
At a campsite, consider cooking, fires, tents, guy lines, uneven ground, weather and vehicle movements.
In woodland, consider falling branches, uneven ground, streams, vegetation and getting lost.
Near water, consider depth, currents, slippery banks, cold water, changing conditions and the consequences of someone entering the water unexpectedly.
During camp cooking, consider hot surfaces, flames, fuel, sharp equipment, food hygiene and the location of the cooking area.
The important point is to consider the hazards specific to the activity rather than relying on a generic list.
Hazard or Risk?
These two terms are often confused.
A hazard is something that has the potential to cause harm.
For example, a muddy slope is a hazard.
Risk is the possibility of someone being harmed by that hazard and how serious the consequences could be.
The muddy slope might have a relatively low risk if everyone walks carefully, but a much higher risk if people are running down it.
Understanding the difference helps you think about safety more effectively.
A Simple Hazard Checklist
Before starting an activity, ask:
People: Who is taking part?
Place: What hazards are present at the location?
Equipment: Is everything suitable and in good condition?
Weather: Could conditions change?
Activity: What could go wrong?
Controls: What can we change to make it safer?
Emergency: What happens if something does go wrong?
This gives you a simple framework without turning hazard identification into a complicated exercise.
Final Tip
Don’t try to predict every possible thing that could happen.
Instead, develop the habit of looking, thinking and acting.
Look for hazards. Think about who could be affected. Act to reduce unnecessary risk.
The more often Scouts practise this way of thinking, the better they become at recognising hazards for themselves — whether they’re on a Scout hike, at camp or simply enjoying the outdoors.
🔒Ready to test your survival skills?
Join Survival Guides UK for free, complete challenges, earn badges and increase your Survival Level.
JOIN FREE →
CRAIG BURR
FOUNDER · SURVIVAL GUIDES UK
I'm Craig, the person behind Survival Guides UK. I created SGUK because I wanted somewhere people could learn real outdoor skills in a practical, straightforward way — from lighting a fire and tying knots to navigation, campcraft and everything in between.
You can read more about the story behind SGUK here as well as our approach here.