Mountain Weather Planning
Activity Overview
Difficulty: Advanced
Time: 45–60 minutes
Location: Indoors for planning, followed by a suitable mountain or hill environment
Best for: Scouts and Explorers
Skills: Weather awareness, route planning, navigation, risk assessment, decision-making
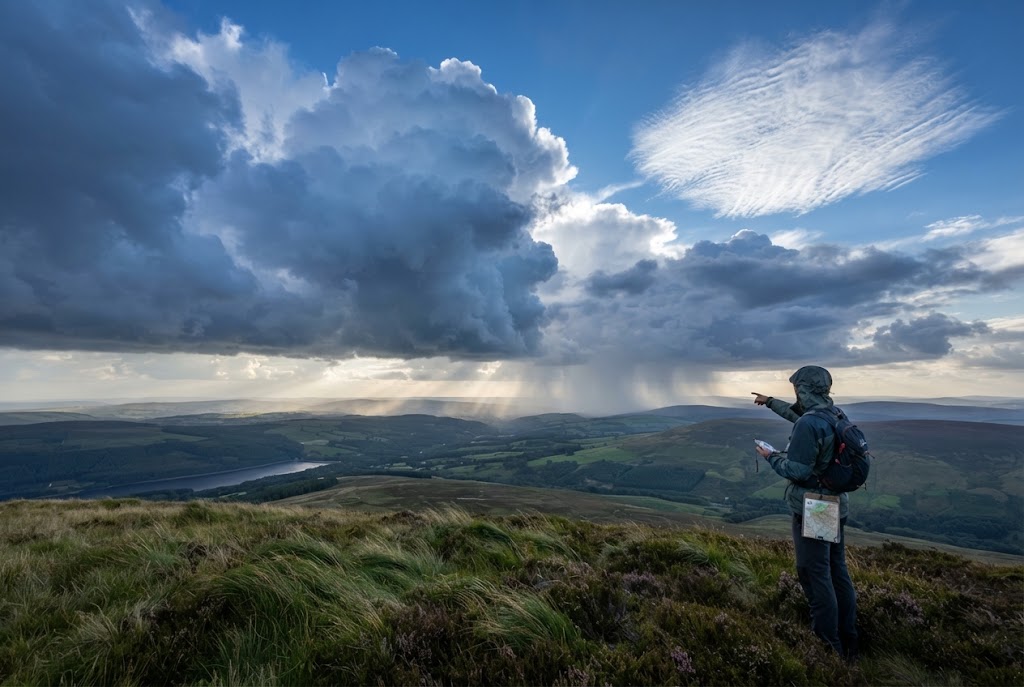
Mountain weather can change quickly, so a good plan considers what the forecast says, how conditions may change with height and exposure, and what you will do if the weather becomes worse than expected.
Before setting out, check an appropriate mountain forecast, understand the route and escape options, allow extra time, and make sure everyone has suitable clothing, navigation equipment and emergency equipment.
The most important rule is simple: the route is not more important than the people on it. Be prepared to shorten, change or abandon the route if conditions become unsafe.
What You’ll Learn
You will learn how to use a mountain weather forecast when planning a Scout activity, identify weather hazards, prepare appropriate equipment and build weather-related decisions into a route plan.
You will also learn why conditions at the summit can be very different from those at the car park and why forecasts should be checked before departure rather than relying on what the weather looks like at the start.
🔴 SAFETY – HIGH RISK
Mountain weather planning is an important part of managing the risks of hillwalking and mountain activities. Weather can contribute to cold injuries, poor visibility, navigation errors, slips and falls, exhaustion and rapidly changing conditions.
Use a suitable mountain forecast and follow your group’s activity risk assessment and safety procedures. The supervising leader should make the final decision about whether the activity should proceed.
Do not treat a weather forecast as a guarantee. Forecasts can be wrong, particularly in mountainous terrain.
Wind deserves particular attention. Strong winds can make walking difficult, increase exposure to cold and make exposed ridges or summits hazardous. Rain can reduce visibility, make paths slippery and cause streams and rivers to rise.
Snow and ice can transform a familiar summer route into a significantly more serious winter activity. Do not assume that ordinary hillwalking equipment is sufficient for winter mountain conditions.
If thunderstorms are forecast, consider the exposure of the route and whether the activity should take place at all. High, exposed ground is particularly unsuitable during electrical storms.
Equipment
For a mountain activity, carry clothing and equipment appropriate for the worst reasonably expected conditions, not simply the conditions at the start.
This normally includes suitable walking boots, waterproof jacket and trousers, warm layers, hat and gloves, food and water, a map and compass, a fully charged phone or other agreed communication equipment, and appropriate emergency equipment.
For more serious or remote routes, additional equipment may be required depending on the season, altitude, terrain and activity.
Keep waterproof clothing accessible rather than buried at the bottom of a rucksack. Weather can deteriorate faster than you expect.
Prerequisites
Before planning a mountain route, you should understand basic map and compass navigation, know how to read a weather forecast and understand the route’s terrain and escape options.
You should also know the limitations of the group’s experience, fitness and equipment. A route that is suitable in good weather may not be appropriate when visibility, wind, rain, snow or ice deteriorate.
Instructions
1. Check the forecast before planning the route
Start with a reliable mountain weather forecast rather than simply checking the general forecast for the nearest town.
Look at the expected temperature, precipitation, wind speed and direction, cloud level and visibility.
Where available, check forecasts for different elevations. Conditions on a summit can be considerably colder and windier than conditions at lower levels.
2. Look at the whole weather picture
Do not focus on temperature alone.
A relatively mild day can still become dangerous if strong winds, heavy rain or poor visibility are expected.
Pay particular attention to periods when conditions are forecast to deteriorate. Knowing that heavy rain is expected later in the day may influence when you start, which route you choose and where you need to be by a particular time.
3. Consider the effect of height
Temperature generally decreases with increasing altitude, while exposed areas can experience much stronger winds.
Cloud can also reduce visibility dramatically on higher ground.
Ask yourself what the conditions are likely to be where you are going, rather than simply what they are like where you are standing.
4. Match the route to the forecast
Choose a route that remains appropriate for the expected conditions.
In poor visibility, a complicated summit route or exposed ridge may be unsuitable even if the same route would be straightforward in clear weather.
Have a lower-level alternative ready. A shorter route is often a much better option than trying to force the original plan through deteriorating conditions.
5. Identify decision points
Before setting off, decide where you will reassess the conditions.
For example, you might decide that if visibility has fallen significantly by a particular point, or wind conditions are worse than expected, the group will turn around or take the alternative route.
Making these decisions in advance helps prevent the pressure of trying to complete a planned route simply because you have already started it.
6. Check escape and shelter options
Identify places where the group could leave the route, take shelter or return to a safer area.
On longer routes, know which paths lead back towards roads, buildings or other safe locations.
This becomes particularly important if the forecast suggests deteriorating weather.
7. Plan clothing and equipment around the forecast
Consider what the group will need if the weather becomes colder, wetter or windier than expected.
Everyone should have suitable layers and waterproof protection, with essential items readily accessible.
Check equipment before departure rather than discovering halfway up the mountain that someone’s waterproof jacket is missing or damaged.
8. Build extra time into the plan
Poor weather often slows a group down.
Rain, strong winds, snow, poor visibility and difficult ground can all increase journey times.
Allow sufficient time to complete the route safely and avoid planning a mountain day so tightly that there is no room for delays.
9. Monitor the weather during the activity
Continue observing conditions throughout the day.
Notice changes in cloud, wind, temperature, visibility and precipitation. Compare what you are experiencing with what was forecast.
If conditions are deteriorating faster than expected, act early rather than waiting until the group is already struggling.
10. Be prepared to turn around
Turning around is a successful decision when conditions are no longer suitable.
Do not allow reaching the summit or completing the route to become more important than keeping the group safe.
If the weather makes navigation unreliable, the terrain hazardous or the group excessively cold or tired, change the plan.
11. Review the weather afterwards
After the activity, compare the forecast with the conditions you actually experienced.
Discuss which parts of the forecast were accurate, what changed during the day and whether your equipment and route choices were suitable.
This helps Scouts develop practical weather judgement rather than simply learning to read forecast symbols.
Final Tip
Plan for the weather you might get, not the weather you hope for. A strong mountain plan always has a route, an alternative and a clear point at which the group will turn back.
🔒Ready to test your survival skills?
Join Survival Guides UK for free, complete challenges, earn badges and increase your Survival Level.
JOIN FREE →
CRAIG BURR
FOUNDER · SURVIVAL GUIDES UK
I'm Craig, the person behind Survival Guides UK. I created SGUK because I wanted somewhere people could learn real outdoor skills in a practical, straightforward way — from lighting a fire and tying knots to navigation, campcraft and everything in between.
You can read more about the story behind SGUK here as well as our approach here.