How to Tie a Timber Hitch | Step-by-Step Guide
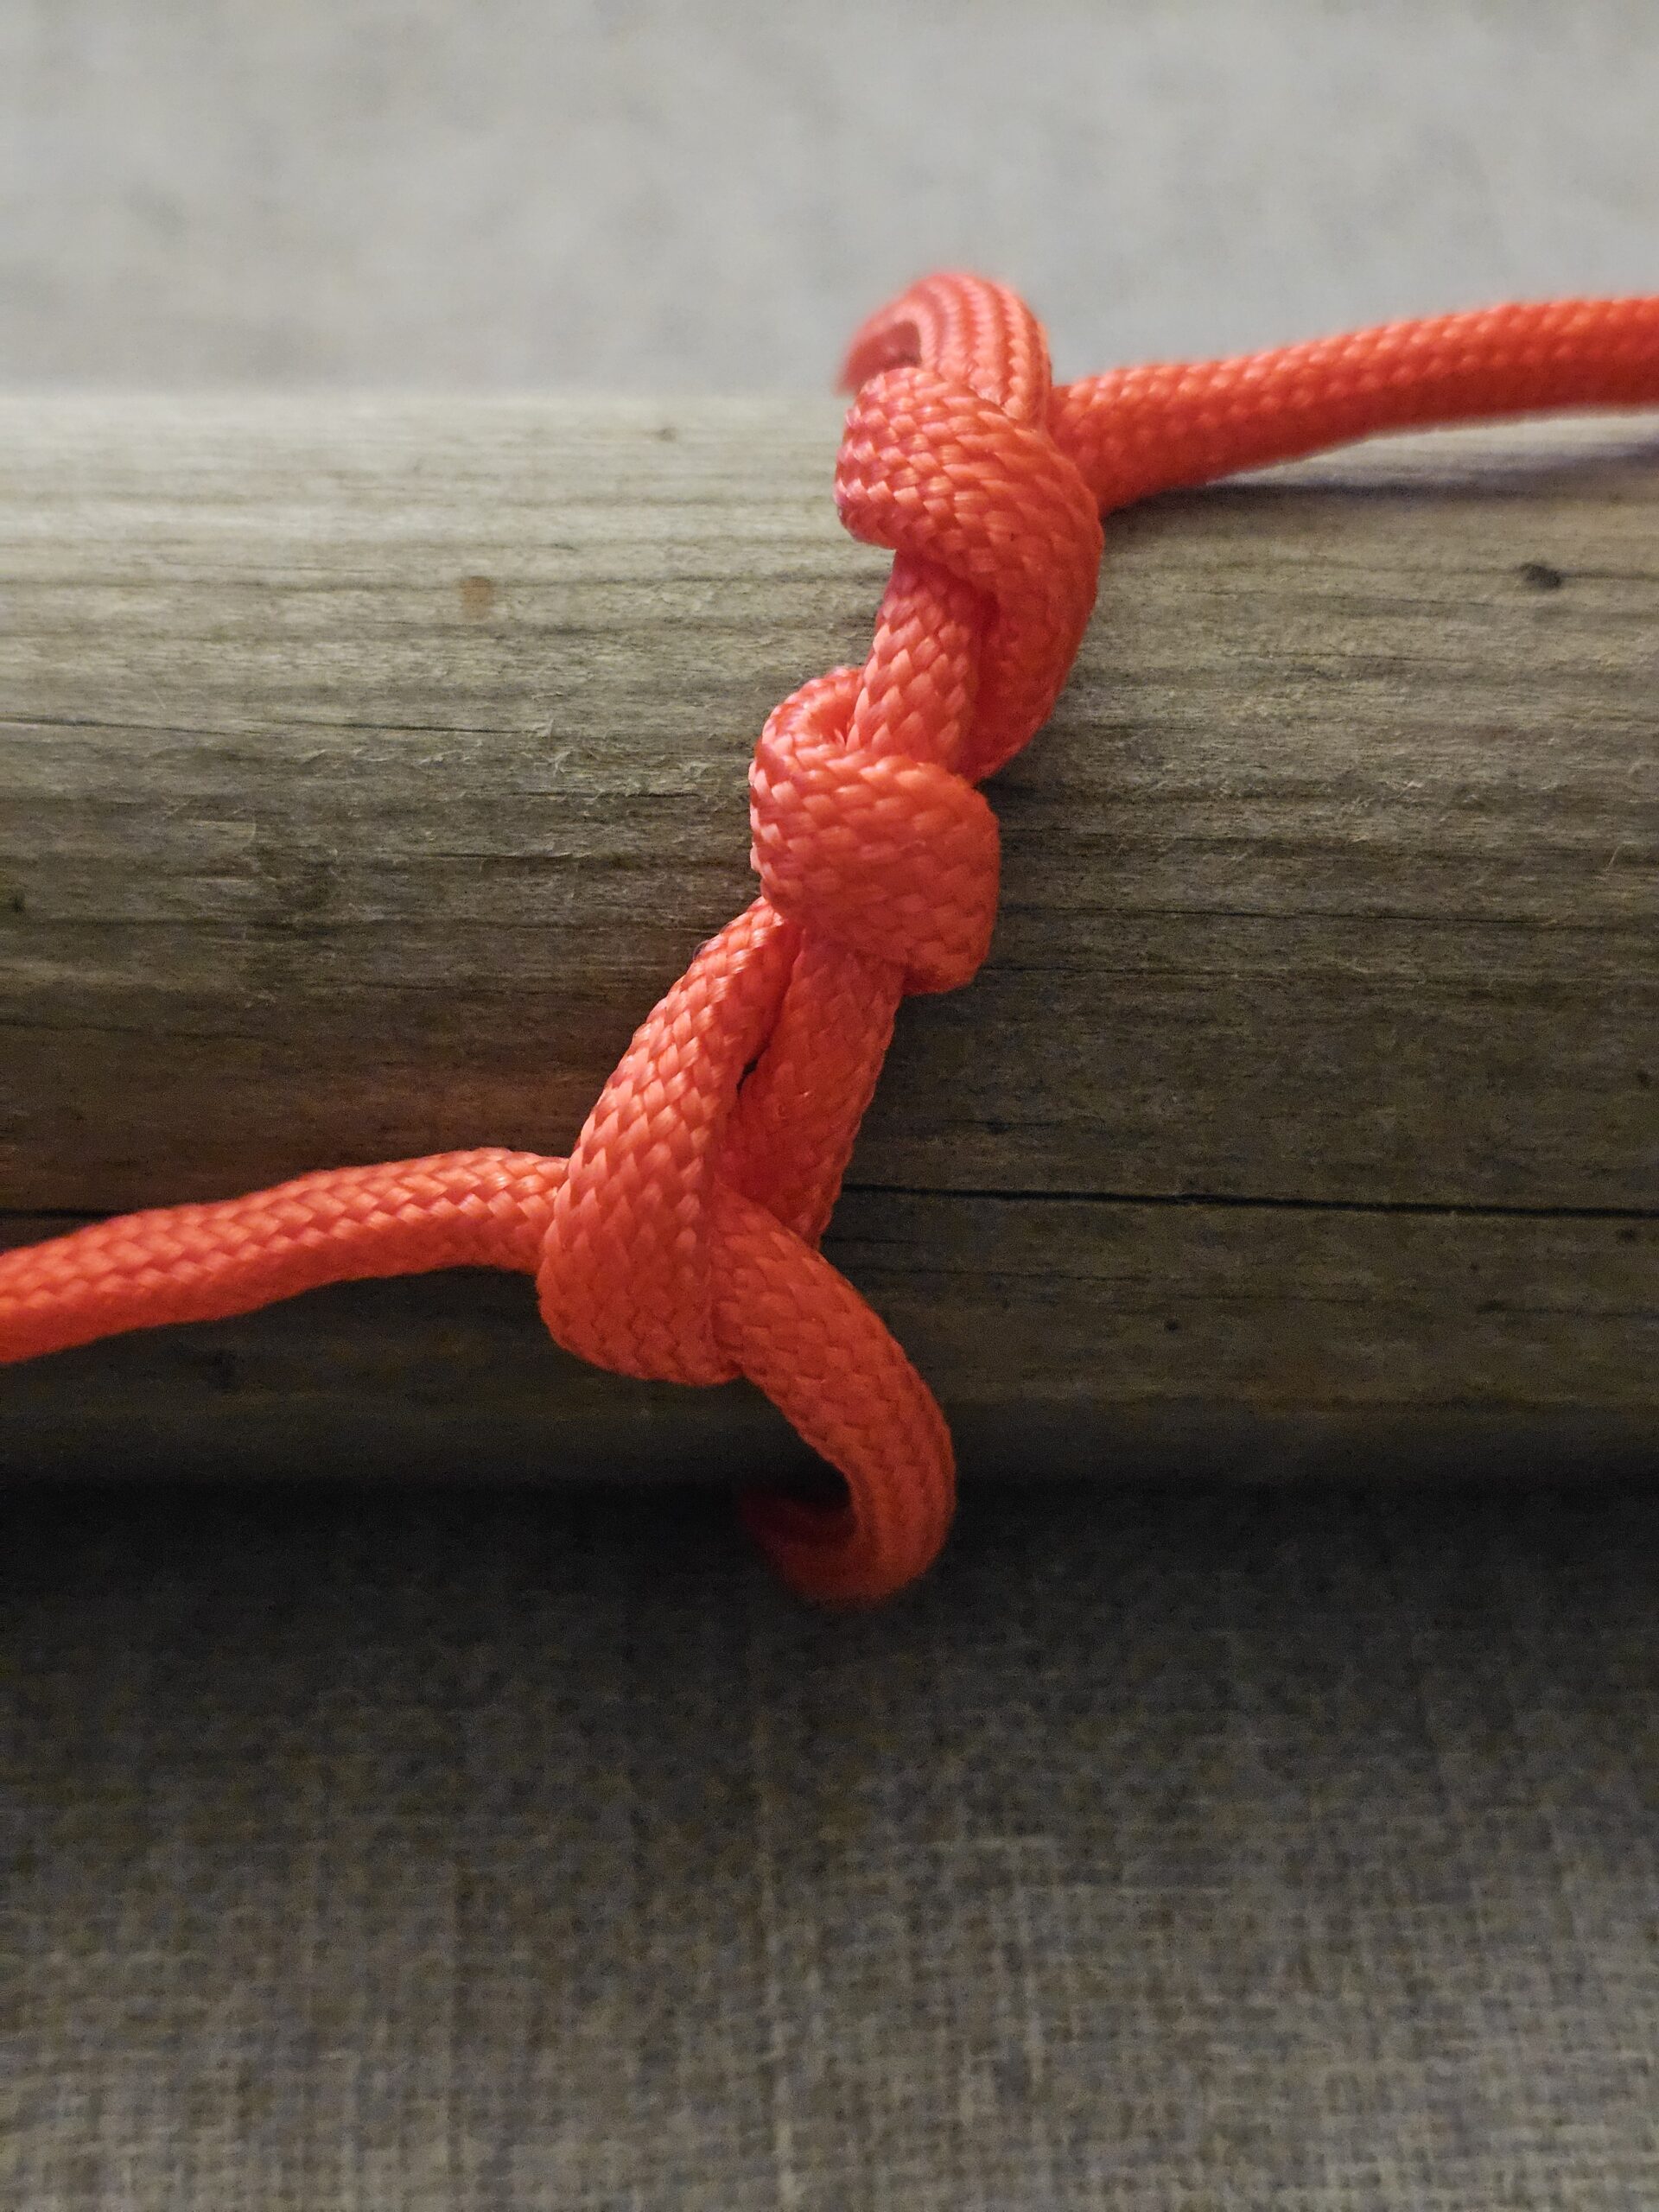
The timber hitch is a useful knot for attaching a rope to a log, pole or other long object. It grips the object when the rope is under tension and can be released easily when the tension is removed.
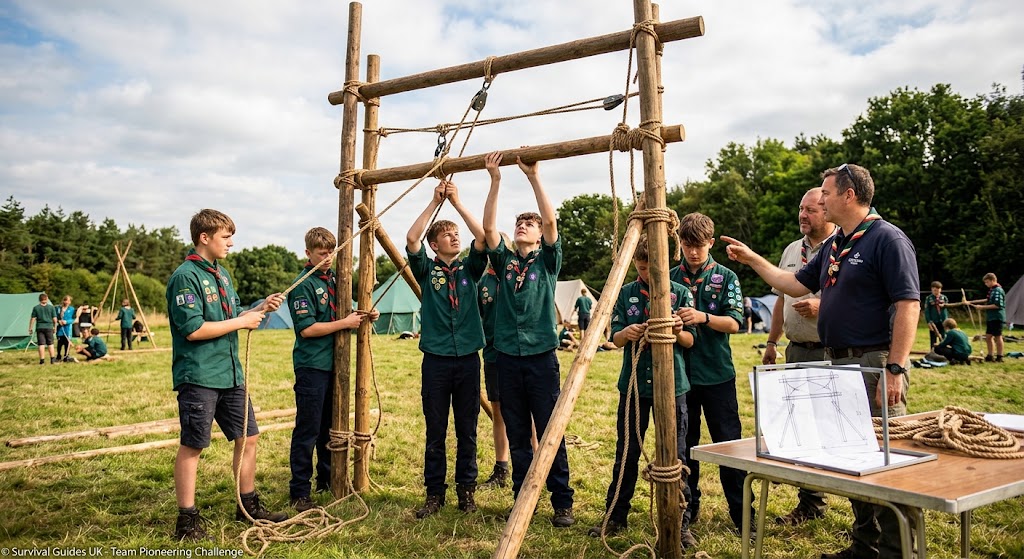
It is particularly useful for dragging, lifting or positioning suitable objects and is also commonly used as part of pioneering and ropework techniques.
What You’ll Learn
By the end of this guide, you should be able to:
- Tie a timber hitch around a log or pole.
- Understand how the knot grips the object.
- Recognise a correctly tied timber hitch.
- Check the knot before applying tension.
Equipment
- A length of rope.
- A suitable log, pole or similar object to practise around.
A smooth pole is useful when learning because you can clearly see how the rope wraps around itself.
Understanding the Knot
The timber hitch works by wrapping the working end around the main rope and then making several turns around itself.
When tension is applied to the standing part, these turns tighten around the object.
The working end is the end of the rope used to tie the knot. The standing part is the longer section leading away from the knot.
How to Tie a Timber Hitch
1. Pass the rope around the object
Take the working end around the log, pole or other suitable object.
Bring the working end back towards the standing part of the rope.
2. Cross the working end over the standing part
Place the working end over the standing part to create a loop around the object.
3. Pass the working end around the standing part
Take the working end underneath and around the standing part of the rope.
The working end should now be positioned alongside itself.
4. Wrap the working end around itself
Continue wrapping the working end around the section of rope that has just been formed.
Make several turns, working back towards the object.
At least three or four neat turns are a useful starting point when practising.
5. Tighten the hitch
Pull the standing part of the rope away from the object.
The turns made by the working end should tighten around the rope and draw the hitch firmly against the log or pole.
How to Check Your Timber Hitch
Before using the knot, check that:
- The rope passes completely around the object.
- The working end has been wrapped around the standing part.
- Several turns have been made around the rope itself.
- The turns are neat and sit together rather than crossing randomly.
- The hitch tightens around the object when tension is applied.
- There is sufficient rope remaining beyond the final turn.
The turns should tighten rather than simply sliding freely along the rope.
Common Uses
A timber hitch can be useful for:
- Attaching rope to logs or poles.
- Dragging suitable logs or branches.
- Positioning poles during construction.
- Starting some pioneering structures.
- Temporary outdoor ropework.
- Moving suitable objects where the knot is appropriate for the load.
It is particularly useful when you want a knot that grips an object under tension but can be removed afterwards.
Important Safety Information
Always consider the weight and condition of the object before applying tension.
A timber hitch should not be used as a substitute for an engineered lifting or securing system when dealing with heavy loads or situations where failure could cause injury.
Do not use it for climbing, rescue or other life-safety applications unless it is part of a specifically designed and appropriate rope system.
Never stand in the potential path of a moving or falling object when tension is being applied.
Final Tip
The key to a timber hitch is the turns around the rope itself.
Once you have passed the rope around the object, concentrate on making several neat turns around the standing part. Practise slowly until you can see how those turns tighten when the rope is loaded.
🔒Ready to test your survival skills?
Join Survival Guides UK for free, complete challenges, earn badges and increase your Survival Level.
JOIN FREE →
CRAIG BURR
FOUNDER · SURVIVAL GUIDES UK
I'm Craig, the person behind Survival Guides UK. I created SGUK because I wanted somewhere people could learn real outdoor skills in a practical, straightforward way — from lighting a fire and tying knots to navigation, campcraft and everything in between.
You can read more about the story behind SGUK here as well as our approach here.