How to Teach Knots to Children
⚠️ SAFETY FIRST
Knots should be taught initially as a practical skill rather than for safety-critical applications. Children should not use knots to support people, climb, secure themselves at height or undertake other activities where a knot failure could cause serious injury unless they have been properly trained and supervised for that activity.
Always use suitable cordage and supervise children appropriately.
Knots are one of those outdoor skills that look complicated until someone shows you how they work.
For children, learning knots can be surprisingly rewarding.
There’s something satisfying about taking a piece of rope, following a few simple steps and ending up with something that actually works.
But teaching knots isn’t always as easy as tying them yourself.
An experienced person can tie a knot almost without thinking.
A child seeing it for the first time is trying to remember which piece of rope goes where, which direction to turn it and what happens next.
That’s why how you teach the knot is often more important than the knot itself.
Start With the Right Knot
Don’t begin with the most complicated knot you know.
Choose a knot that has an obvious purpose and can be learned in a small number of steps.
For younger children, simple knots such as the reef knot or clove hitch can provide a good introduction.
As children become more confident, you can introduce knots such as the bowline or round turn and two half hitches, depending on the skills you’re teaching.
The important thing is progression.
One successful knot is much better than five knots that nobody can remember.
TEACHING TIP
Teach fewer knots, but teach them well.
A child who can confidently tie three useful knots has learned more than someone who has memorised ten badly.
Explain What the Knot Is For
Children are more likely to remember something when they understand why they’re learning it.
Don’t simply say:
“Today we’re learning the bowline.”
Instead, explain what the knot does.
For example:
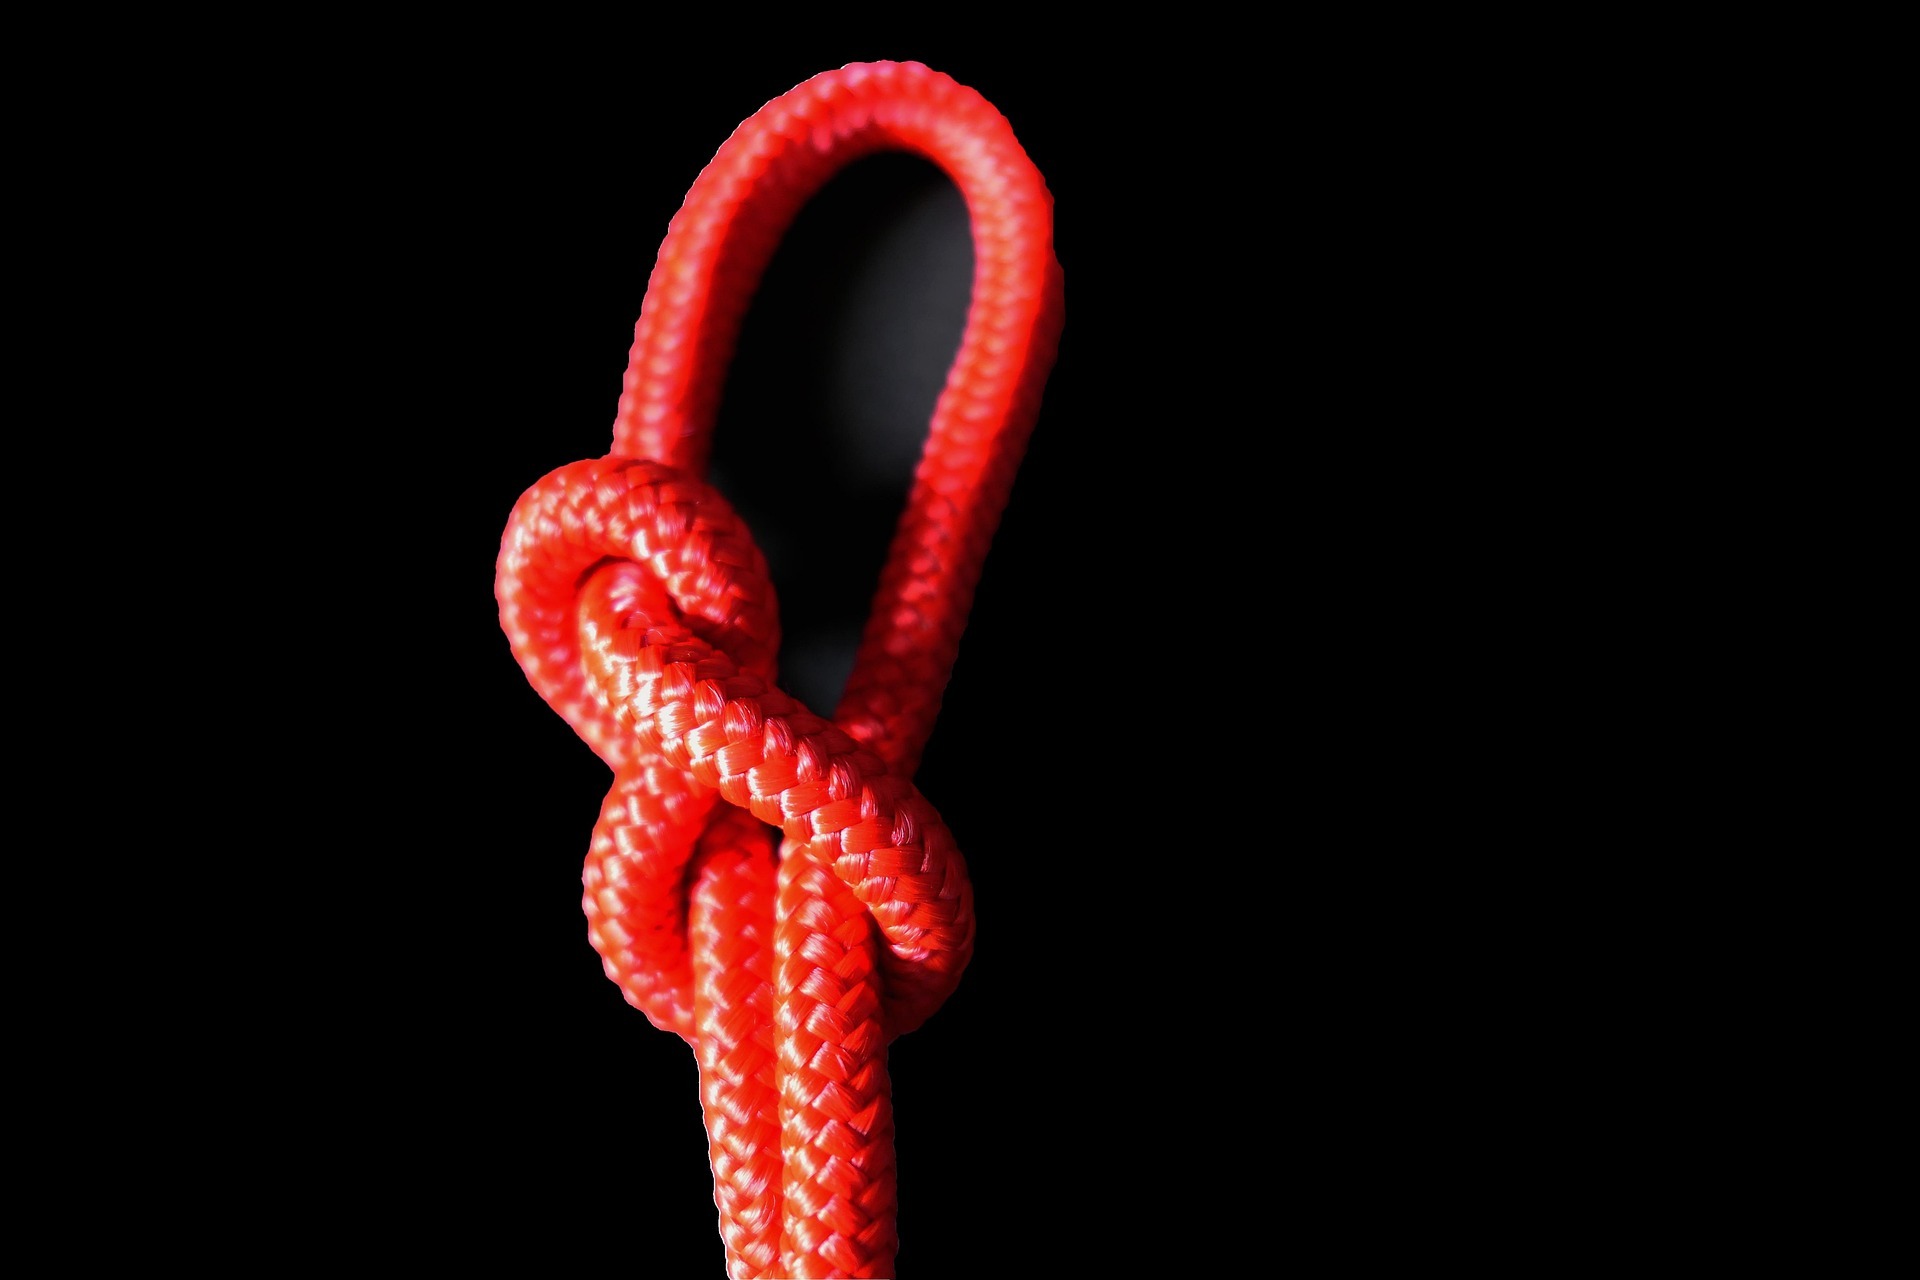
“This knot makes a fixed loop that doesn’t tighten when pulled.”
Now the knot has a purpose.
You can then demonstrate where that property might be useful in an appropriate activity.
This turns knot tying from a memory exercise into problem-solving.
Let Them Handle the Rope
Give children their own piece of rope whenever possible.
Don’t make them watch you tie knots for ten minutes before they get a chance to try.
Knot tying is a physical skill.
They need to feel the rope moving through their hands.
They need to make mistakes.
They need to untie the knot and try again.
A short demonstration followed by practice is usually much more effective than a long explanation.
Use Thick, Soft Rope
Thin string can be frustrating for beginners.
It’s difficult to see and can be fiddly to manipulate.
A thicker piece of rope or cord is much easier to handle.
Choose something that:
Brightly coloured rope can also make demonstrations easier because children can see the different sections clearly.
Give the Ends Names
One simple teaching technique is to give different parts of the rope names.
For example:
Working end — the end you’re moving.
Standing part — the section you’re holding or leaving in place.
For younger children, you can simplify this further.
Call one end:
“The red end.”
and the other:
“The blue end.”
You can even use different coloured rope if you have it.
This can make instructions much easier to follow.
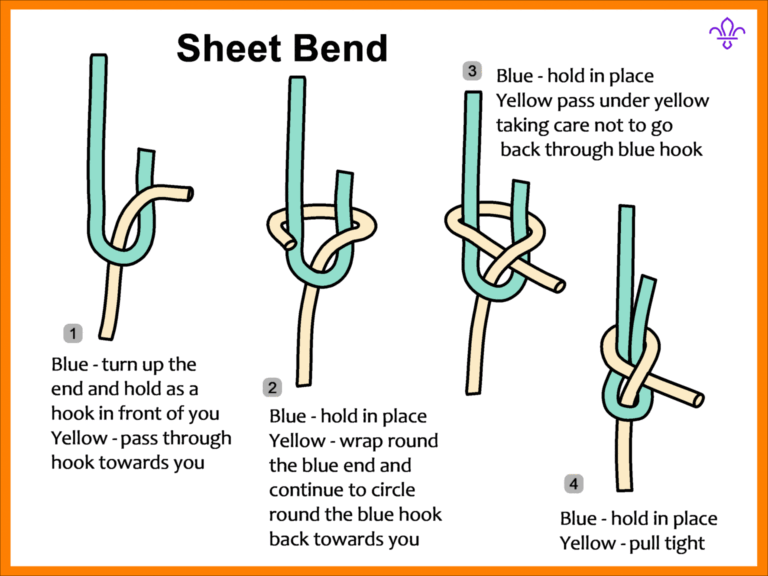
Teach One Movement at a Time
Don’t demonstrate the entire knot at full speed.
Slow down.
Show the first movement.
Let everyone copy it.
Then show the next.
Let everyone copy that.
Continue until the knot is complete.
This prevents children from getting lost halfway through the demonstration.
🧑🏫 LEADER TIP
Demonstrate → copy → check → repeat.
Don’t move on until most of the group has successfully completed the previous step.
Don’t Stand in Front of the Group
When you’re demonstrating a knot, positioning matters.
If you’re facing the children and tying the knot your normal way, your movements may appear reversed from their perspective.
Where possible, demonstrate beside or slightly in front of the group so they can see the rope clearly.
You can also have everyone hold their rope in the same orientation.
For more complicated knots, demonstrate slowly several times.
Teach the Structure, Not Just the Steps
Eventually, children should understand what they’re actually doing.
Instead of memorising:
“Go over, under, through, around and back…”
help them recognise the structure of the knot.
Ask:
What does this part of the knot do?
Which section moves?
Where does the working end go?
What happens when you pull it tight?
This helps them reproduce the knot even if they forget one of the instructions.
Use Stories and Memory Aids
Children often remember unusual phrases better than technical explanations.
A knot might become a story.
For example, the working end could be:
“The rabbit comes out of the hole, goes around the tree and goes back into the hole.”
This is a common way of teaching the bowline.
You can invent your own memorable descriptions.
The sillier they are, the better children may remember them.
Teach Children to Recognise a Correct Knot
Tying a knot isn’t the end of the lesson.
Children should learn to look at the finished knot and ask:
Does it look right?
Is it dressed neatly?
Are the ends where they should be?
Does it perform the job it’s supposed to do?
This is particularly important as they progress to more advanced practical skills.
A knot isn’t automatically correct just because it looks vaguely similar.
Introduce the Idea of Dressing a Knot
“Dressing” a knot means arranging it neatly so that its parts are correctly positioned.
You don’t necessarily need to introduce the technical term immediately with younger children.
You can simply say:
“Let’s make the knot neat before we tighten it.”
This teaches an important habit.
A badly arranged knot can be harder to inspect and may not behave as intended.
Don’t Immediately Correct Every Mistake
If a child gets something wrong, resist the temptation to grab the rope and fix it for them.
Instead, ask questions.
“Where did that end go?”
“Can you follow the rope from here?”
“Does that look like the example?”
“What happens if you pull this part?”
This encourages children to solve the problem themselves.
The goal isn’t just to produce a correct knot.
It’s to teach them how to work things out.
Use Pairs
Once you’ve demonstrated a knot, put children into pairs.
One person ties.
The other person checks the steps.
Then swap.
This gives children an opportunity to explain the knot to someone else.
And explaining something is often one of the best ways to discover whether you actually understand it.
Turn Practice Into a Challenge
Knot practice doesn’t have to mean sitting in a circle tying the same knot repeatedly.
Introduce small challenges.
For example:
Can you tie it without looking at the leader?
Can you explain each step to your partner?
Can you identify which knot your partner has tied?
Can you tie it correctly three times in a row?
The challenge should be about accuracy and understanding, rather than simply being the fastest.
Try a Knot Relay
Split the group into teams.
Give each team a knot to complete.
One person ties the knot, a leader checks it, and then the next person takes a turn.
You can have different knots at different stations.
This works particularly well with Scouts who already know the basics.
Just make sure speed doesn’t encourage careless tying.
Play “What’s Wrong With This Knot?”
Tie a deliberately incorrect version of a familiar knot.
Ask the children to inspect it.
“Would you trust this knot for the job it’s meant to do?”
Let them identify what looks wrong.
This develops inspection skills rather than simply copying instructions.
Use Knots in a Real Activity
The best way to make knots memorable is to give them a purpose.
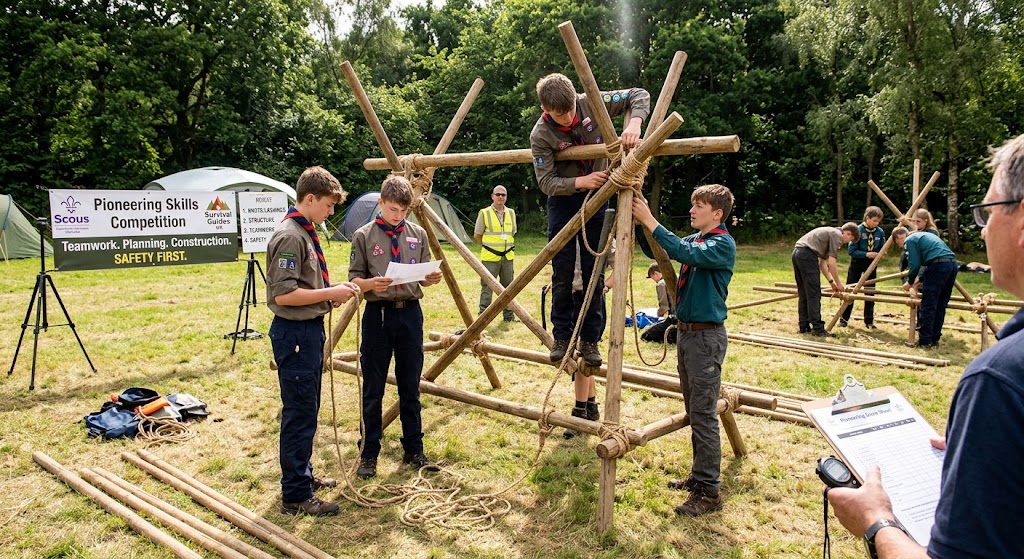
Once children have learned a few basic knots, use them during an appropriate practical activity.
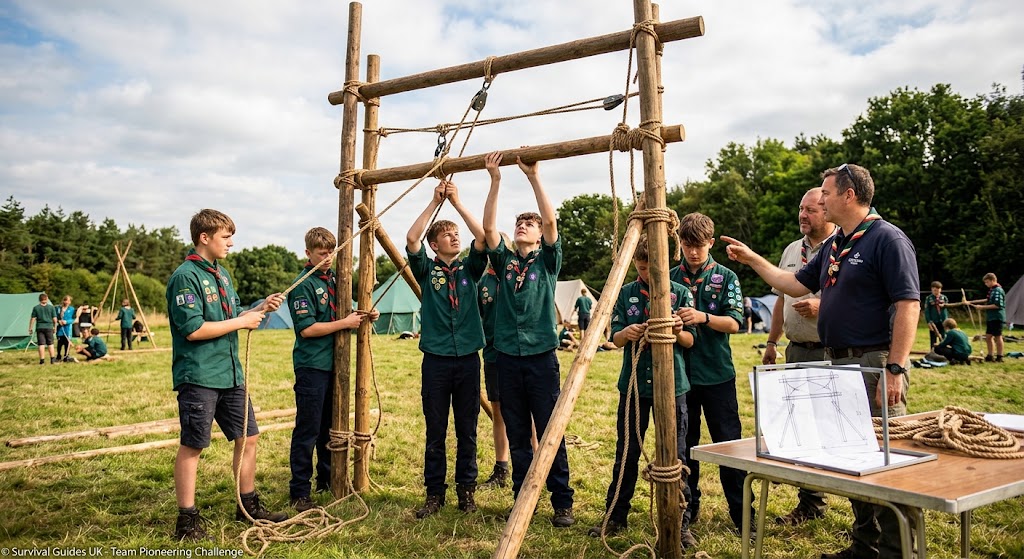
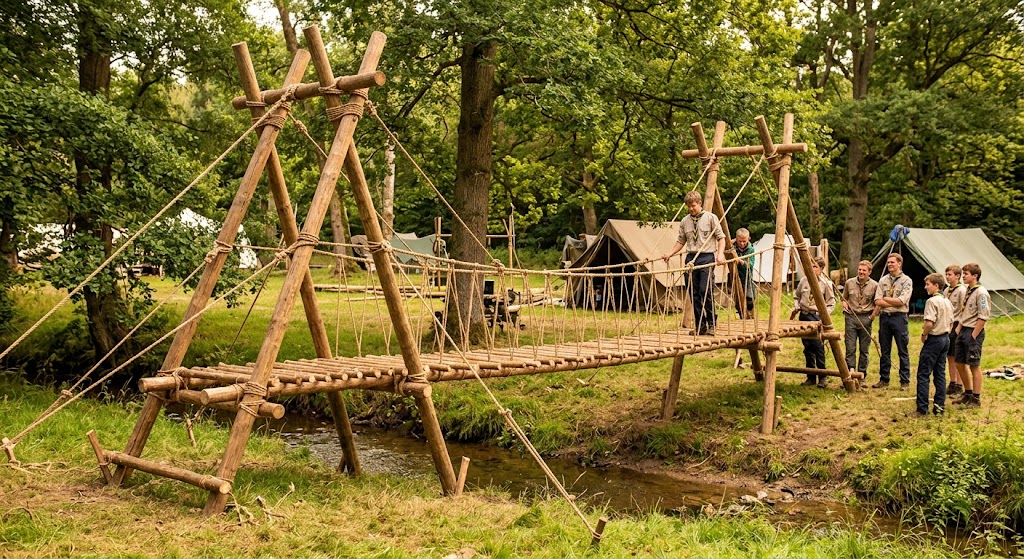
For example, knots can be incorporated into:
Always make sure the knot and cordage are appropriate for the task.
Don’t use a knot for a safety-critical purpose simply because children have learned how to tie it.
Let Children Teach Each Other
Once someone has mastered a knot, let them demonstrate it to another child.
You can ask:
“Can you teach your partner this knot without touching their rope?”
This is a fantastic test of understanding.
It also gives confident children something constructive to do while others catch up.
Don’t Rush Younger Children
Squirrels and Beavers may not have the same dexterity or attention span as older Scouts.
That’s fine.
Keep demonstrations short.
Use large rope.
Repeat the same movements.
Celebrate successful attempts.
You can even focus on recognising what a knot looks like rather than expecting everyone to tie it perfectly.
The objective should be appropriate to the age group.
Make Mistakes Normal
Knot tying can be frustrating.
A child might tie something that looks nothing like the example after several attempts.
Don’t make mistakes feel like failure.
Say:
“That’s not quite right yet. Let’s see what happened.”
Then work backwards through the knot.
Once they finally get it right, they’ll often remember the solution much better than if you had simply tied it for them.
Build a Knot Progression
Rather than teaching random knots, create a progression.
Start with simple knots.
Then introduce knots that build on similar movements.
Eventually, children can learn knots for particular outdoor tasks.
A progression might look something like:
Reef knot → Clove hitch → Round turn and two half hitches → Bowline
The exact progression can be adapted to the age, programme and activities of your group.
The important thing is that each new knot adds something useful.
Finish With a Challenge
At the end of a session, don’t simply ask:
“Who remembers the knots?”
Give the group a problem.
For example:
“You’ve got a length of rope and need to create a fixed loop.”
Or:
“You need to attach this rope to a suitable object without the knot slipping.”
Ask them to choose the appropriate knot.
This tests whether they understand when to use a knot, rather than simply whether they can reproduce it from memory.
Keep Practising
Knots are a skill that improves through repetition.
You don’t need a dedicated knot session every week.
Spend five minutes occasionally revisiting an old knot.
Ask Scouts to demonstrate one to the rest of the group.
Use knots during campcraft activities.
Include a knot challenge at the beginning of a meeting.
Small amounts of regular practice are often more effective than one long session followed by months without using the skill.
Final Thoughts
Teaching knots is about much more than getting a child to copy a sequence of movements.
It’s an opportunity to develop patience, coordination, concentration, problem-solving and confidence.
Start simple.
Use suitable rope.
Demonstrate slowly.
Let children practise.
Ask questions rather than immediately fixing mistakes.
And, whenever possible, give the knot a real purpose.
The moment a child looks at a piece of rope and thinks:
“I know exactly which knot I need here.”
you’ve taught them something much more valuable than a series of steps.
THE BIG IDEA
Don’t teach children to memorise knots. Teach them to understand knots.
Show them what the knot does, let them work out how it works, give them plenty of opportunities to practise and make mistakes, and then use those skills in real outdoor activities.
A useful knot is a skill. Knowing when and why to use it is the real lesson.
🔒Ready to test your survival skills?
Join Survival Guides UK for free, complete challenges, earn badges and increase your Survival Level.
JOIN FREE →
CRAIG BURR
FOUNDER · SURVIVAL GUIDES UK
I'm Craig, the person behind Survival Guides UK. I created SGUK because I wanted somewhere people could learn real outdoor skills in a practical, straightforward way — from lighting a fire and tying knots to navigation, campcraft and everything in between.
You can read more about the story behind SGUK here as well as our approach here.