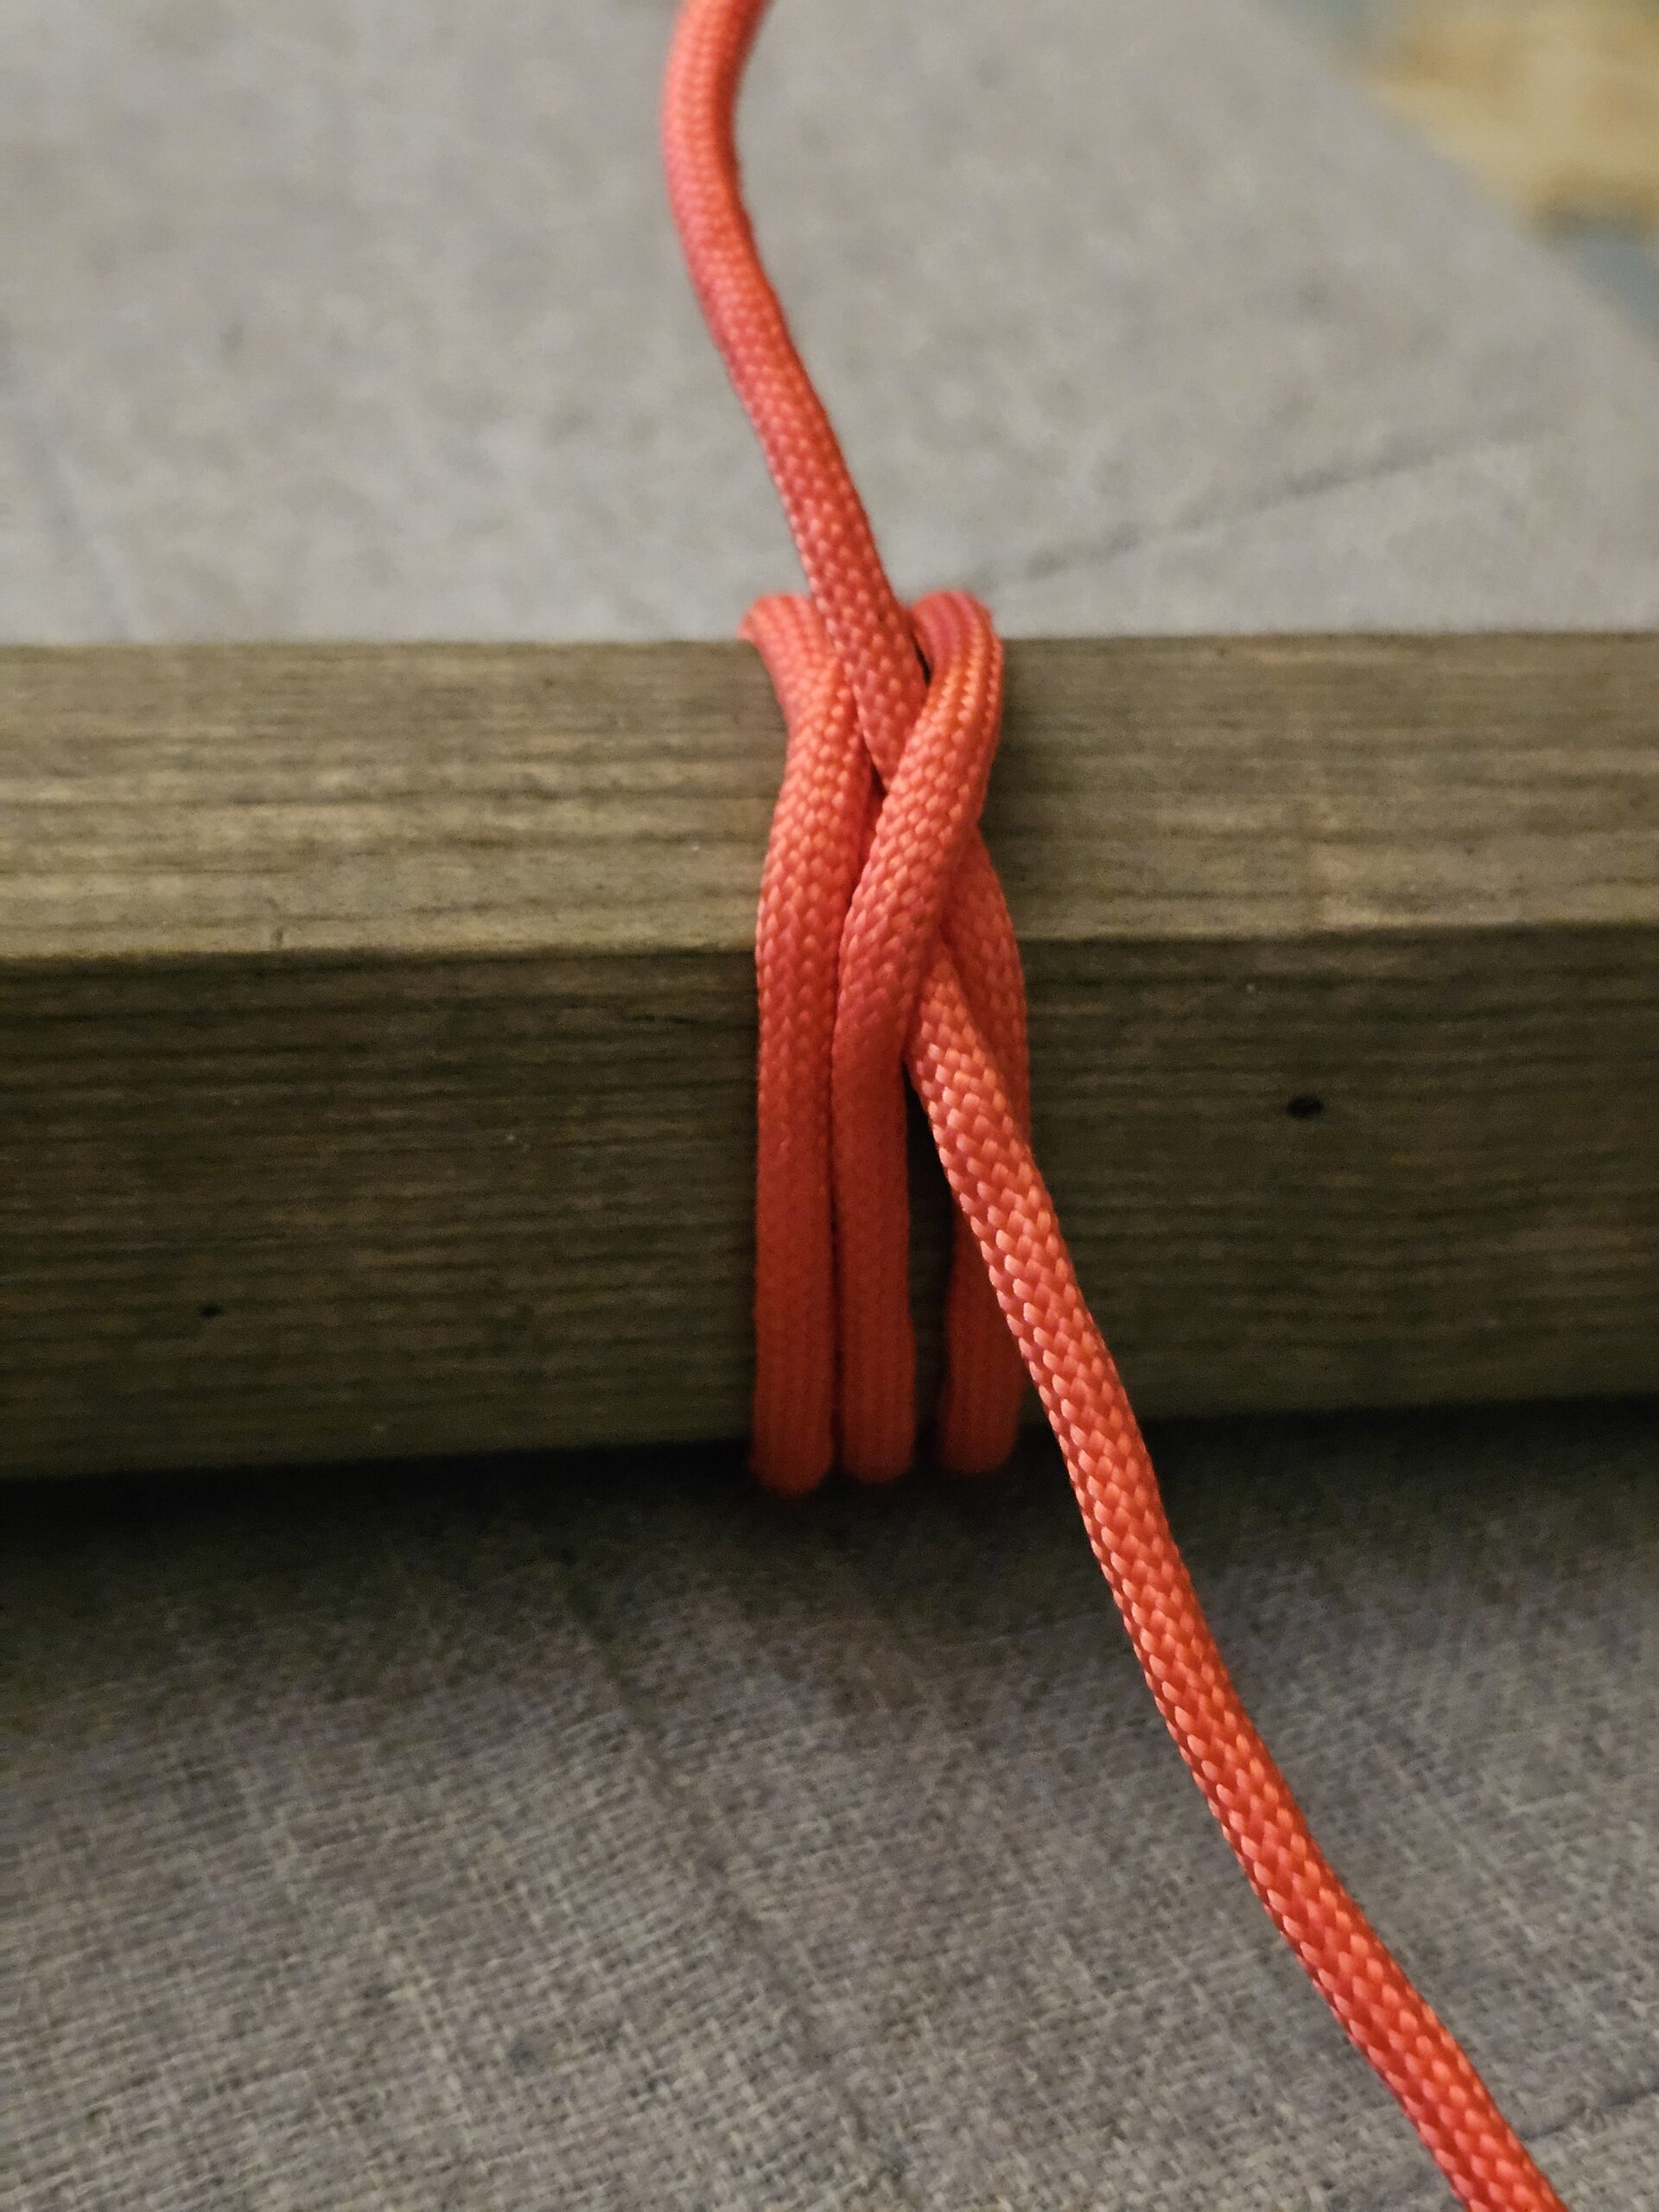
How to Tie a Rolling Hitch | Step-by-Step Guide
The rolling hitch is a useful knot for attaching one rope to another rope, pole or similar object. Its main advantage is that it can grip against a lengthwise pull, making it useful when you need to take tension from one line with another.
It is closely related to the clove hitch but has an additional turn that helps the hitch grip when pulled along the object or rope.
What You’ll Learn
By the end of this guide, you should be able to:
- Tie a rolling hitch around a rope or pole.
- Understand how the hitch grips when loaded.
- Recognise a correctly tied rolling hitch.
- Check that the hitch is secure before applying tension.
Equipment
- A length of rope or cord.
- A second rope, pole or similar object to practise around.
Using two different-coloured ropes makes the structure easier to see.
Understanding the Knot
A rolling hitch is designed to resist movement along the object to which it is attached.
The working end is the end used to tie the knot. The standing part is the longer section leading away from the knot.
The important feature of the rolling hitch is that the rope makes several turns around the object, with the final turn positioned so that the hitch grips when tension is applied.
How to Tie a Rolling Hitch
1. Position the working end
Place the working end alongside the rope or object to which you want to attach it.
2. Make the first turn
Take the working end around the object and bring it back alongside the standing part.
3. Make a second turn
Take the working end around the object again, following the same direction.
The two turns should sit neatly next to each other.
4. Make a third turn
Take the working end around the object for a third time, again following the same direction.
This additional turn is important because it helps the hitch grip against a lengthwise pull.
5. Finish the hitch
Bring the working end across the standing part and pass it underneath to form a half hitch.
Pull the working end through and snug the hitch against the other turns.
6. Tighten the knot
Pull the working end and standing part to dress the hitch neatly.
Apply tension gradually and check that the hitch grips the object rather than sliding along it.
How to Check Your Rolling Hitch
Before using the hitch, check that:
- The rope has made three turns around the object.
- The turns are neat and sit alongside each other.
- The final turn and half hitch are correctly formed.
- The rope is not crossed unnecessarily.
- The hitch grips when the standing part is loaded.
- There is enough rope beyond the finished knot.
Test the hitch with a light load first. If it slips, do not rely on it.
Common Uses
A rolling hitch can be useful for:
- Taking tension from one rope using another.
- Attaching a rope to a pole.
- Creating temporary tensioning arrangements.
- Outdoor ropework and campcraft.
- Situations where a hitch needs to resist movement along a rope or object.
It can be particularly useful when a sideways pull is not the main concern and the rope needs to grip against a lengthwise load.
Important Safety Information
The ability of a rolling hitch to grip depends on factors including rope material, rope diameter, surface condition and the direction of the load.
Always test the hitch before relying on it, particularly when using smooth modern synthetic rope.
Do not use a rolling hitch for climbing, rescue or other life-safety applications unless it is part of a specifically designed and appropriate rope system.
Avoid sudden loading. A slipping or failing hitch can cause the rope or attached object to move unexpectedly.
Final Tip
The easiest way to remember a rolling hitch is to focus on the extra turn that helps it grip.
Practise it around a thicker rope or pole first, then test it with gentle tension. Once you can see how the turns grip when the rope is pulled lengthwise, the purpose of the knot becomes much clearer.
🔒Ready to test your survival skills?
Join Survival Guides UK for free, complete challenges, earn badges and increase your Survival Level.
JOIN FREE →
CRAIG BURR
FOUNDER · SURVIVAL GUIDES UK
I'm Craig, the person behind Survival Guides UK. I created SGUK because I wanted somewhere people could learn real outdoor skills in a practical, straightforward way — from lighting a fire and tying knots to navigation, campcraft and everything in between.
You can read more about the story behind SGUK here as well as our approach here.