How to Run a Knots and Lashings Activity for Scouts
Knots and lashings are classic outdoor skills that can turn a few lengths of rope and some poles into useful camp equipment. For Scouts, learning these skills doesn’t have to mean sitting in a circle tying the same knot repeatedly.
Turn the session into a practical activity where teams have to solve problems, build simple structures and choose the right knot or lashing for the job.
The key is to start with a few basic skills, then give Scouts a reason to use them.
What Scouts Can Learn
A knots and lashings activity can help Scouts develop:
The activity can be adapted for complete beginners or made more demanding for Scouts who already know several knots.
Activity Overview
Difficulty: Intermediate
Time: 60–90 minutes
Location: Indoors or outdoors
Group size: 4-30
Skills: Knots, lashings, construction and teamwork
For beginners, concentrate on a small number of simple knots. More experienced Scouts can progress to lashings and construction tasks.
Equipment
You may need:
Make sure ropes and poles are in good condition before the activity begins.
Avoid using damaged rope or unstable materials for structures.
Start With a Knot Demonstration
Begin by introducing a few knots that are appropriate for the group’s experience.
Rather than demonstrating lots of knots at once, choose a small selection and explain what each one is useful for.
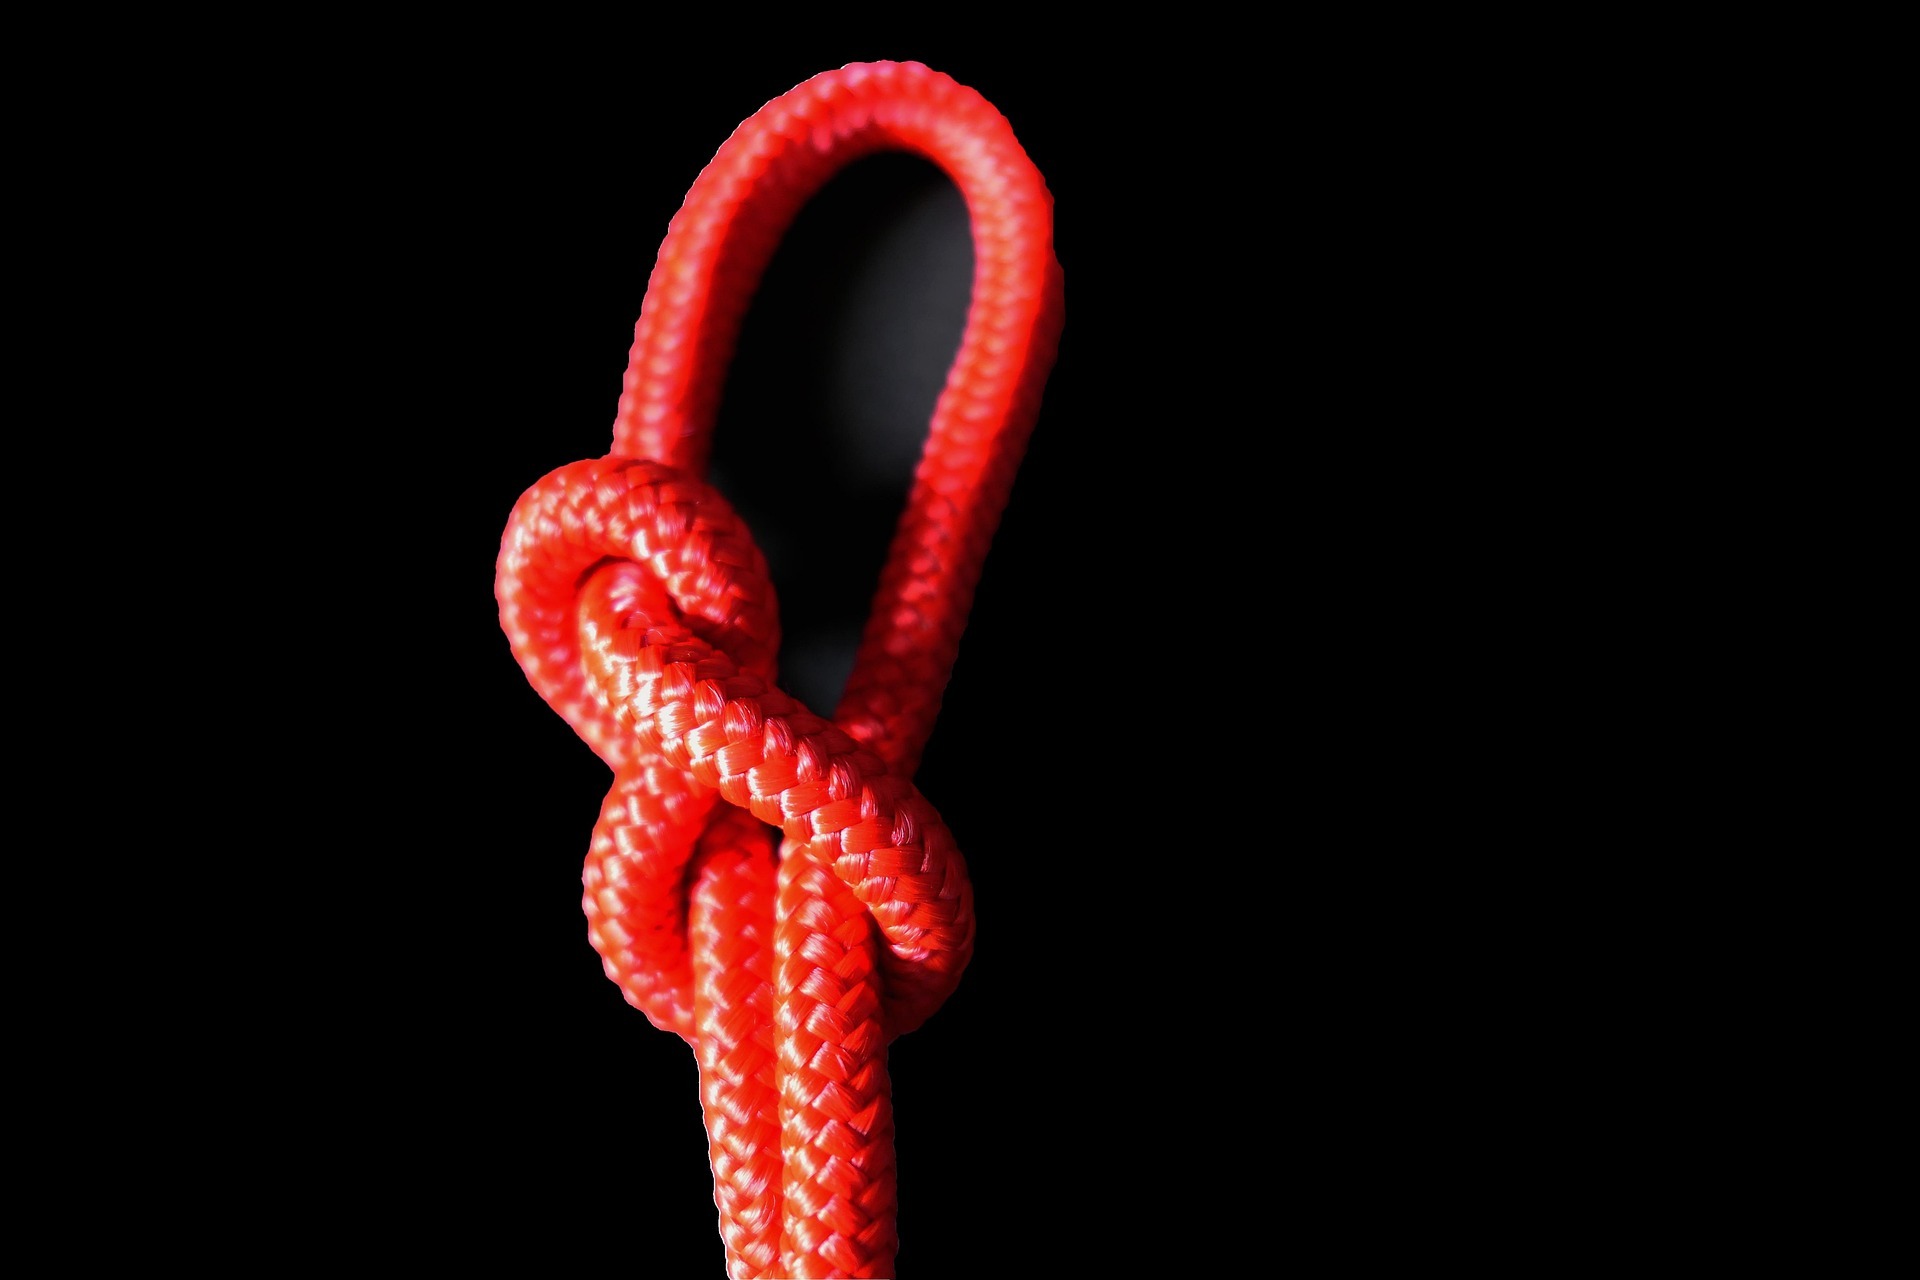
For example, Scouts might learn a knot for joining ropes, one for creating a loop and another suitable for securing something.
Demonstrate slowly and clearly, then give everyone time to practise.
The goal isn’t to memorise as many knots as possible. It’s to understand which knot is appropriate for a particular job.
Game 1: Knot Copy Challenge
Give each team a set of knot cards.
One card shows the finished knot while another provides its name or purpose.
Scouts have to identify the knot and reproduce it using their rope.
Once they’ve tied it, a leader or experienced helper checks it.
Award points for:
Accuracy should matter more than speed.
Game 2: Knot Relay
Divide the group into teams.
Place several knot cards at the opposite end of the activity area. One Scout from each team collects a card and returns to the group.
The team must then work out how to tie the knot shown.
Once it has been checked, the next Scout can collect another card.
This adds movement and teamwork to what could otherwise be a stationary activity.
For younger groups, use pictures rather than complicated knot names.
Teach Lashings as a Team
Once Scouts are comfortable with individual knots, introduce lashings.
Explain that a lashing is used to join poles or other suitable materials together to create a structure.
Start with one simple lashing and demonstrate how the poles should be positioned and secured.
Emphasise that the finished structure needs to be checked rather than assuming it is safe simply because the rope looks tight.
Give teams time to practise before introducing a construction task.
Game 3: Build the Tallest Structure
Give each team a set number of poles and lengths of rope.
Their task is to build the tallest freestanding structure they can.
Set a clear time limit.
When the time is up, everyone steps back and the supervising adult checks the structures.
Award points for:
Height: 10 points
Construction: 10 points
Teamwork: 10 points
Efficient use of materials: 5 points
Safe design: 10 points
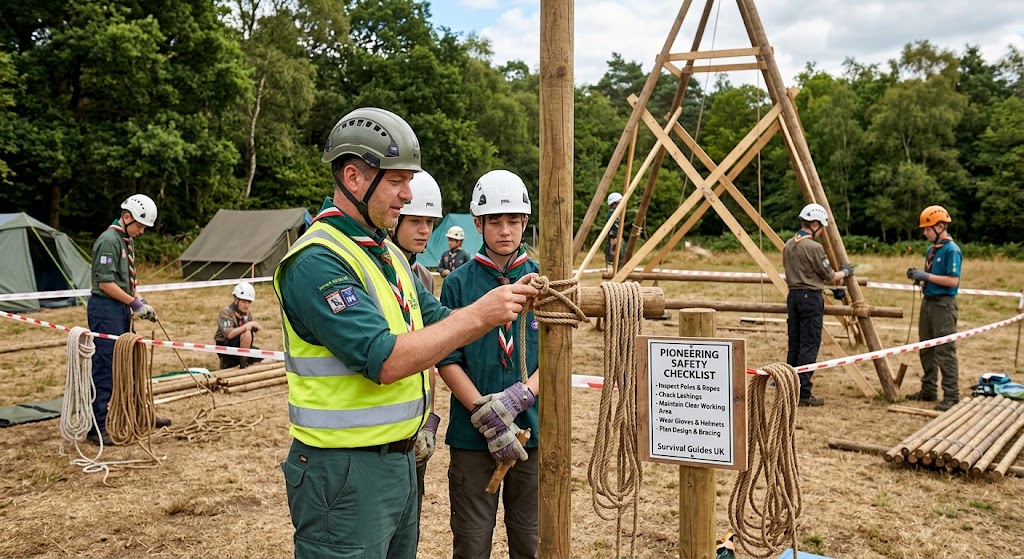
Don’t allow Scouts to climb onto the structures.
The objective is construction and problem-solving, not building something large enough to climb.
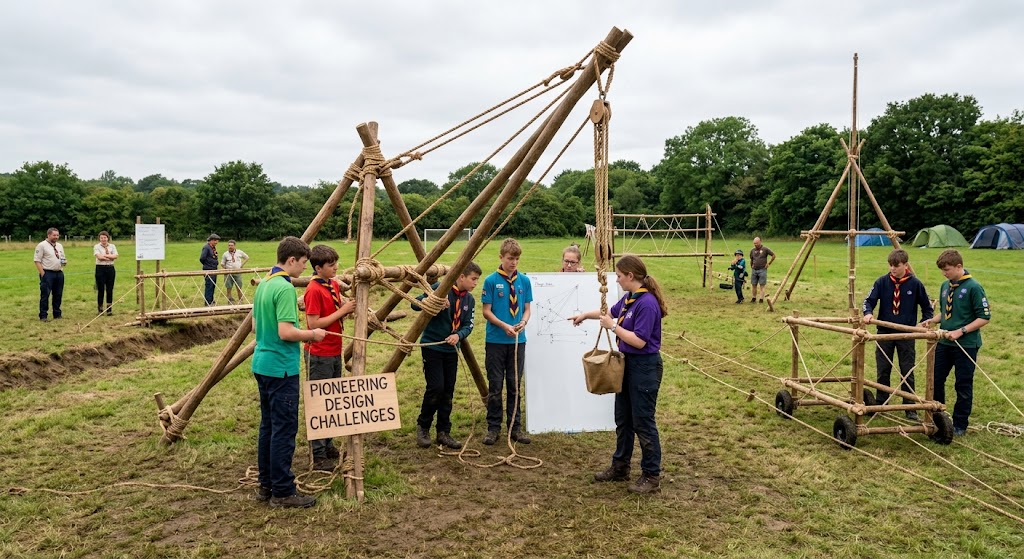
Game 4: Build a Camp Gadget
Give each team a practical construction problem.
For example, they might need to design a:
Choose projects that are suitable for the materials available and don’t require anyone to climb or sit on the finished structure.
Give teams a few minutes to plan before they receive their materials.
This encourages Scouts to think about construction before they start tying.
The Planning Stage
Don’t let teams immediately grab the rope and begin building.
Give them a planning sheet with questions such as:
This turns knots and lashings into a genuine problem-solving activity.
Game 5: The Broken Bridge
Create a fictional scenario.
Tell the teams that an imaginary expedition needs to move equipment across a difficult section of ground.
Their task is to design a model bridge or crossing using poles and rope.
The finished construction should be treated as a model only. Nobody should walk across it, climb it or put their weight on it.
Award points for the design, stability, use of lashings and explanation of how the structure would work.
This gives Scouts a reason to use their skills without introducing unnecessary risks.
Make It a Navigation Activity
Knots and lashings can also be combined with navigation.
Set up several checkpoints around an outdoor area.
At each checkpoint, the team must complete a knot or lashing task before receiving the next navigation clue.
For example, they might need to correctly tie a particular knot before being given the next grid reference.
This creates a longer activity and gives Scouts an opportunity to practise several outdoor skills during one session.
Knot Detective
For a quieter game, deliberately tie several knots incorrectly.
Give teams a selection of examples and ask them to identify which ones are correctly tied.
They then have to explain what is wrong with the incorrect examples.
This is particularly useful because Scouts learn that simply pulling a rope tight doesn’t necessarily mean a knot has been tied correctly.
Adapt the Activity for Beginners
If your group has little or no experience with knots, don’t introduce a large number of techniques.
Start with:
- Rope handling
- One or two simple knots
- Identifying correct and incorrect examples
- A basic lashing
- A small construction task
Keep demonstrations short and give Scouts plenty of time to practise.
Pairing less experienced Scouts with a buddy can also make learning less intimidating.
Make It Harder for Experienced Scouts
For Scouts who already know the basics, introduce planning and problem-solving.
Give them a construction brief without telling them exactly which knots or lashings to use.
For example:
Build a free-standing equipment holder using six poles and a limited amount of rope.
The team must decide how to achieve the goal.
You can also give teams different materials and ask them to explain why they chose a particular knot or lashing.
🟢 SAFETY – LOW RISK
Knots and lashings are generally low-risk activities, but the equipment and structures still need to be managed carefully.
Check ropes and poles before use.
Keep the working area organised so ropes don’t become trip hazards.
Don’t allow Scouts to swing ropes around or use them in ways they haven’t been instructed to.
Any structure should be treated as a construction project rather than playground equipment.
Scouts should not climb, sit, swing from or put their weight on structures unless the activity has been specifically designed, assessed and supervised for that purpose.
For beginners, keep structures small and close to the ground.
Accessibility
There are many ways to make knots and lashings inclusive.
Scouts who find detailed knot tying difficult can take roles such as:
Use thicker or easier-to-handle rope where appropriate, and allow additional time for anyone who needs it.
The team construction tasks also mean that Scouts can contribute without everyone needing identical physical skills.
Finish With a Knot Test
End the activity with a short individual or team test.
Show Scouts a selection of knots and ask them to identify their names or uses.
Then give them one or two practical tasks.
For example:
“You need to join two ropes. Which knot would you choose and why?”
or:
“You need to create a secure joint between two poles. What would you use?”
This checks whether they’ve learned how to use their skills rather than simply memorising names.
Reflection Questions
Bring everyone together at the end and ask:
Encourage Scouts to explain their decisions rather than just saying whether something worked.
Final Thoughts
Knots and lashings become much more memorable when Scouts have a reason to use them.
Start with simple knot practice, introduce lashings and then turn the skills into construction games, team challenges and outdoor adventures.
Don’t make speed the only measure of success. A correctly tied knot, a well-planned structure and good teamwork are more valuable than simply finishing first.
With a few lengths of rope and some poles, you can create an activity that combines practical skills, creativity and problem-solving while giving Scouts something they can actually build and use.
Ready-to-Run 60-Minute Session Plan
This session is designed for a group of 8–24 Scouts and introduces knot tying, basic lashings and simple construction through a mixture of demonstration, practice and team games.
Equipment
For each team, prepare:
Check all rope and poles before the session and remove anything damaged or unsuitable.
Before the Session
Set up several small activity areas.
Have the knot cards and practice ropes ready before the Scouts arrive. Put the poles in a separate area so teams don’t start building before the instructions have been given.
Choose two or three knots that match the group’s experience rather than trying to teach too many at once.
For a beginner group, concentrate on simple knots and one basic lashing.
0–5 Minutes: Introduction and Safety
Welcome the group and explain that today’s session is about using rope to solve practical problems.
Show the equipment and explain the rules.
Cover:
Explain that the aim isn’t to tie the most knots as quickly as possible. The aim is to learn how and why knots and lashings are used.
5–15 Minutes: Learn the Knots
Demonstrate the first knot slowly.
Show the finished knot, explain its purpose and then demonstrate how to tie it.
Give Scouts time to practise.
Once most of the group is comfortable, introduce the second knot.
Walk around the teams and help Scouts who are struggling.
Don’t worry about everyone becoming perfect immediately. Repetition and practice are part of the learning process.
15–25 Minutes: Knot Detective
Give each team several knot cards or prepared examples.
Some examples should be correct and some should contain deliberate mistakes.
Teams must decide:
Is the knot correct?
If it isn’t, they must explain what they think is wrong.
Award one point for identifying the problem and another for explaining how to correct it.
This encourages Scouts to look carefully at their work instead of simply pulling a knot tight and moving on.
25–35 Minutes: Learn the Lashing
Bring everyone together for a demonstration of one suitable lashing.
Show how the poles are positioned and how the rope is used to secure the joint.
Explain why the joint needs to be checked once completed.
Allow teams to practise on two poles before starting the main construction activity.
Walk around the group and check the lashings.
35–50 Minutes: Team Construction Game
Give each team a simple construction brief.
For example:
Build a free-standing equipment holder using the poles and rope provided.
Give teams a few minutes to plan before they start.
They should decide:
Then give them approximately 10 minutes to build.
Don’t allow anyone to climb, sit on or put their weight on the structure.
50–55 Minutes: Inspection and Scoring
When the time is up, everyone stops building.
Inspect each structure and award points.
Planning: 5 points
Correct knots: 10 points
Lashings: 10 points
Construction: 10 points
Teamwork: 10 points
Safe working: 10 points
You can add bonus points for a particularly creative design.
The winning team should not simply be the one that built the largest structure. Reward good construction, accurate knots and sensible teamwork.
55–60 Minutes: Review and Reflection
Bring the group together and ask a few quick questions:
Finish by asking each team to name one thing they learned that they could use during a future outdoor activity.
Optional Extension
If you have more than 60 minutes, add a second construction task.
Give teams a different brief, such as designing a small signpost, drying rack or equipment stand.
This time, don’t tell them which knots or lashings to use.
They must decide for themselves which techniques are appropriate.
This turns the session from learning knots into solving a practical problem using knots.
Leader Preparation Checklist
Before starting, make sure you have:
A little preparation makes the session much easier to run and gives Scouts more time to spend actually practising their skills.
🔒Ready to test your survival skills?
Join Survival Guides UK for free, complete challenges, earn badges and increase your Survival Level.
JOIN FREE →
CRAIG BURR
FOUNDER · SURVIVAL GUIDES UK
I'm Craig, the person behind Survival Guides UK. I created SGUK because I wanted somewhere people could learn real outdoor skills in a practical, straightforward way — from lighting a fire and tying knots to navigation, campcraft and everything in between.
You can read more about the story behind SGUK here as well as our approach here.