How to Tie a Figure Eight on a Bight | Step-by-Step Guide
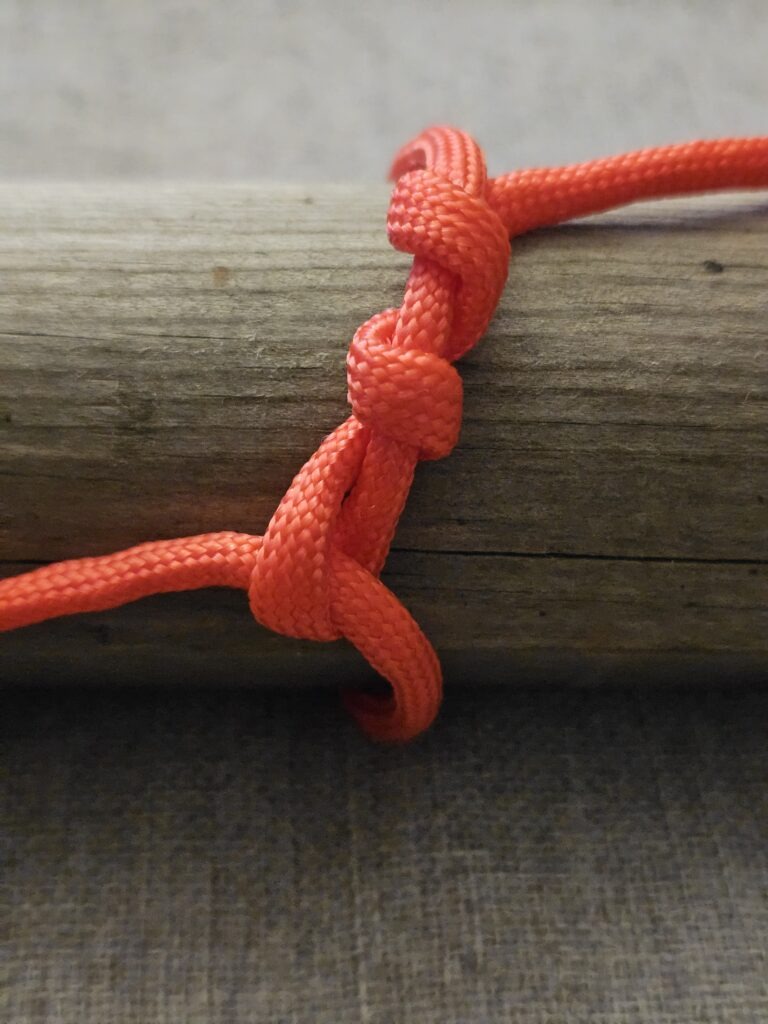
The figure eight on a bight is a useful way to create a fixed loop in the middle or at the end of a rope. Unlike a basic figure eight stopper knot, this version creates a loop that can be used for attaching or connecting rope.
A bight is a section of rope folded back on itself without crossing the rope.
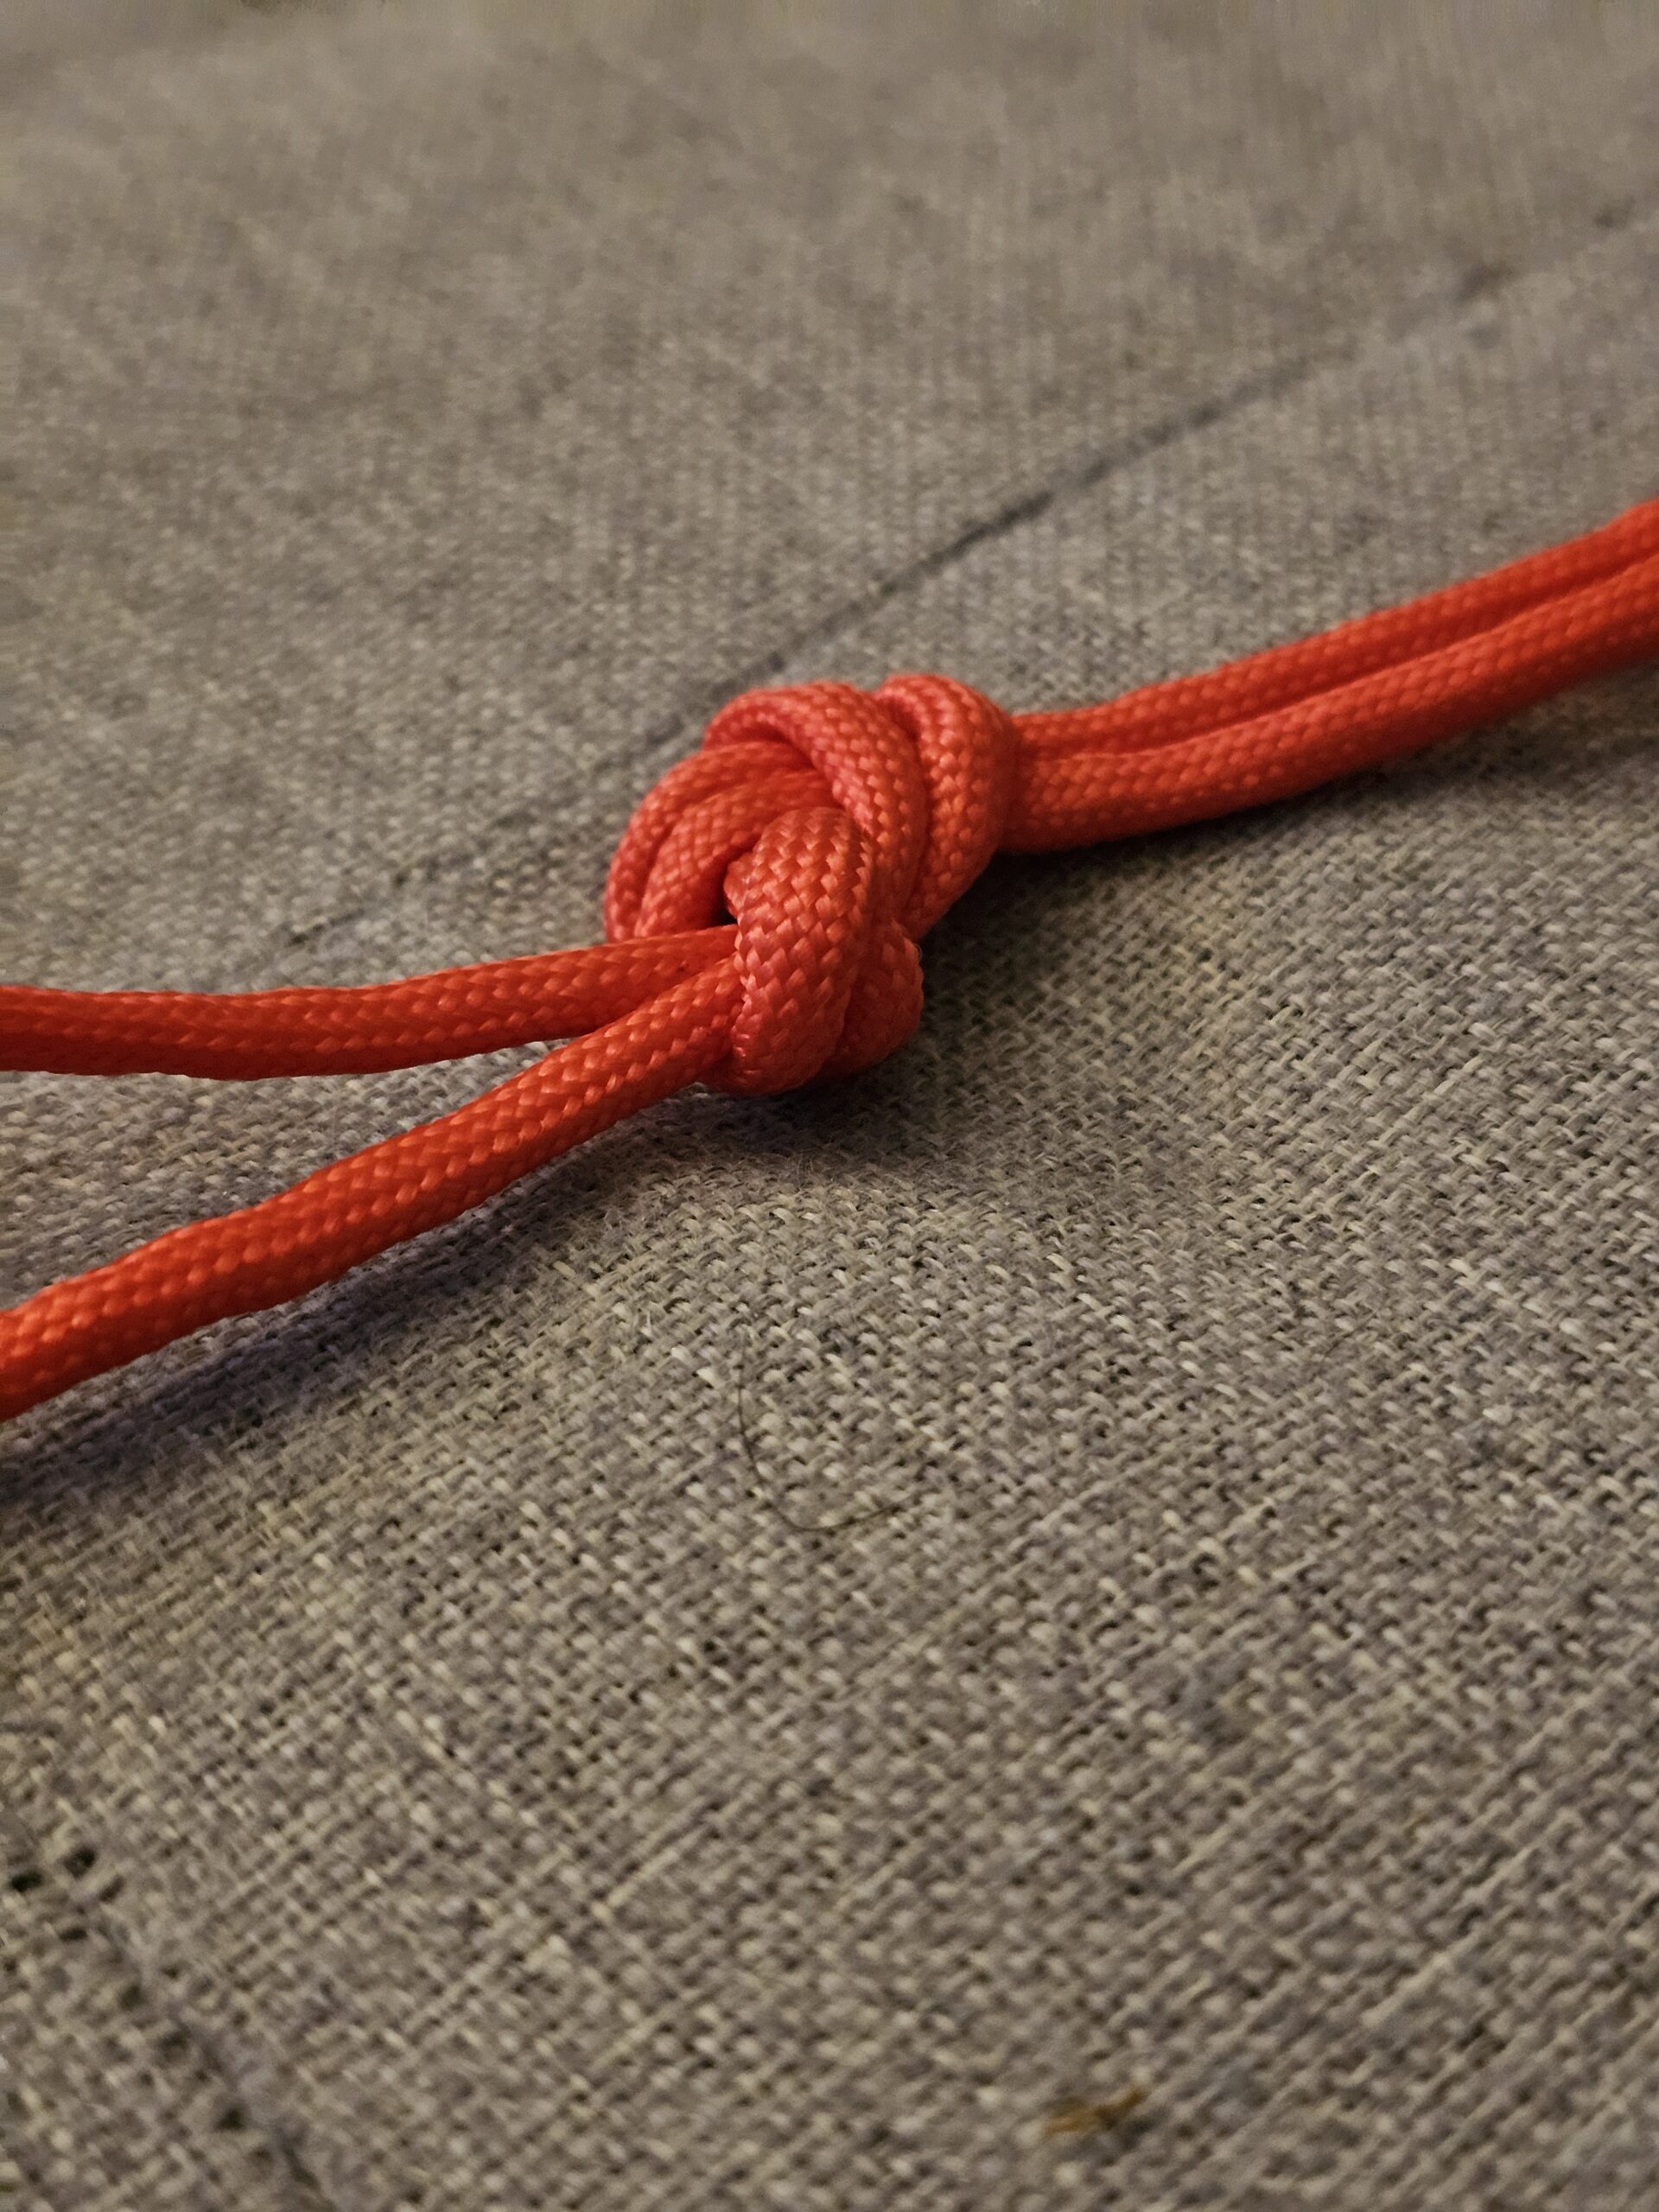
The knot is easy to inspect because its figure eight shape remains clearly visible when it has been tied correctly.
What You’ll Learn
By the end of this guide, you should be able to:
- Create a fixed loop using a figure eight on a bight.
- Understand what a bight is.
- Recognise the correct finished knot.
- Check the knot before using the loop.
Equipment
- A length of rope or cord.
- A suitable object to practise attaching the loop to.
Using a thicker rope can make the knot easier to see while learning.
Understanding the Knot
The figure eight on a bight is based on the standard figure eight knot.
Instead of using a single end of the rope, you fold the rope to create a bight and use the doubled section to form the knot.
The result is a fixed loop that does not slide along the rope when correctly tied and loaded.
How to Tie a Figure Eight on a Bight
1. Create a bight
Take a section of rope and fold it back on itself.
You now have two parallel sections of rope forming a bight.
2. Form a loop
Use the doubled rope to make a loop.
The rope should cross over itself in preparation for forming the figure eight.
3. Pass the bight around
Take the folded section of rope around the standing part.
Follow the same basic path used when tying a normal figure eight, but keep the rope doubled.
4. Pass the bight through
Bring the bight back through the opening you have created.
Pull enough of the doubled rope through to form the finished loop.
5. Dress the knot
Arrange the rope so that the two strands run neatly alongside each other.
The finished knot should clearly resemble a figure eight, with the loop extending from one end.
6. Tighten the knot
Pull the loop and the standing parts to snug the knot.
Do this gradually and make sure the rope remains neatly arranged as the knot tightens.
How to Check Your Figure Eight on a Bight
Before using the loop, check that:
- The finished knot clearly resembles a figure eight.
- The rope follows a smooth, continuous path through the knot.
- The two strands of the bight remain together.
- There are no unexpected crossings or twists.
- The loop is the intended size.
- There is sufficient rope beyond the knot.
A properly dressed knot should look neat and symmetrical rather than tangled or distorted.
Common Uses
A figure eight on a bight can be useful for:
- Creating a fixed loop in a rope.
- Connecting a rope to suitable equipment.
- Creating attachment points in ropework.
- General outdoor ropework and campcraft.
- Creating a loop when setting up a trucker’s hitch.
It is also an important knot to understand before progressing to more advanced rope systems.
Important Safety Information
Do not assume that a correctly tied figure eight on a bight is automatically suitable for every application.
For climbing, rescue, rope access or other life-safety activities, use the specific knot and rope system required for that activity and follow the appropriate safety procedures.
Always inspect the finished knot before loading it. Make sure it is properly dressed, tightened and has enough rope beyond the knot.
Final Tip
Learn the standard figure eight knot first if you have not already done so.
Then think of the figure eight on a bight as the same knot tied with the rope doubled. This makes the structure much easier to understand and remember.
🔒Ready to test your survival skills?
Join Survival Guides UK for free, complete challenges, earn badges and increase your Survival Level.
JOIN FREE →
CRAIG BURR
FOUNDER · SURVIVAL GUIDES UK
I'm Craig, the person behind Survival Guides UK. I created SGUK because I wanted somewhere people could learn real outdoor skills in a practical, straightforward way — from lighting a fire and tying knots to navigation, campcraft and everything in between.
You can read more about the story behind SGUK here as well as our approach here.