Building a Pioneering Raft: Scout Pioneering Guide
Activity Overview
Difficulty: Challenging
Time: 2–4 hours
Location: Scout campsites and suitable activity areas
Best for: Scouts, Explorers, Patrol Leaders and experienced pioneering groups
Skills: Pioneering, lashings, knots, teamwork, construction, buoyancy and water safety
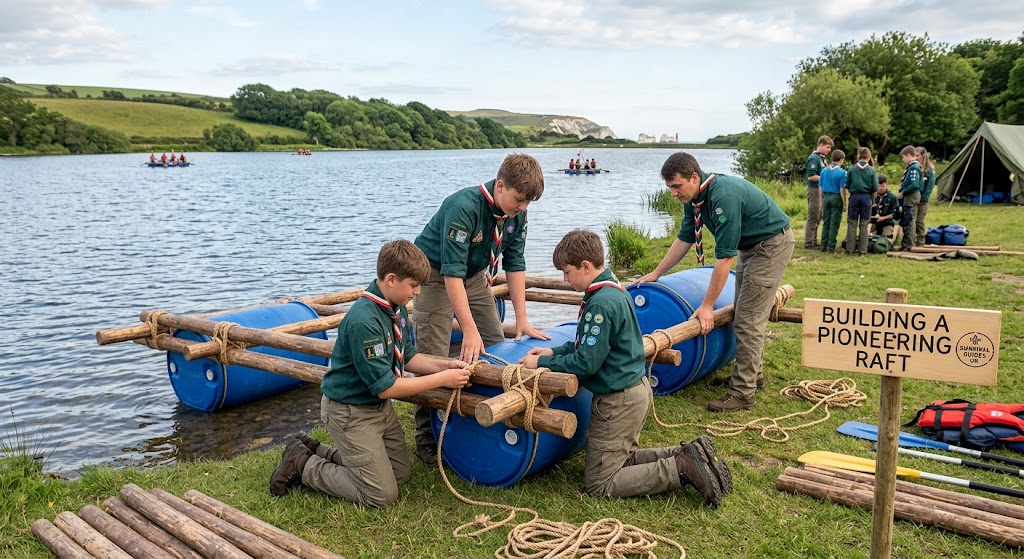
A pioneering raft is a temporary structure made from poles, lashings and suitable flotation.
Building one is an excellent pioneering project because it combines ropework, construction, teamwork and an introduction to buoyancy.
However, a raft intended to carry people on water is a high-risk activity. A homemade raft should only be launched and used where the activity has been properly assessed, the equipment and location are suitable, and appropriately competent supervision is in place.
For learning the construction techniques, a raft can be built and inspected on land without putting anyone on the water.
What You’ll Learn
You’ll learn how to construct a basic raft frame and secure flotation to it using pioneering lashings.
You’ll also learn why a raft needs a rigid frame, evenly distributed flotation and secure connections.
Most importantly, you’ll learn that a raft that floats is not automatically a raft that is safe to use.
🔴 SAFETY – HIGH RISK
Water activities carry risks including drowning, cold-water shock, entrapment, capsizing and separation from the shore.
Don’t launch or use a pioneering raft simply because it appears stable on land.
Any water-based use should be planned and supervised in accordance with the group’s procedures and the conditions at the specific location.
Everyone involved in a water activity should use appropriate personal buoyancy equipment and understand the emergency arrangements.
Don’t use a pioneering raft in moving water, deep water or difficult conditions unless the activity has been specifically assessed and is being run by people with the appropriate competence.
Keep clear of water during construction until the raft has been inspected.
Equipment
A basic pioneering raft requires suitable poles, rope and flotation devices.
Traditional designs may use sealed containers, purpose-made floats or other suitable buoyancy units.
You will also need suitable rope for the lashings and bracing.
For water use, appropriate personal buoyancy equipment and any additional safety equipment required by the activity should be available.
Use only flotation equipment that is suitable, intact and capable of supporting the intended load.
Prerequisites
Scouts should already be confident with basic pioneering knots and lashings, particularly the square lashing and diagonal lashing.
Anyone taking part in the water activity should also have appropriate water confidence and follow the requirements of the activity organiser.
Before construction begins, check the site’s rules and establish the launch area, boundaries and emergency arrangements.
Instructions
1. Choose the Location Carefully
If the raft is only being constructed as a pioneering exercise, level ground is preferable.
If it is eventually going to be launched, the water location needs much more careful consideration.
Check the depth, water temperature, currents, access points, obstacles, weather and emergency arrangements.
Never assume that a calm-looking piece of water is safe.
2. Plan the Raft
Draw the design before starting construction.
Decide how many flotation units will be used, where they will sit and how the poles will form the supporting frame.
Aim for a symmetrical design with flotation distributed evenly.
Avoid making the structure unnecessarily large or complicated.
3. Inspect the Materials
Check all poles for cracks, splits, rot and other damage.
Inspect the rope for cuts, severe abrasion or other deterioration.
Examine each flotation unit for damage, leaks or other defects.
Anything questionable should be removed from the project.
4. Lay Out the Main Poles
Place the main poles parallel to each other.
These form the primary structure of the raft.
Keep them evenly spaced and aligned.
The exact dimensions depend on the design and the flotation being used.
5. Add Cross Poles
Position cross poles across the main poles.
These connect the framework and provide the structure needed to secure the flotation.
Keep the spacing consistent and make sure the frame remains square.
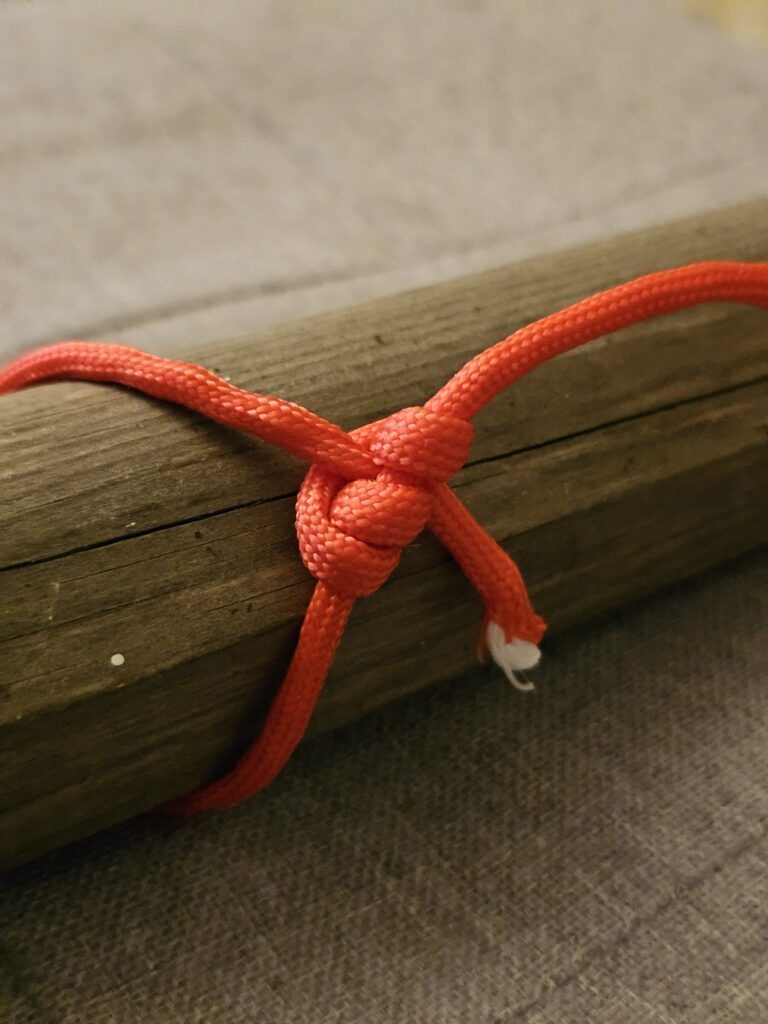
6. Lash the Frame Together
Use appropriate lashings to join the poles.
Square lashings are commonly used where the poles cross at right angles.
Make each lashing carefully and finish it securely.
Don’t rely on one or two strong lashings to compensate for poorly constructed joints elsewhere.
7. Add Diagonal Bracing
Add suitable diagonal bracing to reduce twisting and sideways movement.
A raft can experience movement in several directions, particularly when people climb onto it or move around.
Check the bracing before attaching the flotation.
8. Position the Flotation
Place the flotation units underneath the frame according to the design.
Distribute them evenly rather than concentrating all the buoyancy in one area.
The flotation should remain securely attached to the frame.
9. Secure the Flotation
Use appropriate rope arrangements to prevent the flotation from moving independently of the frame.
Check every attachment.
The flotation should not be able to slide out from underneath the raft when it is moved.
10. Check the Frame
Inspect the complete structure before moving it.
Check that the poles remain aligned and that all lashings are secure.
Look underneath the raft and check the flotation attachments as well as the top of the structure.
11. Check Buoyancy
Work out whether the available flotation is sufficient for the intended load.
Don’t rely on appearance.
The total weight includes the raft itself, equipment and everyone who will be on it.
There must be adequate reserve buoyancy rather than simply enough capacity to keep the structure barely afloat.
12. Test Before Using It
Testing should be gradual and controlled.
For a water activity, follow the specific test procedure established during the activity planning.
Don’t immediately put a full group onto an untested raft.
If the raft tilts, takes on water or behaves unexpectedly, stop and reassess.
13. Keep the Load Balanced
People and equipment should be distributed according to the design.
Don’t allow everyone to crowd onto one side.
A raft can become unstable when weight is moved suddenly.
14. Establish Water Safety Rules
Before launching, everyone should understand the boundaries and instructions.
Nobody should enter the water without the appropriate supervision and equipment.
Everyone should know how to respond if the raft capsizes or someone enters the water unexpectedly.
15. Keep the Raft Close to Shore
For a supervised activity, keep within the area established by the activity plan.
Don’t deliberately take the raft further from shore simply to make the activity more challenging.
Conditions on the water can change quickly.
16. Monitor the Raft
Keep checking the structure while it is being used.
Look for loose lashings, shifting flotation or changes in stability.
If anything becomes damaged or the raft behaves differently, return to shore and stop the activity.
17. Recover the Raft Safely
Bring the raft back to shore using the planned procedure.
Don’t attempt to drag a heavy raft through difficult terrain or unstable ground without considering the risks.
Keep people clear of pinch points while moving it.
18. Dismantle and Store the Equipment
Remove the flotation and poles carefully.
Inspect all rope and poles after use, particularly if they have been exposed to water.
Clean and dry equipment appropriately before storing it.
Understanding Buoyancy
The basic principle behind a pioneering raft is displacement.
Flotation provides an upward force that supports the weight of the raft and its load.
If the total weight becomes greater than the available buoyancy, the raft will sink lower into the water.
This is why adding people or equipment changes the way a raft behaves.
It also explains why a raft needs plenty of reserve buoyancy rather than being designed to operate right at its apparent limit.
Making the Raft Stable
Buoyancy isn’t the only consideration.
A narrow raft may float perfectly well but be easier to tip.
A wider structure generally provides a more stable platform, while distributing flotation towards the edges can also influence stability.
The frame must be rigid enough to prevent excessive twisting, and the load needs to remain appropriately distributed.
Pioneering Raft Without Going on the Water
You can teach most of the construction skills without launching the raft.
Build the complete structure on land, inspect the lashings and flotation attachments, and discuss how the design would behave in water.
This is a particularly useful option when the group doesn’t have access to an appropriately supervised water activity.
Final Tip
A pioneering raft is a great way to combine pioneering skills with basic engineering and buoyancy, but water adds a completely different level of risk.
Build and inspect the raft carefully, use suitable flotation and don’t assume that something which floats is automatically safe to ride.
For Scouts, the best raft project is one where the construction is treated as seriously as the water safety.
🔒Ready to test your survival skills?
Join Survival Guides UK for free, complete challenges, earn badges and increase your Survival Level.
JOIN FREE →
CRAIG BURR
FOUNDER · SURVIVAL GUIDES UK
I'm Craig, the person behind Survival Guides UK. I created SGUK because I wanted somewhere people could learn real outdoor skills in a practical, straightforward way — from lighting a fire and tying knots to navigation, campcraft and everything in between.
You can read more about the story behind SGUK here as well as our approach here.