How to Tie a Reef Knot | Simple Step-by-Step Guide
The reef knot is one of the simplest and most useful knots to learn. It is used to join two ends of similar-sized rope or cord when you need a temporary connection that can be untied easily.
It is important to learn the correct sequence because a reef knot can look right while actually being the wrong knot.
What You’ll Learn
By the end of this guide, you should be able to:
- Tie a reef knot correctly.
- Recognise what the finished knot should look like.
- Understand when a reef knot is suitable.
- Check that you have tied the correct knot.
Equipment
- Two pieces of rope or cord.
- Ideally, use two different colours while learning so you can easily follow each end.
Understanding the Knot
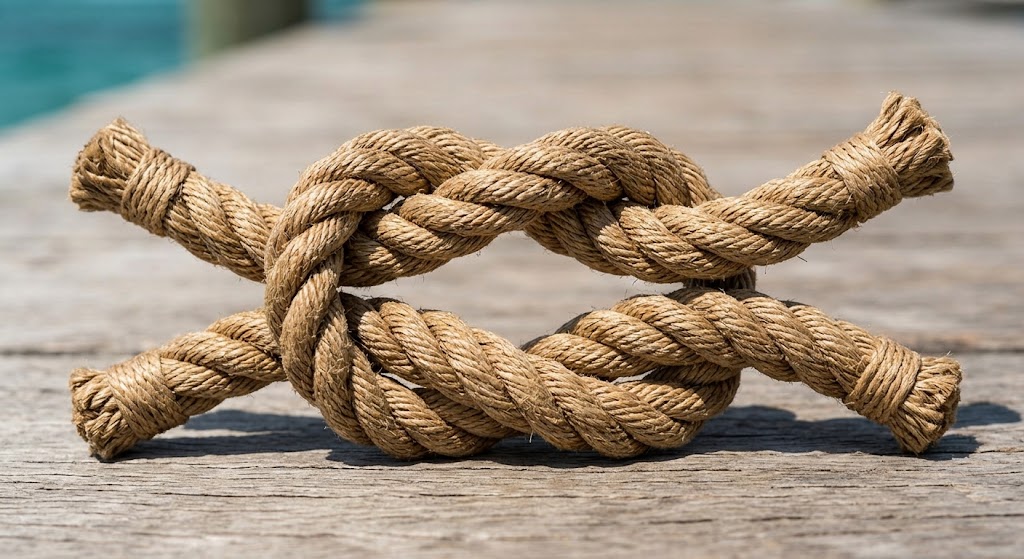
A reef knot is made by tying two overhand knots, one followed by the other, with the ends crossing in opposite directions.
A simple way to remember the sequence is:
Right over left, then left over right.
Another common version is:
Right over left and under, then left over right and under.
The important part is that the second crossing reverses the first.
How to Tie a Reef Knot
1. Hold the two rope ends
Take one end of each rope in your hands.
For learning, it helps to use two different colours.
2. Cross the right end over the left
Take the right-hand rope and place it over the left-hand rope.
3. Pass it underneath
Take the right-hand end underneath the left-hand rope and pull both ends to form a simple overhand knot.
Do not pull it extremely tight yet.
4. Cross the left end over the right
Now reverse the direction.
Take the left-hand rope and cross it over the right-hand rope.
5. Pass it underneath
Take the left-hand end underneath the right-hand rope and pull the two ends through.
6. Tighten the knot
Pull the four rope sections evenly to tighten the knot.
The finished knot should sit neatly and symmetrically.
How to Check Your Reef Knot
Before using the knot, check that:
- The two parts of the knot are reversed from each other.
- The ropes lie neatly alongside each other.
- The working ends come out next to the standing parts of the opposite rope.
- The knot is symmetrical rather than twisted.
- Both ends have enough rope beyond the knot to prevent them slipping through.
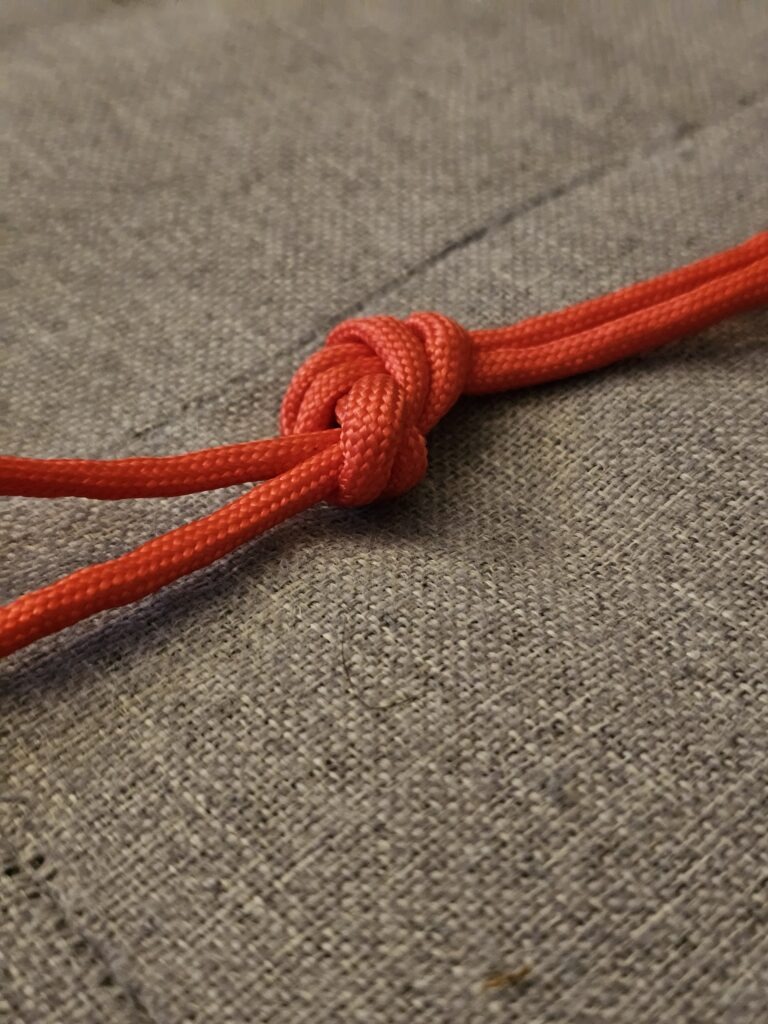
A correctly tied reef knot should look like a neat, flat knot rather than a twisted or bulky one.
The Important Check
A reef knot can easily be tied incorrectly as a granny knot.
If you repeat the same crossing direction twice — for example, right over left followed by right over left again — you do not have a reef knot.
Remember:
Opposite direction on the second half.
Common Uses
A reef knot is useful for:
- Joining two similar-sized ropes or cords temporarily.
- Bundling or tying items together.
- Securing bandages and dressings where appropriate.
- Tying bundles of material.
- Simple campcraft tasks.
- Everyday situations where a temporary, easily released join is needed.
Safety
A reef knot should not be relied upon for climbing, abseiling, rescue systems, life-safety applications or other situations where failure could cause serious injury.
It can also work loose when subjected to repeated movement or changing loads.
If you need to join ropes for a particular job, choose a knot designed specifically for that purpose rather than using a reef knot simply because it is familiar.
Final Tip
Practise the words as you tie it: “right over left, left over right”.
Once your hands can perform the sequence without thinking, practise tying the knot with your eyes closed or using different coloured ropes. This helps you recognise the structure of the knot rather than simply memorising the appearance.
🔒Ready to test your survival skills?
Join Survival Guides UK for free, complete challenges, earn badges and increase your Survival Level.
JOIN FREE →
CRAIG BURR
FOUNDER · SURVIVAL GUIDES UK
I'm Craig, the person behind Survival Guides UK. I created SGUK because I wanted somewhere people could learn real outdoor skills in a practical, straightforward way — from lighting a fire and tying knots to navigation, campcraft and everything in between.
You can read more about the story behind SGUK here as well as our approach here.