How to Teach Navigation to Children
⚠️ SAFETY FIRST
Navigation activities should take place in an area appropriate for the age and experience of the group. Set clear boundaries and make sure leaders know where participants are at all times.
Start with simple, controlled exercises before allowing children to navigate independently. For activities away from your meeting location, use appropriate supervision, maps, communication and emergency arrangements.
Navigation can seem complicated when you first introduce it.
Maps have strange symbols.
Compasses have numbers and markings.
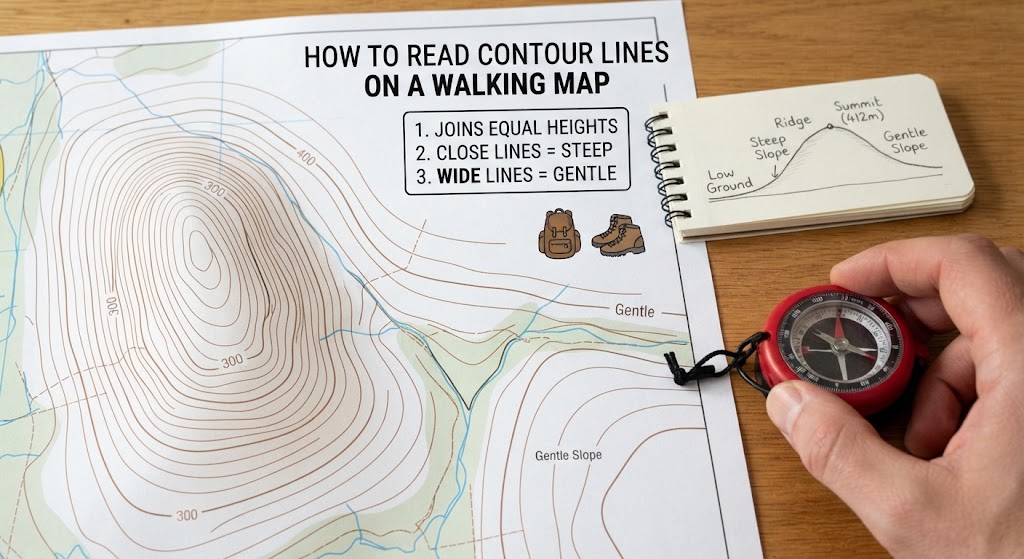
There are grid references, bearings, contours and scales.
But children don’t need to learn everything at once.
Good navigation teaching starts with something much simpler:
“Where am I, and where do I want to go?”
Once children understand that, you can gradually introduce the tools that help them answer the question.
Start With the Real World
Before giving children a map, get them thinking about their surroundings.
Stand outside and ask:
“What’s around us?”
They might identify a building, road, tree, hill, gate or path.
Then ask:
“How would you explain to someone where we are?”
This introduces the basic idea of navigation without any technical terminology.
Children are already navigating every day.
You’re simply making them more aware of it.
Teach Landmarks First
Landmarks are one of the easiest ways to introduce navigation.
Ask children to identify obvious features around them.
A distinctive tree.
A church tower.
A bridge.
A large building.
A hill.
A gate.
Then ask:
“If you were giving someone directions, which of these would you mention?”
This teaches children that navigation isn’t just about maps and compasses.
It’s about understanding the landscape around you.
Play Direction Games
Before introducing a compass, practise basic directions.
Ask children to face north, then give simple instructions:
“Take three steps east.”
“Turn south.”
“Walk five paces west.”
You can make this into a game.
Call out directions and see who can respond correctly.
For younger children, start with:
Left
Right
Forward
Back
Then introduce:
North
South
East
West
Once those are familiar, compass work becomes much easier.
Introduce a Map
When you introduce a map, don’t immediately explain every symbol.
Give children time to look at it.
Ask:
“What do you recognise?”
“Where do you think we are?”
“Can you find the road?”
“Where is the nearest building?”
You’re allowing them to discover that the marks on the map represent real things around them.
That connection is the foundation of map reading.
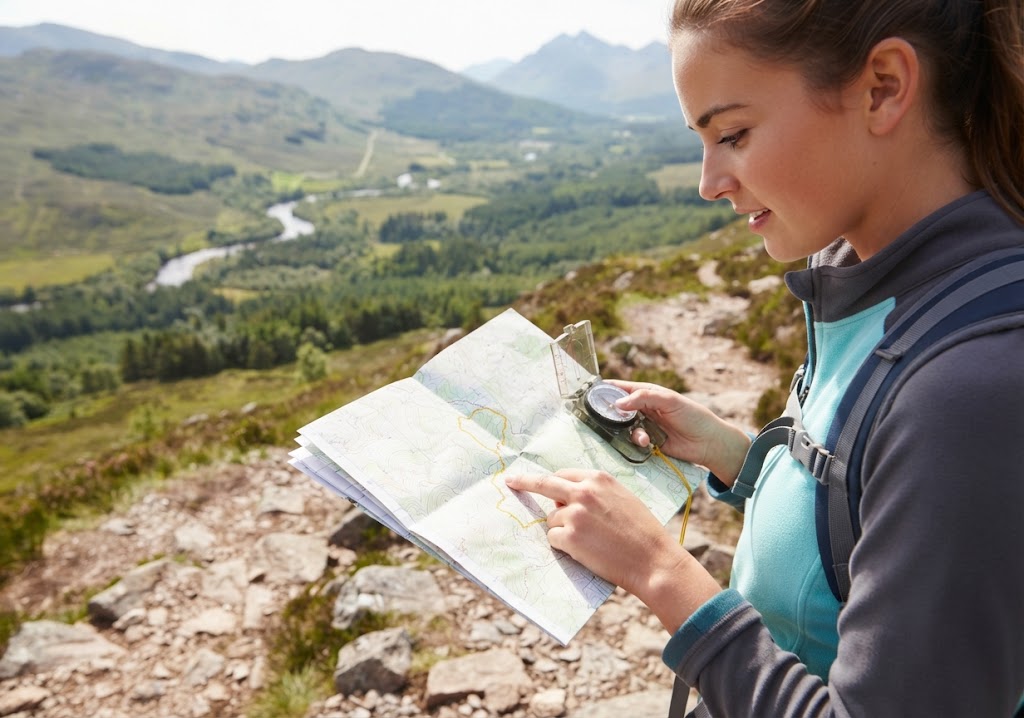
Connect the Map to the Landscape
This is one of the most important parts of teaching navigation.
Don’t keep children staring at the map.
Look at the map.
Look at the landscape.
Look back at the map.
Ask:
“Can you see that path on the map?”
“Where would that building be?”
“Which direction is the hill?”
Children gradually begin to understand that the map is a representation of the world they’re standing in.
Teach Map Symbols Gradually
Maps contain a lot of information.
You don’t need to teach every symbol in one session.
Start with features children are likely to encounter.
Paths.
Roads.
Buildings.
Rivers.
Woods.
Bridges.
Then introduce other symbols as they become useful.
You can turn this into a quick game:
“Find a footpath.”
“Find a stream.”
“Find the nearest road.”
“Find a wooded area.”
This makes learning symbols active rather than memorisation.
Teach Scale With Something Familiar
Scale can initially be confusing.
Rather than starting with a complicated explanation, use a simple example.
Ask:
“If one centimetre on the map represents 100 metres on the ground, how far would two centimetres be?”
Then take it outside.
Measure a short distance and compare it with the map.
Once children understand that the map is a smaller version of the real world, scale starts to make sense.
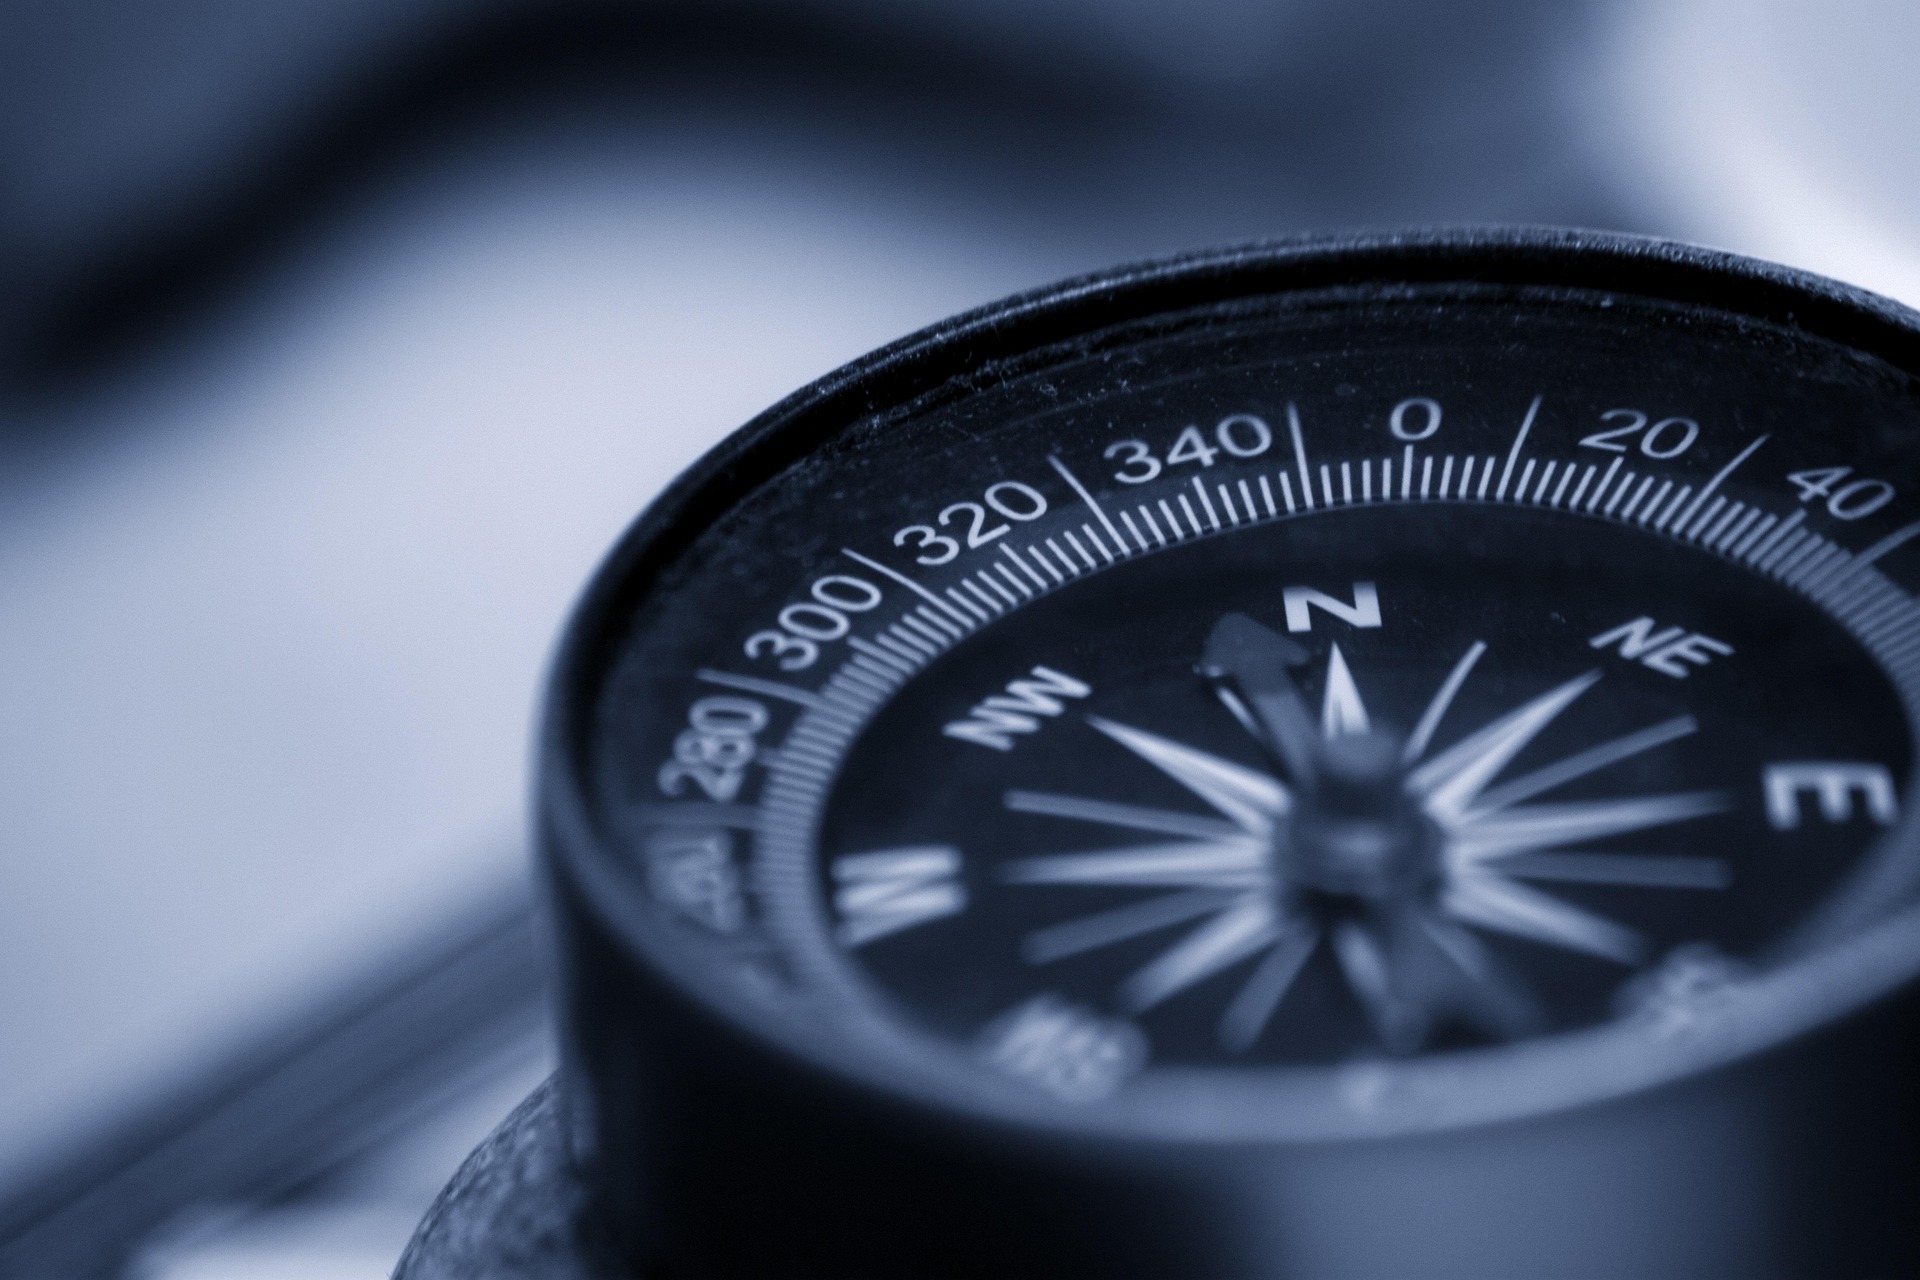
Introduce the Compass
Once children are comfortable with maps and directions, introduce the compass.
Start with the basics.
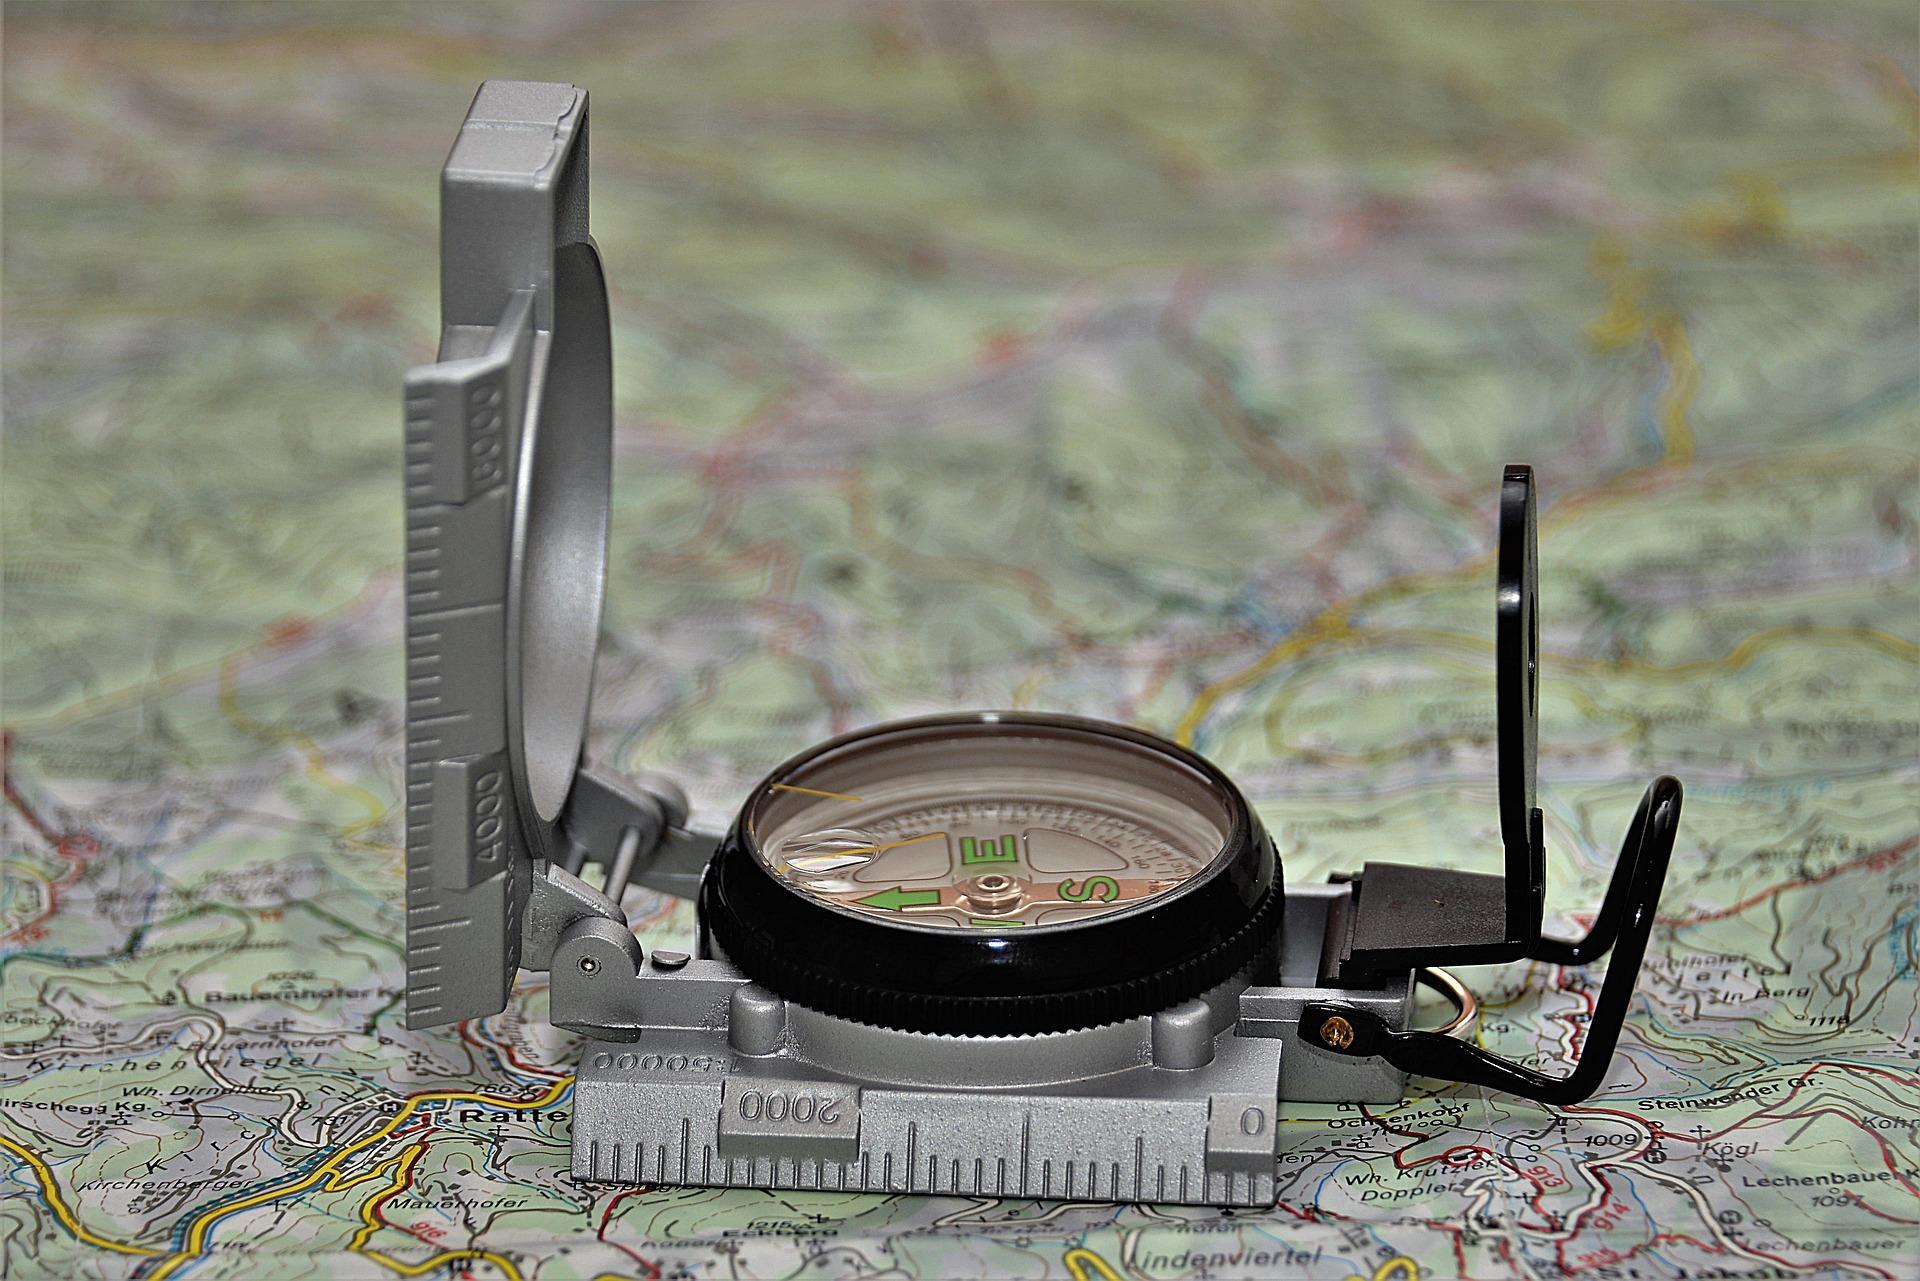
A compass helps you identify direction.
The important directions are:
North
East
South
West
Let children hold the compass and watch the needle settle.
Then ask them to find north.
Don’t immediately move into bearings.
Give them time to become comfortable with the instrument.
Play “Find North”
This makes an excellent quick activity.
Everyone stands in an open area.
Ask:
“Point towards north.”
Let everyone make their choice.
Then check with the compass.
You can repeat the exercise with:
East.
South.
West.
You can also ask children to find objects that lie in particular directions.
“What is north of us?”
“What is west of the building?”
This connects compass directions to the real environment.
Teach the Difference Between a Direction and a Bearing
Once children understand the four main directions, introduce bearings.
Explain that a bearing gives a direction as a number from 0° to 360°, measured clockwise from north.
You don’t need to turn this into a maths lesson.
Start with simple examples.
North = 000°
East = 090°
South = 180°
West = 270°
Then let children practise finding those directions with their compass.
Don’t Start With Complicated Bearings
Children can become overwhelmed if their first compass exercise involves several precise bearings.
Begin with the cardinal directions.
Then try:
045°
135°
225°
315°
Once they’re comfortable with those, you can introduce more precise bearings.
The progression should feel achievable.
Teach Pace Counting
Pacing can be useful for estimating distance.
Choose a measured distance and ask children to walk it normally.
Count their steps.
Then repeat it.
They’ll discover that different people have different stride lengths.
This is useful because navigation isn’t always about knowing an exact distance.
Sometimes it’s about making a sensible estimate.
Introduce Grid References
Grid references can seem intimidating until children understand what they’re doing.
Start with a simple map grid.
Explain the basic rule:
“Along the corridor, then up the stairs.”
In other words:
Easting first, then northing.
Start with four-figure grid references before moving to six figures.
Give children a series of locations to find.
Then reverse the activity.
Give them a location and ask them to work out its grid reference.
Turn Navigation Into a Treasure Hunt
This is one of the easiest ways to make navigation fun.
Give children a map and a starting point.
They need to find several locations.
Each location contains a clue.
The clue leads them to the next point.
The final location could contain a simple challenge or activity.
Now they’re learning:
Map reading.
Grid references.
Directions.
Landmarks.
Distance.
Route planning.
Without it feeling like a navigation lesson.
Use Checkpoints
For older children, set up several checkpoints.
Teams have to navigate between them.
Don’t necessarily give them the easiest route.
Let them decide.
Afterwards, ask:
“Why did you choose that route?”
“Was it the quickest?”
“Was it the easiest?”
“Was it the safest?”
This introduces an important idea:
The shortest route isn’t always the best route.
Teach Route Planning
Navigation isn’t just about following instructions.
Good navigators think ahead.
Ask children to plan a route before setting off.
Where are the obvious landmarks?
Where might they become confused?
Are there steep sections?
Are there roads to cross?
Where could they stop and check the map?
This develops decision-making as well as navigation.
Teach “Map, Ground, Map”
A useful habit is:
Map → Ground → Map
Look at the map.
Look at what is actually around you.
Compare the two.
Then return to the map.
This prevents children from walking along while staring continuously at the map.
It also encourages them to use landmarks and features to confirm their position.
Teach Children to Stop When They’re Unsure
One of the most important navigation lessons is what to do when something doesn’t make sense.
Teach children:
Don’t guess. Stop.
If the landscape doesn’t match the map, stop moving.
Look around.
Check the map.
Think about the last place you knew you were.
Then decide what to do.
Continuing in the wrong direction can turn a small navigation error into a much bigger problem.
Use “Where Are We?” Challenges
During walks, stop occasionally.
Ask:
“Where do you think we are?”
Don’t immediately tell them.
Let them identify features.
Look at the map.
Compare the surroundings.
Then make a decision.
This is a great way to develop confidence because children gradually learn to establish their position rather than relying on the leader to tell them.
Give Children the Map
It’s tempting for the leader to carry the map.
Don’t.
If the activity is suitable, let the children use it.
Let them make decisions.
Let them make mistakes.
Let them work out where they are.
You can supervise without taking control of every decision.
Let Children Lead
Once the basics are established, give one child or a small group responsibility for navigating.
The leader can walk behind rather than automatically walking at the front.
Ask questions if they become uncertain.
“What does the map tell you?”
“What feature are you looking for?”
“Where should the path take us?”
This encourages independent thinking.
Make Navigation a Team Skill
Navigation doesn’t have to be one person’s job.
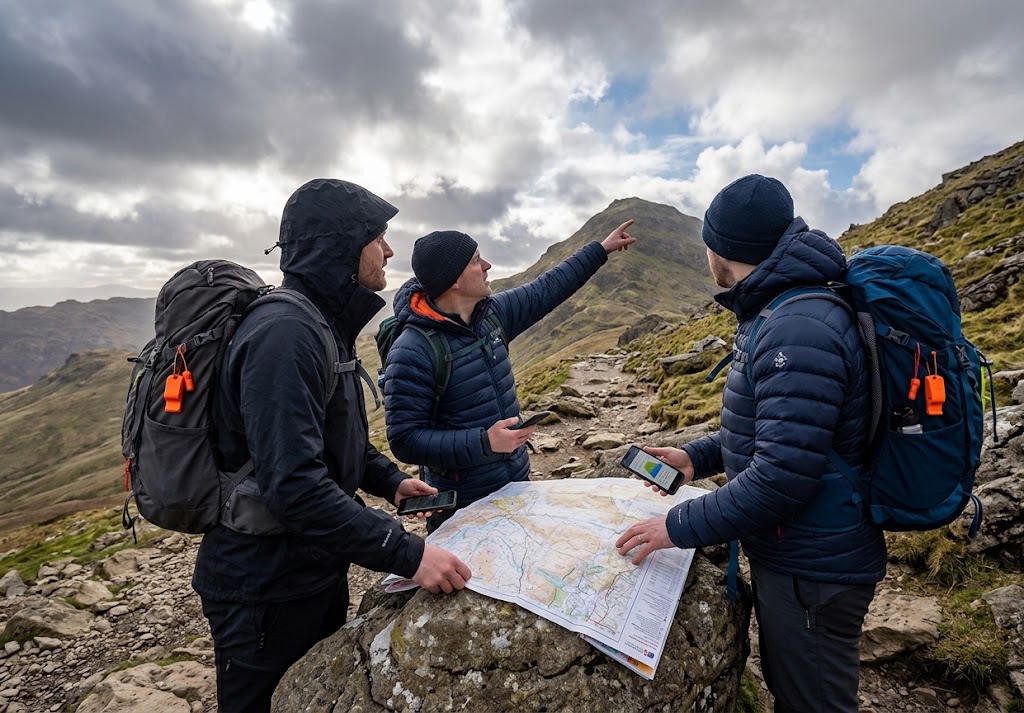
Give everyone a role.
One person holds the map.
Another checks the compass.
Another looks for landmarks.
Another keeps track of distance.
Then rotate the roles.
This prevents one confident child from doing all the work.
Introduce Navigation Games
Once children understand the basics, games can keep the skill fresh.
Try:
Map treasure hunts
Grid reference races
Find the landmark
Compass direction games
Navigation relays
Route-planning challenges
Memory walks
Orienteering courses
You don’t need to run a full competition every time.
Even a five-minute navigation game can reinforce a skill from a previous session.
Don’t Make It All About Getting the Answer
A child who reaches the correct checkpoint by following another group hasn’t necessarily learned navigation.
Ask questions.
“How did you know where to go?”
“What feature told you that?”
“Which direction were you travelling?”
“Where were you expecting the path to appear?”
This reveals whether they actually understand the process.
Introduce Modern Navigation Later
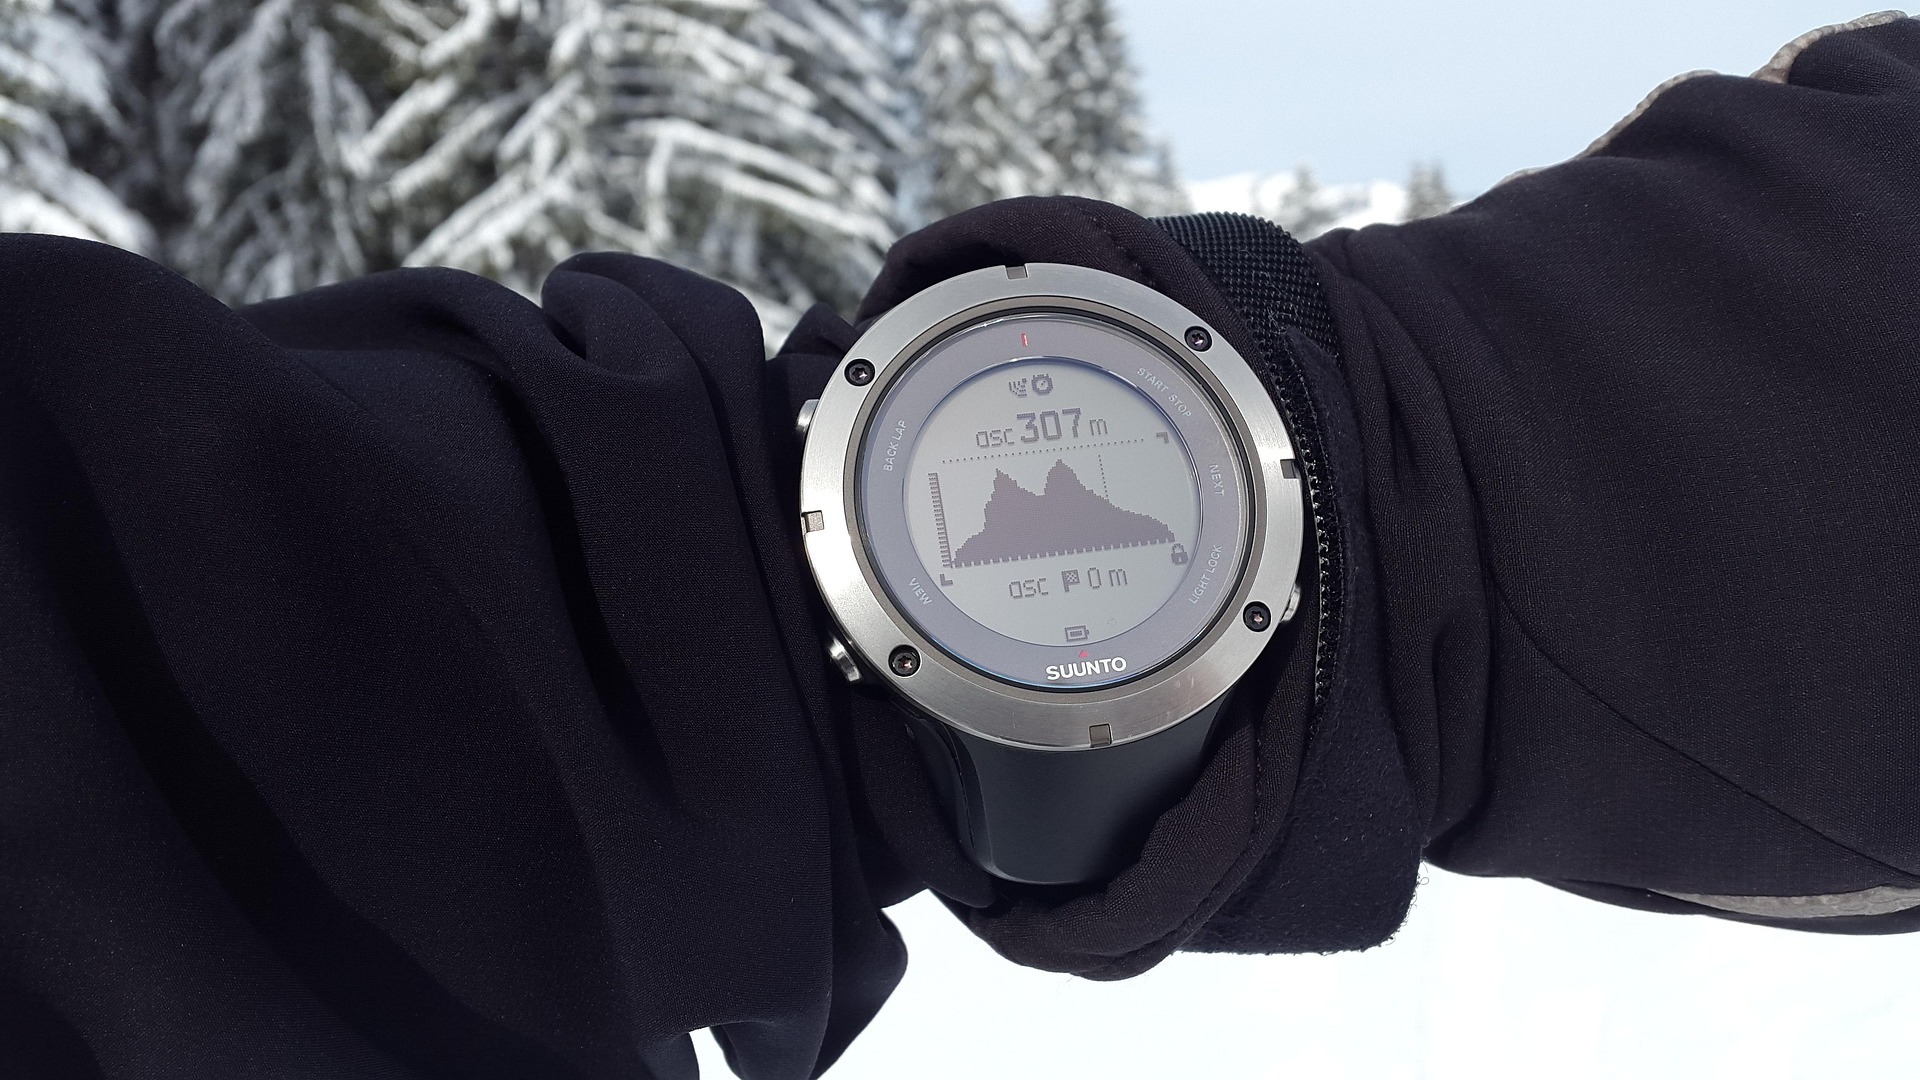
Phones and GPS can be useful outdoor tools.
Children should understand that modern technology can assist navigation, but it shouldn’t necessarily replace basic skills.
A phone can lose battery.
GPS reception or accuracy can be affected by the environment.
An app can be misunderstood.
A paper map doesn’t need charging.
Once children understand traditional navigation, you can introduce GPS and discuss how the two approaches complement one another.
Build Confidence Gradually
Navigation can be intimidating for some children.
Don’t immediately send them across a large area with a complicated map.
Start close to the meeting point.
Then increase the area.
Start with obvious landmarks.
Then use less obvious ones.
Start with simple directions.
Then introduce bearings.
Start with four-figure grid references.
Then progress to six figures.
Success builds confidence.
Finish With a Debrief
After a navigation activity, ask:
What was easy?
What was difficult?
Where did you get confused?
What helped you find your position?
What would you do differently next time?
These questions help children understand that getting slightly lost or making a mistake isn’t a failure.
It’s part of learning.
A Simple Navigation Progression
A useful progression might look like this:
1. Recognising landmarks
2. Left, right and basic directions
3. North, east, south and west
4. Understanding a simple map
5. Map symbols
6. Scale and distance
7. Using a compass
8. Bearings
9. Grid references
10. Route planning
11. Independent navigation
You can move backwards and forwards through these stages depending on the age and experience of your group.
Final Thoughts
The best way to teach navigation is to get children outside and let them use it.
Maps make much more sense when the child can see the path, hill or building represented on the paper.
Compasses make much more sense when there’s somewhere they need to go.
And bearings become much more memorable when they’re part of an adventure rather than a worksheet.
Start with simple ideas.
Build confidence gradually.
Let children make decisions.
And most importantly, teach them what to do when things don’t go according to plan.
🧭 THE BIG IDEA
Don’t teach navigation as a collection of technical skills. Teach children how to find their way.
Start with the landscape around them, connect it to the map, introduce the compass when they’re ready and gradually give them more responsibility.
The ultimate goal isn’t for children to follow a leader with a map.
It’s for them to look at the landscape and know how to work out where they are and where they need to go.
🔒Ready to test your survival skills?
Join Survival Guides UK for free, complete challenges, earn badges and increase your Survival Level.
JOIN FREE →
CRAIG BURR
FOUNDER · SURVIVAL GUIDES UK
I'm Craig, the person behind Survival Guides UK. I created SGUK because I wanted somewhere people could learn real outdoor skills in a practical, straightforward way — from lighting a fire and tying knots to navigation, campcraft and everything in between.
You can read more about the story behind SGUK here as well as our approach here.