How to Teach Fire Lighting Safely
⚠️ SAFETY FIRST
Fire lighting should only be taught with appropriate adult supervision, suitable equipment, a properly prepared fire area and permission to have a fire at the location.
Always follow current Scout guidance, local restrictions and the landowner’s rules. Keep water or another suitable means of extinguishing the fire immediately available, and never leave a fire unattended.
The aim of teaching fire lighting is safe fire management, not simply getting a flame as quickly as possible.
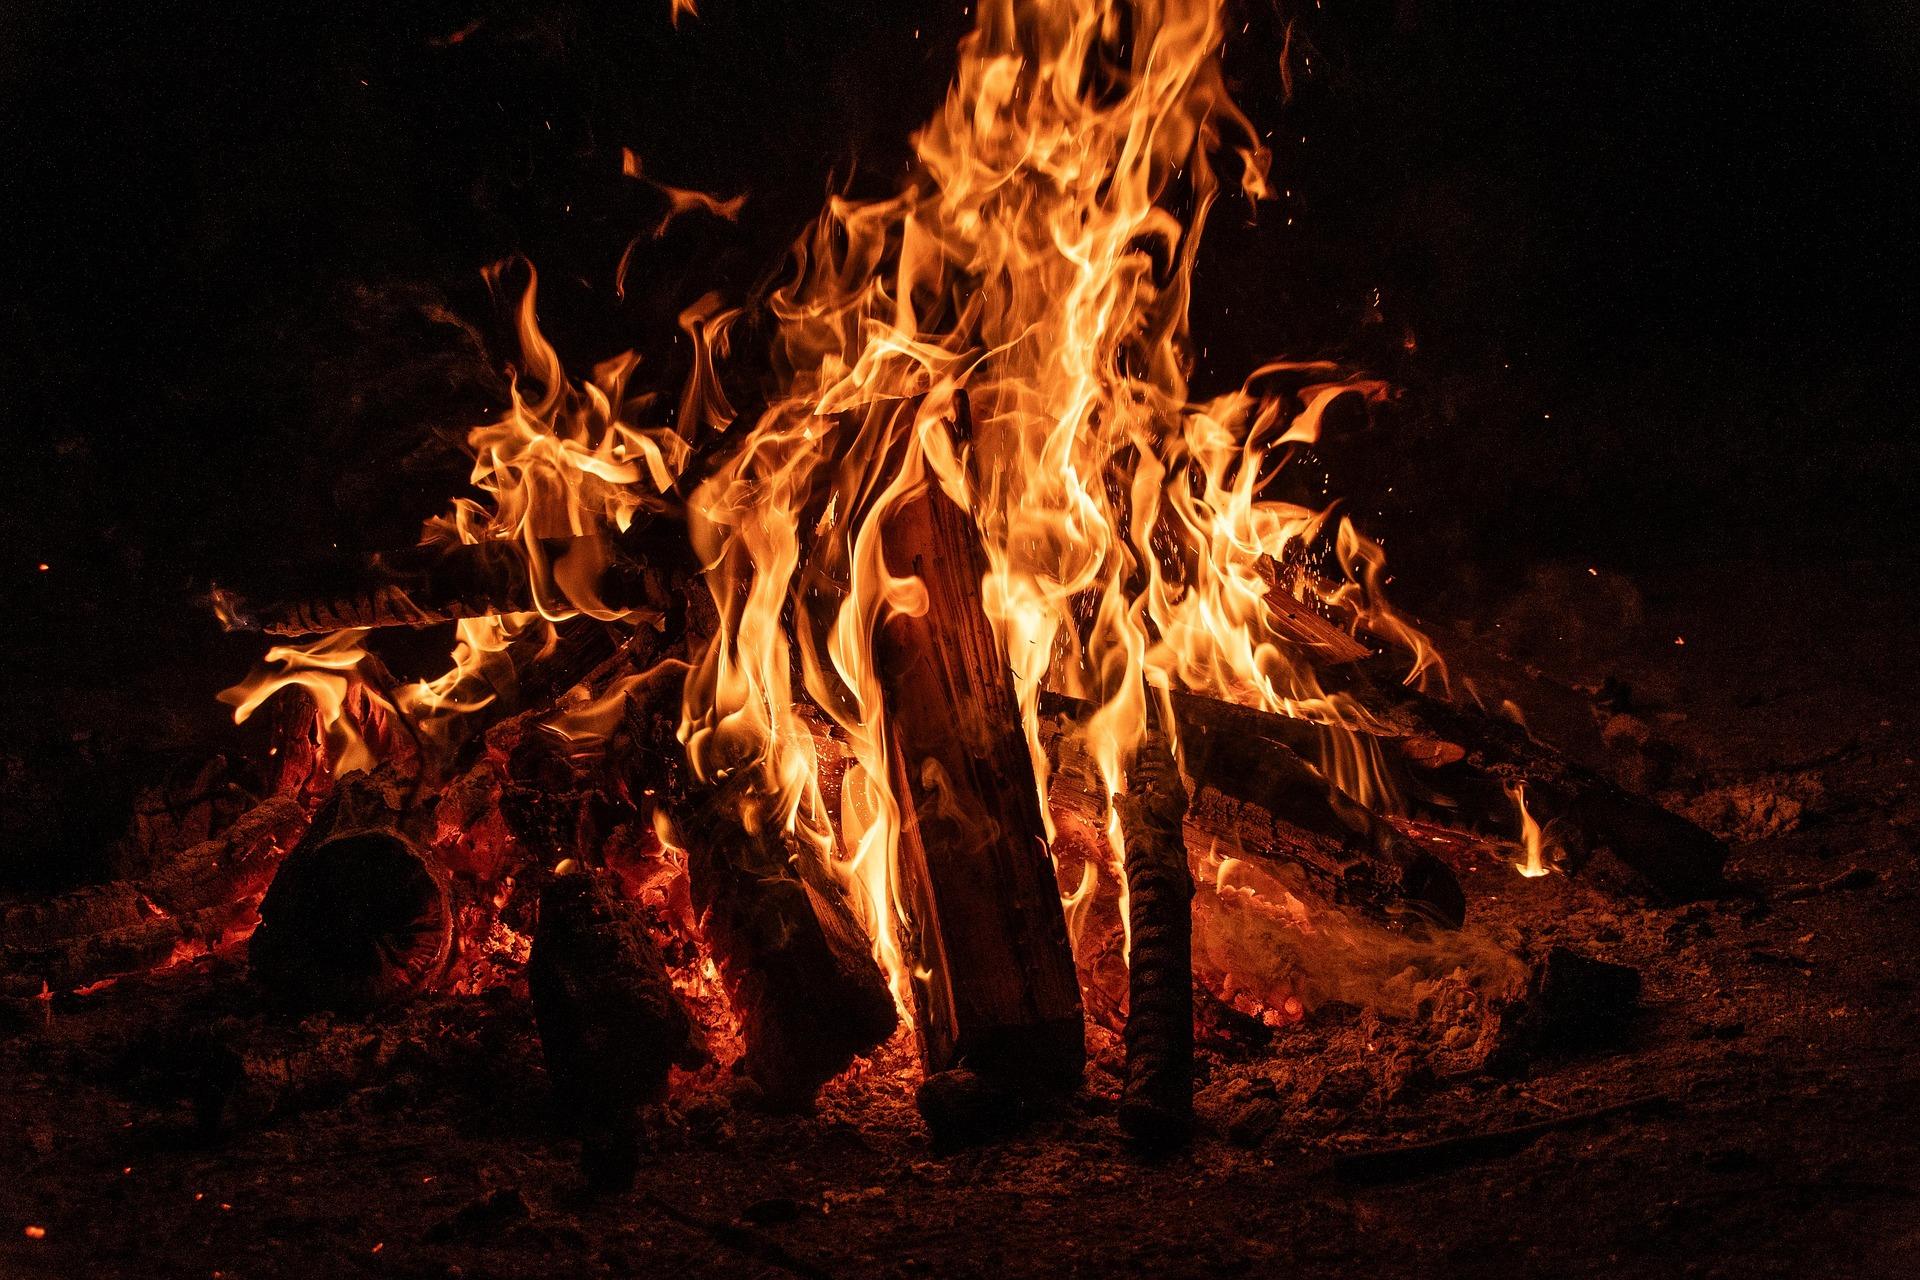
Fire is one of the most exciting outdoor skills you can teach.
There’s something memorable about learning how a small flame can develop into a useful campfire.
But fire also deserves respect.
For children and young people, a fire-lighting session shouldn’t be about seeing who can produce a flame fastest.
It should be about learning to prepare, control, monitor and extinguish a fire responsibly.
If you get those habits right from the beginning, the actual fire-lighting technique becomes just one part of the lesson.
Start With Fire Safety
Before anyone touches a match or lighter, establish the rules.
Explain where the fire will be.
Explain where children can stand.
Explain what they can and cannot touch.
Show them where the water and other fire-safety equipment is located.
Make sure everyone understands what to do if something goes wrong.
Keep the explanation short, but don’t skip it.
A child should understand that fire is controlled throughout the activity, not just once it has been lit.
Check Whether You Should Have a Fire
Before planning the activity, check that a fire is actually permitted.
Consider:
If the conditions aren’t suitable, don’t have the fire.
You can still teach fire skills without lighting one.
Choose the Fire Site Carefully
The fire site is part of the lesson.
Choose an established fire area where possible.
The location should be away from combustible materials, low branches and other hazards.
Avoid areas where flames or embers could easily spread.
Keep children away from steep edges, water and other hazards around the fire area.
The exact setup should follow your organisation’s safety procedures and the requirements of the site.
Teach Children to Think Before Lighting
One of the most valuable lessons is:
“Don’t light a fire just because you can.”
Ask the group:
“Do we actually need a fire?”
Then:
“Is it safe to have one here?”
Then:
“What do we need before we light it?”
This develops judgement.
A good fire-lighting lesson starts before the match is struck.
Explain the Fire Triangle
The fire triangle is a simple way to explain how fire works.
Fire needs three things:
Heat
Fuel
Oxygen
Remove one of them and the fire cannot continue.
This gives children a useful way to understand both lighting and extinguishing.
You can ask:
“What happens if there isn’t enough fuel?”
“What happens if the fire can’t get enough air?”
“How do we safely remove the heat?”
It turns fire safety into a problem-solving exercise.
Teach the Difference Between Tinder, Kindling and Fuel
This is a good opportunity to revisit skills from your earlier sessions.
Tinder is the material that catches easily and starts the initial flame.
Kindling is slightly larger material that helps the flame develop.
Fuel is larger material that keeps an established fire burning.
Children often try to put large pieces of wood straight onto a tiny flame.
That’s a useful mistake to discuss.
Ask:
“Why didn’t that work?”
The answer helps them understand how a fire develops.
Demonstrate Before Letting Children Try
Keep your demonstration simple.
Show the group how the fire area is prepared.
Show the materials.
Explain the sequence.
Then demonstrate the lighting process under controlled conditions.
Don’t rush.
Children should be able to see what you’re doing.
If the group is large, have them stand where everyone has a clear view rather than crowding around the fire.
Let Children Take Turns
Once the demonstration is complete, give children opportunities to participate.
Depending on their age and your organisation’s procedures, this might mean supervised roles around the fire rather than every child handling the ignition source.
For example, children could help:
Prepare suitable materials.
Build the fire lay.
Identify tinder and kindling.
Monitor the fire.
Add suitable fuel under supervision.
Check that the fire remains contained.
Help with extinguishing it.
This makes fire management a group responsibility.
Don’t Make Lighting the Match the Main Event
It’s easy for children to think:
“Fire lighting = striking a match.”
But that’s actually a very small part of the skill.
The important decisions happen before and after.
Where is the fire?
What materials are suitable?
Is the weather appropriate?
How will it be controlled?
How will it be extinguished?
The ignition is simply the point at which the prepared fire starts burning.
Teach Children Where to Stand
Crowding around a fire creates unnecessary risk.
Give the group a clear boundary.
Children should know where they can stand and when they are allowed to approach.
Only those with an active role should be close to the fire.
Everyone else can observe from a safe position.
This also makes supervision easier for leaders.
Teach Fire Behaviour
Once the fire is burning, use it as a teaching opportunity.
Ask the group what they notice.
Why is one section burning more strongly?
Why is the flame changing?
What happens when fuel is added?
What happens when the fire becomes too large?
You can explain the observations without turning the session into a science lecture.
Children are usually interested because they’re watching something happen in front of them.
Teach Good Fire Management
A successful fire isn’t necessarily a large fire.
In fact, encouraging children to build the biggest fire possible sends the wrong message.
Teach them that a good fire is:
Controlled.
Appropriate for its purpose.
Monitored.
Contained.
Easy to extinguish.
The goal is to have exactly the fire you need.
Use a Fire-Lighting Challenge
Once the basic skills have been taught, introduce a challenge.
For example:
“Your team needs to prepare a small, controlled fire for a supervised campcraft task.”
Give them the appropriate materials.
Ask them to decide what they need.
Then assess their preparation before any lighting takes place.
You can award points for:
Good preparation.
Correct identification of materials.
Safe positioning.
Teamwork.
Good fire management.
Thorough extinguishing.
This puts safety at the centre of the activity.
Don’t Reward Recklessness
Avoid competitions such as:
Who can light a fire fastest?
Who can make the biggest flame?
Who can get the biggest fire?
These encourage exactly the behaviours you’re trying to avoid.
Instead, reward careful preparation.
A team that takes its time and produces a small, controlled fire has done a better job than a team that produces a huge flame in seconds.
Teach What to Do if Something Goes Wrong
Children should know how to respond if the fire behaves unexpectedly.
If flames spread outside the intended area or something catches fire, they should not panic or try to deal with a dangerous fire themselves.
They should move away as instructed and alert the supervising adult immediately.
The leader should have the appropriate means of controlling and extinguishing the fire ready before the activity starts.
Make this part of the briefing.
Teach Extinguishing as Part of the Skill
A fire isn’t finished when the flames disappear.
The group needs to understand that embers can remain hot.
The fire should be thoroughly extinguished using the appropriate method for the fire site and materials.
The area should be checked before the group leaves.
Teach children:
“Cold before you leave.”
The exact extinguishing procedure should follow the fire site’s requirements and your organisation’s current guidance.
Let Children See the Final Check
Don’t have adults quietly extinguish the fire after everyone has gone.
Where appropriate, let children observe the process.
Ask:
“Is it still hot?”
“Can you see any glowing material?”
“Would you leave this site like this?”
This reinforces the idea that responsibility continues until the fire is completely out.
Fire Lighting Without a Fire
You don’t need to light a real fire every time you teach fire skills.
You can practise identifying materials.
Ask children to sort examples into:
Tinder
Kindling
Fuel
You can demonstrate fire lays without lighting them.
You can practise fire-safety decisions using photographs or scenarios.
You can ask groups to design the safest fire site.
You can even give them deliberately unsafe examples and ask them to identify what’s wrong.
These activities are particularly useful with younger sections.
Teach Younger Children Through Stories
For Squirrels and Beavers, the full practical process may not be appropriate.
You can still introduce fire safety through stories and simple activities.
Ask:
“What would you do if you saw a fire?”
“Where should you stand around a campfire?”
“Why shouldn’t we touch the fire?”
“What should you do if your clothes catch fire?”
Keep the activity age-appropriate and follow your organisation’s guidance.
Older Scouts Can Take More Responsibility
Older Scouts can become increasingly involved in planning.
They can help assess the site.
Prepare materials.
Explain fire safety to younger members.
Plan a suitable fire lay.
Monitor the fire.
And participate in extinguishing and checking the site.
This turns fire lighting into a leadership exercise rather than simply a practical skill.
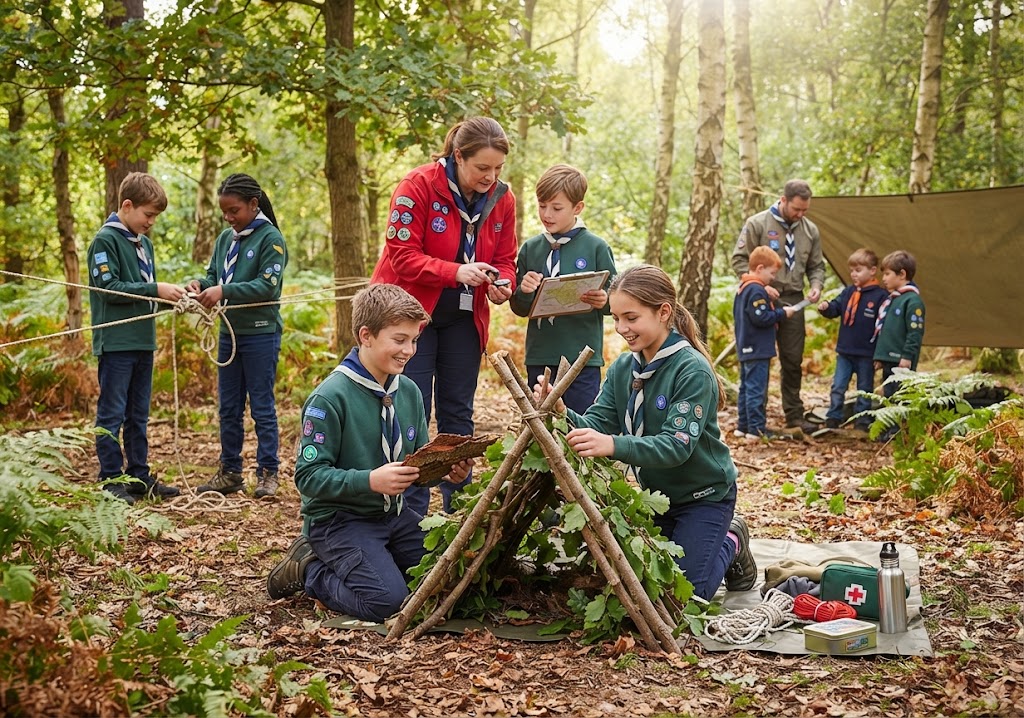
Connect Fire Lighting With Other Skills
Fire lighting works particularly well when combined with other outdoor skills.
You can link it to:
Shelter building
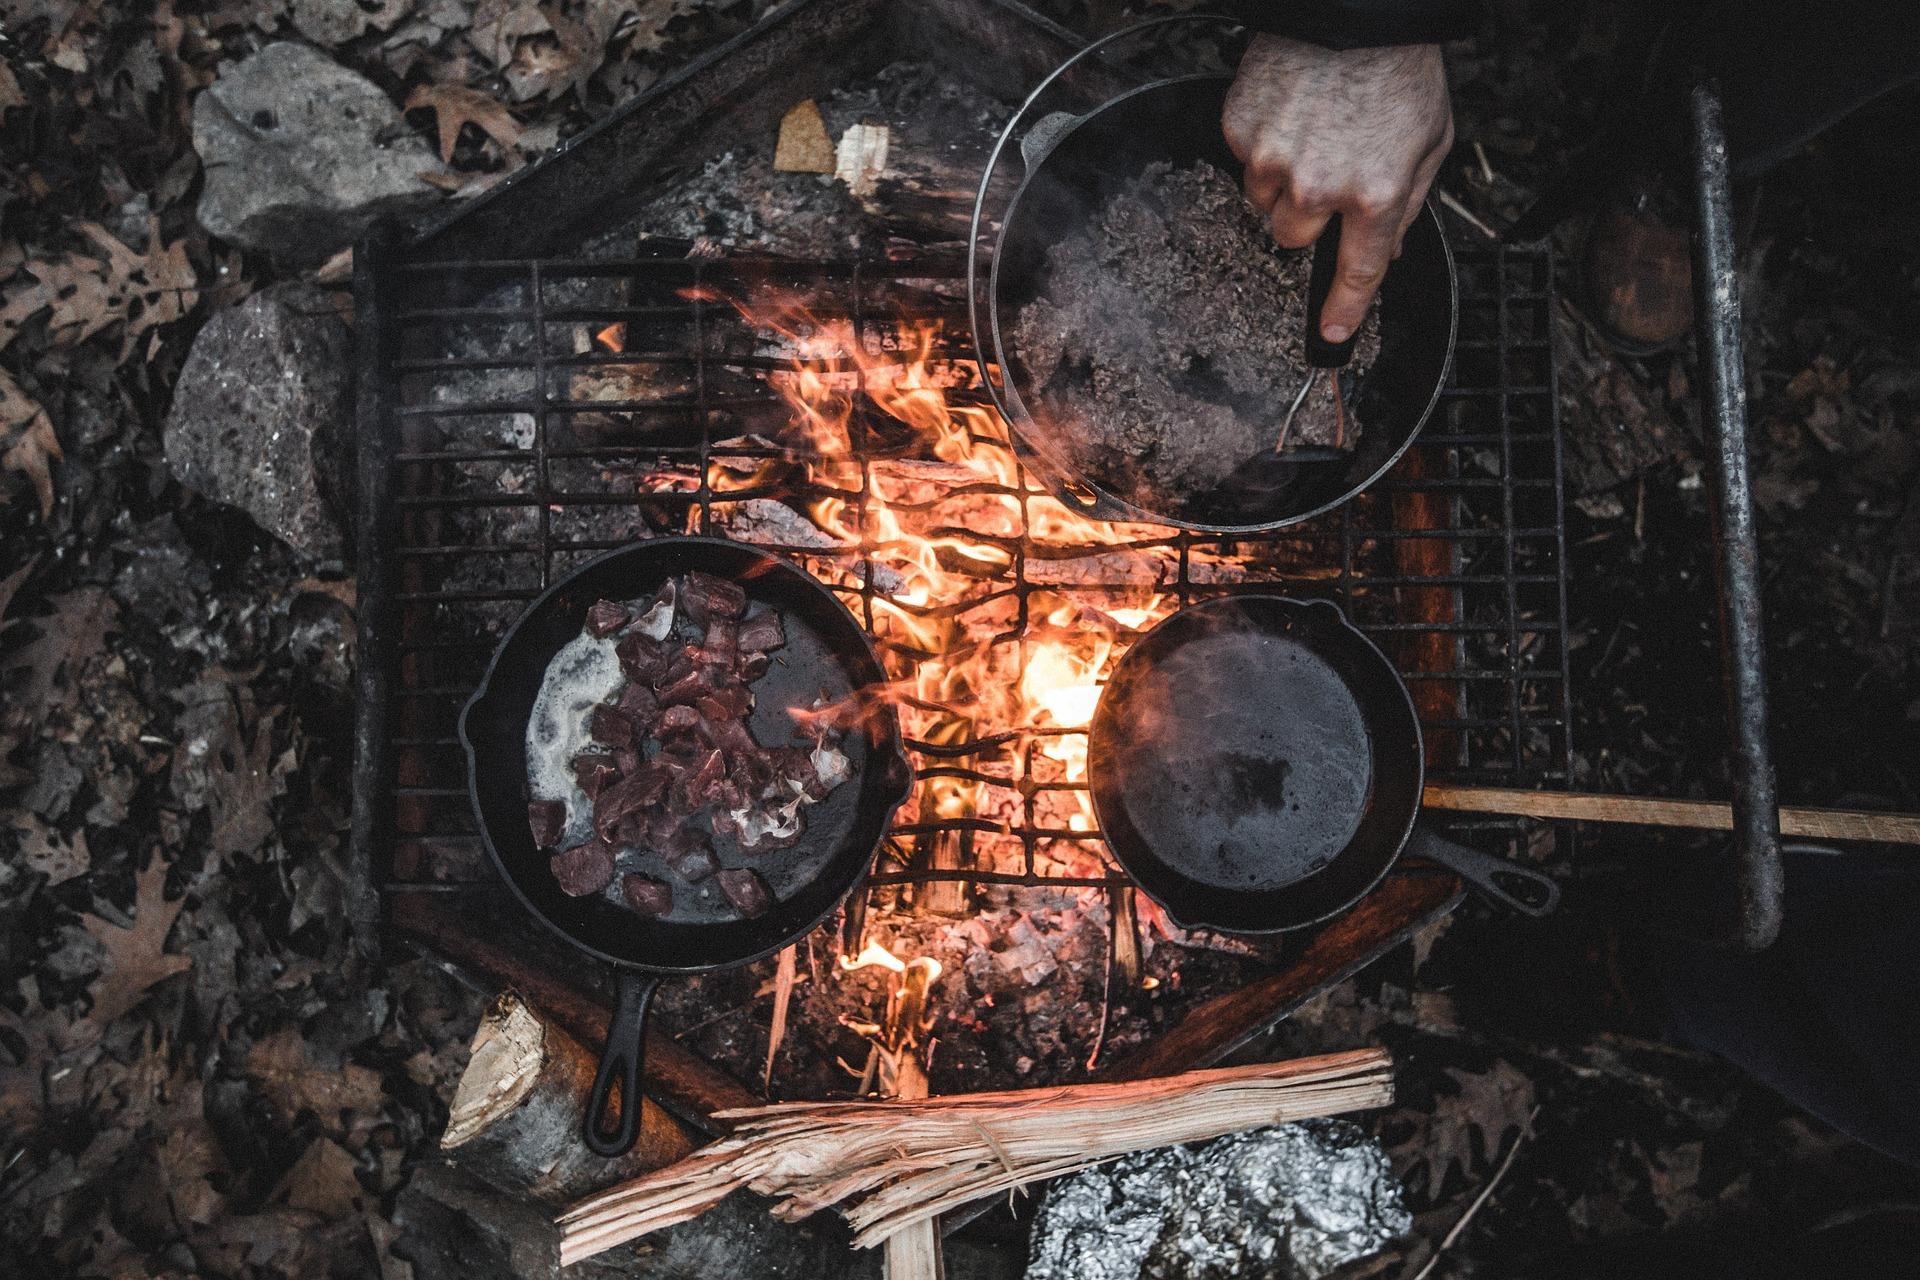
Cooking
Knots
Woodland awareness
Weather
Campcraft
Survival priorities
For example, ask a group to plan a hypothetical overnight camp.
Where would the fire go?
Where would the shelter go?
What would happen if the wind changed?
What materials would be needed?
Suddenly they’re thinking about the whole campsite rather than one isolated skill.
Finish With Questions
At the end of the session, ask the group:
What made the fire safe?
What could have gone wrong?
Why did the tinder catch before the larger fuel?
How did we know the fire was properly extinguished?
Would we light a fire in the same conditions tomorrow?
These questions encourage children to think about the decisions behind the activity.
The Most Important Lesson
The most important thing children can learn isn’t how to light a fire.
It’s when not to light one.
If the weather is too dry.
If the location isn’t suitable.
If permission hasn’t been given.
If the fire can’t be properly controlled.
If the group can’t safely supervise it.
In those situations, the correct outdoor skill is to find another solution.
That’s an important lesson in responsible outdoor behaviour.
Final Thoughts
Fire lighting can be an incredibly memorable activity for young people.
It teaches practical skills, patience, observation and responsibility.
But the flame itself should never be the main objective.
The real lesson is learning to prepare carefully, make sensible decisions, control the fire and leave the site safe.
If children leave a session understanding that fire is something to respect rather than something to show off with, you’ve taught them a valuable outdoor skill.
🔥 THE BIG IDEA
Good fire lighting starts before the fire is lit and ends only when the fire is completely out.
Teach preparation, not speed.
Teach control, not size.
Teach responsibility, not recklessness.The best fire-lighting session is one where everyone goes home knowing exactly why the fire was safe.
🔒Ready to test your survival skills?
Join Survival Guides UK for free, complete challenges, earn badges and increase your Survival Level.
JOIN FREE →
CRAIG BURR
FOUNDER · SURVIVAL GUIDES UK
I'm Craig, the person behind Survival Guides UK. I created SGUK because I wanted somewhere people could learn real outdoor skills in a practical, straightforward way — from lighting a fire and tying knots to navigation, campcraft and everything in between.
You can read more about the story behind SGUK here as well as our approach here.