How to Plan a Survival Skills Activity for Scouts
Planning a survival skills activity for Scouts doesn’t have to mean organising a complicated survival camp.
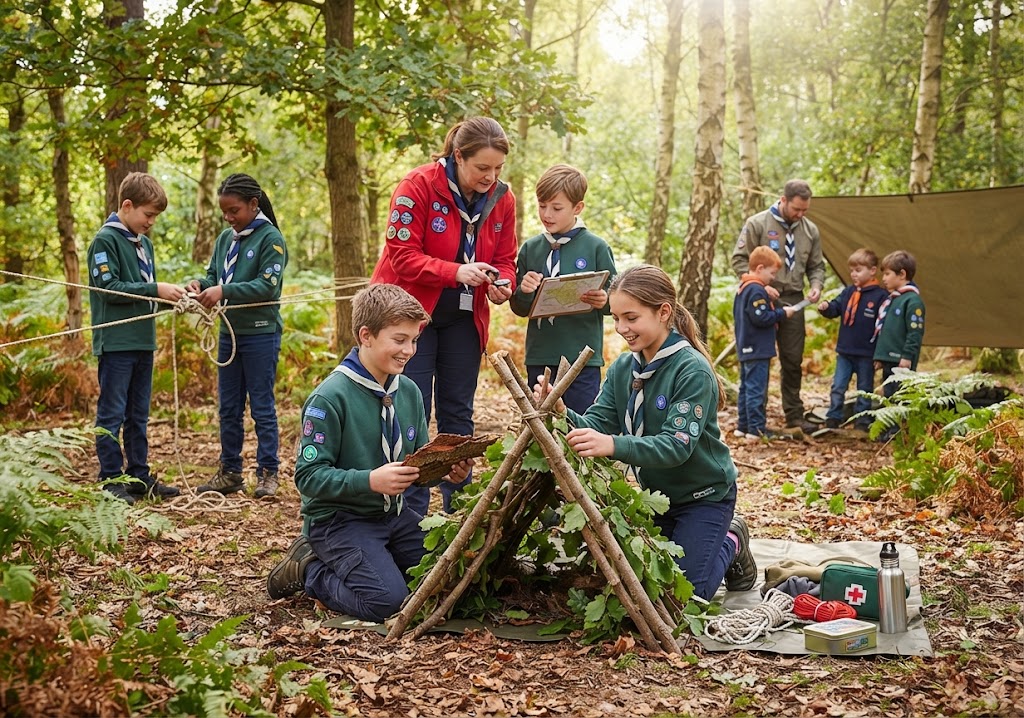
With the right plan, you can turn simple skills such as shelter building, navigation, fire safety, knots, outdoor cooking or first aid into an engaging activity that gets young people thinking, working together and learning practical skills.
The trick is to start with what you want the young people to learn, then build the activity around that goal.
Choose the survival skill
Start by choosing one main skill for the session.
Trying to teach too many survival skills at once can make an activity confusing and leave little time for practising.
Good subjects include:
For younger Scouts, choose one straightforward skill and make the activity hands-on.
For older Scouts and Explorers, you can introduce more complicated scenarios where they need to combine several skills.
Scouts’ own survival programme guidance recommends practising survival skills before heading out on camp and adapting the level of difficulty to the experience of the group.
Decide what success looks like
Before planning the game or activity, finish this sentence:
“By the end of this activity, the Scouts should be able to…”
For example:
“By the end of this activity, the Scouts should be able to identify three things that make a good emergency shelter.”
Or:
“By the end of this activity, the Scouts should be able to use a map and grid reference to find a marked location.”
This gives you something to work towards.
It also makes it much easier to decide what activities, equipment and questions you actually need.
Turn the skill into a game
Learning survival skills doesn’t have to feel like a lesson.
A game gives the Scouts a reason to use the skill.
For example, instead of simply teaching shelter construction, create a scenario:
“Your team has become stranded outdoors and needs to create a shelter before bad weather arrives.”
Instead of simply practising navigation:
“Your team has to find five emergency supply points using grid references.”
Instead of simply learning knots:
“Your team has 20 minutes to build a structure using only the equipment provided.”
The scenario creates a purpose.
The Scouts aren’t just practising a skill.
They’re trying to solve a problem.
Choose the right group size
Think about how many people will actually be involved.
Some activities work best individually, while others are much more enjoyable in small teams.
For a practical survival activity, groups of around 3–6 people often work well.
This gives everyone an opportunity to contribute without making the group so large that one or two people do everything.
You can also give participants specific roles.
For example:
Rotate the roles during the activity so different people get the opportunity to lead.
Plan the equipment
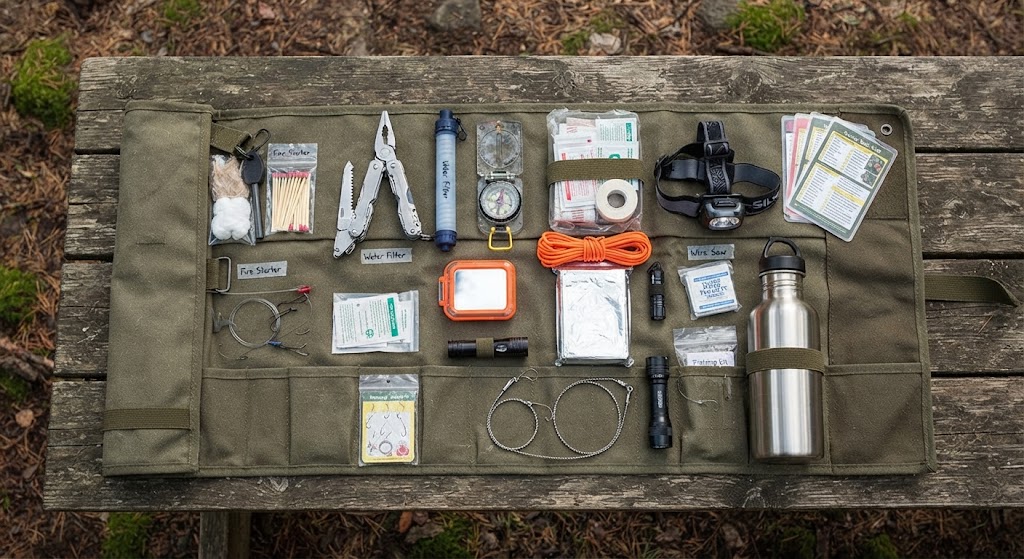
Make a complete equipment list before the session.
Separate it into two categories:
Essential equipment
Things the activity cannot run without.
Optional equipment
Things that can make the activity more interesting but aren’t essential.
For example, a shelter-building activity might need:
A navigation game might need:
Try to avoid giving teams far more equipment than they need.
Limited equipment can actually make the activity more interesting because Scouts have to decide what is most useful.
Pick a suitable location
The location can completely change a survival activity.
A woodland area might be ideal for shelter building.
An open campsite could work well for navigation games.
A meeting hall could be perfect for survival-kit design or emergency scenario games.
Before the activity, check the area carefully.
Think about:
Scouts’ guidance says outdoor activities need permission to use the location and that weather conditions should be checked. (Scouts)
Build in a survival scenario
One of the easiest ways to make an activity exciting is to create a fictional situation.
For example:
Lost on the trail
Your team has taken the wrong route and needs to work out where it is.
Unexpected weather
The weather has changed and your team needs to decide what to do next.
Remote campsite
Your group has limited equipment and needs to decide how to use it.
Emergency signal
Your team needs to work out how to attract attention from a safe location.
Night approaching
Your team has limited time to organise equipment and prepare a safe base.
Keep the scenarios fictional and age appropriate.
The goal is to encourage decision-making, not to recreate a genuinely dangerous situation.
Add an unexpected problem
Once the Scouts understand the basic activity, introduce something unexpected.
This could be a simple scenario card.
For example:
WEATHER UPDATE
Heavy rain is expected in 20 minutes.
What changes will you make to your plan?
Or:
EQUIPMENT UPDATE
One item from your equipment list is no longer available.
What will you do?
This encourages Scouts to adapt instead of simply following a set of instructions.
It’s particularly useful for developing teamwork and problem-solving.
Don’t forget the safety plan
Safety needs to be part of the planning process from the beginning, not something added just before the activity starts.
Scouts states that risk assessment starts during activity planning and continues throughout the activity. (Scouts)
Think about the specific risks created by your activity.
For example:
Fire activities
Consider heat, flames, smoke, combustible materials and extinguishing the fire.
Navigation
Consider roads, water, boundaries, separation and changing weather.
Shelter building
Consider falling branches, unstable structures, trip hazards and unsuitable materials.
Knives and tools
Consider supervision, safe handling, storage and appropriate instruction.
The risks will depend on the activity, location, equipment and participants.
Never add a dangerous element simply because it makes the activity seem more “survival-like”.
The objective should be adventure without unnecessary danger.
Have a Plan B
Outdoor activities don’t always go according to plan.
Rain, strong wind, extreme temperatures, poor ground conditions or an unexpected change at your meeting place could mean your original activity isn’t suitable.
Have an alternative ready.
For example:
Plan A: Build shelters outdoors.
Plan B: Design and build miniature shelters indoors.
Or:
Plan A: Navigation game around the campsite.
Plan B: Indoor map and grid-reference treasure hunt.
This means a change in weather doesn’t have to ruin your programme.
Make it accessible
A good survival activity shouldn’t depend on everyone being able to run, climb, carry heavy equipment or work outdoors for long periods.
Give people different ways to participate.
Someone could be:
Scouts says activities should be inclusive and accessible, and its survival guidance encourages leaders to consider how everyone can take part. (Scouts)
Think about accessibility when choosing the location, equipment and activity rules rather than trying to change everything afterwards.
Finish with reflection
Don’t end the activity as soon as the game finishes.
Spend a few minutes asking the Scouts what happened.
Useful questions include:
Reflection helps turn an enjoyable game into a learning experience.
Build a survival skills programme
You don’t need to teach every survival skill in one evening.
Instead, build a series of activities.
You could run a programme such as:
Week 1: Navigation game
Week 2: Shelter-building activity
Week 3: Fire-safety activity
Week 4: Survival-kit game
Week 5: First-aid scenarios
Week 6: Survival skills team game
By the end, Scouts have practised several different skills and can combine them in a final activity.
Scouts’ programme-planning guidance encourages leaders to use a mixture of activities and resources to build an engaging programme. (Scouts)
Create your own survival activity
The best survival activities don’t need expensive equipment or elaborate locations.
Start with a useful skill.
Give the Scouts a problem to solve.
Provide a safe environment.
Let them make decisions.
Then give them a chance to reflect on what happened.
That’s what turns a simple outdoor skill into a memorable Scout activity.
Choose the skill. Create the scenario. Plan the activity. Stay safe. Learn by doing.
🔒Ready to test your survival skills?
Join Survival Guides UK for free, complete challenges, earn badges and increase your Survival Level.
JOIN FREE →
CRAIG BURR
FOUNDER · SURVIVAL GUIDES UK
I'm Craig, the person behind Survival Guides UK. I created SGUK because I wanted somewhere people could learn real outdoor skills in a practical, straightforward way — from lighting a fire and tying knots to navigation, campcraft and everything in between.
You can read more about the story behind SGUK here as well as our approach here.