60-Minute Activity Plan: Nature Tracker Challenge
A practical nature tracking activity for Scouts that gets young people looking closely at the outdoor environment and noticing signs that are easy to miss.
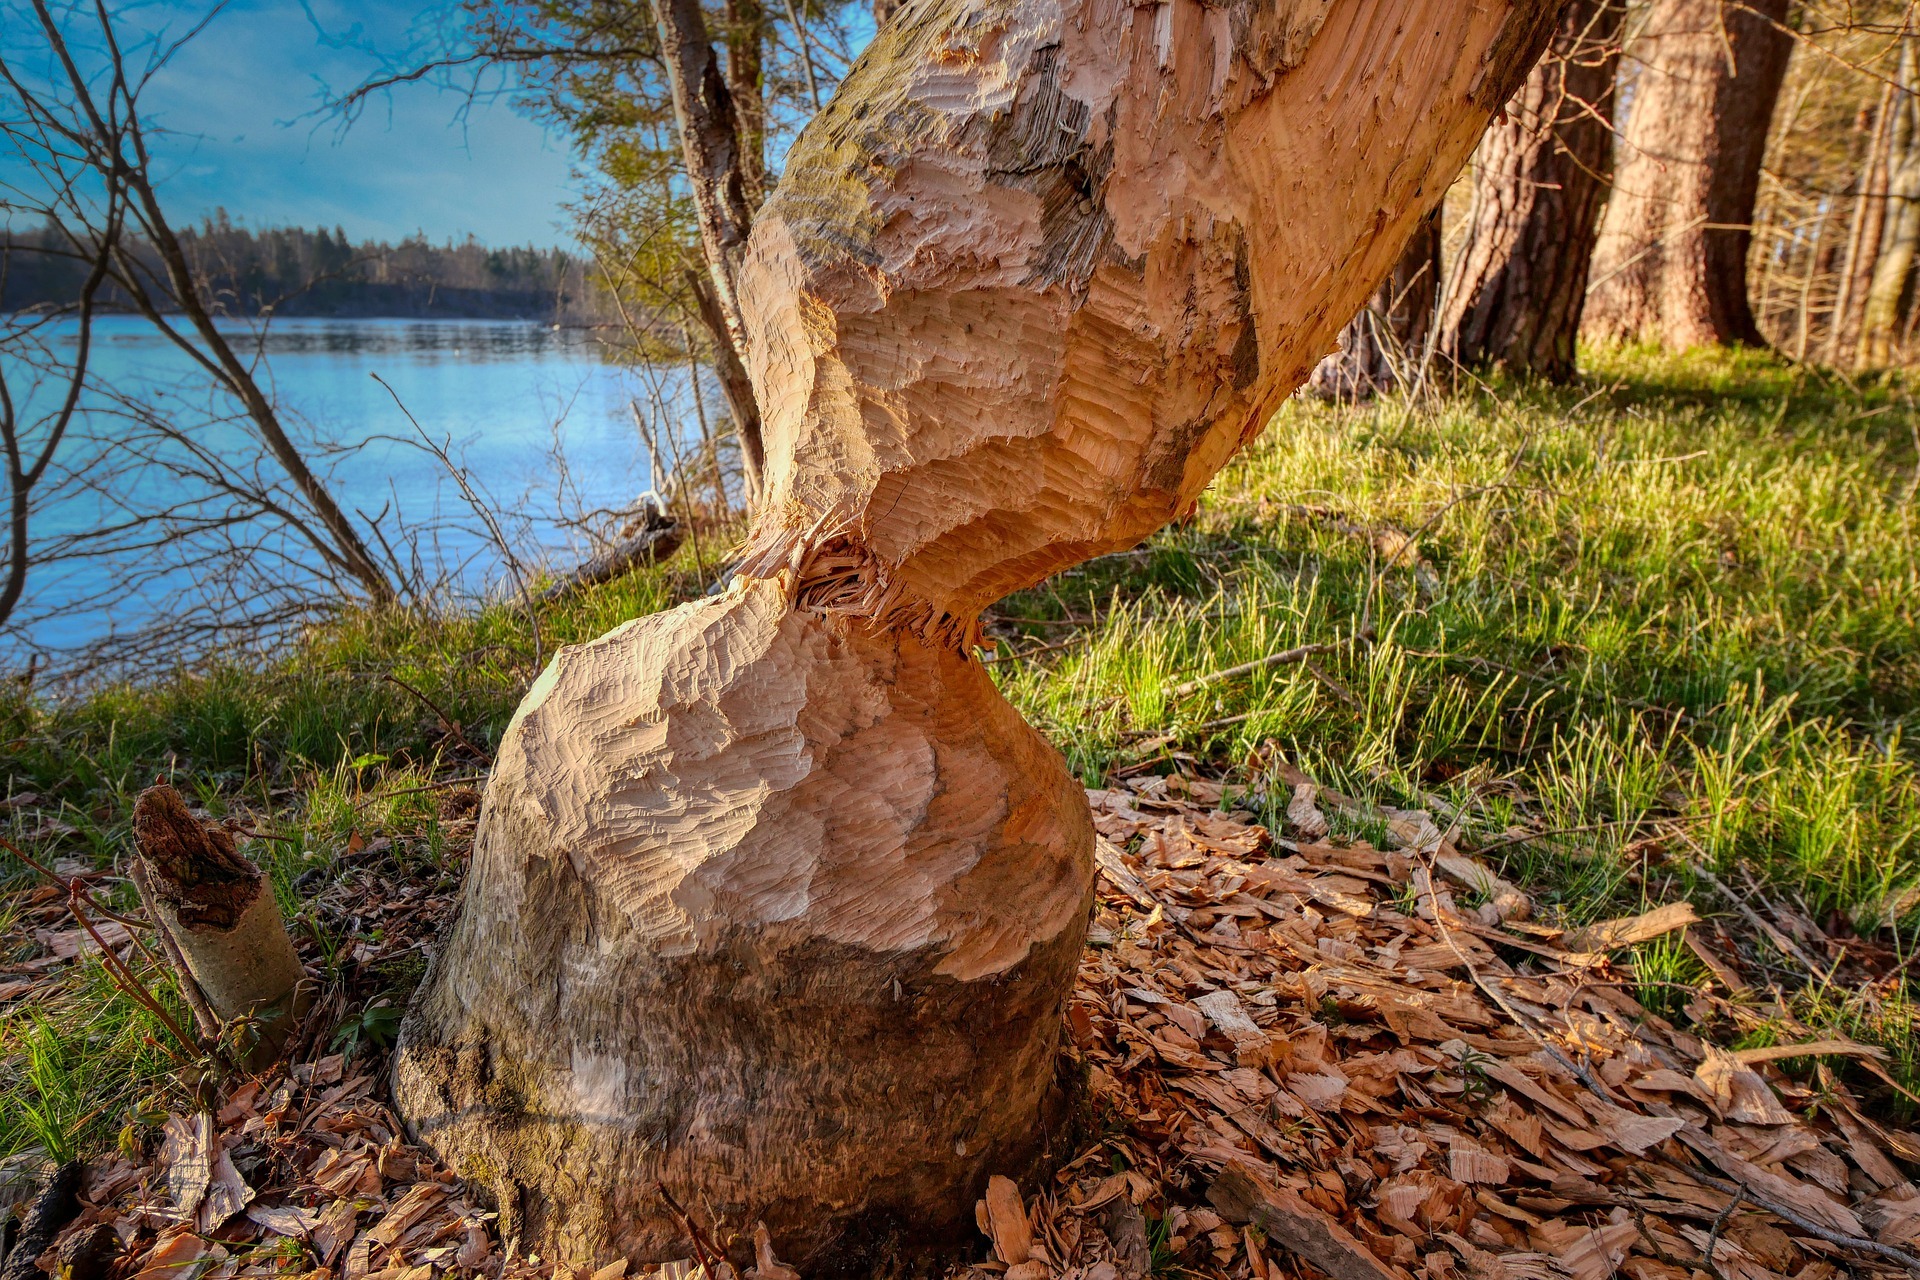
Instead of simply identifying plants and animals, teams become trackers. They search for evidence such as footprints, feeding marks, feathers, nibbled leaves, trails and other clues, then try to work out what may have left them behind.
The activity works well in a woodland, park, campsite or other suitable outdoor area and can be adapted for different ages.
Activity Overview
Time: 60 minutes
Group size: 8–24 young people
Suitable for: Beavers, Cubs and Scouts
Location: Outdoors
Main skills: Observation, nature awareness, identification, teamwork and recording information
The session begins with a short introduction to tracking before teams head out to investigate a defined area.
Rather than searching for wildlife itself, young people learn to look for signs of wildlife.
They then return with their findings and attempt to identify what may have made each sign.
The goal isn’t to identify everything perfectly. It’s to encourage curiosity and careful observation.
Before You Start
Choose an outdoor area where signs of wildlife are reasonably easy to find.
Woodland edges, grassy areas, muddy paths and campsites can all work well.
Before the activity, walk around the area yourself and identify a few suitable examples.
Look for things such as footprints in soft ground, feathers, chewed leaves, pine cones, tracks through grass, spider webs, nests from a safe distance or feeding marks.
Don’t disturb active nests, dens or animals.
Prepare a simple tracking sheet with spaces for:
What did you find?
Where did you find it?
What do you think made it?
What makes you think that?
For younger groups, use pictures instead of written questions.
Safety
Keep everyone within clearly defined boundaries and maintain normal supervision.
Young people should not approach, touch or feed wild animals.
Don’t allow them to enter water, climb trees or investigate holes, burrows or dense vegetation.
Treat animal droppings, dead animals and unknown substances as look-but-don’t-touch items.
Check the area for hazards before starting and make sure suitable clothing and footwear are being used for the conditions.
If ticks are a concern in the area or season, remind participants about appropriate clothing and your group’s normal tick-checking procedures.
Avoid damaging plants or habitats while searching.
0–10 Minutes: Think Like a Tracker
Gather the group together and ask:
“If an animal walked through here last night, how would you know?”
Let the group suggest ideas.
Footprints will probably be the first answer, but encourage them to think more widely.
An animal might leave behind:
Explain that tracking isn’t simply about finding footprints.
A tracker looks for evidence.
10–20 Minutes: Tracking Detectives
Show the group several prepared examples or photographs.
For each one, ask:
“What do you think happened here?”
Don’t worry about getting the species exactly right.
Instead, ask what evidence supports their theory.
For example:
“The leaf has been nibbled around the edge.”
Then ask:
“What makes you think something ate it rather than it being damaged by weather?”
This introduces a key tracking skill: look closely before deciding.
For Scouts, introduce the idea of distinguishing between an observation and an assumption.
20–40 Minutes: Tracker Hunt
Split the group into small teams.
Give each team a tracking sheet and a defined search area.
Their challenge is to find as many different signs as they can without disturbing the environment.
They should record what they find rather than simply collecting it.
Encourage teams to photograph or sketch interesting discoveries where appropriate.
For Beavers, give them a picture checklist such as:
Find something that has been eaten.
Find a footprint.
Find a feather.
Find something that shows an animal has passed through.
Cubs can record more details.
Scouts can be challenged to identify the likely animal and explain their reasoning.
40–48 Minutes: What Happened Here?
Bring everyone back together.
Ask each team to choose their most interesting discovery.
They explain:
What did you find?
Where was it?
What do you think happened?
What evidence supports your idea?
If two teams have different explanations, that’s fine.
Ask them which explanation is better supported by the evidence.
This encourages young people to understand that tracking often involves making a careful judgement rather than knowing the answer immediately.
48–55 Minutes: Create the Mystery Track
Now give each team a simple scenario.
For example:
“Something came through this area during the night. Your team needs to work out what it might have been doing.”
Give them three or four pieces of evidence.
They must create a short explanation.
For older Scouts, make the evidence less obvious.
For example:
A chewed plant, a footprint and a disturbed patch of soil.
Ask:
“What story do these clues tell?”
The team should be able to explain how the evidence connects.
55–60 Minutes: Final Reflection
Bring everyone together for a final discussion.
Ask:
“What did you notice today that you would normally walk past?”
Then ask:
“Why is it better to observe wildlife without disturbing it?”
Finish by explaining that good trackers don’t need to chase animals or pick things up.
Often the best evidence is found by simply slowing down and looking carefully.
Adapting for Different Ages
Beavers
Keep the activity visual.
Use a picture checklist and let Beavers search for obvious signs such as feathers, footprints and damaged leaves.
Don’t worry about species identification.
The main aim is encouraging them to notice the natural world around them.
Cubs
Introduce simple identification.
Cubs can try to match footprints or feeding signs with common British animals.
Encourage them to record where they found each clue and what they think happened.
Scouts
Make the activity more investigative.
Scouts can compare different explanations and distinguish between what they know, what they think and what they need to find out.
Give them more subtle evidence and encourage them to consider habitat, direction of travel and the age of a sign.
Leader Notes
Avoid making this a competition based purely on the number of discoveries.
A team that finds three genuinely interesting signs and carefully investigates them may learn much more than a team that rushes around collecting a long list.
It’s also worth reminding young people that wildlife signs don’t always have a definite answer.
A footprint might be partially damaged. A feather may have been carried by the wind. A chewed leaf might have been affected by more than one animal.
That uncertainty is useful.
It teaches young people to be comfortable saying:
“I’m not sure, but this is what I think based on the evidence.”
If your area doesn’t have much obvious wildlife, prepare your own tracking clues beforehand. You can make simple tracks in soft soil or use photographs and replica examples without disturbing real animals.
Learning Outcomes
By the end of the activity, young people should have had opportunities to:
Final Thought for Leaders
Young people don’t need to see an animal to learn something about it.
A footprint in mud, a feather on the ground or a damaged leaf can tell a story if you take the time to look closely.
The Nature Tracker Challenge encourages exactly that habit. It turns an ordinary patch of grass, woodland or campsite into an investigation and helps young people discover that there is far more happening outdoors than we usually notice.
🔒Ready to test your survival skills?
Join Survival Guides UK for free, complete challenges, earn badges and increase your Survival Level.
JOIN FREE →
CRAIG BURR
FOUNDER · SURVIVAL GUIDES UK
I'm Craig, the person behind Survival Guides UK. I created SGUK because I wanted somewhere people could learn real outdoor skills in a practical, straightforward way — from lighting a fire and tying knots to navigation, campcraft and everything in between.
You can read more about the story behind SGUK here as well as our approach here.