60-Minute Activity Plan: Water Wise
A practical water safety and outdoor skills activity for Scouts that gets young people thinking about one of the most important outdoor resources: water.
Rather than simply teaching that “water is important”, this activity explores where water comes from, how to judge whether a source is suitable for use, how water can become contaminated and why finding water and making water safe are two different things.
The activity can be run entirely away from open water, making it suitable for a normal Scout meeting.
Activity Overview
Time: 60 minutes
Group size: 8–24 young people
Suitable for: Beavers, Cubs and Scouts
Location: Indoors or outdoors
Main skills: Water awareness, observation, decision-making, hygiene, problem-solving and outdoor preparedness
Teams are given a series of fictional outdoor situations and several possible water sources.
They must decide which sources might be suitable, which should be avoided and what further steps would be needed before water could safely be consumed.
The activity deliberately avoids encouraging young people to drink from untreated natural water. The emphasis is on recognising risk and making sensible decisions.
Before You Start
Prepare several containers or photographs representing different water sources.
For example:
You can make the activity more interesting by deliberately making some sources look clean while others look obviously dirty.
Prepare scenario cards such as:
“You’re camping and your normal drinking-water supply has run out.”
“You’ve found a clear stream.”
“Heavy rain has fallen overnight.”
“There is farmland upstream.”
You can also prepare cards showing different treatment methods, but make it clear that treatment doesn’t automatically make every source safe.
Scouts guidance stresses that water can be contaminated even when it looks clean, and recommends considering contamination risks before activities involving water. (Scouts)
Safety
Do not ask young people to drink untreated water as part of this activity.
Avoid collecting water from natural sources for consumption. The activity can be completed using labelled containers, photographs or fictional scenarios.
If you’re working near an actual river, pond, canal or lake, treat the activity as an activity near water, not simply as an indoor-style game. Boundaries, supervision and risk assessment are important.
Don’t allow young people to enter the water or lean over banks to collect samples.
If demonstrating filtration, use clean demonstration materials and make it clear that filtering visibly dirty water does not automatically make it safe to drink.
Good hand hygiene is important after handling outdoor water or potentially contaminated materials.
0–10 Minutes: Where Does Our Water Come From?
Start by asking:
“If you were thirsty outside and had no water bottle, where might you find water?”
Let the group suggest answers.
You might hear rivers, streams, ponds, rain, springs and taps.
Then ask a second question:
“Does finding water mean you’ve found drinking water?”
This is the key idea for the whole activity.
Explain that natural water can contain things that can’t be seen, including microorganisms or other contamination.
10–20 Minutes: Safe or Not Safe?
Put your prepared water-source cards or containers where everyone can see them.
Ask teams to sort them into three categories:
Would consider
Would investigate further
Would avoid
Don’t tell them the answers.
The interesting part is the discussion.
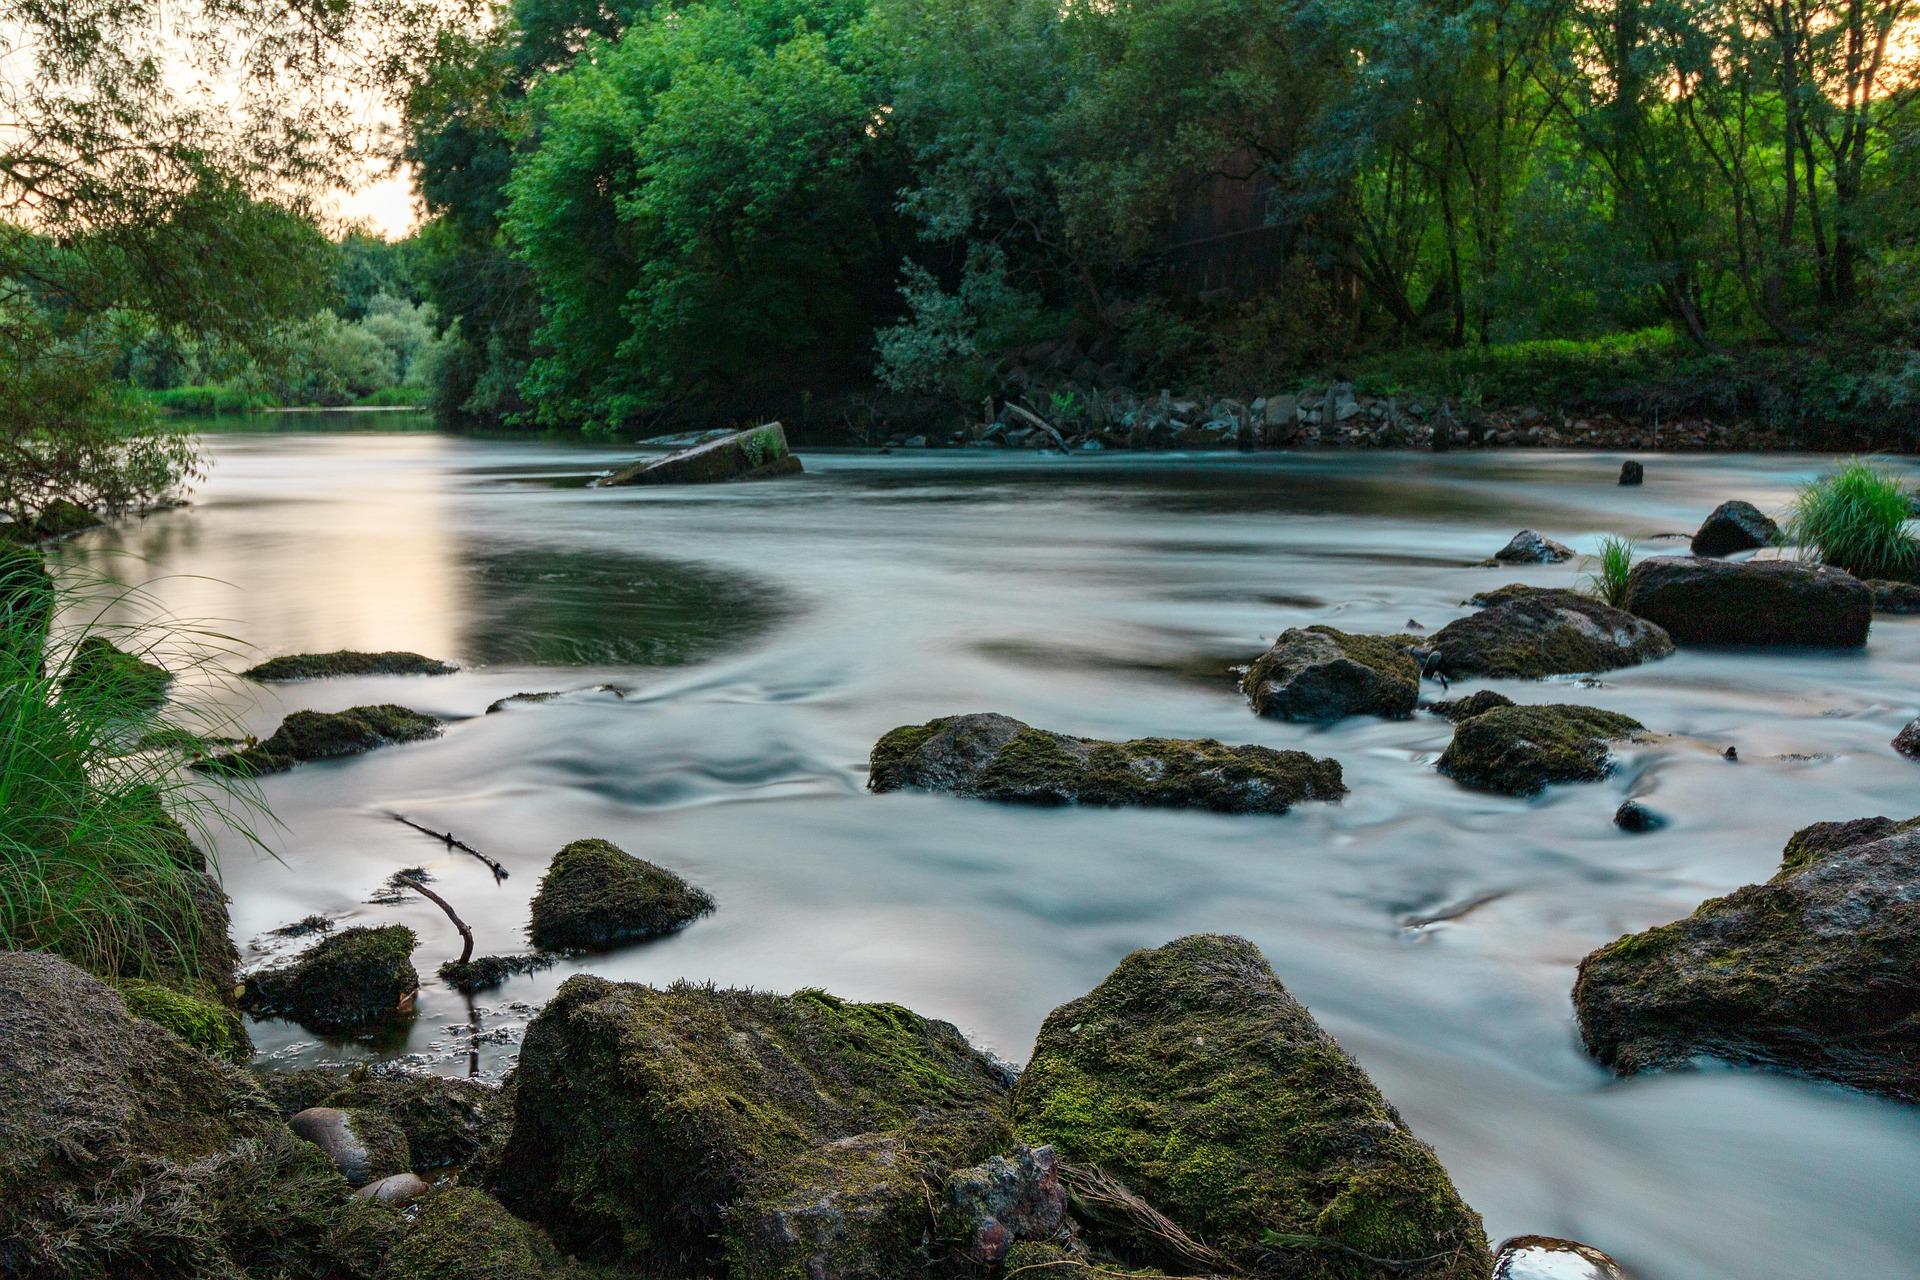
A clear stream might initially look like an obvious choice.
Ask:
“What do you know about what’s upstream?”
Similarly, if a container looks dirty, ask:
“Does looking dirty automatically tell you everything about it?”
The aim is to teach young people that appearance alone isn’t enough.
20–32 Minutes: What Could Contaminate Water?
Give each team several contamination cards.
Examples might include:
Animals nearby
Heavy rainfall
Farm fields upstream
Sewage discharge
Stagnant water
Industrial activity
Unknown source
Teams place the cards next to different water sources and decide whether they make the source more or less concerning.
For younger sections, keep the discussion simple:
“Would this make you more careful or less careful?”
For Scouts, ask them to explain how the contamination could reach the water.
This turns the activity from simple sorting into environmental problem-solving.
32–42 Minutes: The Water Treatment Puzzle
Introduce several fictional treatment options.
For example:
Boiling
Filtration
Disinfection
Letting sediment settle
Doing nothing
Ask teams to match possible treatments to problems.
The important lesson is that different methods deal with different problems, and treatment shouldn’t be treated as a magic solution for an unknown source.
For older Scouts, explain that water can contain several different types of contamination and that a treatment method needs to be appropriate for the particular risk.
You can demonstrate filtration using muddy water passing through a simple filter, but do not allow the resulting water to be described as drinking water.
Ask:
“Does looking clearer necessarily mean it’s safe?”
That question usually produces a useful discussion.
42–52 Minutes: The Outdoor Water Challenge
Give each team a scenario card.
Scenario A
“You’ve been walking for two hours. The weather is warm and your water supply is running low. You find a stream.”
Scenario B
“You’re camping after heavy rain. There is a pond nearby but animals have been grazing around it.”
Scenario C
“You find a clear-looking stream but don’t know where the water has come from.”
Each team must answer:
What would you do?
What information would you want?
Would you use the water?
What safer alternatives might exist?
Emphasise that the best answer may simply be find a known safe drinking-water supply rather than trying to make an uncertain source safe.
52–57 Minutes: Pack Your Water Plan
Ask teams to imagine they’re preparing for a day outdoors.
Give them a selection of equipment and information cards.
They need to choose what they would take to manage their water needs.
Include obvious choices such as a reusable bottle or suitable water container, along with distractions.
For older Scouts, add a route length and weather forecast.
Ask:
“How much water do you think you need to plan for, and what would make you change that?”
The aim isn’t to teach a single universal quantity. Conditions, activity, individual needs and access to reliable water all matter.
57–60 Minutes: Final Water Wise Check
Finish with three quick questions:
Can clear water still be unsafe?
Can weather affect water quality?
Is finding water the same as finding safe drinking water?
Then ask each team for one rule they would remember.
Bring the session back to a simple message:
“Plan your water before you need it.”
Adapting for Different Ages
Beavers
Keep the activity visual and straightforward.
Use pictures of water sources and ask Beavers to identify which sources they would trust and which ones they would avoid.
Focus on the importance of taking enough safe drinking water when going outdoors.
A simple game is to show a picture and ask:
“Drink it, investigate it or leave it?”
Cubs
Introduce contamination scenarios.
Cubs can sort different water sources and discuss why some are more concerning than others.
A simple demonstration using muddy water can help show why making water look cleaner doesn’t necessarily make it safe.
Scouts
Make the scenarios more realistic.
Give Scouts information about rainfall, land use, distance from buildings, the length of the activity and available equipment.
Ask them to justify their decisions rather than simply choosing an answer.
You can also introduce the difference between water collection, filtration and disinfection as separate concepts.
Leader Notes
The biggest misconception worth challenging is:
“If it looks clean, it must be safe.”
Natural water can look perfectly clear while still presenting a health risk. Scouts guidance specifically highlights contamination risks from sources such as sewage, land run-off and animal activity.
It’s also worth avoiding the idea that every outdoor water problem can be solved with a filter.
The practical lesson for young people should be:
Carry enough safe water. Know where reliable drinking water is available. Understand the risks before considering any treatment.
If you want to make the activity more hands-on, use sealed bottles of water with labels rather than real untreated water.
For a more advanced Scout session, you could combine this activity with route planning and ask teams to mark reliable drinking-water points on a fictional hiking map.
Learning Outcomes
By the end of the activity, young people should have had opportunities to:
Final Thought for Leaders
Water is so familiar that it’s easy to forget how much thought goes into having safe water when you’re away from home.
The Water Wise activity encourages young people to stop thinking of every stream or pond as a potential drinking source and start thinking about where water has come from, what might have entered it and whether there is a safer alternative.
That mindset is far more useful than memorising a list of places where water can be found.
Good outdoor preparation starts with a simple question:
“Where will our safe drinking water come from?”
🔒Ready to test your survival skills?
Join Survival Guides UK for free, complete challenges, earn badges and increase your Survival Level.
JOIN FREE →
CRAIG BURR
FOUNDER · SURVIVAL GUIDES UK
I'm Craig, the person behind Survival Guides UK. I created SGUK because I wanted somewhere people could learn real outdoor skills in a practical, straightforward way — from lighting a fire and tying knots to navigation, campcraft and everything in between.
You can read more about the story behind SGUK here as well as our approach here.