Emergency Signal Challenge
Activity Overview
Difficulty: Intermediate
Time: 60 minutes
Group size: 11-20
Best for: Scouts
Skills: Signalling, communication, teamwork, emergency awareness, problem-solving
Scouts learn how to attract attention and communicate for help using a range of emergency signals. Teams then complete practical challenges where they must choose and create an appropriate signal for different situations.
What You’ll Learn
Scouts will practise:
- Recognising when an emergency signal may be needed
- Choosing an appropriate way to attract attention
- Using visual and audible signals
- Communicating clearly under pressure
- Working together to solve emergency scenarios
- Understanding why simple, repeated signals are effective
🟢 SAFETY – LOW RISK
Keep the activity within a clearly defined area and make sure Scouts understand that signals used during the activity are simulated only.
Do not allow Scouts to approach roads, water, cliffs or other hazards to create a signal. If using whistles, avoid prolonged or excessive blowing close to other people.
Equipment
- Whistles
- Bright or high-visibility materials
- Torches if appropriate
- Rope
- Paper and pens
- Scenario cards
- Open outdoor space
Prerequisites
No previous experience is required, although Scouts should understand basic outdoor safety and know how to stay together if they become lost or separated.
Instructions
1. Introduce Emergency Signals
Ask Scouts how someone could attract attention if they were lost or needed help outdoors.
Introduce simple methods such as:
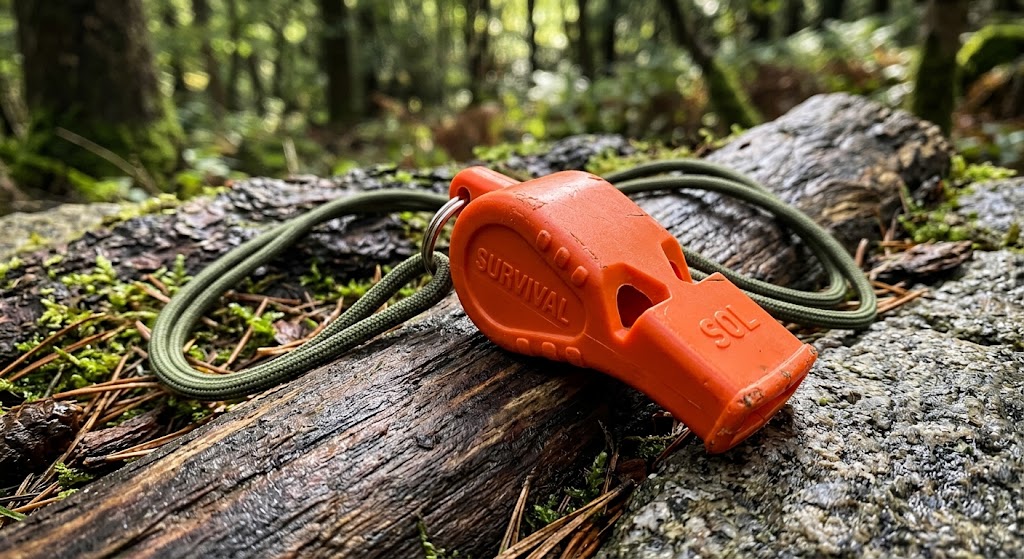
- Whistle signals
- Calling for help
- Torches or lights
- Bright clothing or equipment
- Large visible shapes or markers
- Repeated signals in a clear pattern
Explain that the best signal depends on the situation, weather, surroundings and equipment available.
2. Practise a Whistle Signal
Teach a simple emergency whistle signal using three repeated blasts.
Practise the signal together, then explain that Scouts should not use it casually during a real activity because it needs to remain meaningful.
3. Split Into Teams
Divide Scouts into teams of 3–5.
Give each team a scenario card. For example:
- You are lost in woodland.
- You are separated from your group at a campsite.
- You need to attract attention from across an open field.
- It is becoming dark and you need rescuers to see your position.
- You have very little equipment available.
4. Choose a Signal
Each team has a few minutes to decide which signal would work best.
They should consider:
- How far away the signal needs to be seen or heard
- Whether it is daytime or night
- What equipment is available
- Whether the surroundings block sound or visibility
- How the signal can be repeated
5. Create the Signal
Teams then create a simple demonstration of their chosen signal.
For example, they might create a large visible marker using rope and clothing or demonstrate how they would use a whistle or torch.
Give each team a short time to present its solution.
6. Signal Challenge
Finish with a practical challenge.
Give each team a new scenario and a limited selection of equipment. They must quickly agree on the best way to attract attention and demonstrate it.
After each challenge, ask the group whether there was a better or simpler solution.
7. Review
Ask:
- Which signals were easiest to notice?
- Which worked best over distance?
- Why is repetition important?
- What would change at night?
- What would you do if your first signal failed?
Reinforce the importance of staying calm, staying together and making clear, repeated signals.
Final Tip
Give teams realistic limitations rather than simply asking them to invent the biggest signal possible. Having to work with limited equipment makes the activity much more useful.
🔒Ready to test your survival skills?
Join Survival Guides UK for free, complete challenges, earn badges and increase your Survival Level.
JOIN FREE →
CRAIG BURR
FOUNDER · SURVIVAL GUIDES UK
I'm Craig, the person behind Survival Guides UK. I created SGUK because I wanted somewhere people could learn real outdoor skills in a practical, straightforward way — from lighting a fire and tying knots to navigation, campcraft and everything in between.
You can read more about the story behind SGUK here as well as our approach here.