Make a Survival Signal
Activity Overview
Difficulty: Beginner
Time: 60 minutes
Group size: 6-10
Best for: Scouts
Skills: Signalling, creativity, teamwork, problem solving, survival awareness
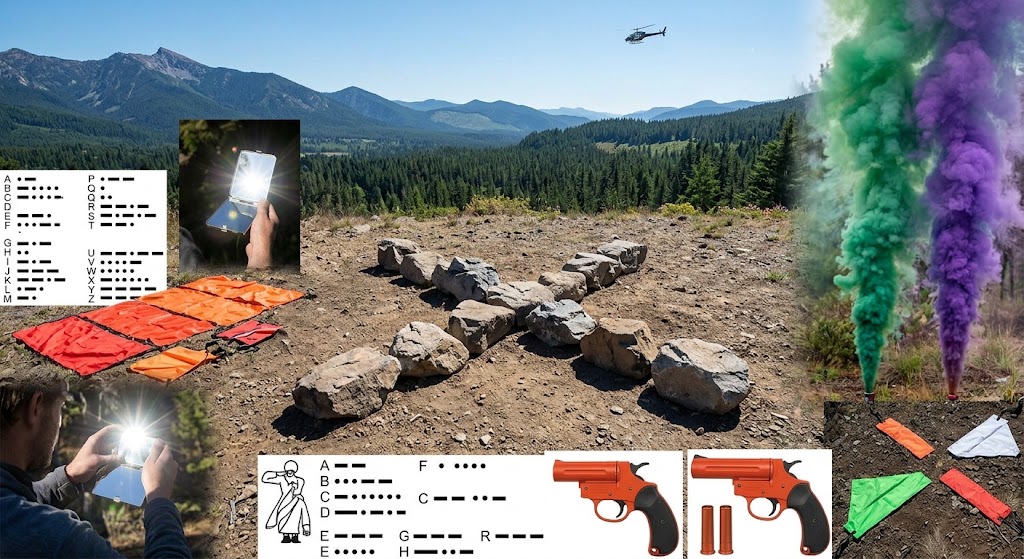
Scouts work in small teams to design and build a visible emergency signal using simple materials. They then test how easy their signal is to spot from a distance and improve it.
What You’ll Learn
Scouts will practise:
- Understanding why emergency signals need to be visible
- Choosing suitable materials
- Creating large, simple signals
- Working within limited resources
- Testing and improving their ideas
- Explaining why their design would work
🟢 SAFETY – LOW RISK
Use a clearly defined activity area away from roads, water and steep ground.
Check natural materials before use and avoid sharp, unstable or hazardous objects. If using rope, make sure it does not create a trip hazard.
Explain that the signals are for the activity only and should not be mistaken for a genuine emergency signal.
Equipment
- Rope
- Bright clothing or fabric
- Lightweight natural materials
- Cones or markers
- Tarpaulin or survival blanket
- Paper and pens
- Measuring tape
Prerequisites
No previous experience is required. A basic understanding of staying together and attracting attention outdoors is useful.
Instructions
1. Set the Scenario
Tell Scouts:
“You are lost outdoors and need rescuers to find you. You have some basic equipment, but no phone or radio. How could you make yourself easier to spot?”
Explain that their signal needs to be noticeable from a distance.
2. Discuss Good Signals
Ask the group what makes a signal effective.
Look for ideas such as:
- Large
- Bright
- High contrast
- Simple
- Easy to recognise
- Visible from above or from a distance
Explain that movement can also help attract attention when appropriate.
3. Split Into Teams
Create teams of 2–5 Scouts.
Give each team the same selection of materials and set a time limit of around 15 minutes to build its signal.
Encourage them to plan before they start building.
4. Build the Signal
Teams create their survival signal.
They might make a large pattern on the ground, create a visible marker or use bright materials to form a recognisable shape.
Remind them that bigger and simpler is usually better than a complicated design.
5. Test the Signals
Have teams move to an agreed observation point.
One team stays with its signal while the others try to identify it from a distance.
Ask:
- Could you see it clearly?
- Could you tell what it was?
- What made it stand out?
- What could make it easier to spot?
6. Improve the Design
Give teams another 5–10 minutes to improve their signal based on what they have learnt.
Repeat the observation test and see whether the changes made a difference.
7. Review
Bring everyone together and discuss what made the most effective signals.
Ask Scouts what they would change if they had to create a signal with only one item of equipment.
Final Tip
Make the observation point far enough away that teams cannot simply walk over and inspect the signals. This makes them think about what a rescuer would actually see from a distance.
🔒Ready to test your survival skills?
Join Survival Guides UK for free, complete challenges, earn badges and increase your Survival Level.
JOIN FREE →
CRAIG BURR
FOUNDER · SURVIVAL GUIDES UK
I'm Craig, the person behind Survival Guides UK. I created SGUK because I wanted somewhere people could learn real outdoor skills in a practical, straightforward way — from lighting a fire and tying knots to navigation, campcraft and everything in between.
You can read more about the story behind SGUK here as well as our approach here.