Camp Safety Inspector Activity
Activity Overview
Can you spot the hazards before they cause a problem?
👦 Age: 8–18
👥 Group size: 4–30
⏱️ Duration: 45–60 minutes
📍 Location: Indoors or outdoors
⭐ Difficulty: 2/5
Imagine you’ve just arrived at a campsite.
Everything looks fine at first, but there could be hazards hiding in plain sight.
A loose guyline, a bag left on a path, a cooking area that’s too crowded or a slippery patch of ground could all cause problems if nobody notices them.
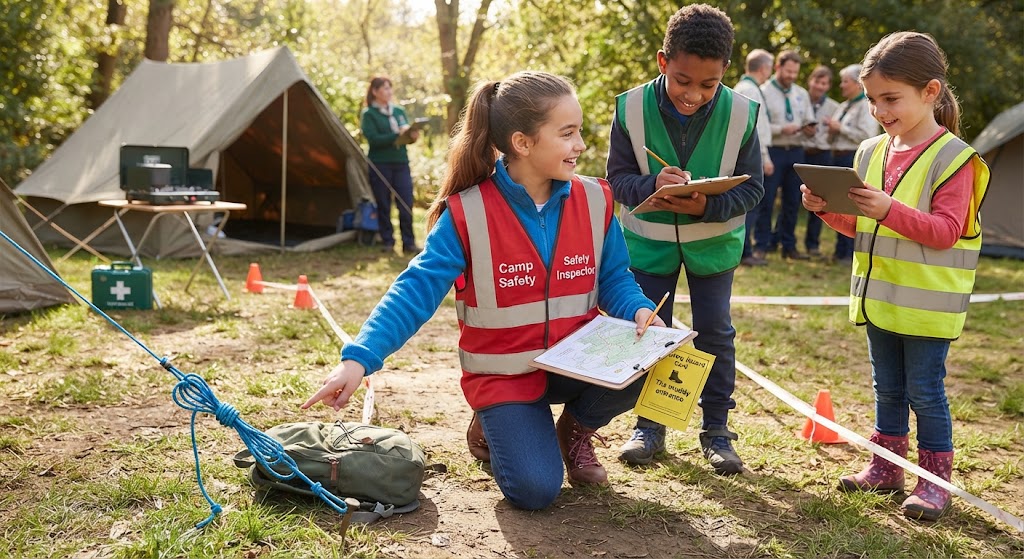
In this activity, you’ll become Camp Safety Inspectors and see how many potential hazards your team can find.
But there’s an extra rule:
Spotting the hazard isn’t enough. You also need to explain what could make it safer.
This is a fun way to develop observation, communication, teamwork and risk-awareness skills without putting anyone in danger.
⚠️ Important: This is an educational activity about recognising potential hazards. Participants should never attempt to fix dangerous situations themselves. Tell an appropriate adult or activity leader about anything unsafe.
🧰 What you’ll need
You can run this activity around a campsite, Scout meeting place or even indoors.
Equipment
- Paper or notebooks
- Pens or pencils
- Clipboards if available
- A simple map of the area
- Sticky notes
- Cones or markers
- Optional hazard cards
- Optional high-visibility vests for the inspectors
- Optional camera or tablet for recording observations
You don’t need to create real dangerous situations.
The safest option is to use clearly controlled, harmless examples or prepared hazard cards.
👀 Start with a safety briefing
Before sending teams out, talk about what a hazard actually is.
A hazard is something that could potentially cause harm.
Ask the group to think about hazards they might encounter during an outdoor adventure.
For example:
- Something someone could trip over
- Something hot
- A slippery surface
- Poorly stored equipment
- A blocked walkway
- Water
- Broken equipment
- Poor hygiene
- Getting separated from the group
- Unstable objects
Explain that not every hazard has the same level of risk.
A small object on the floor might be easy to deal with, while another hazard could require an adult to take action immediately.
🗺️ Create your inspection map
Split the group into pairs or small teams.
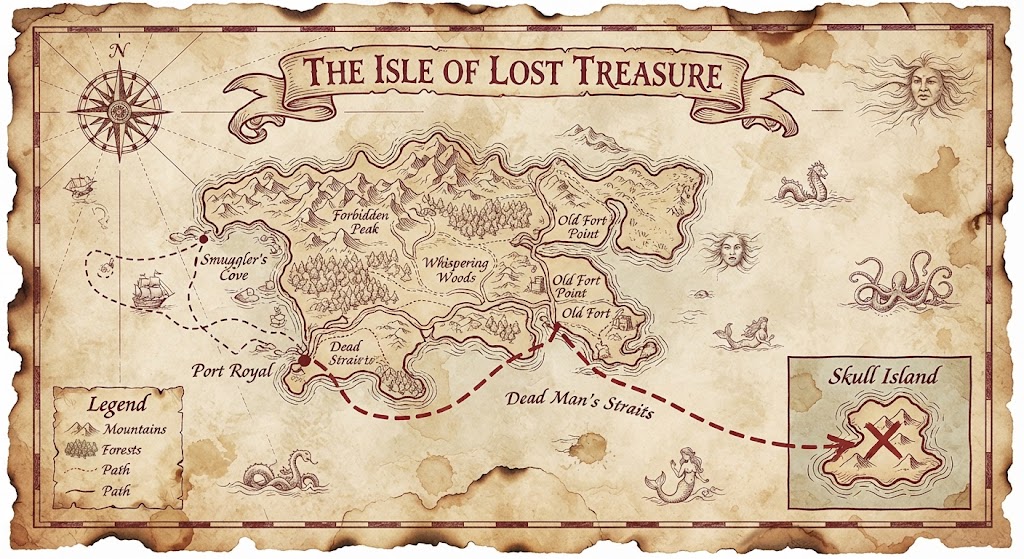
Give each team a simple map of the area.
It doesn’t need to be professionally drawn.
A basic plan showing buildings, paths, tents, activity areas and other features is enough.
Give each team a different coloured pencil or marker.
Their mission is to explore the area and record anything they think could create a safety problem.
Instead of writing long descriptions, encourage them to create their own symbols.
For example:
⚠️ = general hazard
🔥 = heat or fire
💧 = water
👣 = trip or slip
🧼 = hygiene
This makes the map easier to understand when everyone comes back together.
🕵️ Begin the inspection
Give the teams a set amount of time to explore.
Around 15–20 minutes works well.
Their job isn’t to rush around looking for as many things as possible.
They should stop and think about each observation.
For every potential hazard, ask them to consider three questions:
What is the hazard?
What could happen?
How could the situation be made safer?
For example, they might notice equipment stored across a walkway.
Rather than simply writing “equipment”, they could record:
Hazard: Equipment blocking the path.
Possible problem: Someone could trip.
Safer option: Move the equipment to a designated storage area.
This encourages participants to think about solutions rather than simply spotting problems.
🚨 The mystery hazard cards
Once the teams have completed their first inspection, introduce a second part of the activity.
Give each team several Mystery Hazard Cards.
Each card describes a fictional situation.
For example:
🥾 The muddy entrance
Rain has made the entrance to the campsite very muddy.
What could go wrong?
What could you do to reduce the risk?
🎒 The messy tent
Equipment has been left all over the floor inside a tent.
What problems could this cause?
How could the group organise the space?
🔥 The cooking area
People are walking through an area where cooking equipment is being used.
What could be improved?
🌧️ The storm
Heavy rain is expected later.
What parts of the campsite would you check before the weather arrives?
🗺️ The missing person
A team member can’t be found.
What should the group do?
Who should they tell?
These scenarios encourage the group to think about safety beyond what they can immediately see.
🏆 Score your inspectors
Turn the activity into a team game by awarding points.
Give each team up to 10 points in each category.
👀 Observation — 10 points
Did they notice useful potential hazards?
🧠 Thinking — 10 points
Did they explain why something could be a problem?
💡 Solutions — 10 points
Did they suggest sensible ways to reduce the risk?
🗣️ Communication — 10 points
Did they clearly explain their findings?
🤝 Teamwork — 10 points
Did everyone have a chance to contribute?
Maximum score: 50 points.
Don’t make the team with the most hazards automatically the winner.
The aim is to find useful observations and sensible solutions, not simply to produce the longest list.
🔄 Swap the maps
Here’s another way to run the activity.
After the first inspection, give each team another team’s map.
Ask them to look at the hazards that have already been identified.
Can they think of any additional problems?
Can they improve any of the suggested solutions?
This introduces another useful skill: looking at a problem from someone else’s perspective.
🧠 The Safety Inspector Test
For an extra challenge, give the group a series of statements.
They must decide whether each one is:
SAFE
NEEDS ATTENTION
or
TELL AN ADULT
Example:
A rucksack is lying in the middle of a walkway.
Needs attention.
Someone notices damaged electrical equipment.
Tell an adult.
Everyone is washing their hands before preparing food.
Safe.
A person wants to investigate a potentially dangerous area by themselves.
Tell an adult.
The important lesson is that participants don’t need to fix every problem themselves.
Knowing when to ask for help is an important part of staying safe.
💬 What did you learn?
Bring everyone back together and discuss what they discovered.
Ask:
- Which hazard was easiest to miss?
- Did another team spot something you didn’t?
- Which hazards could be fixed quickly?
- Which ones would need an adult?
- Did you disagree about whether something was dangerous?
- How can good organisation make a campsite safer?
- What should you do when you notice something unsafe?
- Could you use these skills somewhere other than a campsite?
Encourage participants to think about how the same skills could be used at home, at school, on a walk or during another outdoor activity.
♿ Make it accessible
The activity can be adapted for different abilities and environments.
If exploring the site isn’t suitable for everyone, create a Safety Inspector Table indoors.
Set up pictures, maps or fictional campsite scenarios and ask participants to identify potential hazards.
Participants can also take different roles:
- Safety inspector
- Map reader
- Note taker
- Photographer
- Team leader
- Hazard researcher
- Solution finder
Not everyone needs to write.
Participants can use symbols, drawings, photographs or verbal explanations instead.
🛡️ Safety
The activity itself should never create unnecessary hazards simply to give participants something to find.
Don’t deliberately leave dangerous objects, create trip hazards, use unsafe equipment or put participants near fire, deep water or other hazards.
If you’re inspecting an outdoor location, check the area beforehand and establish clear boundaries.
Participants should never attempt to repair, move or investigate something that could be dangerous.
Instead, they should report it to the appropriate adult or activity leader.
Make sure supervision is appropriate for the group and location, and follow your organisation’s relevant safety, safeguarding and risk-assessment procedures.
🕵️ Your mission is complete
You’ve explored the area, identified potential problems and worked out how they could be made safer.
But being a good Safety Inspector isn’t about finding something wrong with everything.
It’s about noticing what other people might miss, thinking about what could happen and knowing what to do next.
The next time you’re at camp, on an adventure or simply walking around your local area, take another look.
You might be surprised by how many things you notice.
Look carefully. Think safely. Speak up.
🔒Ready to test your survival skills?
Join Survival Guides UK for free, complete challenges, earn badges and increase your Survival Level.
JOIN FREE →
CRAIG BURR
FOUNDER · SURVIVAL GUIDES UK
I'm Craig, the person behind Survival Guides UK. I created SGUK because I wanted somewhere people could learn real outdoor skills in a practical, straightforward way — from lighting a fire and tying knots to navigation, campcraft and everything in between.
You can read more about the story behind SGUK here as well as our approach here.