60-Minute Activity Plan: Survival Shelter Challenge
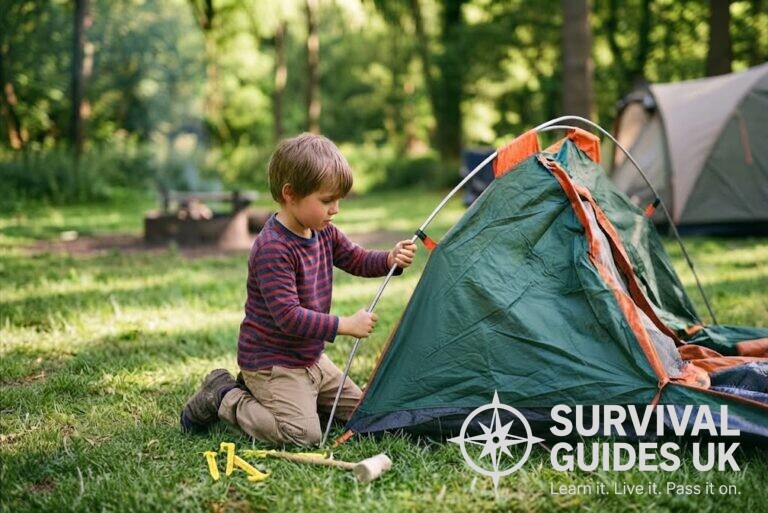
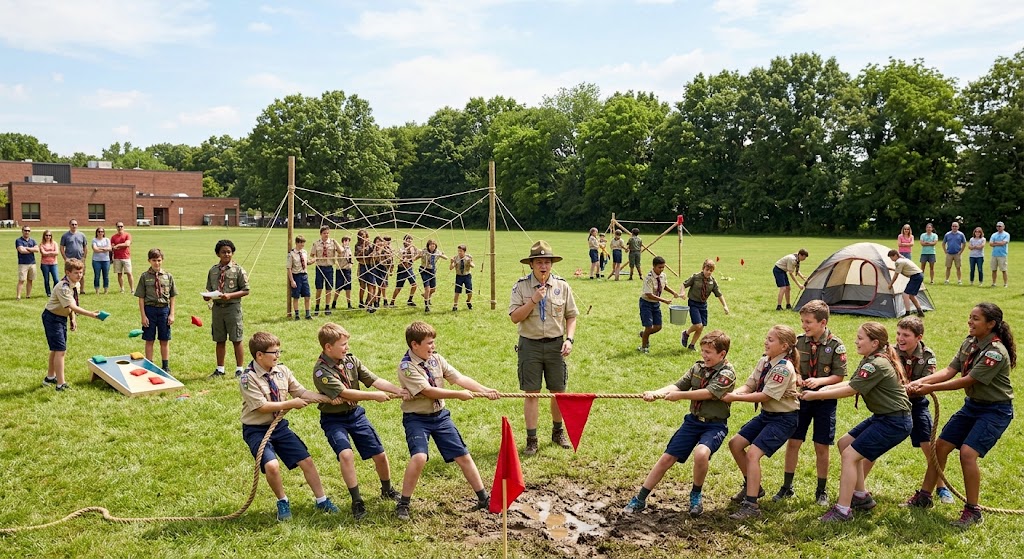
Looking for an engaging outdoor survival activity for Scouts? The Survival Shelter Challenge gives Beavers, Cubs and Scouts a practical way to explore shelter building, weather awareness, teamwork and problem-solving. Using simple materials, teams design and build a shelter before testing how well their ideas cope with different weather conditions.
Teams have to design and build a small shelter using a limited selection of materials, then test whether their design can cope with a simple simulated weather challenge. The emphasis is on planning and problem-solving rather than building the biggest structure.
Activity Overview
Time: 60 minutes
Group size: 8–24 young people
Suitable for: Beavers, Cubs and Scouts
Location: Outdoors is ideal, although a tabletop version can be run indoors
Main skills: Shelter building, teamwork, problem-solving, planning and outdoor awareness
The challenge is based around a simple survival principle: a shelter should protect you from the conditions around you.
Teams receive a collection of materials and a scenario. They must decide what kind of shelter would be most useful, build a model or small-scale shelter, and then explain how their design would help someone stay protected.
For younger sections, this can be a simple construction activity. Older Scouts can be challenged to consider wind direction, ground conditions, insulation and efficient use of materials.
Before You Start
Choose a suitable area where teams can work safely without damaging trees, plants or the surrounding environment.
Gather materials such as tarpaulins, lengths of rope, pegs, cardboard, sticks, blankets or sheets. Use materials that are appropriate for the age group and don’t require potentially hazardous tools.
If you’re working outdoors, decide beforehand whether you’re happy for young people to use natural materials. If so, establish clear rules about what may be collected and make sure nothing living is damaged.
For a simpler indoor version, use tables, chairs, sheets and string to create shelters large enough for a team member to sit underneath.
Prepare several weather scenarios before the session.
For example:
Scenario 1: Heavy rain and cold ground.
Scenario 2: Strong wind from one direction.
Scenario 3: Hot sun with very little shade.
The different scenarios encourage teams to think about shelter as more than simply building a roof.
Safety
Inspect the activity area before starting and remove obvious hazards.
Don’t allow young people to climb trees, roofs, unstable structures or furniture to construct their shelters.
If using rope, keep working areas tidy so loops and loose lengths don’t become trip hazards.
Avoid tying structures to anything that could fall or be damaged. Don’t allow shelters to be constructed across paths or access routes.
Natural materials should be checked before use. Avoid sharp, rotten or unstable branches.
If weather conditions are genuinely severe, don’t run an outdoor shelter-building session simply to make the challenge more realistic. The activity should teach preparation for poor weather, not expose young people to unnecessary risk.
0–10 Minutes: What Makes a Good Shelter?
Gather everyone together and introduce the challenge.
Ask:
“If you were suddenly outside in bad weather, what would you want your shelter to protect you from?”
Let the group suggest answers.
Rain, wind, cold, heat and wet ground should all come up.
Then introduce an important question:
“Does the best shelter always have to be the biggest?”
Discuss how a small, well-designed shelter can sometimes provide better protection than a large structure with gaps or poor positioning.
Show the materials they’ll be using and explain the rules.
10–20 Minutes: Plan Before You Build
Divide the group into teams.
Give each team a scenario and a limited collection of materials.
Don’t let them start building immediately.
Give them ten minutes to discuss and sketch their design.
Encourage them to think about:
Where is the weather coming from?
Where will water go?
How will the shelter stay stable?
What will stop the occupants sitting directly on cold or wet ground?
For Beavers, ask simple questions about roof, walls and floor.
For Cubs, encourage them to think about wind and rain.
For Scouts, make the planning stage more detailed and ask them to justify their material choices.
20–40 Minutes: Build the Shelter
Now let the teams start constructing.
The leader should mainly observe and ask questions rather than solve problems for them.
If a structure starts leaning, don’t immediately fix it. Ask:
“What do you think is making it unstable?”
If a team has used all its materials on the roof, ask:
“What happens if the ground underneath gets wet?”
This encourages young people to think through the consequences of their decisions.
Keep an eye on safety throughout, particularly with ropes and temporary structures.
The aim isn’t necessarily to produce a shelter large enough for everyone. A small shelter that clearly demonstrates good design may be more successful than an enormous structure.
40–50 Minutes: The Weather Test
Now test the designs.
You don’t need to use real bad weather.
For a wind test, the leader can use a fan indoors or carefully simulate wind outdoors from a safe distance.
For a rain test, use a small amount of water where appropriate, or simply ask teams to demonstrate where they think rain would run.
For a sun scenario, ask teams to identify where their shade would be and whether it would provide useful protection.
You can also introduce a surprise change:
“The wind has changed direction.”
or:
“The ground beneath your shelter is now wet.”
Give teams a few minutes to identify the weakness and explain what they would change.
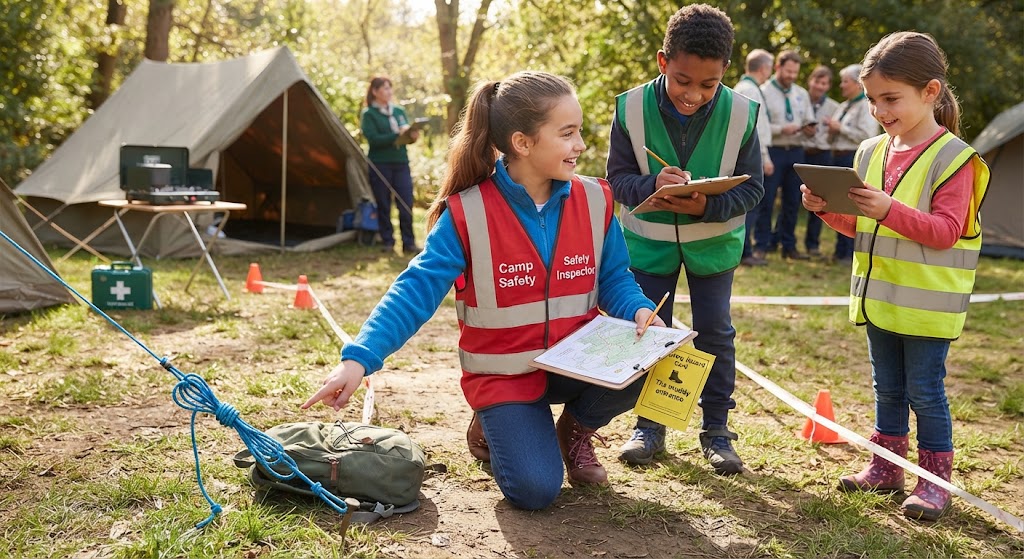
50–56 Minutes: Shelter Inspectors
Have teams visit the other shelters.
Each team should identify something another team did particularly well.
They should also identify one design feature they would borrow for their own shelter.
This keeps the feedback positive while encouraging young people to learn from one another.
For Scouts, ask them to compare the designs against their original plans and consider whether changing the plan during construction was a good decision.
56–60 Minutes: Quick Review
Bring everyone together.
Ask:
“What was the hardest part of building a shelter?”
“What made a shelter stable?”
“What would you change if you had another 30 minutes?”
Finish by explaining that real outdoor shelter building starts with the same basic process: look at the conditions, choose a sensible location, plan the shelter and then build it carefully.
Adapting for Different Ages
Beavers
Keep the challenge simple and fun.
Use sheets, blankets, cardboard boxes or other lightweight materials.
Instead of expecting Beavers to build a full shelter, ask them to make a small shelter for a toy or model person.
This allows them to explore the basic idea of protection from rain, wind and cold without introducing unnecessary construction difficulties.
Cubs
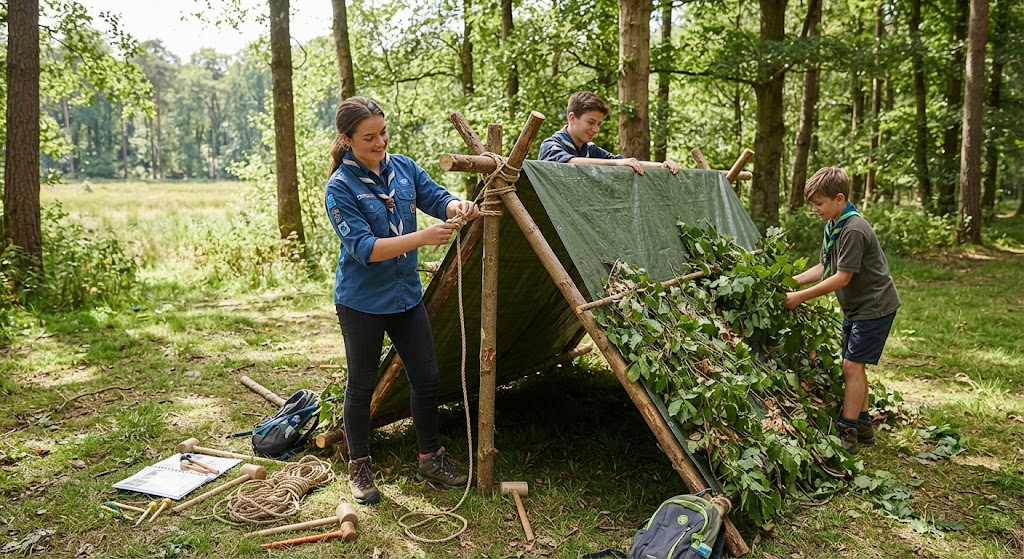
Cubs can build larger shelters using tarpaulins, rope and suitable natural materials.
Give them a simple weather scenario and encourage them to think about the roof, sides and ground.
A good Cubs challenge is to give each team exactly the same materials and see how differently they use them.
Scouts
Make the planning element much more important.
Give Scouts a specific scenario such as:
“You’ve become delayed on a walk and need temporary shelter until conditions improve.”
Ask them to consider location, wind direction, drainage, insulation and efficient use of resources.
You can also introduce a material limit and ask teams to achieve the best protection using the fewest resources.
Leader Notes
The biggest temptation with shelter-building activities is to focus entirely on construction.
Try to keep bringing the discussion back to why the shelter has been designed that way.
A young person who can explain why they positioned a shelter away from exposed ground, angled a roof towards the prevailing weather or created an insulating layer underneath has learned considerably more than someone who simply built the most impressive-looking structure.
You can also make the activity more interesting by changing the scenario halfway through.
A team that built a good rain shelter may discover that the wind has changed direction. Rather than rebuilding everything, they have to adapt what they’ve already made.
This reinforces a useful outdoor skill: conditions can change, and good plans sometimes need to change with them.
Learning Outcomes
By the end of the activity, young people should have had opportunities to:
Final Thought for Leaders
Shelter building is a great example of how a simple practical challenge can introduce genuine outdoor thinking.
The most useful lesson isn’t how to build one particular type of shelter. It’s learning to look at the conditions, identify the problem and design a sensible solution.
That approach is useful whether you’re building a shelter during a camp activity, planning a hike or simply deciding how to stay comfortable when the British weather inevitably changes its mind.
🔒Ready to test your survival skills?
Join Survival Guides UK for free, complete challenges, earn badges and increase your Survival Level.
JOIN FREE →
CRAIG BURR
FOUNDER · SURVIVAL GUIDES UK
I'm Craig, the person behind Survival Guides UK. I created SGUK because I wanted somewhere people could learn real outdoor skills in a practical, straightforward way — from lighting a fire and tying knots to navigation, campcraft and everything in between.
You can read more about the story behind SGUK here as well as our approach here.