Twig Raft Activity
Activity Overview
Can you build a tiny raft that actually floats?
👦 Age: 6–18
👥 Group size: 2–30
⏱️ Duration: 30–45 minutes
📍 Location: Outdoors or indoors
⭐ Difficulty: 2/5
Grab some sticks, find some string and get ready to build.
This simple twig raft activity is a brilliant way to combine outdoor exploration, knot tying, creativity and problem-solving.
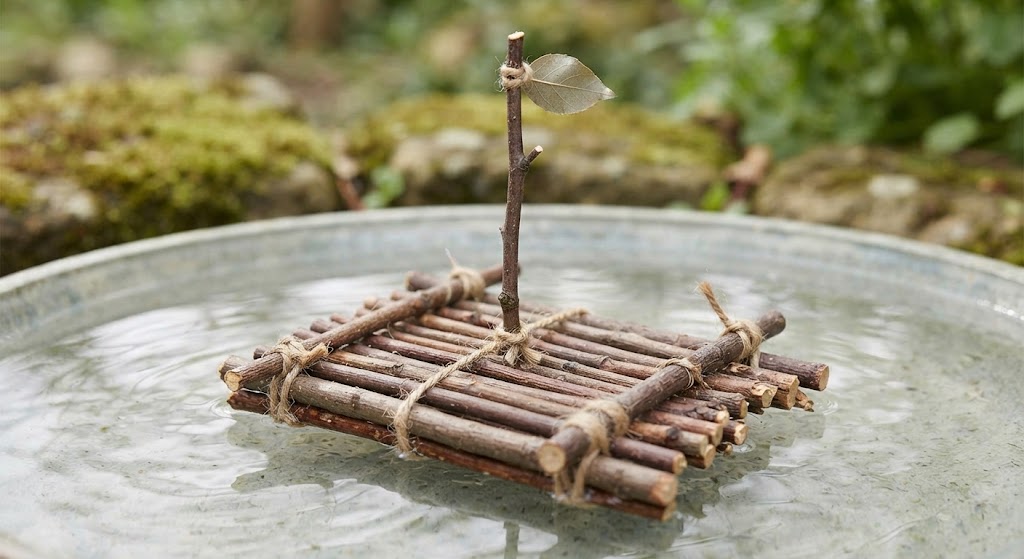
The goal is simple: build a miniature raft from natural materials and see whether it can float.
But there’s a catch.
Your first design might not work.
You’ll need to experiment with how you arrange the sticks, how tightly you tie them and how you balance your raft.
You could even turn it into a competition to see which raft can carry the greatest weight.
🧰 What you’ll need
The basic version doesn’t require much equipment.
Equipment
- Small straight twigs
- Longer sticks
- Thin sticks
- String or garden twine
- Scissors
- Leaves or paper for a flag
- A shallow container of water
For a larger group, you could use:
- Buckets
- Washing-up bowls
- Paddling pools
- Trays
- A suitable shallow outdoor water area
If you’re collecting materials outdoors, only collect suitable fallen sticks where this is allowed. Avoid damaging living plants.
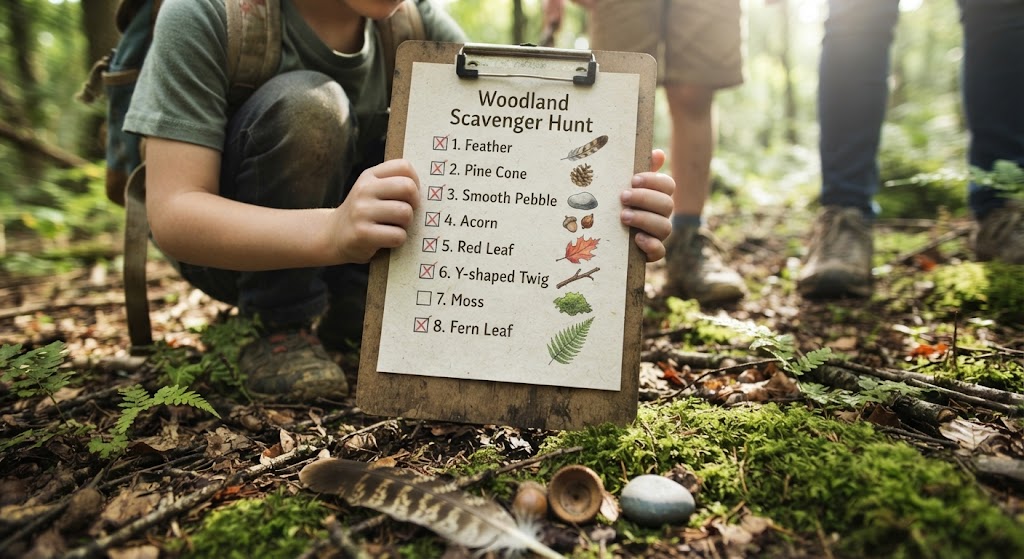
🌲 Start with a nature hunt
Before building your rafts, take everyone outside for a short materials hunt.
Give each person or team a simple shopping list:
- Several similar-sized twigs
- Two longer sticks
- One thin stick
- A few leaves
The goal isn’t to collect as much as possible.
It’s to find materials that could work together.
Ask the group:
Which sticks look strongest?
Which ones are easiest to tie?
Which materials might float?
Does size or weight matter?
This gets everyone thinking about the materials before they start building.
🗺️ Plan your raft
Before tying anything, arrange your sticks on the ground.
The main sticks will form the deck of the raft.
Place them next to each other and experiment with different layouts.
Then place the longer sticks across them.
Ask:
- How could you stop the sticks moving?
- Where does the raft need to be strongest?
- What happens if the sticks aren’t evenly spaced?
- How could you make it more stable?
There’s no single perfect design.
Let the group experiment.
Build your raft
Once you’ve chosen a design, start tying the sticks together.
Use short lengths of string to secure the main structure.
This is a great opportunity to practise a simple knot that the group already knows.
The aim is to make the raft secure without making it unnecessarily complicated.
Work around the raft, checking that the sticks stay in position as you go.
Add the longer sticks across the main deck and tie them securely.
Finally, use the thin stick to create a small mast.
Attach a leaf or paper flag to the top.
You’ve now got a tiny raft ready for its first voyage.
🌊 Test the raft
Don’t immediately launch the raft into a large area of water.
Start small.
Place it gently into a shallow container and see what happens.
Does it float?
Does it tip?
Does one side sit lower than the other?
Does the string hold?
This is where the problem-solving begins.
Give the group time to make changes.
They might:
- Move the sticks
- Tighten the knots
- Change the spacing
- Add another support
- Remove unnecessary weight
- Change the position of the mast
Test it again.
The important lesson is that testing and improving are part of building.
Can your raft carry a load?
Once everyone has a raft that floats, introduce the next part of the game.
Find out how much weight each raft can carry.
Use small, natural objects such as pebbles or additional twigs.
Add one item at a time and watch carefully.
Which raft carries the most?
Which stays balanced?
Which sinks first?
Record the results and see whether the group can work out why some designs perform better than others.
🏁 Have a raft race
If you have a suitable shallow pool or container, you can hold a miniature raft race.
Instead of making it all about speed, create several different categories.
🥇 Fastest raft
Which raft reaches the finish line first?
🛶 Best design
Which raft has the most interesting construction?
⚖️ Most stable
Which raft stays upright most successfully?
📦 Best cargo carrier
Which raft carries the greatest load?
💡 Best improvement
Which team made the biggest improvement between their first and final test?
This gives everyone a chance to succeed, even if their raft isn’t the fastest.
🌿 Try an all-natural version
Want to make the activity more difficult?
Challenge the group to build their raft using only natural materials.
Instead of string, they could investigate whether long grasses or suitable natural fibres can be used to tie parts together.
Make sure any material collection is appropriate for the location and doesn’t damage plants or wildlife.
For younger groups, it’s usually better to provide the materials and concentrate on building.
🧠 What did you learn?
Once the rafts have been tested, bring everyone together.
Ask:
- What made a good raft?
- What went wrong with your first design?
- How did you improve it?
- Did a bigger raft always perform better?
- What made some rafts more stable?
- Which knot worked best?
- Did you need help from someone else?
- What would you change if you built a second raft?
Encourage everyone to talk about failures as well as successes.
A raft that sinks can still be a successful experiment if it teaches you something.
♿ Make it accessible
You don’t need a river or outdoor pond to run this activity.
A shallow tray, bucket, washing-up bowl or paddling pool can work just as well.
Participants can work individually, in pairs or in small teams.
Different roles could include:
- Materials collector
- Designer
- Knot tier
- Builder
- Tester
- Recorder
- Race starter
For participants who find tying knots difficult, someone else can help with the construction while they concentrate on designing, testing or recording results.
🛡️ Safety
Use only a shallow, controlled area of water for testing.
Participants should never enter the water as part of this activity.
If you’re working near natural water, keep everyone well away from the edge unless the activity has been specifically planned and risk assessed for that location.
Use scissors and other sharp equipment with appropriate supervision.
Don’t leave string, plastic or other non-natural materials outdoors where they could become litter or harm wildlife.
Wash hands after handling natural materials.
Always follow your organisation’s relevant safety, supervision and safeguarding procedures.
🌿 Your raft has sailed
A handful of sticks might not look like much.
But with a little planning, some careful knots and a few experiments, you can turn them into a working miniature raft.
The real skill isn’t simply making something that floats.
It’s testing an idea, spotting a problem and working out how to make it better.
Build it. Test it. Improve it. Set sail.
🔒Ready to test your survival skills?
Join Survival Guides UK for free, complete challenges, earn badges and increase your Survival Level.
JOIN FREE →
CRAIG BURR
FOUNDER · SURVIVAL GUIDES UK
I'm Craig, the person behind Survival Guides UK. I created SGUK because I wanted somewhere people could learn real outdoor skills in a practical, straightforward way — from lighting a fire and tying knots to navigation, campcraft and everything in between.
You can read more about the story behind SGUK here as well as our approach here.