How to Teach Shelter Building
⚠️ SAFETY FIRST
Shelter-building activities should always be carried out in a suitable area with appropriate supervision. Check the site for unstable trees, branches, steep ground, water hazards, poisonous plants and other risks before beginning.
Don’t allow children to climb trees or construct shelters that could collapse onto someone. Use only suitable materials and follow local land-access rules. A training shelter should never be treated as a guaranteed emergency shelter in severe weather.
Shelter building is one of the best outdoor skills to teach children.
It combines practical skills with teamwork, creativity and problem-solving.
Unlike some outdoor skills, children can immediately see the result of what they’ve done.
They start with an empty patch of ground and a collection of materials.
A short time later, they have created something they can actually sit inside.
That’s a powerful learning experience.
The trick is to avoid turning the session into a simple competition to see who can build the biggest shelter.
The real lesson is understanding what makes a shelter useful, stable and suitable for its surroundings.
Start With the Purpose of a Shelter
Before handing out materials, ask the group:
“What is a shelter supposed to do?”
You may get answers such as:
“Keep you dry.”
“Keep you warm.”
“Protect you from wind.”
“Give you somewhere to sleep.”
These are all useful starting points.
Explain that a shelter’s job is to provide some protection from the environment.
It doesn’t need to be enormous or complicated.
A small, well-designed shelter can be much more useful than a huge structure with gaps everywhere.
Let Children Discover the Problems
Rather than explaining every aspect of shelter design first, give the group a simple challenge.
For example:
“Build a shelter that could protect one person from light rain.”
Then let them think.
They’ll quickly discover problems.
The structure falls over.
The roof doesn’t cover the occupant.
Water would run straight inside.
There isn’t enough room.
The entrance faces the wind.
That’s where the teaching opportunities appear.
Instead of giving them the answer immediately, ask questions.
“What happened?”
“Why did that section collapse?”
“Where would the rain go?”
“Which direction is the wind coming from?”
The children start solving the problems themselves.
Teach the Basic Principles
Once the group has experimented, introduce a few simple principles.
A good shelter generally needs to provide:
Protection from weather
Stability
Enough space for its occupants
A suitable location
A safe entrance and exit
Good drainage
You don’t need to overwhelm younger children with technical details.
The important thing is understanding that where you build a shelter can be just as important as how you build it.
Choosing the Location
This is one of the most important lessons.
A shelter shouldn’t simply be built wherever there happens to be a convenient collection of sticks.
Ask the group to inspect the area first.
Is the ground reasonably level?
Could water collect there?
Are there unstable branches overhead?
Is it exposed to strong wind?
Is it close to a road or water?
Are there obvious trip hazards?
The safest and most suitable location should come before construction begins.
🌳 LEADER TIP
Teach “look before you build”.
Children can become so excited about construction that they forget to inspect the site.
Teach Them to Look Up
One hazard deserves particular attention: overhead branches.
A tree may look perfect for shelter building.
But if there are dead or unstable branches above the site, it may be an unsuitable location.
Make checking overhead hazards part of the routine.
Children should never climb trees to obtain materials.
Use Safe Materials
If you’re running a shelter-building activity, decide beforehand what materials children are allowed to use.
Suitable natural materials might include loose sticks and branches where their collection is permitted.
You can also provide rope, cordage, tarpaulins or other equipment where appropriate.
Avoid encouraging children to break living branches or damage trees.
If you’re on managed land, follow the landowner’s rules.
🍃 LEAVE NO TRACE
Look after the place you’re using.
Don’t strip trees, destroy plants or leave piles of broken material behind.
Where possible, use materials that are already on the ground and leave the site as you found it.
Start With a Simple Lean-To
A lean-to is a useful concept for teaching basic shelter design.
A simple structure consists of a supporting framework with material arranged over it to create a sloping roof.
The slope is important because it helps water run away rather than collecting on top.
You don’t need to build a full-size survival shelter with younger children.
A small demonstration can be enough.
Once they understand the principle, challenge them to create their own version.
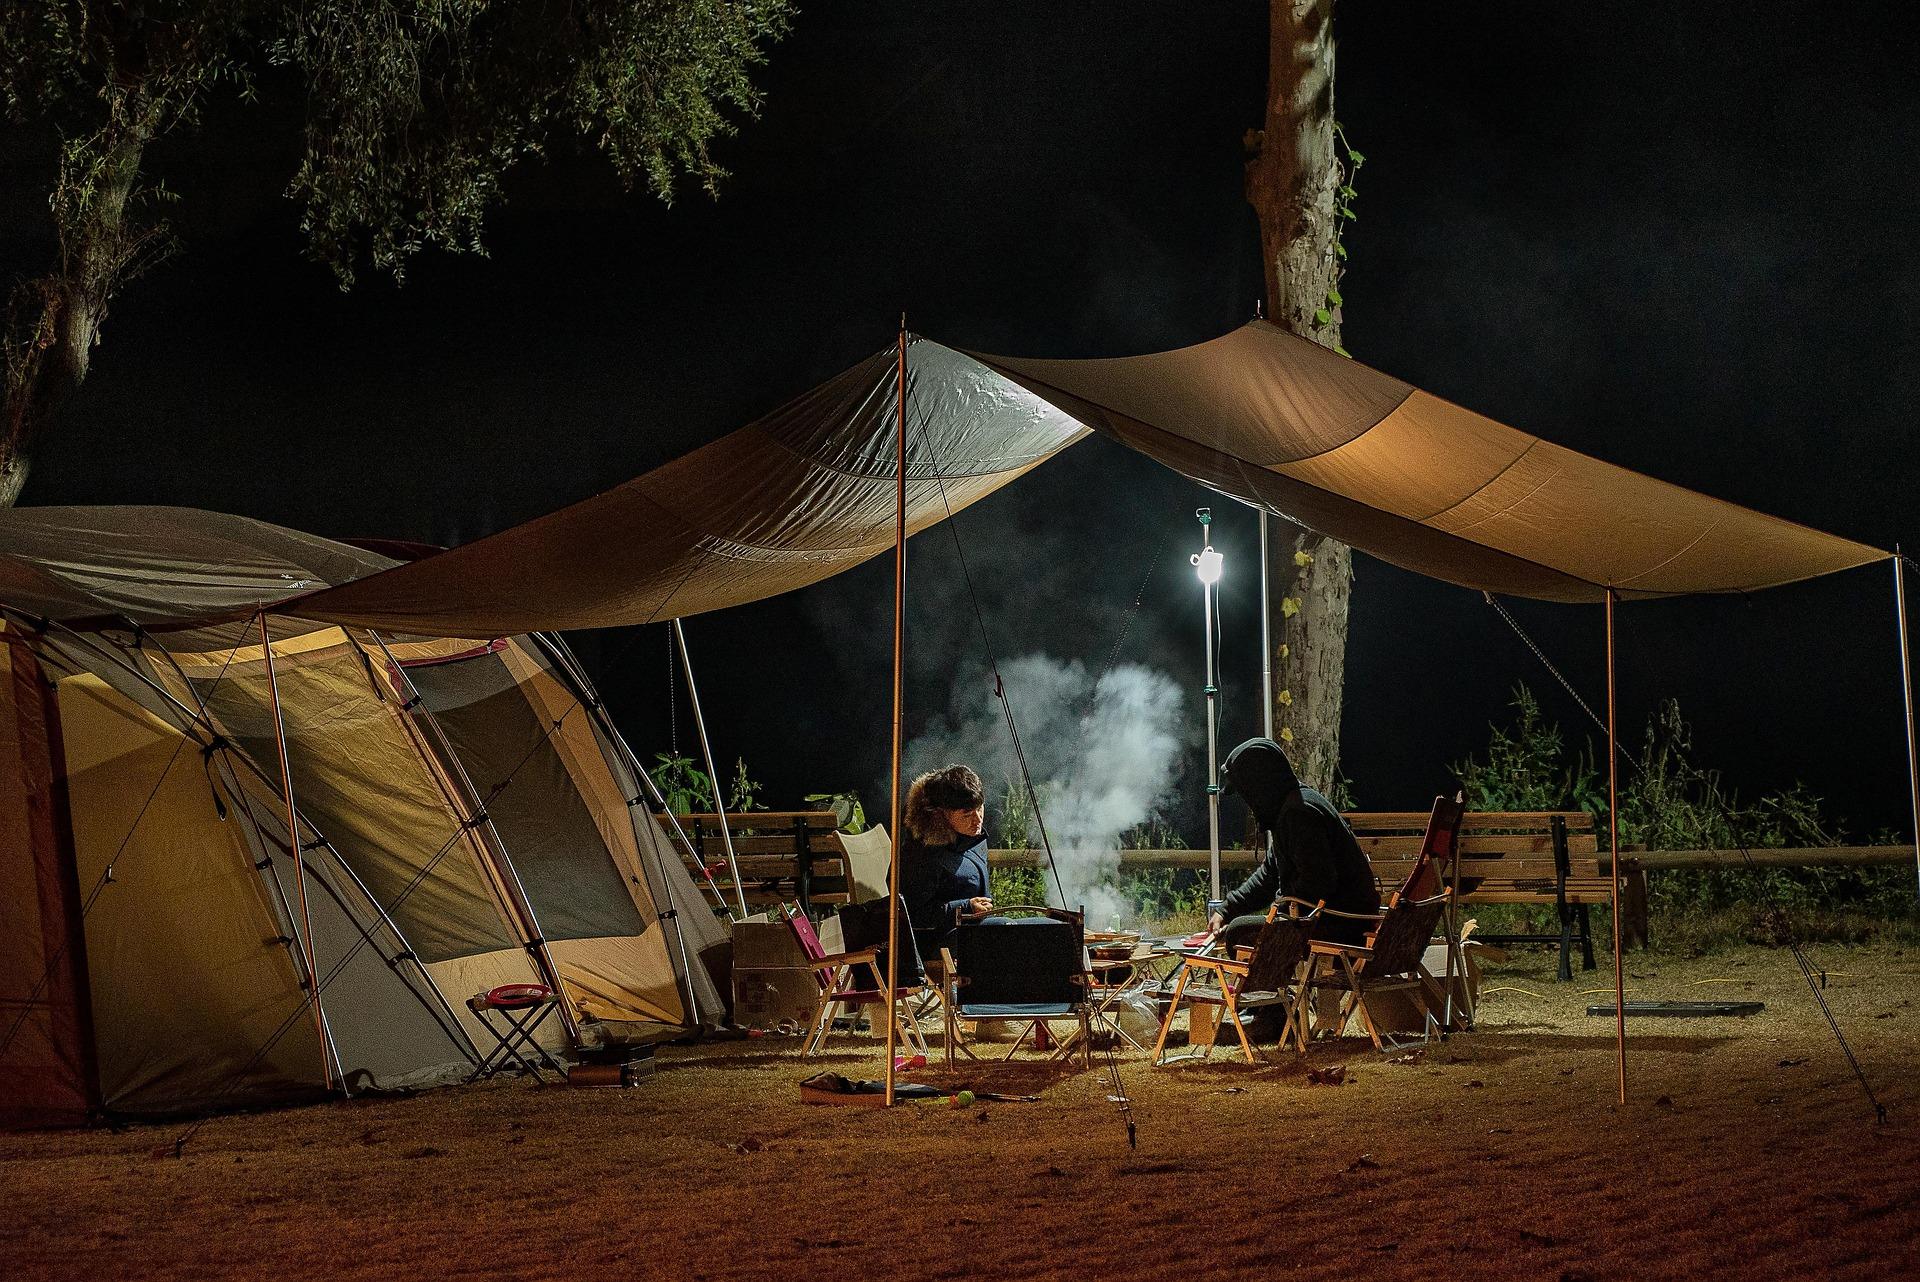
Use a Tarp
A tarp can make shelter building easier and allows children to concentrate on the principles rather than spending most of the session collecting materials.
You can demonstrate different configurations.
A simple ridgeline arrangement can provide a roof.
A lean-to arrangement can provide protection from wind and rain on one side.
The group can experiment with how changing the angle affects the space underneath.
This also creates an opportunity to revisit knots.
Connect Shelter Building With Knots
Shelter building provides a natural reason to use knots.
Children might need to attach cordage to suitable points or secure a tarp.
This means you can revisit knots they’ve already learned.
Instead of:
“We’re doing knots again.”
the activity becomes:
“Which knot could you use to solve this problem?”
That’s a much more meaningful way to reinforce the skill.
Teach Tension
If you’re using a tarp, children will quickly discover that a loose tarp doesn’t make a very good shelter.
It sags.
Water collects.
The sides flap around.
Teach them to think about tension.
What happens when the supporting line is tighter?
What happens if the anchor points are moved?
What happens when the roof is too flat?
These are simple engineering concepts disguised as an outdoor activity.
Test the Shelter
Once a shelter has been built, don’t simply declare it finished.
Test it.
You could gently shake the structure to check whether it is stable.
You could use a small amount of water to simulate light rain if the materials and location are suitable.
Then ask:
“Where did the water go?”
“What would happen if the rain was heavier?”
“What could you change?”
Testing turns construction into experimentation.
Never deliberately expose children to hazardous conditions to test a shelter.
Introduce Wind
Wind is another useful teaching point.
Ask the group:
“Which direction is the wind coming from?”
Then ask:
“Which way would you want your shelter to face?”
A shelter can be perfectly constructed but poorly positioned.
This reinforces the idea that outdoor skills are connected.
Navigation, weather awareness, site selection and shelter building all influence one another.
Add a Time Challenge
Once the group understands the basics, introduce a time limit.
For example:
“You’ve got 20 minutes to build a shelter suitable for two people.”
But don’t make speed the only objective.
Give points for:
Safety
Stability
Weather protection
Good use of materials
Teamwork
This prevents children from rushing simply to finish first.
Make Teams Explain Their Design
At the end, ask each group to explain what they’ve built.
“Why did you choose this location?”
“Why is the roof at this angle?”
“How did you secure it?”
“Where would the rain go?”
“What would you change?”
Being able to explain the decisions is often more valuable than building the most impressive-looking structure.
Introduce a Scenario
Once children understand the basics, give the activity a story.
For example:
“You’ve been caught outside by an unexpected shower. You have limited materials and need somewhere to shelter while you wait for the weather to improve.”
Then give them a safe area and a selection of materials.
The scenario gives the activity a purpose.
You can change the scenario for different groups.
A cold day might focus attention on wind protection.
A rainy day might focus on drainage and waterproofing.
A warm day might focus on shade.
Don’t Teach Shelter Building as “Survival Magic”
It’s worth making an important distinction.
A shelter-building activity is an introduction to outdoor skills.
A shelter made by children during a short activity isn’t necessarily capable of protecting someone from severe weather overnight.
Avoid giving young people the impression that building a shelter from branches is a guaranteed solution to a survival emergency.
Real survival situations depend on weather, clothing, equipment, terrain and many other factors.
The goal is to develop good judgement and practical skills.
Let Younger Children Build Small
Squirrels and Beavers don’t need to construct full-sized shelters.
You could have them build:
A shelter for a teddy bear.
A shelter for a toy animal.
A miniature woodland shelter.
A small tarp structure.
This teaches the same basic concepts while keeping the activity manageable.
It also makes the activity more accessible for children who aren’t physically able to construct a large structure.
Give Scouts More Independence
Older Scouts can take more responsibility.
Give them a location and a set of materials, then let them decide:
Where to build.
What design to use.
How to distribute jobs.
Which knots to use.
How to test the structure.
This makes the activity much less about following instructions and much more about leadership and decision-making.
Encourage Teamwork
Shelter building is naturally suited to teamwork.
One person might collect suitable materials.
Another might prepare cordage.
Another might work on the framework.
Another might inspect the structure.
But encourage groups to rotate roles.
Everyone should have an opportunity to build rather than having one confident child doing everything.
Turn Problems Into Challenges
If a group finishes too quickly, don’t simply give them more materials.
Introduce a problem.
“The wind has changed direction.”
“You have half as much rope.”
“You need to make the entrance smaller.”
“Your shelter needs to accommodate another person.”
“You can no longer use that support.”
This encourages adaptation.
The children learn that outdoor skills aren’t about following a fixed set of instructions.
They’re about responding to changing circumstances.
Finish With a Debrief
Once the shelters have been taken down and the site cleaned up, bring everyone together.
Ask:
What worked?
What didn’t?
What would you change?
Where would you build next time?
What made one shelter better than another?
This is where the practical experience becomes learning.
A Simple Shelter-Building Session
A session could be structured quite simply.
Start by discussing what a shelter needs to achieve.
Then inspect the area and identify suitable and unsuitable locations.
Demonstrate a basic shelter principle.
Give teams a challenge.
Let them build.
Test the shelters safely.
Ask each group to explain its design.
Then dismantle everything and restore the area.
The whole session can be adapted for different ages without needing a complicated lesson plan.
Final Thoughts
Shelter building is a brilliant outdoor skill because it combines so many other skills.
Children learn to assess an environment.
They learn about weather.
They practise knots and cordage.
They work as a team.
They solve engineering problems.
And, perhaps most importantly, they learn to think about why something works rather than simply copying instructions.
The best shelter-building sessions aren’t necessarily the ones where the biggest or most impressive shelters are produced.
They’re the ones where children finish the activity understanding why location, structure, weather protection and safety all matter.
🏕️ THE BIG IDEA
Don’t teach children how to build one particular shelter. Teach them how to think about shelter.
Where should it go?
What does it need to protect against?
How will it stay stable?
How will water drain away?
Is it safe?Once children understand those questions, they can start solving shelter problems for themselves.
🔒Ready to test your survival skills?
Join Survival Guides UK for free, complete challenges, earn badges and increase your Survival Level.
JOIN FREE →
CRAIG BURR
FOUNDER · SURVIVAL GUIDES UK
I'm Craig, the person behind Survival Guides UK. I created SGUK because I wanted somewhere people could learn real outdoor skills in a practical, straightforward way — from lighting a fire and tying knots to navigation, campcraft and everything in between.
You can read more about the story behind SGUK here as well as our approach here.