How to Make an Improvised Splint
An improvised splint can be useful when someone has suffered a serious limb injury and you need to support the injured area while waiting for medical help. Outdoors, you may not have a proper splint available, but you can often find suitable materials in a rucksack or around your camp.
The purpose is not to straighten the injury or try to put a broken bone back into position. A makeshift splint should simply help prevent unnecessary movement and provide support until the person can receive proper medical treatment.
If you think someone has a serious fracture, call 999 or 112 and follow the instructions of the emergency call handler.
Check the Situation First
Before dealing with the injury, make sure the area is safe.
Look for traffic, falling rocks, fire, water, unstable ground or anything else that could put you or the injured person at further risk. If the person can safely remain where they are, there may be no reason to move them simply to make a splint.
Assess the casualty and look for other serious problems first, particularly major bleeding, breathing difficulties or reduced responsiveness.
If there is life-threatening bleeding, deal with that as a priority.
When Might You Need an Improvised Splint?
A splint may be useful when a limb appears seriously injured and movement is causing pain or could cause further harm.
Signs that may indicate a fracture include significant pain, swelling, bruising, difficulty moving the limb, an obvious change in shape or an unusual angle. A broken bone may also be associated with numbness or changes in colour. (nhs.uk)
You don’t need to be certain that a bone is broken before protecting the limb. If a serious injury is suspected, treat it carefully and get medical help.
Choose Something Strong and Straight
Look for something that can provide support without causing additional pressure on the injury.
Depending on what you have available, this could be:
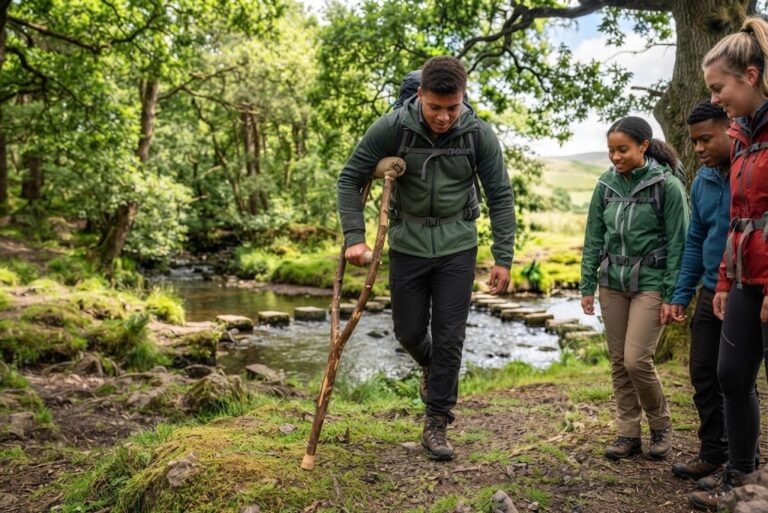
- a straight walking stick
- a trekking pole
- a sturdy piece of wood
- a rolled-up sleeping mat
- a section of rigid camping equipment
- several layers of folded clothing
The material doesn’t have to be perfect. It needs to be strong enough to support the limb and long enough to provide useful stability.
Avoid anything sharp, splintered or likely to break under pressure.
Add Padding
Padding is important because a hard object pressed directly against an injured limb can cause additional pain and pressure.
Use clothing, a fleece, towel, spare socks, a sleeping mat or another soft material. Wrap the padding around the support or place it between the support and the limb.
Pay particular attention to bony areas such as the ankle, wrist and elbow.
The aim is to make the support comfortable rather than tightly squeeze the injury.
Support the Limb in the Position You Find It
This is one of the most important rules when making an improvised splint.
Do not try to straighten a limb that is obviously deformed or sitting at an unusual angle.
Support it in the position you find it and avoid unnecessary movement. Trying to force a broken limb straight can cause further damage to surrounding tissues, blood vessels or nerves.
If the person is comfortable holding the limb in a particular position, work around that position rather than trying to correct it.
Position the Splint
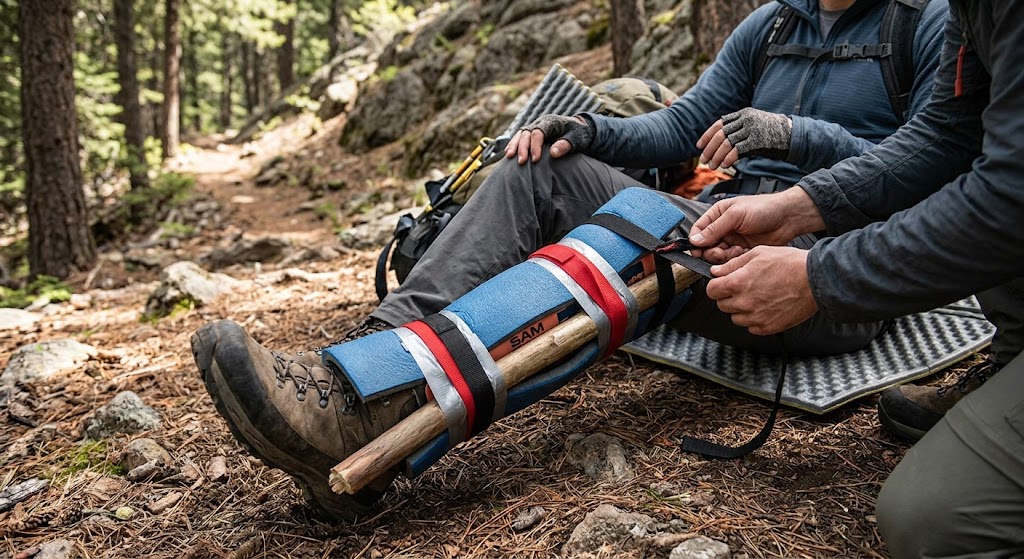
For a limb injury, place the support alongside the injured area.
Where practical, the splint should extend beyond the injured section and support the joints around it rather than only covering the exact point of pain.
For example, if the lower leg is injured, a support running along a larger section of the leg can provide more stability than a short piece of material placed directly over the injury.
Use plenty of padding and avoid pressing directly on an obvious deformity.
Secure It With Broad, Soft Materials
Use strips of clothing, triangular bandages, scarves or other suitable material to hold the splint in place.
Secure the splint above and below the injured area rather than tying directly over the most painful or deformed part.
The ties should hold the support firmly enough to prevent unnecessary movement, but they must not be so tight that they interfere with circulation.
A sling can also be useful for supporting an injured arm. Triangular bandages are commonly used to support injured arms and to secure splints or dressings. (nhs.uk)
Check Circulation
After securing the splint, check the fingers or toes beyond the injury if possible.
Look for changes in colour, unusual coldness, numbness, tingling or increasing pain. These can indicate that the support or bandages are affecting circulation.
If you notice these problems, loosen the securing material and reassess it.
Continue checking the injured limb while you wait for help, particularly if swelling increases.
Don’t Try to Push Bones Back Into Place
If a bone is visible through a wound, don’t try to push it back inside.
Don’t try to manipulate a badly deformed limb into a normal position either.
Cover an open wound with an appropriate clean dressing or material and follow the instructions of the emergency services. The priority is to prevent further injury and get professional medical help.
Don’t Make the Splint Too Tight
It can be tempting to tie everything as tightly as possible because you want the limb to stay completely still.
That’s not the goal.
The splint should provide support while allowing normal circulation to continue. Swelling can also increase after an injury, so something that initially feels comfortable can become too tight later.
Keep checking the person’s fingers or toes and ask how the injured area feels if they are able to answer.
Don’t Give the Person a Reason to Move
Once the limb has been supported, keep the casualty comfortable and discourage unnecessary movement.
If they have a suspected broken leg, don’t ask them to stand up and test whether they can walk. If they have injured an arm, don’t ask them to move it around to see how badly it hurts.
A person may be able to move an injured limb even when there is a fracture.
Let the medical professionals assess it properly.
When to Call 999
Call 999 for a serious injury, particularly if there is a significant deformity, an open fracture, severe bleeding, loss of sensation or circulation problems.
NHS guidance also advises emergency help for a badly injured limb that is at an unusual angle, has a bone sticking through the skin or is associated with serious symptoms. (nhs.uk)
If you are unsure how serious the injury is, call 999 and explain what has happened. Follow the instructions you are given.
An Improvised Splint Is Only Temporary
A makeshift splint isn’t a replacement for medical treatment.
Its job is to provide temporary support and reduce unnecessary movement while you arrange or wait for professional help. A suspected fracture normally needs medical assessment and may require an X-ray and proper immobilisation. (nhs.uk)
If the injury happens on a remote walk, the splint may make the situation more manageable while you wait for rescue or arrange a safe evacuation.
Practise Before You Need It
You don’t need to practise splinting real injuries, but it is useful to learn how your first-aid equipment can be used to support an injured limb.
Try making a simple practice splint using a walking pole, spare clothing and a triangular bandage. This can help you understand how much padding is needed and how to secure the support without making it too tight.
A recognised outdoor first-aid course is even better because you can practise dealing with realistic injuries and learn when immobilisation is appropriate.
Remember the Basic Rule
An improvised splint is about support, not repair.
Protect the injured person, call for help when necessary, avoid straightening a deformed limb, pad the support well, secure it without restricting circulation and keep checking the casualty while you wait for professional help.
If you suspect a serious fracture outdoors, don’t turn the situation into a test of whether you can walk out. Protect the injury, get help and keep the person as still and comfortable as reasonably possible.
🔒Ready to test your survival skills?
Join Survival Guides UK for free, complete challenges, earn badges and increase your Survival Level.
JOIN FREE →
CRAIG BURR
FOUNDER · SURVIVAL GUIDES UK
I'm Craig, the person behind Survival Guides UK. I created SGUK because I wanted somewhere people could learn real outdoor skills in a practical, straightforward way — from lighting a fire and tying knots to navigation, campcraft and everything in between.
You can read more about the story behind SGUK here as well as our approach here.