Emergency Shelters: A Beginner’s Guide to Staying Safe Outdoors
What Is an Emergency Shelter?
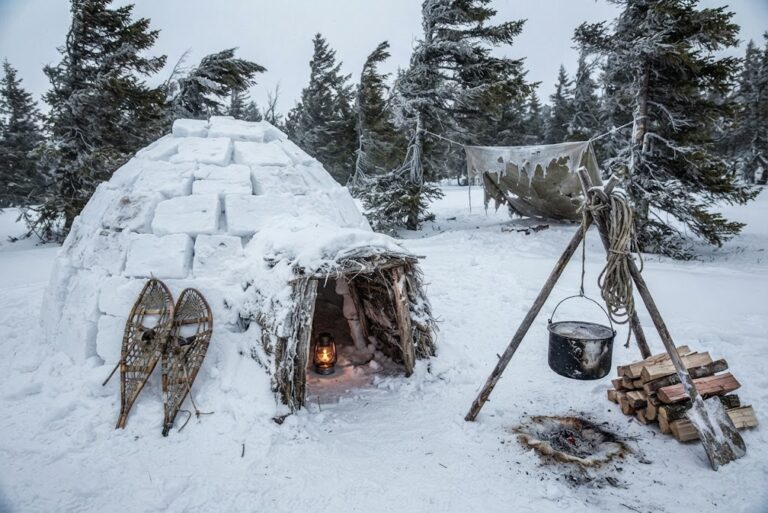
A shelter is one of the most useful things you can create when you’re spending time outdoors.
It doesn’t necessarily need to be complicated.
At its simplest, a shelter is something that helps protect you from the environment.
It can reduce exposure to:
- Wind
- Rain
- Snow
- Cold
- Sun
- Damp ground
In an emergency, getting out of the wind and rain can make a significant difference to your comfort and your ability to stay warm.
SURVIVAL SKILL
A good emergency shelter doesn’t need to be impressive.
It needs to protect you from the conditions you’re facing.
⚠️ SAFETY NOTE
An emergency shelter is intended to help protect you from the weather while you arrange help or wait for conditions to improve. It should not be considered a replacement for proper outdoor equipment, planning or emergency services.
If you’re genuinely lost or in danger, prioritise getting yourself and your group safe and contacting emergency services rather than spending a long time constructing a shelter.
In the UK, if you need urgent emergency assistance, call 999 or 112. In mountainous areas, you can ask for Police and Mountain Rescue.
Never build a shelter beneath dead branches, unstable trees, rock faces, flood-prone areas or other hazards.
Shelter Is About More Than Staying Dry
When people think about survival shelters, they often immediately think about rain.
But shelter has several purposes.
A shelter can help you:
Stay Warm
Reducing exposure to wind can help reduce heat loss.
Stay Dry
A suitable roof can protect you from rain and other precipitation.
Stay Out of the Wind
Even a simple windbreak can make conditions more manageable.
Conserve Energy
A sheltered person generally doesn’t need to fight the weather as much as someone sitting exposed.
Improve Morale
Having somewhere dry and protected to sit can make a difficult situation feel much more manageable.
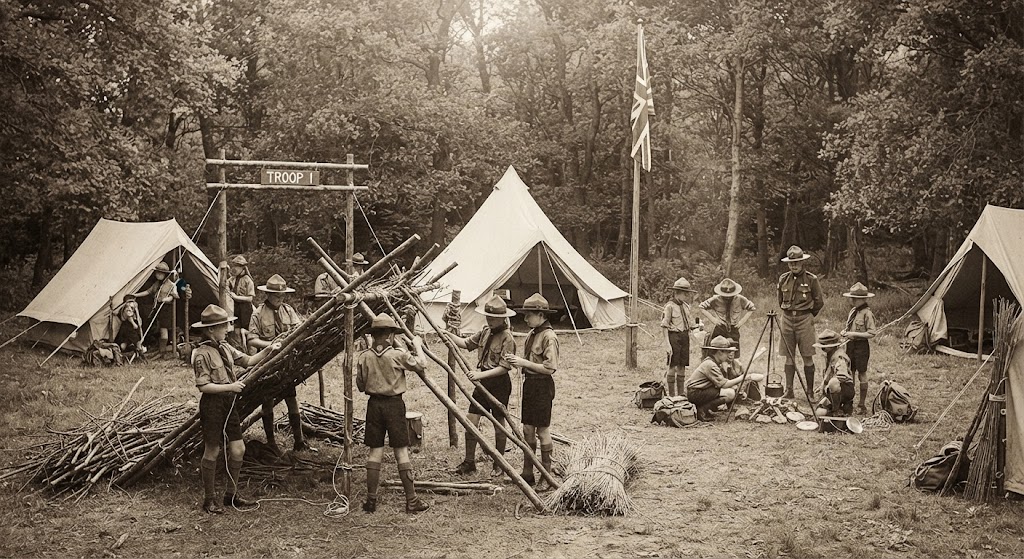
The Scouts’ shelter-building activities specifically highlight shelter’s importance for protection from rain and wind, warmth and morale.
The First Rule: Don’t Panic
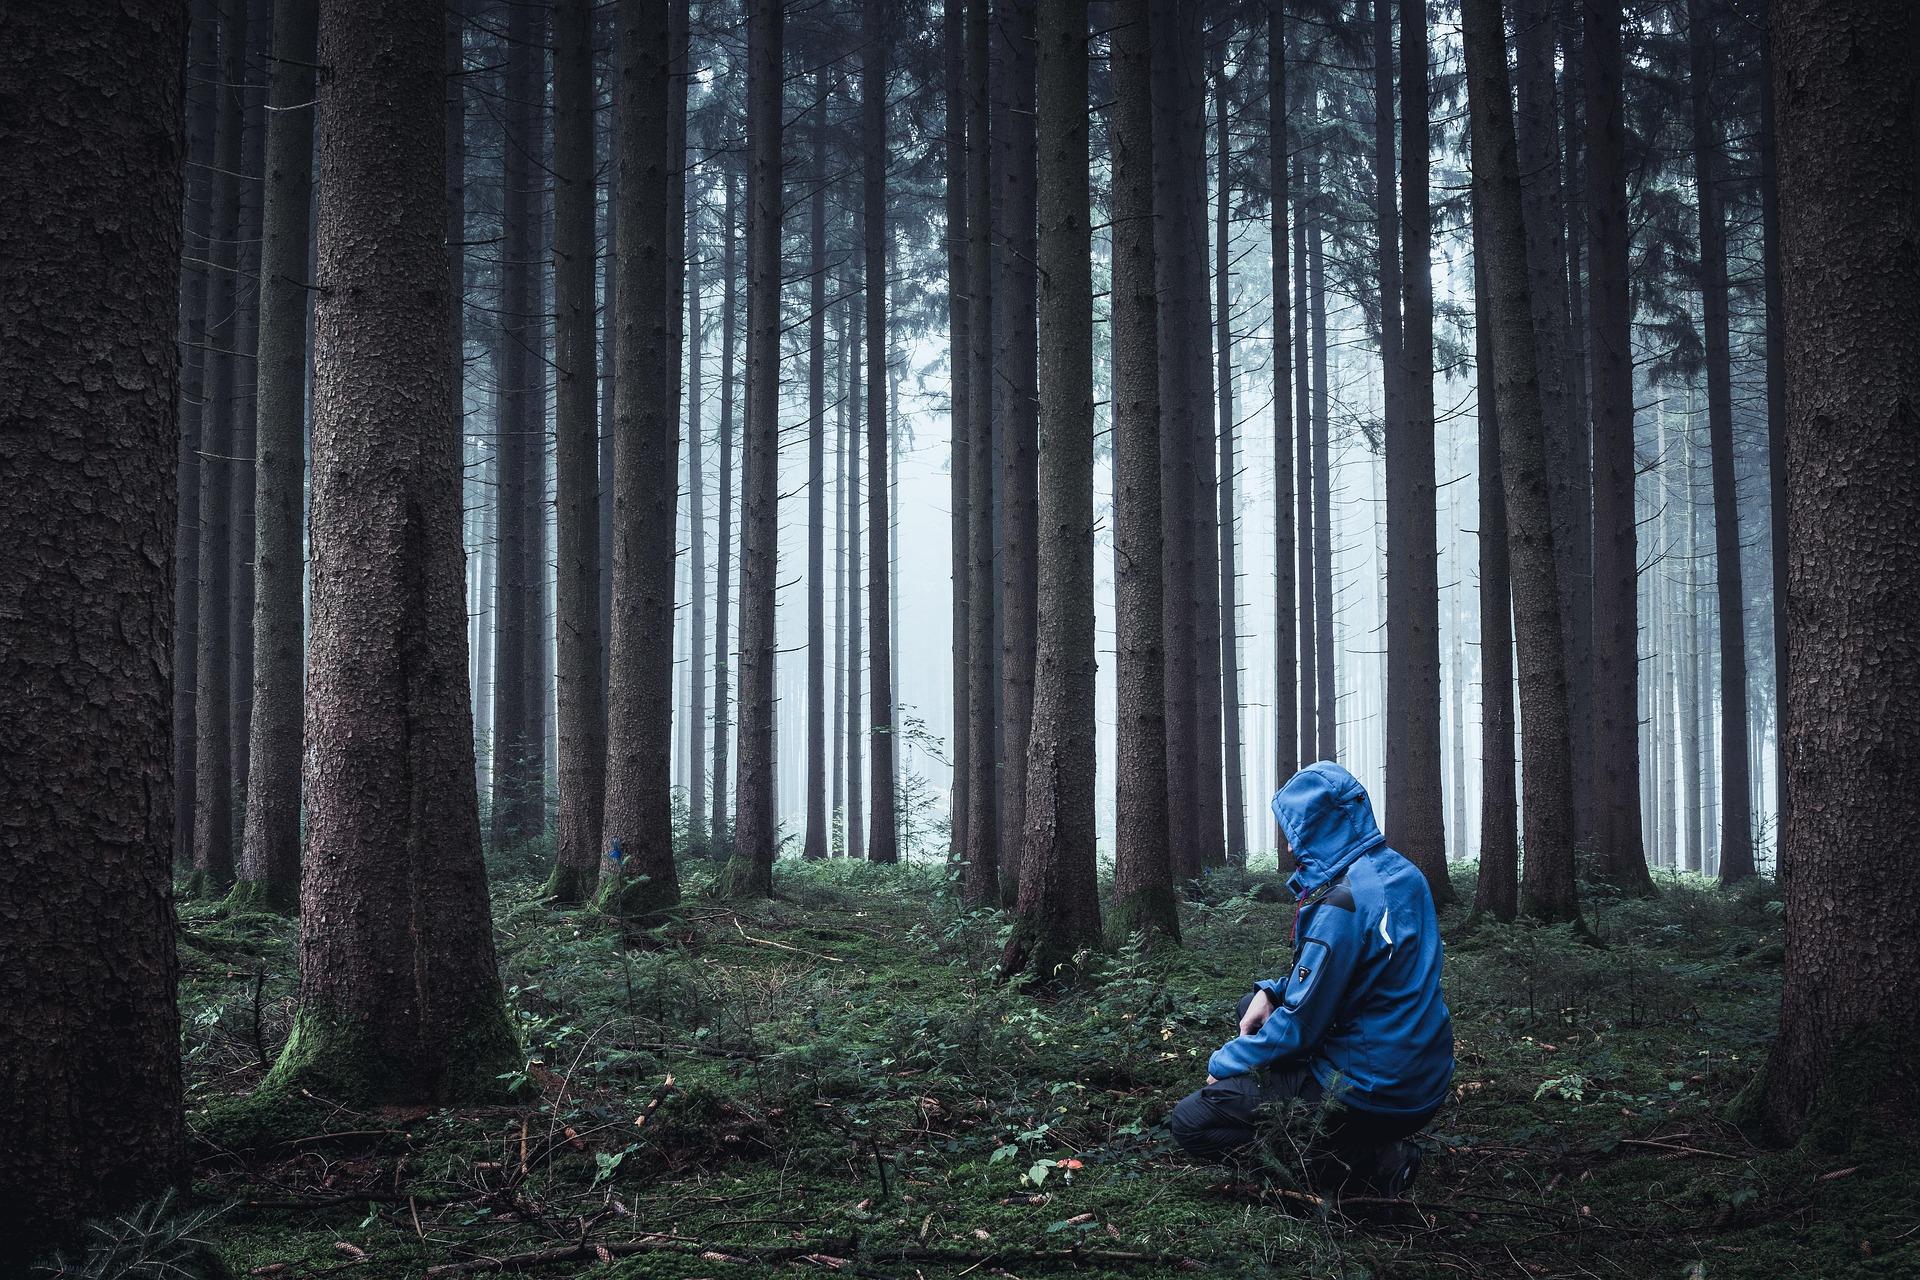
If you genuinely need an emergency shelter, take a moment before you start building.
Look at the situation.
Ask:
- Where am I?
- What is the weather doing?
- How long might I be outside?
- Is anyone injured?
- Is anyone becoming cold?
- Can I contact someone?
- Is there a safer location nearby?
- What equipment do I already have?
If you’re lost, don’t automatically start wandering around looking for a better location.
Your priority may be to stay where you are, make yourself easier to find and protect yourself from the weather.
Mountain Rescue England and Wales recommends being prepared to turn back when conditions deteriorate and stresses the importance of carrying suitable clothing, food, water and navigation equipment. (Mountain Rescue)
EMERGENCY RULE
Shelter. Signal. Stay safe.
Don’t turn a difficult situation into a worse one by using unnecessary energy or taking additional risks.
Choose Your Shelter Location Carefully
The location of your shelter can be more important than the shelter itself.
A badly positioned shelter can expose you to more danger than it protects you from.
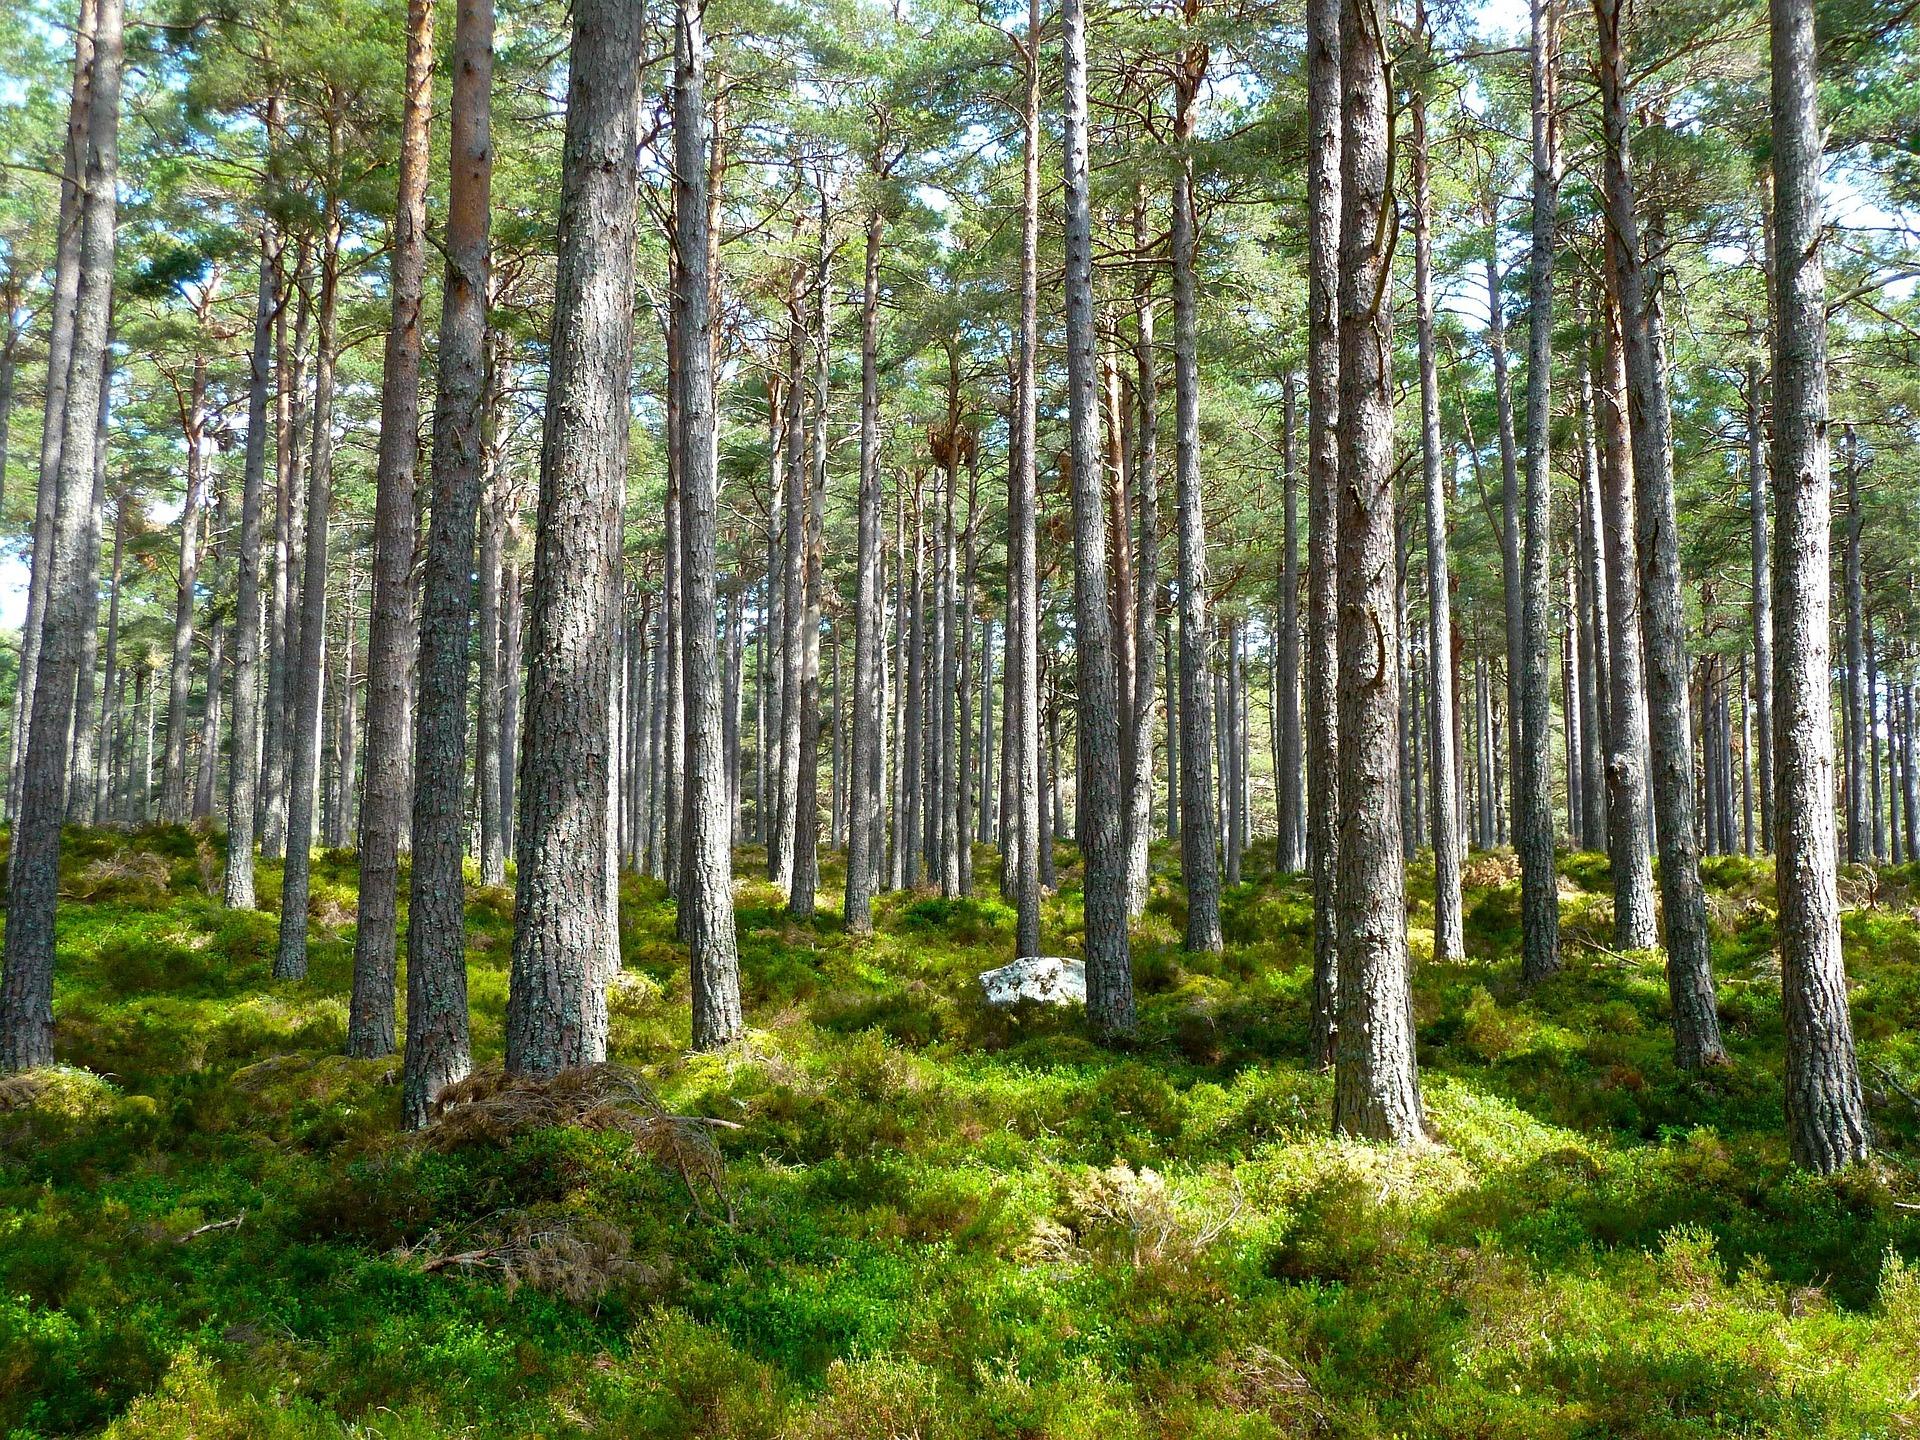
Look for somewhere:
TOP TIP
Before building anything, spend a few minutes looking up, down and around your proposed shelter site.
Don’t Build Under Dead Trees
One of the biggest hazards to look for is what’s above you.
Dead branches can fall without warning, particularly in strong winds.
These are sometimes called widowmakers because they can cause serious injury or death.
Avoid building directly underneath:
If you’re unsure whether an area is safe, choose somewhere else.
Avoid Water
Low ground might look sheltered, but it can become a problem when it rains.
Water naturally collects in dips and hollows.
A shelter built in a depression can quickly become wet or even flooded.
Look for ground that is:
- Relatively level
- Well drained
- Above obvious water channels
- Away from streams and river banks
Never assume that a dry-looking stream bed is safe.
Flash flooding can occur surprisingly quickly.
Use Existing Shelter First
In a real emergency, you don’t necessarily need to build a shelter from scratch.
Look for existing protection.
A natural feature, suitable overhang or existing structure may provide useful shelter, provided it is safe.
You might be able to use:
- Dense vegetation
- A suitable fallen tree
- Natural windbreaks
- Existing buildings or shelters
- A waterproof tarp
- A bivvy shelter
- An emergency shelter carried in your equipment
The important word is suitable.
Never enter a natural feature just because it looks like a cave or overhang.
Check for falling rocks, flooding, unstable structures, animals and other hazards first.
The Simplest Emergency Shelter
One of the easiest emergency shelters to create is a simple lean-to.
The basic idea is straightforward.
A strong support forms the main structure, while smaller branches or a tarp create a sloping wall.
The slope helps rain run away from the shelter rather than collecting above you.
The open side can then be positioned away from the prevailing wind.
SHELTER TIP
You don’t need to make the shelter completely enclosed.
Protection from wind and rain can be more important than creating four walls.
Building a Natural Lean-To
If you’re in an appropriate environment and have permission to use natural materials, a basic lean-to can be constructed using suitable branches.
Start by finding a strong horizontal support.
Then:
- Position sturdy branches against the support.
- Create a sloping framework.
- Add smaller branches across the framework.
- Add suitable natural covering.
- Build up the covering from the bottom upwards.
- Check the structure regularly for stability.
The Scouts use lean-to and A-frame principles in their survival shelter activities and recommend using sturdy, non-rotten materials. (Scouts)
Don’t Use Rotten Wood
A branch might look strong but be rotten internally.
Test potential structural materials carefully before relying on them.
Never use a branch that cracks, crumbles or breaks easily.
The A-Frame Shelter
Another traditional shelter design is the A-frame.
It resembles a small tent made from natural materials.
A strong ridgepole forms the central support, with branches arranged down both sides to create the framework.
The structure can then be covered with natural materials or, where appropriate, a waterproof covering.
An A-frame can provide more enclosed protection than a simple windbreak, but it also takes more time and materials to construct.
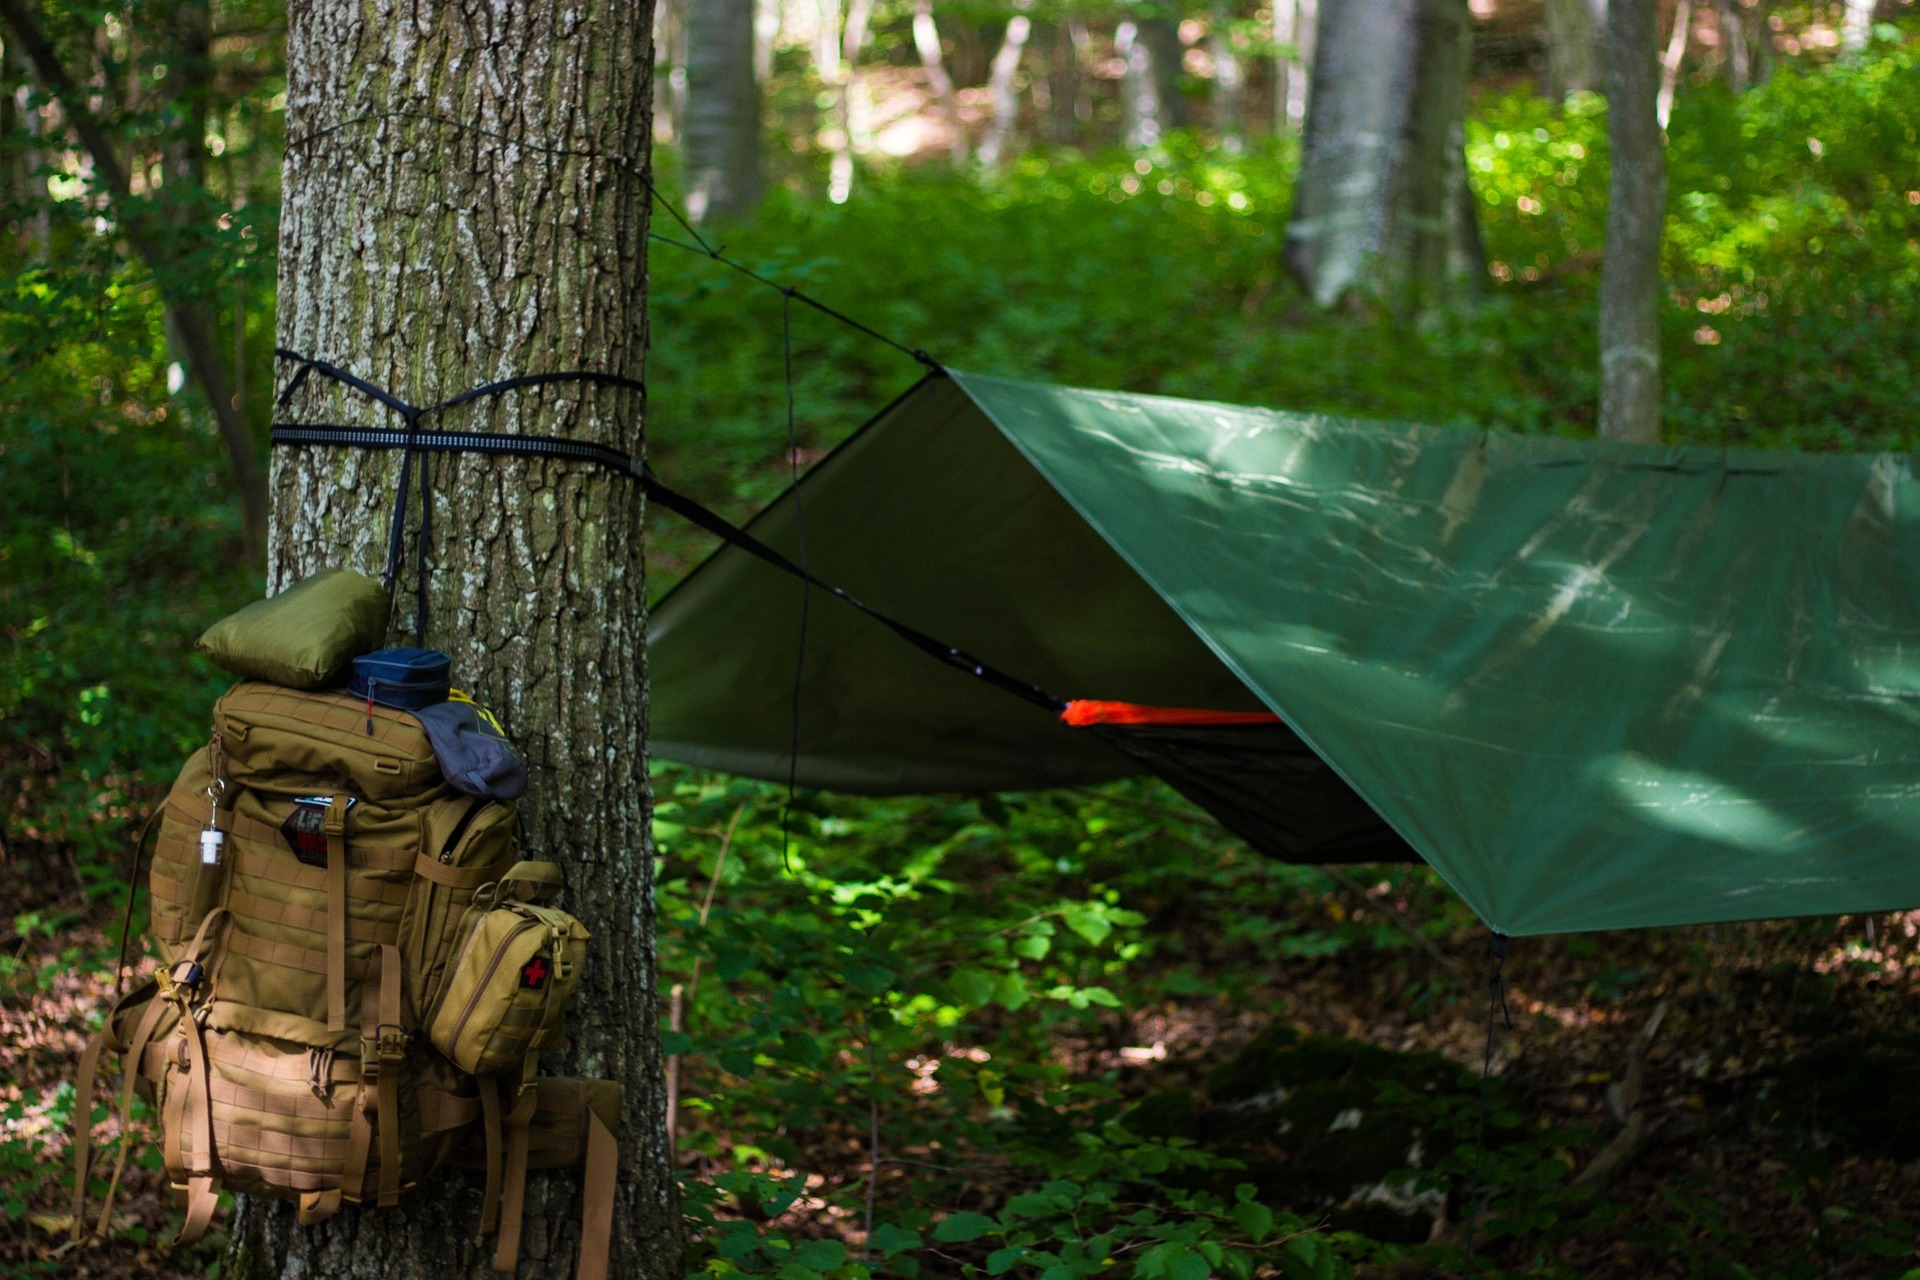
Using a Tarp
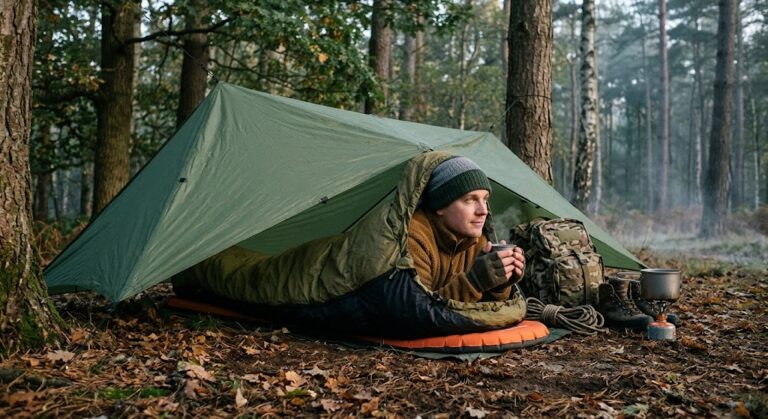
If you’re carrying a tarp, emergency shelter construction becomes much easier.
A tarp is lightweight, waterproof and can be configured in several different ways.
You can use it to create:
DID YOU KNOW?
A small tarp can be one of the most versatile pieces of equipment in an outdoor survival kit.
Tarp Shelter Basics
When using a tarp, think about the weather before putting it up.
Consider:
Where is the wind coming from?
Where will rain run?
Where will you sleep or sit?
Will water collect on the tarp?
Is the structure properly anchored?
A shelter that looks good in calm weather may not work particularly well when the wind and rain arrive.
Use the Ground to Your Advantage
Your shelter needs protection underneath you as well as above you.
Cold ground can draw heat away from your body.
If you’re going to spend time inside the shelter, create some insulation between yourself and the ground.
You could use suitable:
- Sleeping mats
- Dry vegetation
- Leaves
- Spare clothing
- Bivvy equipment
- Other suitable insulating materials
Keep anything used as insulation as dry as possible.
SURVIVAL TIP
Roof + walls + ground insulation
Think about all three when building a shelter.
Don’t Make the Shelter Too Big
A large shelter may look impressive, but it takes more time and energy to build.
It also provides a larger area that needs to be insulated and protected from the weather.
Build a shelter appropriate for the number of people using it.
In an emergency, efficiency matters.
Keep the Entrance Small
A smaller entrance can help reduce exposure to wind.
If possible, position the entrance away from the prevailing wind.
However, don’t seal yourself completely inside.
You need adequate ventilation, particularly if any combustion or fuel-burning equipment is involved.
Never Use a Fire Inside Your Shelter
This deserves its own section.
Never bring a campfire or barbecue into a shelter.
Don’t light a fire inside a tarp shelter, natural shelter or tent.
Burning fuels can produce carbon monoxide, an invisible and potentially fatal gas.
A fire inside an enclosed or partially enclosed shelter can also ignite the structure.
CRITICAL SAFETY RULE
No campfires, barbecues or unsuitable fuel-burning appliances inside your shelter.
Keep fire outside and well away from anything that could catch fire.
Staying Warm Inside Your Shelter
Once your shelter is built, don’t immediately assume the job is finished.
Staying warm also depends on what you’re wearing and what you’re doing.
Use your shelter to:
- Get out of the wind
- Stay dry
- Change wet clothing
- Put on additional layers
- Rest
- Conserve energy
Remember the principles from our Staying Warm Outdoors guide.
A shelter works best when combined with appropriate clothing and insulation.
Ventilation Matters
A shelter should provide protection without creating a dangerous enclosed environment.
Never completely seal yourself inside.
This is especially important if there is any possibility of combustion, smoke or fuel-burning equipment nearby.
Fresh air is essential.
Signalling for Help
If your shelter is being used because you’re genuinely lost or in an emergency, building it isn’t necessarily your only priority.
You also need to consider how rescuers will find you.
If you have a phone and can safely make an emergency call, do so.
Other useful signalling equipment can include:
- Whistle
- Torch
- High-visibility clothing
- Signal mirror
- Appropriate emergency beacon
- Bright or contrasting materials
SIGNAL TIP
Don’t hide your shelter so effectively that rescuers can’t find you.
If you’re waiting for rescue, make yourself safe and findable.
Shelter, Signal, Survive
A useful way of thinking about an emergency situation is:
SHELTER
Protect yourself from the weather.
SIGNAL
Make it possible for rescuers to locate you.
SURVIVE
Conserve energy, stay hydrated, stay warm and avoid unnecessary risks.
Emergency Shelter vs Camping Shelter
It’s important to understand the difference.
A normal camping shelter is designed for comfort.
An emergency shelter is designed primarily for protection.
You don’t need:
- A perfectly symmetrical structure
- A huge living area
- A complicated design
- A beautiful finish
You need somewhere that keeps you safer than being exposed to the elements.
REMEMBER
Survival shelter = function first.
When Not to Build a Shelter
Sometimes building a shelter is the wrong decision.
Don’t spend hours constructing one if:
- You can safely reach a proper shelter nearby.
- You can safely return to your vehicle.
- Emergency services have instructed you to move.
- Your current location is dangerous.
- Severe weather makes construction unsafe.
- Someone in your group needs urgent medical attention.
In a genuine emergency, your priorities may change rapidly.
Don’t become so focused on building the perfect shelter that you ignore the bigger situation.
Common Shelter-Building Mistakes
Choosing a Dangerous Location
The best shelter in the wrong location is still dangerous.
Building Too Large
A huge structure wastes time and energy.
Using Rotten Wood
Structural failure can cause serious injury.
Ignoring the Wind
A shelter positioned against the weather can be much more effective.
Building in a Dip
Water can collect around and inside the shelter.
Forgetting the Ground
Cold ground can rapidly reduce comfort and warmth.
Making It Completely Airtight
Ventilation is important.
Building Instead of Calling for Help
If you’re genuinely lost or injured, contact emergency services if possible rather than relying entirely on your shelter-building skills.
Emergency Shelter Checklist
The Emergency Shelter Challenge
Here’s a useful Scout or outdoor-skills exercise.
Find a suitable location in safe, supervised conditions and give yourself a limited amount of time to create a shelter.
Try using a tarp first.
Then, if appropriate and permitted, try creating one using natural materials.
Afterwards, ask:
Which design was quickest to build?
Which gave the best protection from wind?
Which would cope best with rain?
How much energy did each design require?
Where could water enter?
How would you improve it?
Emergency Shelters and Scouts
Shelter building is a recognised part of Scouts’ outdoor and survival-skills activities.
For a Scout group, shelter building can teach much more than construction.
It can develop:
SCOUT TIP
Don’t just ask:
“Can we build a shelter?”
Ask:
“Can we build the right shelter for the conditions?”
Always follow the current Scouts guidance, complete appropriate risk assessments and follow your leader’s instructions.
Final Thoughts
An emergency shelter doesn’t need to be complicated.
It doesn’t need to look impressive.
And it certainly doesn’t need to be the biggest structure you can build.
It needs to do a job.
Protect you from the weather.
Help you stay warm and dry.
Conserve your energy.
And give you somewhere safer to wait while you arrange help or decide what to do next.
The most important shelter skill is therefore not construction.
It’s judgement.
Knowing where to build.
Knowing what materials to use.
Knowing when to stop.
Knowing when to signal for help.
And knowing when building a shelter isn’t the right thing to do.
Learn those skills in safe, supervised conditions and you’ll be much better prepared if you ever genuinely need them.
SurvivalGuidesUK is an independent educational resource and isn’t an official Scouts website. Always follow the current Scouts programme requirements and your leader’s instructions.
SurvivalGuidesUK Safety Notice
Emergency shelter building can involve sharp tools, unstable branches, falling objects, difficult terrain, cold weather and other hazards.
This article provides general educational information and does not replace appropriate outdoor training, first-aid training, risk assessment or emergency planning.
If practising shelter building, always use an appropriate location, obtain permission where required, follow local rules and use suitable supervision.
If you are genuinely lost, injured or in immediate danger, prioritise your safety and contact the emergency services. In the UK, call 999 or 112. In mountainous areas, ask for Police and Mountain Rescue.
Never use a fire, barbecue or other unsuitable fuel-burning appliance inside a tent, tarp shelter or enclosed natural shelter.
Your goal in an emergency is not to prove that you can survive without help. Your goal is to stay safe and get home.
🔒Ready to test your survival skills?
Join Survival Guides UK for free, complete challenges, earn badges and increase your Survival Level.
JOIN FREE →
CRAIG BURR
FOUNDER · SURVIVAL GUIDES UK
I'm Craig, the person behind Survival Guides UK. I created SGUK because I wanted somewhere people could learn real outdoor skills in a practical, straightforward way — from lighting a fire and tying knots to navigation, campcraft and everything in between.
You can read more about the story behind SGUK here as well as our approach here.