How to Build a Lean-To Emergency Shelter
Knowing how to make a simple emergency shelter is a useful outdoor skill for Scouts.
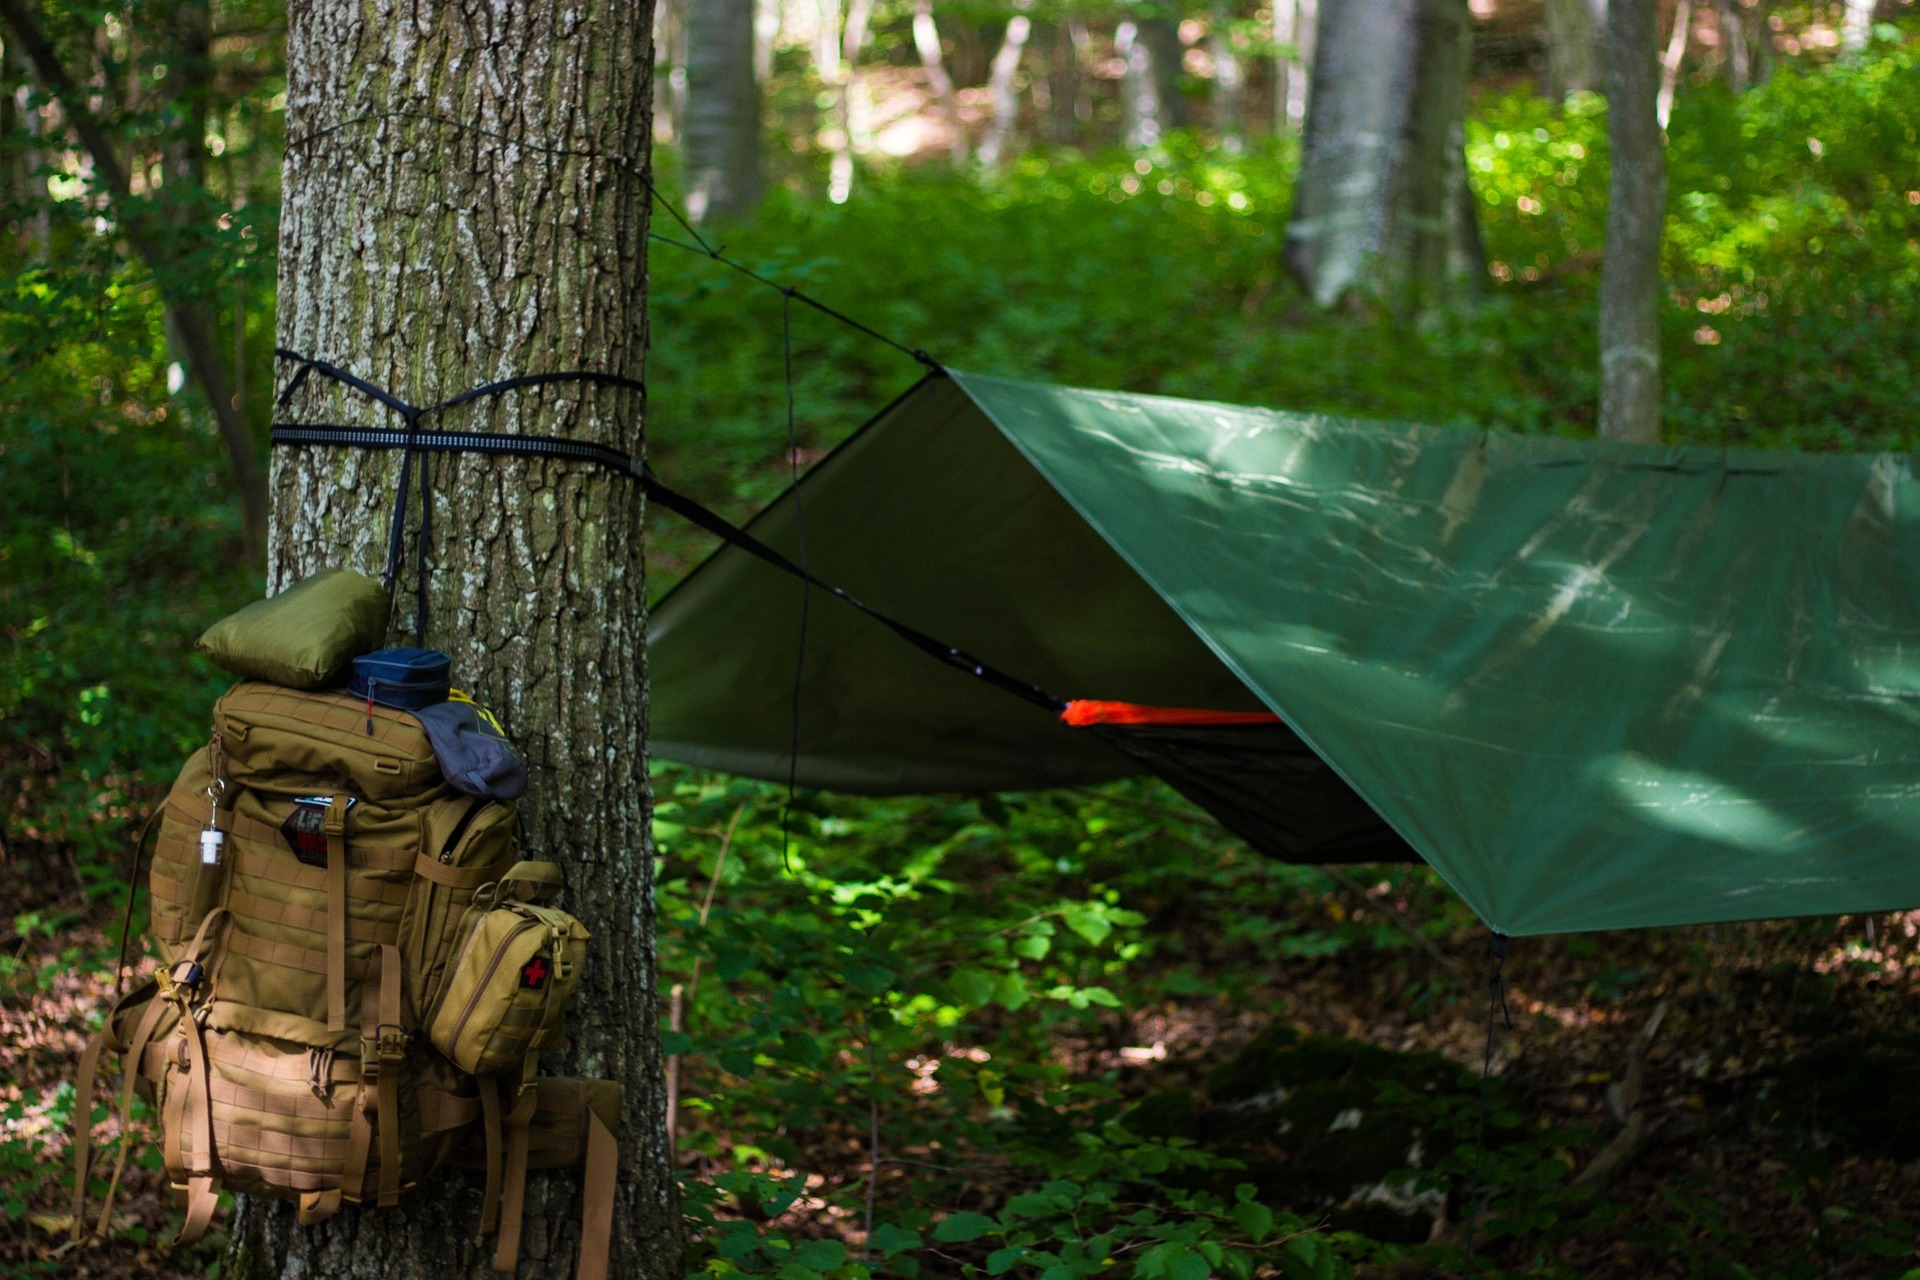
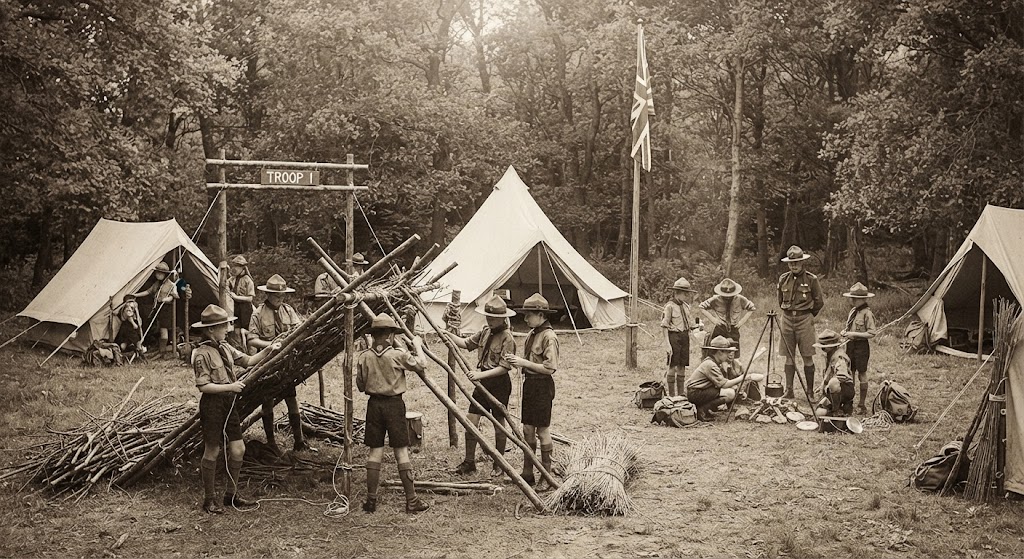
A lean-to is one of the simplest shelters to understand. It uses a strong horizontal support with smaller poles arranged against it to create a sloping roof. Once covered, the structure can provide some protection from wind and light rain.
The most important part of building an emergency shelter, however, isn’t putting the poles together.
It is choosing the right place to build it.
A poorly chosen location can make an otherwise well-built shelter unsafe. Before collecting materials or starting construction, Scouts should learn to assess the ground, weather, trees and surrounding hazards.
This guide explains how to build a basic lean-to shelter using natural materials, while keeping the activity suitable for supervised Scout training.
Activity Overview
A lean-to shelter is designed to give basic protection from the elements rather than create a permanent campsite.
Scouts learn how to:
The activity can be completed using natural materials where this is permitted, or with poles and materials supplied by the leader.
For Scout training, it is often better to practise construction with leader-provided materials rather than cutting living trees or branches.
Before You Start
Decide where the activity will take place and check that shelter building is permitted.
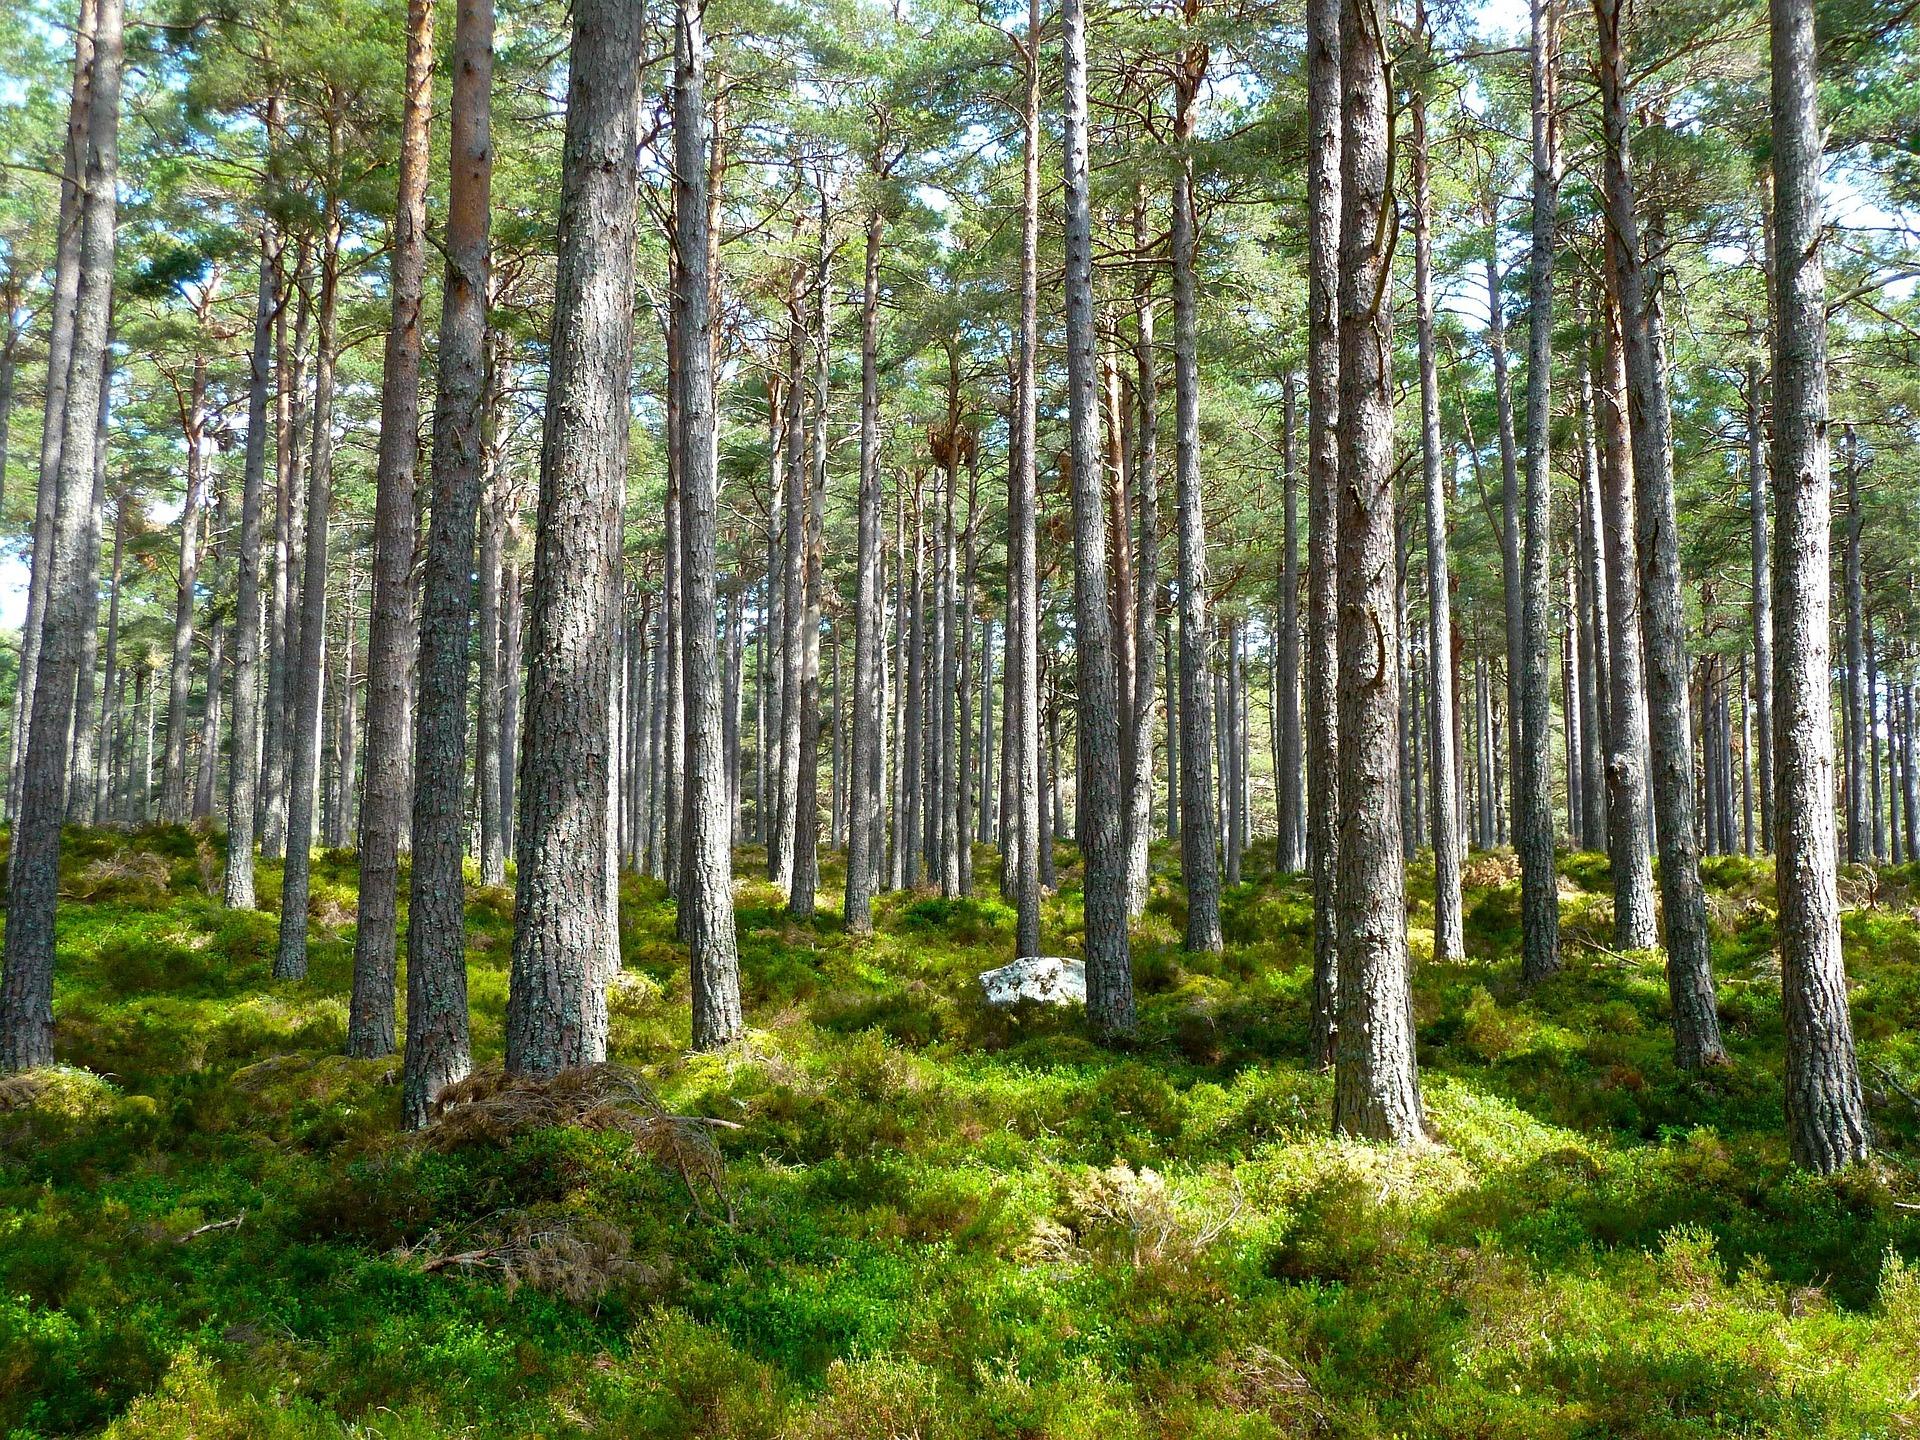
A woodland area may look ideal, but not every location is suitable for collecting materials or constructing shelters.
Check the ground, weather forecast and expected conditions before the activity.
Think about access, boundaries, nearby roads, water, steep slopes and overhead hazards.
For a training activity, consider bringing lightweight poles, rope and suitable covering materials. This allows Scouts to practise the principles of shelter construction without unnecessarily damaging vegetation.
You should also decide in advance how large the shelter needs to be.
A shelter for one or two people requires considerably less material than a group shelter.
Choosing a Safe Location
Spend time choosing the location before building anything.
Look for reasonably level, firm ground that is away from obvious hazards.
Avoid building:
Under dead or damaged trees.
Directly beneath large overhanging branches.
At the bottom of a slope where water could collect.
In a dry stream bed or obvious drainage channel.
Immediately beside rivers, ponds or other water.
On unstable banks.
Where there are signs of rockfall or falling debris.
Near roads or vehicle routes.
In areas containing hazardous plants or significant amounts of dead vegetation.
The safest location may not be the most sheltered-looking one.
A thick group of trees might block some wind but could also contain unstable branches.
Check the Ground
Before choosing your final position, walk around the area.
Look at the ground surface.
Is it firm?
Is it wet?
Are there holes or exposed roots?
Could rainwater run through the area?
Are there sharp objects or broken branches?
Clear only small obvious hazards that can be safely moved.
Don’t turn the site into a major ground-clearing project.
Think About Water
Rain can quickly change the suitability of a shelter location.
A small dip that looks comfortable in dry weather may become wet after heavy rain.
Look for natural drainage patterns.
Avoid low ground and places where water appears to have flowed previously.
Never build a shelter in a stream bed, even if it is currently dry.
Think About Wind Direction
Wind direction can help determine which way the shelter should face.
A lean-to normally works best when its solid or covered side faces towards the prevailing wind.
This reduces the amount of wind entering the shelter.
However, don’t sacrifice a safe location simply because another position gives better wind protection.
Safety comes first.
Check Overhead Hazards
Look upwards before starting construction.
Dead branches can fall without warning, particularly during windy weather.
Look for broken branches, hanging limbs and damaged trees.
Don’t build beneath anything that could fall onto the shelter.
This is especially important after storms or during strong winds.
Choosing Materials
A basic lean-to requires a strong main support and several smaller supports.
If natural materials are being used, choose fallen branches where appropriate and where collecting them is permitted.
Avoid cutting living trees unless this forms part of a specifically planned and authorised activity.
Look for poles that are:
Strong enough for their intended purpose.
Long enough to create the required shelter.
Free from obvious cracks or rot.
Not excessively heavy.
Handle branches carefully.
A branch that looks strong may be rotten internally.
The Basic Lean-To Design
A simple lean-to has three main parts.
The ridge or main support forms the top of the structure.
The supporting poles lean from the ground against it.
The covering material is placed over the poles to create the shelter wall.
The finished shelter resembles a sloping roof or wall.
The slope allows rain to run down the outside rather than directly into the shelter.
Step 1: Set Up the Main Support
Place a strong horizontal pole between two suitable supports.
These might be sturdy poles secured into the ground or other appropriately selected supports.
The main support should be secure and capable of carrying the weight of the covering.
Don’t simply rest a heavy pole on an unstable branch or damaged tree.
If using rope, suitable Scout knots can be used to secure the structure.
Check the support before adding anything else.
If it moves significantly, stop and strengthen the structure.
Step 2: Add the Leaning Poles
Place several poles from the ground up against the main horizontal support.
Space them evenly along the length of the shelter.
The poles should create a consistent slope.
Make sure their lower ends are stable and aren’t likely to slide.
The structure doesn’t need to be complicated.
The aim is to create a stable framework that can support the covering.
Step 3: Secure the Framework
Check each supporting pole.
If necessary, secure the poles with suitable cordage.
Don’t rely on a complicated collection of knots.
A simple, secure arrangement is better than one that looks impressive but is difficult to check.
The leader should inspect the structure before Scouts climb inside or add further materials.
Step 4: Add Cross Supports
If the framework needs additional stability, place smaller poles horizontally across the leaning poles.
These cross supports help hold the covering material in position.
Keep the structure simple.
Too many poles add weight without necessarily improving the shelter.
Step 5: Add the Covering
Now add material over the frame.
For training purposes, tarpaulins or other suitable shelter materials are often preferable.
If natural materials are being used, layers of leaves, grass or other appropriate vegetation can provide additional coverage where permitted.
Start at the lower edge and work upwards.
This creates overlapping layers so that rain is more likely to run down the outside rather than through gaps.
Step 6: Create an Overlapping Roof
Think about how water will travel across the shelter.
The covering should encourage water to run downhill.
Avoid large gaps.
Overlapping layers are more effective than simply placing a thick pile of material on top.
Don’t make the roof unnecessarily heavy.
A heavy covering can put excessive strain on the frame.
Step 7: Improve Wind Protection
A lean-to provides much better protection when the open side is positioned away from the strongest wind.
You can also extend the covering closer to the ground on the windward side.
Don’t completely seal the shelter.
The aim is to create protection from the weather while retaining a safe and usable space.
Step 8: Check the Entrance
The entrance should remain clear.
Scouts should be able to get in and out without crawling over unstable branches or disturbing the structure.
Avoid placing the entrance directly onto a steep slope or towards an obvious water route.
A simple entrance is usually best.
Step 9: Test the Structure
Before anyone uses the shelter, carry out a careful inspection.
Check:
Is the main support secure?
Are the leaning poles stable?
Could anything fall?
Are there sharp or broken branches inside?
Does the covering place too much weight on the frame?
Is the ground suitable?
Could rainwater run into the shelter?
Can everyone get out easily?
If something doesn’t look right, fix it before using the shelter.
Step 10: Think About Insulation
A shelter protects you from wind and rain, but the ground can still make you cold.
If the activity is specifically about survival shelter principles, Scouts can learn about the importance of separating themselves from cold or damp ground.
Use appropriate insulation materials supplied by the leader where possible.
Never assume that a pile of leaves or vegetation is automatically safe or suitable.
The shelter should remain dry, stable and free from hidden hazards.
Shelter Orientation
Orientation makes a significant difference.
In windy conditions, place the covered side towards the wind.
If rain is expected from a particular direction, the shelter can be positioned to reduce exposure.
However, weather can change.
A shelter should therefore be positioned based on both the current conditions and the likely weather during the activity.
Don’t Build Too Large
A common mistake is trying to build an enormous shelter.
Larger shelters require more material and create more opportunities for instability.
A small shelter designed for its intended occupants is usually easier to build and more stable.
For a Scout exercise, focus on demonstrating the principles rather than constructing a huge structure.
Natural Materials vs Supplied Equipment
There are two useful approaches to teaching lean-to shelters.
Natural-material construction helps Scouts understand how to use what is available in an outdoor environment.
Supplied poles, rope and tarpaulins allow leaders to teach the same principles while reducing environmental impact and making the activity easier to control.
Both approaches can be valuable.
The choice should depend on the location, permissions, weather, age of the Scouts and the purpose of the activity.
Don’t Cut Living Trees Without a Good Reason
Shelter-building activities can quickly become damaging if every group starts cutting branches.
Where possible, use supplied materials or suitable fallen material.
If cutting or using woodland materials is part of a planned Scout activity, make sure it is authorised and properly supervised.
Learning survival skills should include learning how to look after the environment.
Weather Protection
A shelter is only useful if it addresses the weather conditions.
Rain requires a waterproof or layered covering.
Wind requires good orientation and a stable frame.
Cold conditions require insulation from the ground as well as protection from wind.
Hot weather requires shade and ventilation.
There is no single shelter design that is suitable for every situation.
Know When Not to Build a Shelter
This is one of the most important lessons.
If severe weather is approaching, building a natural shelter may not be the best decision.
If the area has dangerous trees, flooding risk, lightning, high winds or other significant hazards, move to a safer location or use an established building or shelter.
In a genuine emergency, contacting emergency services and reaching appropriate assistance takes priority over constructing a shelter.
A survival shelter is not a substitute for good planning.
Shelter Building as a Scout Skill
A lean-to can teach several useful outdoor skills at the same time.
Scouts practise:
Observation.
Planning.
Knot work.
Teamwork.
Material selection.
Construction.
Problem-solving.
Environmental responsibility.
The activity can also lead into discussions about weather, insulation and emergency planning.
Younger Scouts
Younger Scouts can concentrate on the basic principles.
Teach them how to:
Choose safe ground.
Recognise overhead hazards.
Build a simple frame.
Add a covering.
Check the shelter before entering.
Keep the activity straightforward.
The objective is understanding how a shelter works rather than mastering complex construction.
Older Scouts
Older Scouts can take greater responsibility for planning the structure.
Ask them to assess several possible locations and explain which one they would choose.
They can compare different shelter orientations and discuss how wind and rain affect the design.
They can also practise securing the frame with appropriate knots and evaluate the finished shelter.
Leader Notes
Don’t let the construction race become more important than the safety assessment.
Give Scouts time to inspect the area before handing out building materials.
Ask them to explain why they have chosen their location.
This helps reinforce the idea that site selection is part of shelter building.
For larger groups, consider having patrols build small sections or individual shelters rather than one enormous structure.
The leader should inspect every structure before it is used.
Once the activity is finished, dismantle the shelter and leave the area as close as possible to its original condition.
Safety
Shelter building should be properly planned and supervised.
Do not build underneath dead, damaged or unstable trees or branches.
Avoid low ground, drainage channels, stream beds, unstable banks and areas at risk of flooding.
Take particular care with branches and natural materials. Do not use rotten, cracked or unstable poles.
Scouts should not climb onto shelters or use them as play structures.
Keep sharp tools, cutting equipment and other potentially hazardous equipment under appropriate control and supervision.
If knives, saws or axes are used to prepare materials, this should be a separately planned activity with suitable instruction, supervision and safety procedures.
Do not encourage Scouts to cut living trees or branches simply to obtain building materials.
Check weather conditions before and during the activity. Stop the activity if conditions become unsafe.
During strong winds or storms, move away from woodland and other areas where falling branches may present a hazard.
Never use fires, stoves, candles or other naked flames inside a lean-to shelter.
Ensure there is always a clear route out of the shelter.
The finished structure should be inspected by the responsible leader before anyone enters it.
Learning Outcomes
By completing a lean-to shelter activity, Scouts can learn to:
Final Thought for Scouts
Building a shelter isn’t just about putting sticks together.
The best shelter builders are the people who stop and think first.
Where is the safest ground?
Which way is the wind coming from?
Could anything fall from above?
Where would rainwater go?
Is the structure actually strong enough?
Those decisions matter more than how impressive the finished shelter looks.
In an emergency, good judgement is just as important as good shelter-building skills.
🔒Ready to test your survival skills?
Join Survival Guides UK for free, complete challenges, earn badges and increase your Survival Level.
JOIN FREE →
CRAIG BURR
FOUNDER · SURVIVAL GUIDES UK
I'm Craig, the person behind Survival Guides UK. I created SGUK because I wanted somewhere people could learn real outdoor skills in a practical, straightforward way — from lighting a fire and tying knots to navigation, campcraft and everything in between.
You can read more about the story behind SGUK here as well as our approach here.