3×3 Tarp Setup Guide: 9 Tarp Configurations Explained
A 3×3 metre tarp is one of the most useful pieces of shelter kit you can carry outdoors. With the right pitch, the same square of fabric can become an open shelter, a weather-resistant sleeping space, a cooking area or a compact shelter for one or more people.
The catch is that the tarp doesn’t have a fixed footprint. Change the configuration and you change the amount of ground space it needs, the number of anchors required and how well it deals with wind and rain.
That’s why we’ve created the 3×3 Tarp Geometry Simulator. Choose a configuration and it will show you the approximate ground area required, the number of anchors you’ll need and how the design performs for wind resistance, rain shedding and setup complexity.
Use the 3×3 Tarp Geometry Simulator
Select your tarp configuration below to see how much space and how many anchors you need. If there are any 3×3 tarp configurations you would like to see added, drop a comment below.
Tarp Geometry Simulator
System Module v1.1 • Pitch Planning Engine
A-Frame
Classic dual-side coverage balance for heavy rain and changing winds.
- ★ Wind Resistance: 4/5 (Excellent when pitched low to the windward side)
- ★ Rain Shedding: 5/5 (Steep sidewalls completely eliminate water pooling)
- ★ Setup Complexity: Easy (Requires 1 main ridgeline and 4 corner guy lines)
The simulator is designed to give you a quick planning reference before you head outdoors. Actual dimensions will vary slightly depending on how tightly you pitch the tarp, the height of your ridgeline and the terrain you’re working with.
How Much Space Does a 3×3 Tarp Need?
A 3×3 metre tarp has a maximum fabric area of 9 square metres, but the actual ground footprint depends heavily on how you pitch it.
An A-frame, for example, uses a ridgeline to divide the tarp into two sloping sides, while a diamond fly rotates the tarp and uses its corners differently. A low lean-to has a very different footprint again.
This matters when choosing a campsite. A pitch that looks ideal when you arrive might not leave enough room once you’ve stretched out the tarp, attached your guylines and allowed enough space around the shelter.
Before pitching, look at the whole geometry of the shelter, not just the position of the fabric itself.
1. A-Frame
The A-frame is one of the classic tarp configurations and a particularly useful place to start if you’re learning tarp camping.
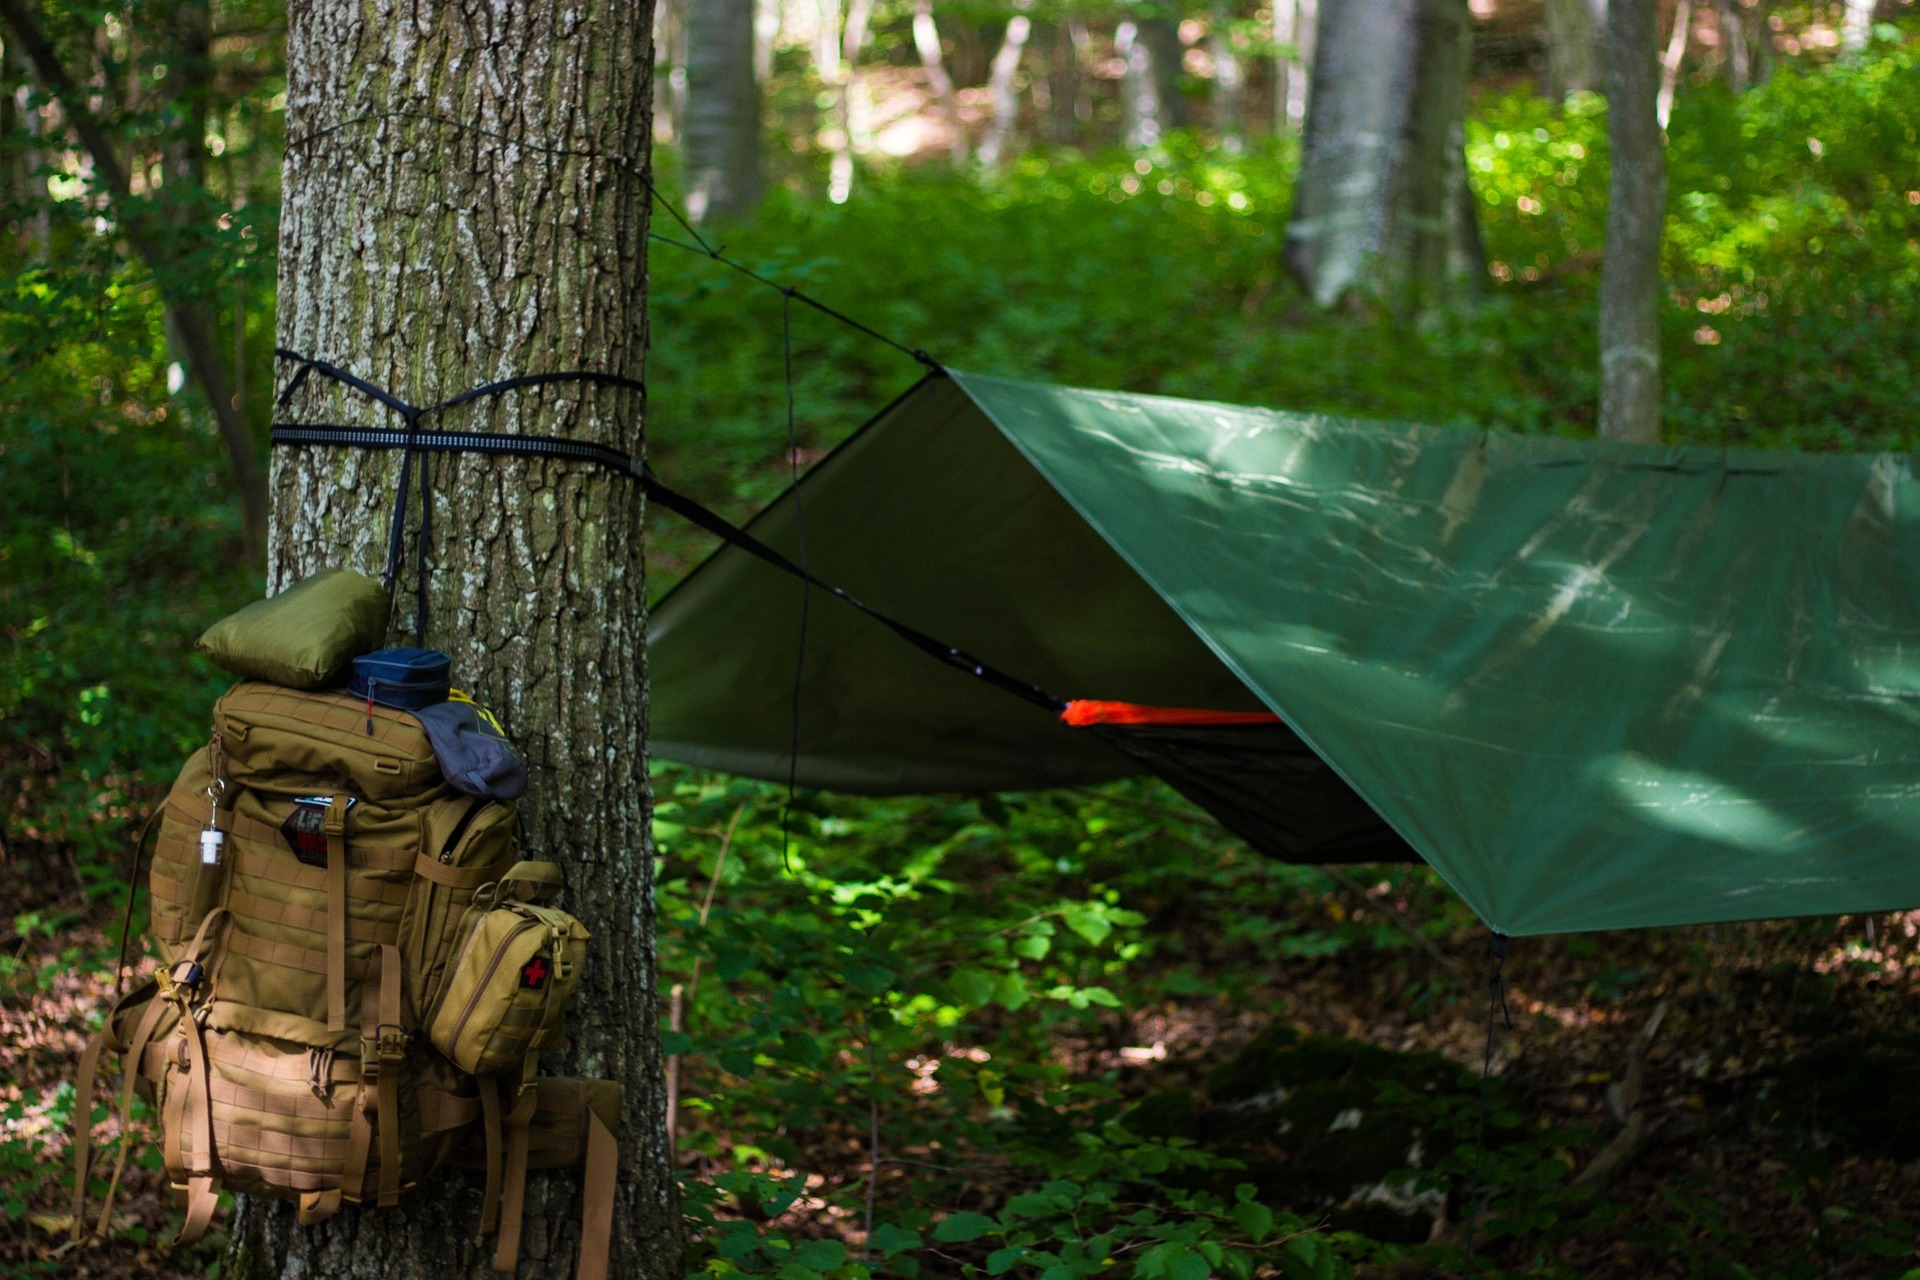
A ridgeline supports the centre of the tarp, creating two sloping sides. The open ends provide access and ventilation, while the sloping fabric gives rainwater a straightforward route away from the shelter.
Wind Resistance: 4/5
Rain Shedding: 5/5
Setup Complexity: Easy
It’s quick to pitch and doesn’t require complicated cordage, making it a good general-purpose configuration.
2. Diamond Fly
The diamond fly uses the tarp diagonally, producing a distinctive diamond-shaped shelter.
It can be a very efficient configuration when you want good coverage without building a complicated structure. It also gives you an excellent view of your surroundings and plenty of airflow.
Wind Resistance: 3/5
Rain Shedding: 4/5
Setup Complexity: Minimal
Its open nature makes it particularly useful when ventilation and visibility matter more than maximum protection.
3. Lean-To
The lean-to is one of the simplest tarp shelters to construct.
One side is raised while the opposite edge is secured close to the ground, creating a sloping wall and an open front.
Wind Resistance: 2/5
Rain Shedding: 3/5
Setup Complexity: Easy
It’s fast, straightforward and useful for short stops, but the open front means it isn’t the best choice when strong winds are expected.
4. Plough Point
The plough point creates a more enclosed shelter by bringing part of the tarp down towards the ground.
The result is a useful compromise between an open tarp and a fully enclosed shelter.
Wind Resistance: 5/5
Rain Shedding: 5/5
Setup Complexity: Moderate
It can work particularly well when you want increased protection without completely closing yourself inside the shelter.
5. Adirondack Fly
The Adirondack fly creates a large, relatively open living area beneath the tarp while still providing useful overhead protection.
It is particularly suited to situations where you want to spend time underneath the tarp rather than simply using it as an overnight sleeping shelter.
Wind Resistance: 4/5
Rain Shedding: 4/5
Setup Complexity: Advanced
Because of its larger open area, site selection becomes especially important in exposed weather.
6. Bivvy Bag Fly
A bivvy bag fly is designed around the person sleeping underneath it rather than creating a large communal shelter.
The tarp provides an additional layer of protection over your bivvy bag while keeping the overall setup compact.
Wind Resistance: 5/5
Rain Shedding: 4/5
Setup Complexity: Minimal
It’s a particularly useful arrangement for lightweight overnight trips where you want protection without carrying or pitching a large shelter.
7. Half Cone Wedge
The half cone wedge creates a more enclosed shelter with one end offering greater protection from the weather.
Its geometry makes it useful when you can identify the direction from which the worst weather is likely to arrive.
Wind Resistance: 4/5
Rain Shedding: 4/5
Setup Complexity: Easy
The key is to orient the protected end towards the prevailing wind rather than simply pitching it in whichever direction is most convenient.
8. C-Fly (Awning)
The C-fly is useful when you want a sheltered area with an enclosed or partially enclosed sleeping space.
The configuration creates a useful combination of ground coverage and overhead protection while retaining an open area at the front.
Wind Resistance: 3/5
Rain Shedding: 4/5
Setup Complexity: Moderate
It can be a very versatile choice for campcraft because the same shelter can provide somewhere to sleep and somewhere to sit or organise equipment.
9. Flying Basha
The flying basha is a lightweight configuration that gives you overhead shelter while keeping the structure relatively open.
It is particularly suited to quick setups where speed, low weight and simplicity are important.
Wind Resistance: 3/5
Rain Shedding: 3/5
Setup Complexity: Advanced
It’s a useful option for a quick lunch stop or lightweight shelter, although you’ll want to think carefully about wind direction before using it overnight.
Why Tarp Geometry Matters
Two people can use exactly the same 3×3 metre tarp and end up with completely different shelters.
The difference comes down to geometry.
Changing the position of the ridgeline, corners and anchor points changes the shape of the fabric. That affects:
- How much ground the shelter occupies
- How many anchor points are required
- How much usable space remains underneath
- How effectively rain runs off
- How exposed the shelter is to wind
- How much cordage you need
- How easy the shelter is to pitch
- Where you can place your sleeping equipment
This is why learning several tarp configurations is much more useful than simply memorising one pitch.
How Many Anchors Do You Need?
The number of anchors depends on the configuration.
Some shelters can be pitched with just a few carefully positioned points, while others need additional guy lines to tension the fabric properly.
The simulator gives you the recommended anchor count for each configuration, making it easier to work out how many pegs, trees or other suitable anchor points you’ll need before you start.
Remember that an anchor isn’t necessarily a tent peg. Depending on the situation, a tarp can be secured to suitable trees, strong natural features or other appropriate anchor points.
Always make sure whatever you use is secure and won’t become a hazard to other people.
Choosing the Right Tarp Configuration
There’s no single “best” tarp configuration.
The right choice depends on what you’re trying to achieve.
For a quick shelter, a lean-to or flying basha may be all you need.
For general overnight camping, an A-frame is an excellent starting point.
For increased weather protection, a plough point, half cone wedge or C-fly may be more appropriate.
For lightweight bivvy camping, the bivvy bag fly makes much more sense than building a large living shelter.
And if you’re expecting strong weather, don’t choose your pitch purely because it looks good. Consider the direction of the wind, where rain will run and whether the shelter has enough structural support.
Think About the Weather Before You Pitch
A tarp is only as good as the pitch you give it.
If strong winds are expected, position the shelter so its most protected side faces the prevailing wind. Keep the ridgeline and guylines properly tensioned and make sure your anchor points are secure.
For rain, think about where the water will run once it leaves the tarp. You don’t want runoff flowing directly into your sleeping area.
A few minutes spent looking at the ground and weather before pitching can save you a very uncomfortable night later.
Practise Before You Need It
One of the best ways to become confident with a tarp is simply to practise different configurations.
Try setting up the same 3×3 tarp in your garden or on a suitable practice area. Time yourself, experiment with different ridgeline heights and see how changing the anchor positions affects the shelter.
Once you’ve done this several times, you start to understand the tarp as a piece of geometry rather than just a sheet of fabric.
And that is when tarp camping becomes much easier.
Final Tip
Don’t wait until you’re standing in the rain to learn how your tarp works.
Practise your preferred configuration beforehand, understand how much space it needs and make sure you have enough pegs and cordage to pitch it properly.
Then, when you arrive at camp, you can spend less time fighting with the fabric and more time enjoying the outdoors.
🔒Ready to test your survival skills?
Join Survival Guides UK for free, complete challenges, earn badges and increase your Survival Level.
JOIN FREE →
CRAIG BURR
FOUNDER · SURVIVAL GUIDES UK
I'm Craig, the person behind Survival Guides UK. I created SGUK because I wanted somewhere people could learn real outdoor skills in a practical, straightforward way — from lighting a fire and tying knots to navigation, campcraft and everything in between.
You can read more about the story behind SGUK here as well as our approach here.