How to Spot Hazards at a Campsite
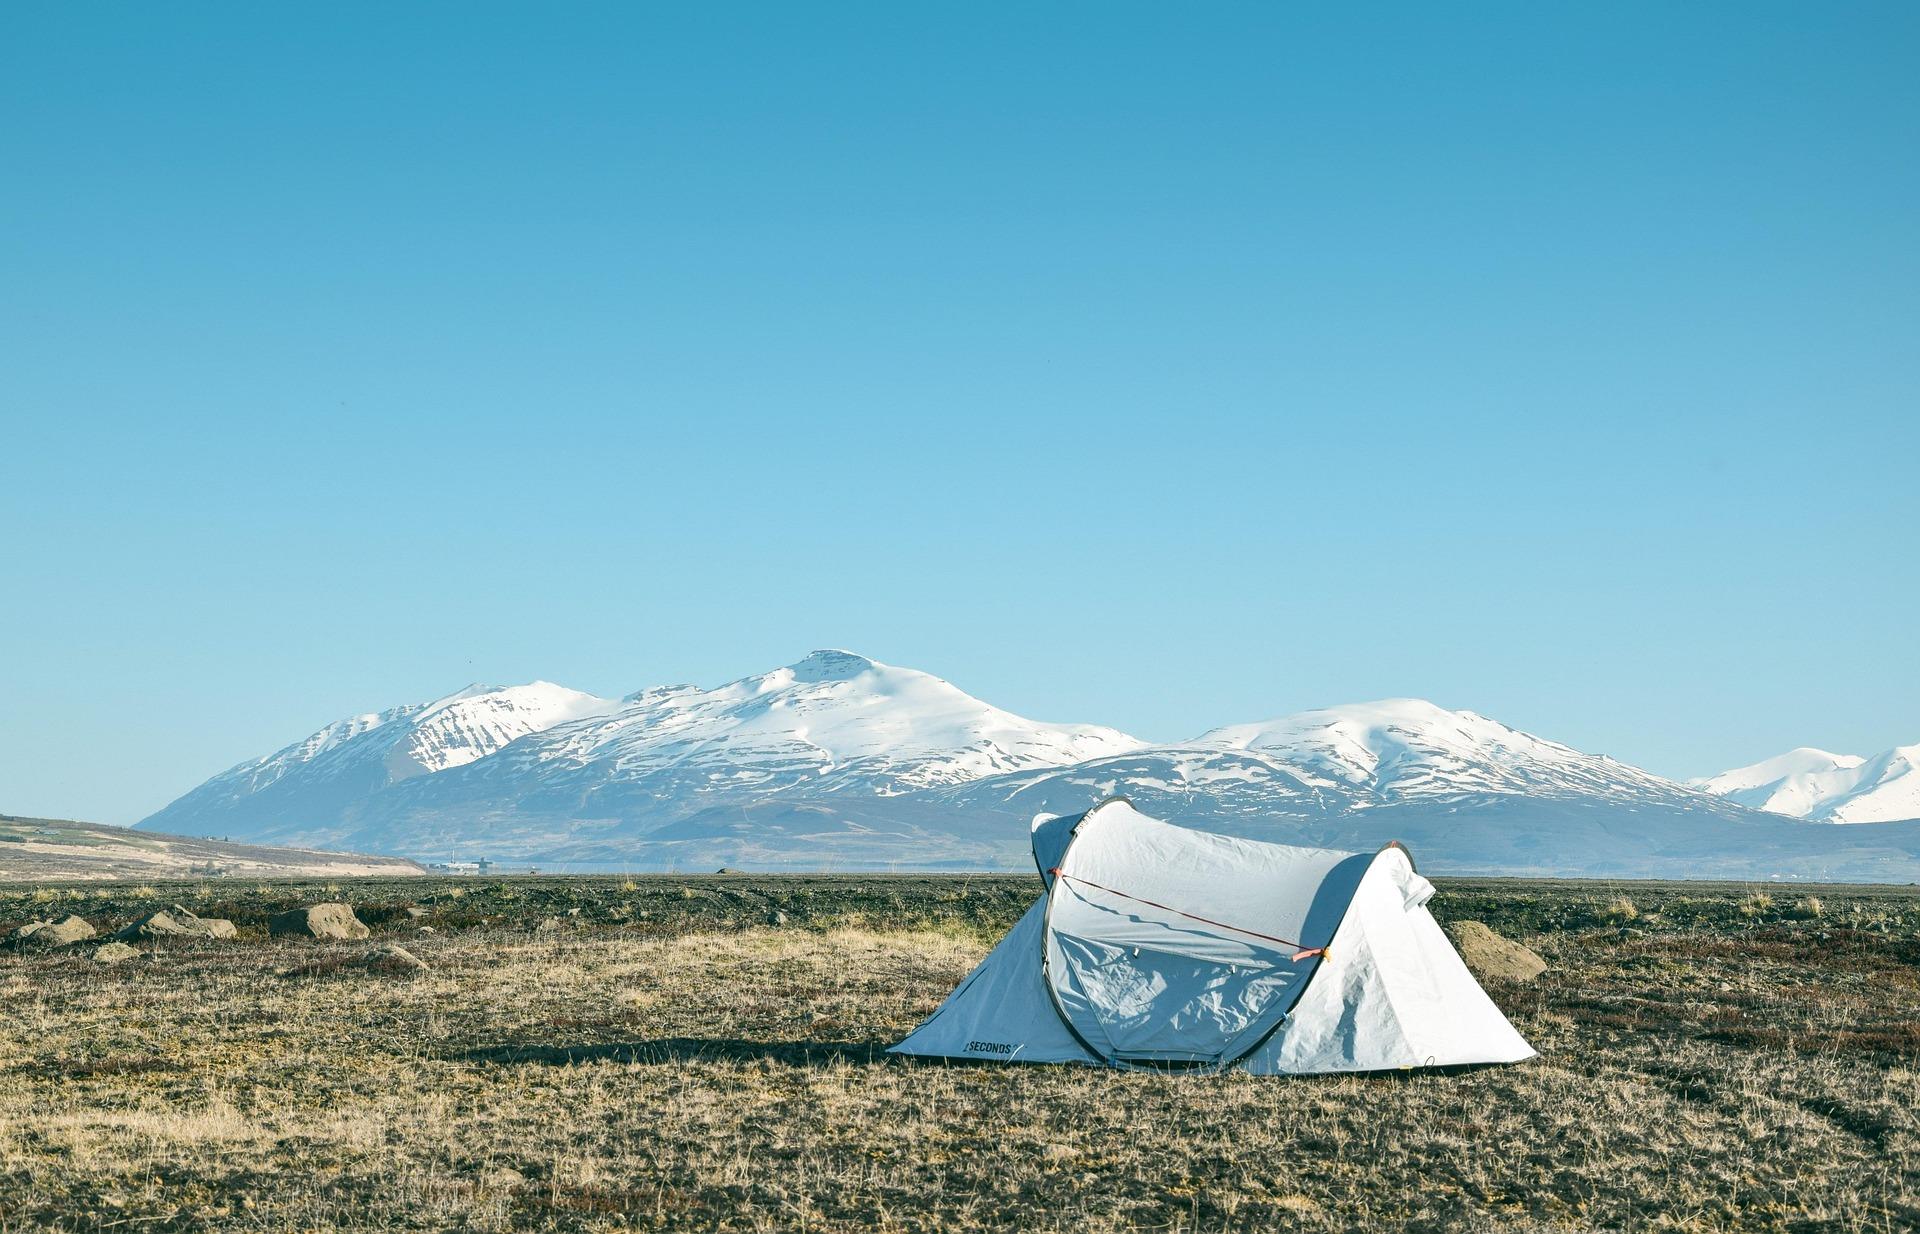
Before pitching a tent, it’s worth taking a few minutes to look around the area.
A campsite can appear perfectly safe at first glance, but there may be hazards that aren’t immediately obvious. Learning to spot these hazards is an important Scout skill and helps young people become more aware of their surroundings.
The aim isn’t to find a completely risk-free campsite. Outdoor environments naturally contain hazards. The important thing is to recognise them, understand them and make sensible decisions.
Start With a Slow Walk Around
Don’t immediately unpack the tent.
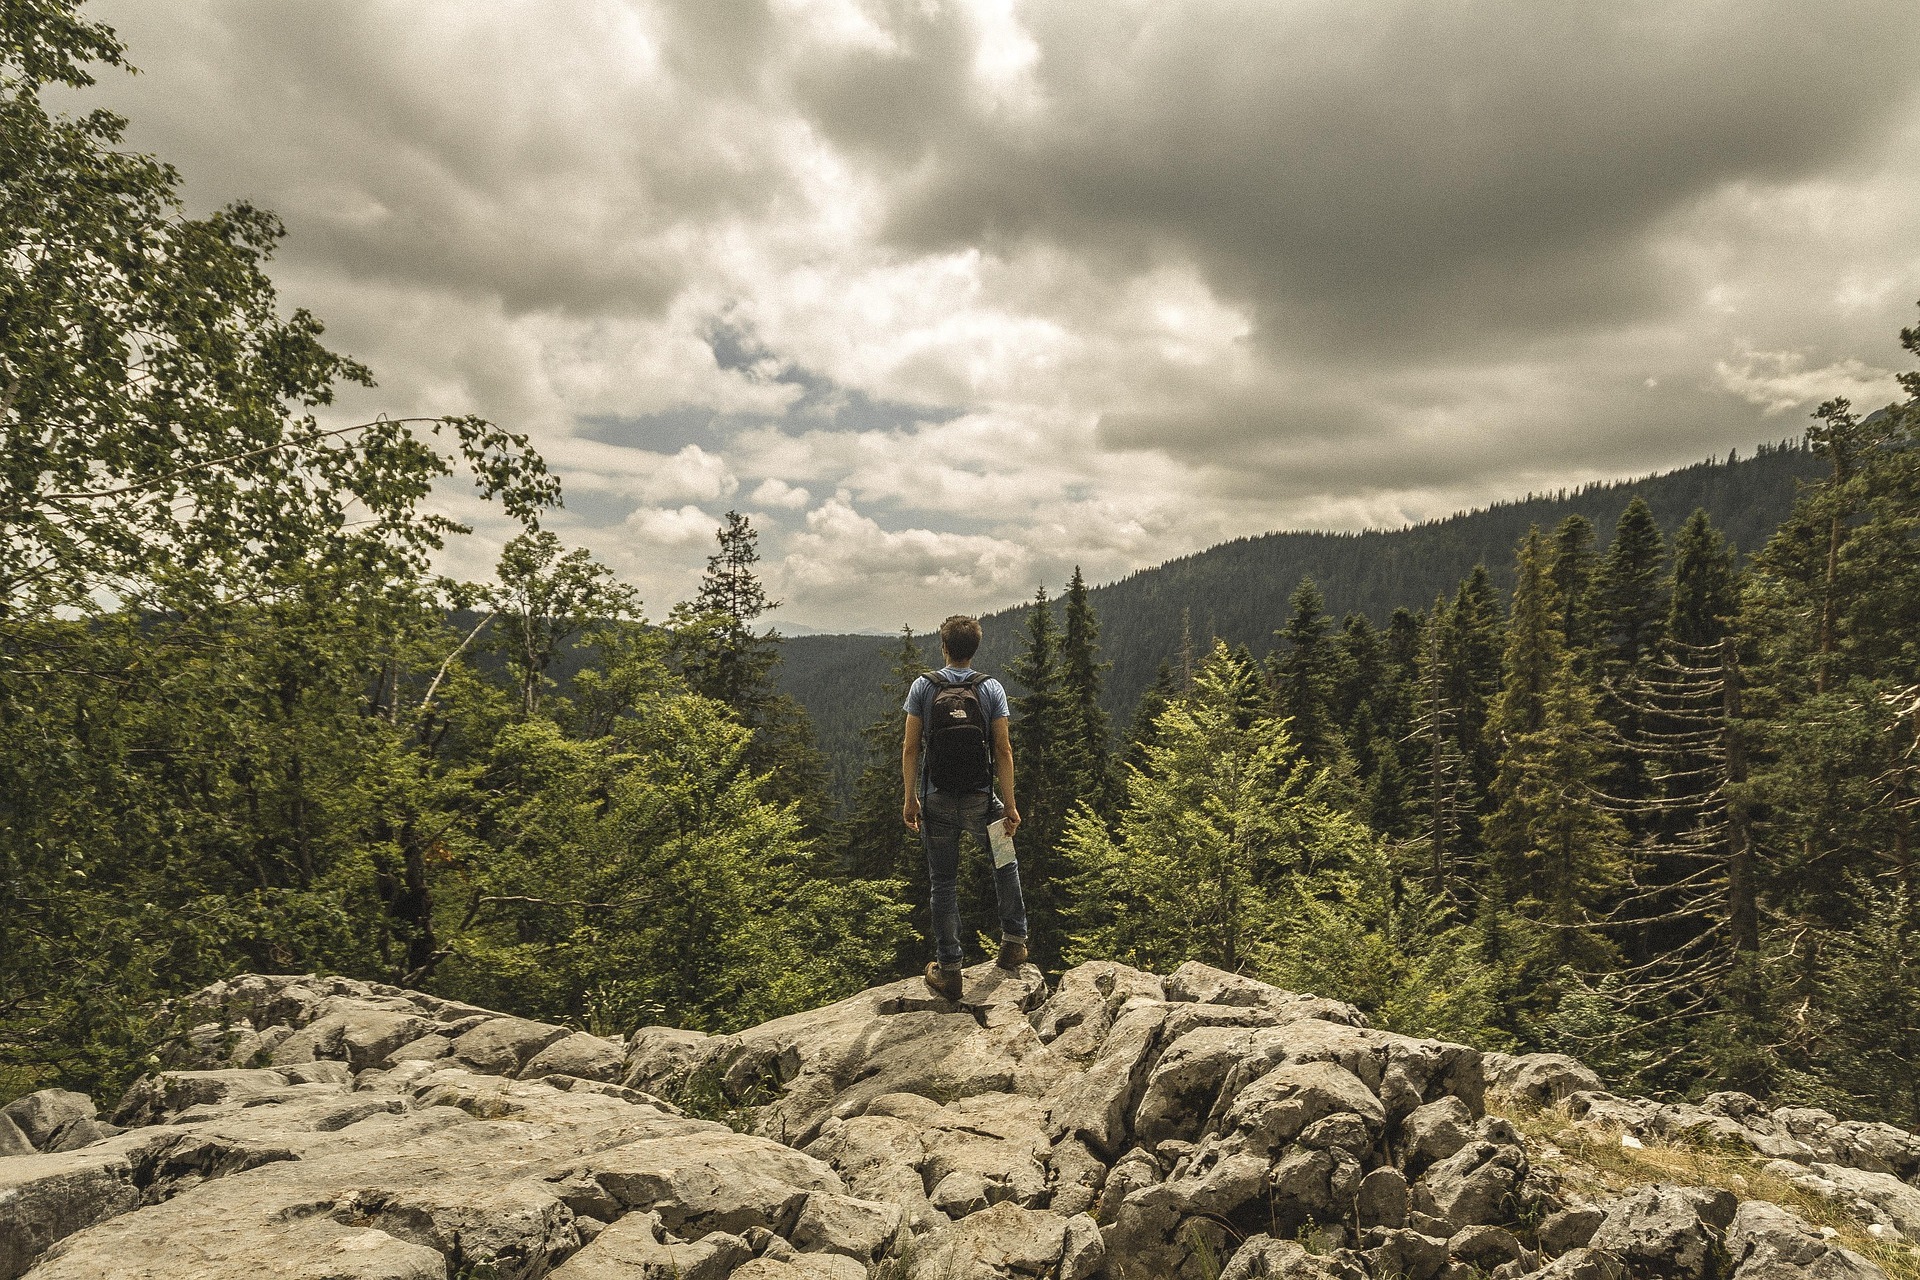
Walk around the proposed camping area and look at it from different directions.
Look at the ground, what’s above you and what’s happening around the site.
A short inspection can reveal problems that aren’t obvious from a single viewpoint.
Look at the Ground
Check for obvious hazards such as holes, steep slopes, loose rocks, exposed roots, deep mud and areas of unstable ground.
Think about where people will walk, not just where the tent will stand.
A small hole beside a tent entrance could become a trip hazard, particularly after dark.
Look Above You
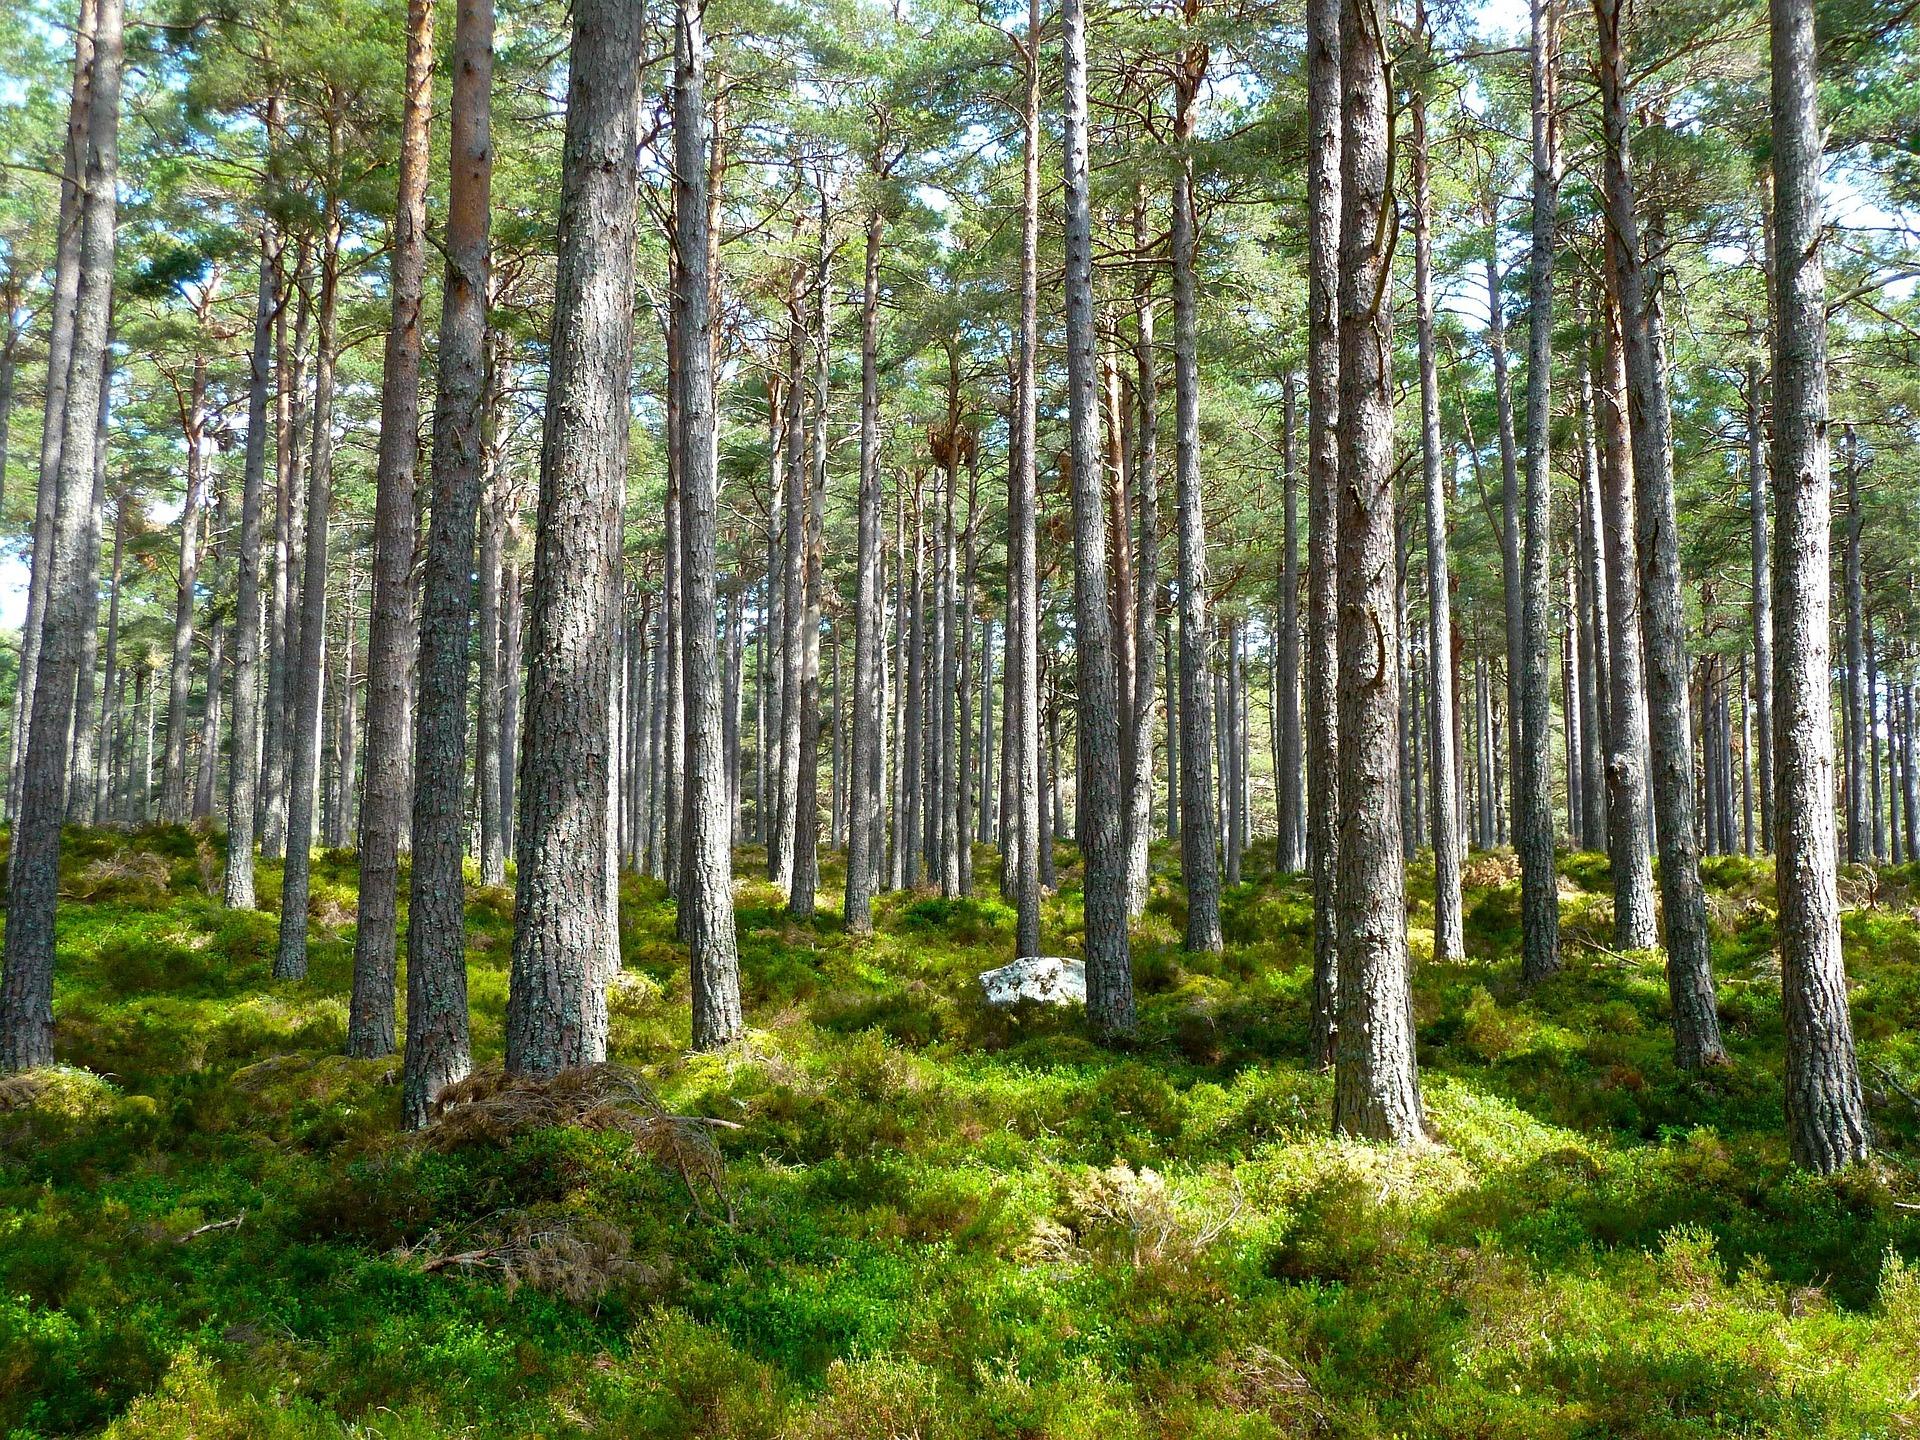
Look at trees and branches around the campsite.
Dead branches, damaged trees and unstable limbs can present a serious hazard.
Don’t assume that a tree is safe simply because it looks healthy from the ground.
If there is any concern about overhead hazards, choose another location or seek appropriate advice.
Check for Water
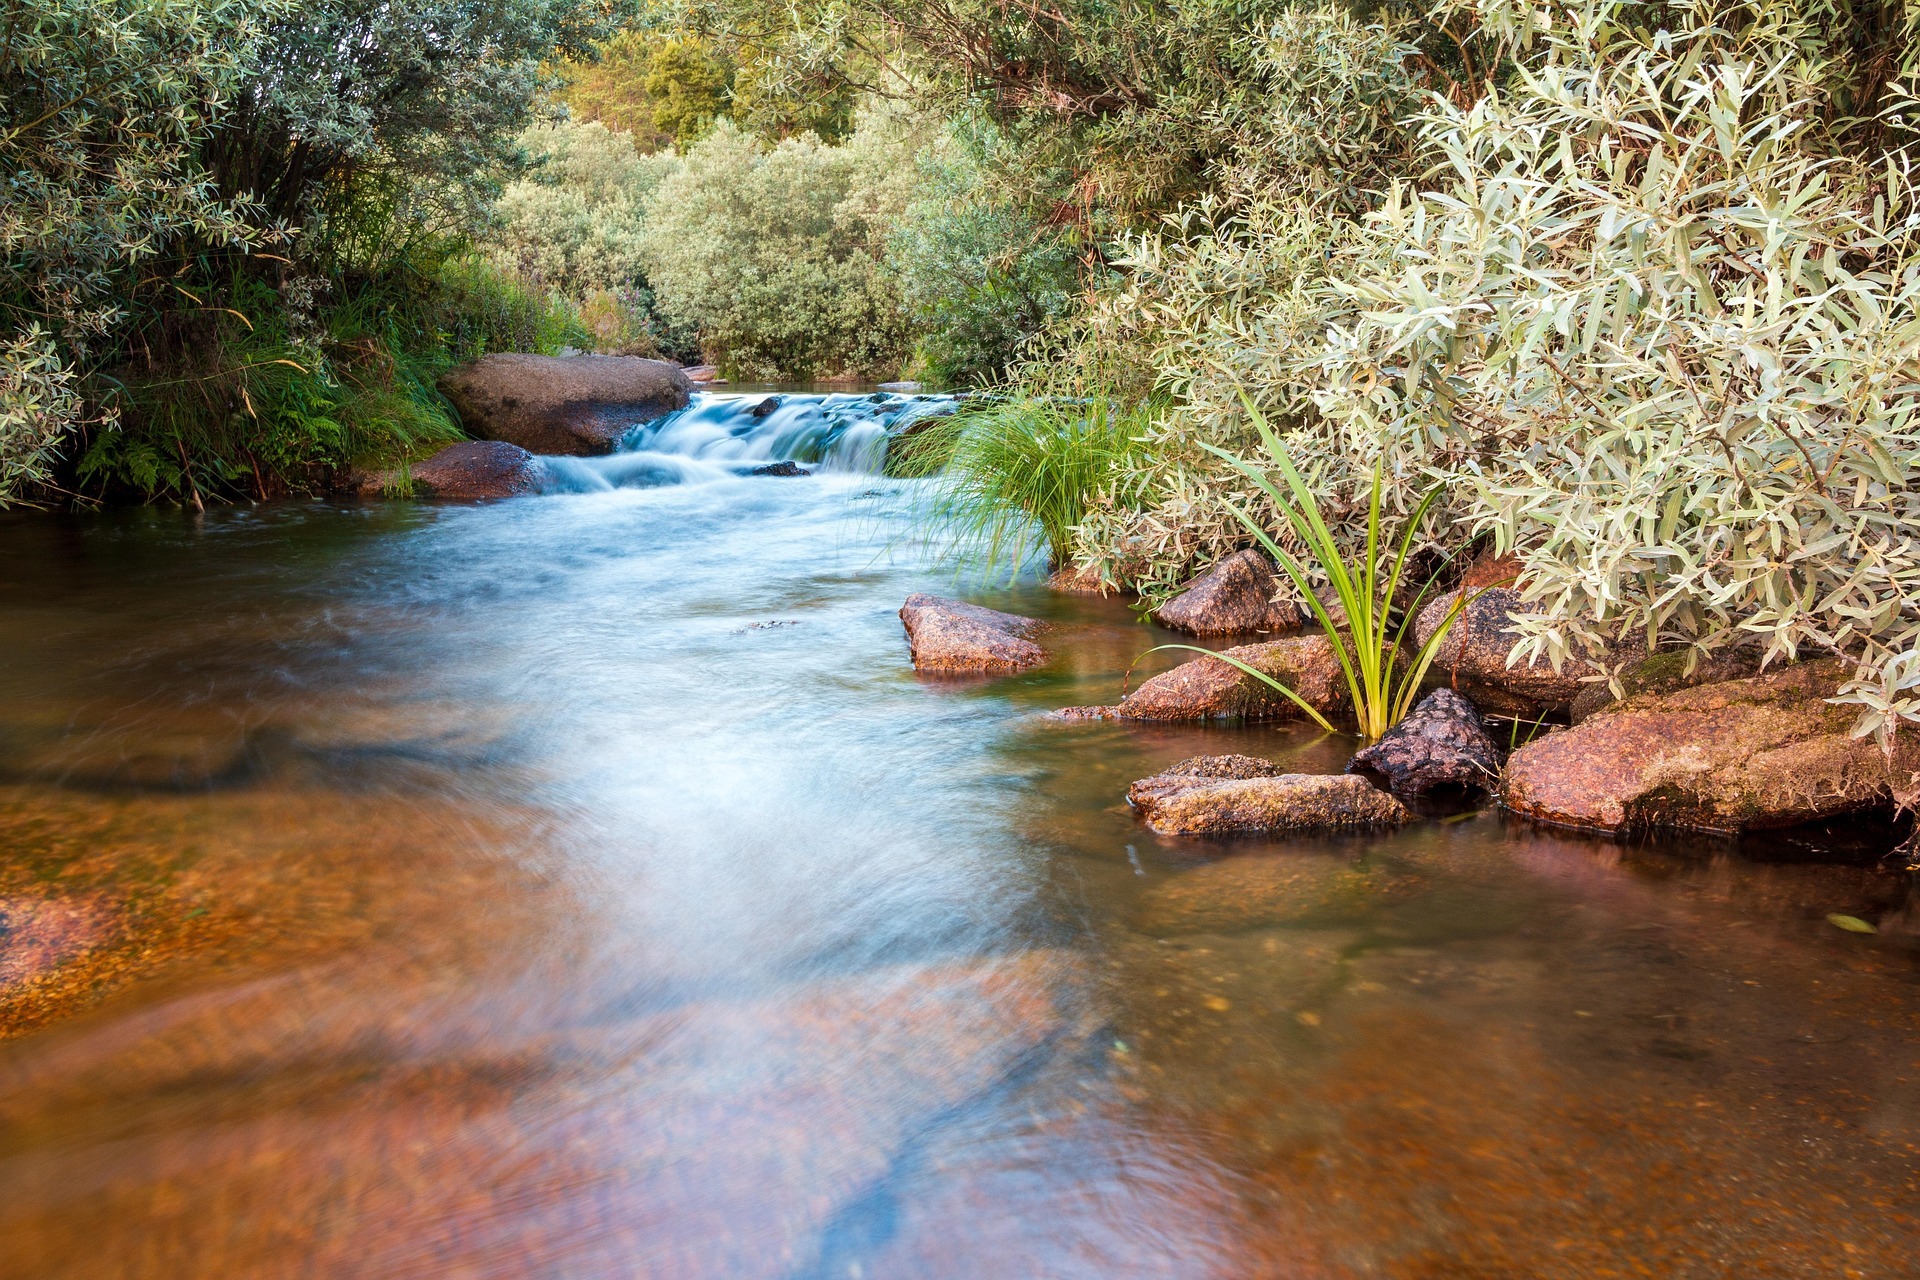
Look for nearby streams, rivers, ponds and areas where water could collect.
Consider whether heavy rain could change the conditions.
Avoid low-lying ground, drainage channels and places that could become flooded.
Remember that water may come from somewhere outside the immediate campsite.
Look for Unstable Banks
If you’re near a slope, river or stream, check for signs of erosion.
Avoid steep or undercut edges where the ground could give way.
Young people should know that an area doesn’t have to look dramatically dangerous to be unstable.
Check for Wildlife
Look for signs of animal activity.
Burrows, nests and insect colonies can create hazards if disturbed.
Don’t poke, kick or investigate holes and nests.
If you find an obvious wildlife hazard, leave it alone and choose a suitable alternative location.
Watch for Stinging Insects
Be aware of wasps, bees and other stinging insects, particularly around food and rubbish areas.
Don’t deliberately disturb nests.
Keep food and waste managed appropriately and follow the campsite’s procedures.
Look for Human-Made Hazards
Not every campsite hazard comes from nature.
Look for things such as:
Broken glass.
Discarded metal.
Old fencing.
Wire.
Unstable structures.
Fire remnants.
Rubbish.
Damaged equipment.
Don’t pick up unknown sharp or dangerous objects with your bare hands.
Report significant hazards to the appropriate person.
Check the Paths
Think about how people will move around the campsite.
Are there narrow routes?
Will guy lines cross walking areas?
Could people trip over roots or uneven ground?
A campsite should allow people to move around without constantly stepping over obstacles.
Consider the Weather
A campsite can become a very different place when the weather changes.
Rain can create mud and standing water.
Wind can make trees and tents more hazardous.
Heat can increase the risk of dehydration and sun exposure.
Cold weather can make wet ground and equipment more problematic.
Think about what the site might be like later, not just what it looks like when you arrive.
Think About Darkness
Walk around the campsite during daylight and consider what it will look like after dark.
Guy lines, rocks, tree roots and uneven ground can become much harder to see.
Keep important routes clear and make sure Scouts know which areas are safe to move through at night.
Don’t Ignore Small Hazards
A hazard doesn’t have to be dramatic to matter.
Several small problems can combine to make a campsite difficult to manage.
For example, an uneven entrance, poorly positioned guy line and lack of lighting could create a much greater risk after dark.
Good campsite management deals with small problems before they become bigger ones.
Ask “What Could Change?”
This is one of the most useful questions Scouts can learn.
Instead of only asking whether something is safe now, ask what could happen if:
It rains?
The wind increases?
It gets dark?
The ground becomes muddy?
More people arrive?
Thinking ahead is a key outdoor skill.
Younger Scouts
For younger Scouts, turn hazard spotting into a simple observation exercise.
Give them a few minutes to look around the campsite and identify things that might need attention.
Ask them to explain what they’ve noticed rather than simply calling something “dangerous”.
This helps them understand the difference between spotting a hazard and deciding what to do about it.
Older Scouts
Older Scouts can carry out a more structured campsite inspection.
Ask them to consider ground conditions, water, trees, access, weather, wildlife and movement around camp.
They can then explain which hazards they’ve identified and how the campsite could be managed.
Leader Notes
Avoid creating the impression that every hazard requires the activity to stop.
Outdoor safety is often about managing hazards sensibly.
Ask Scouts what they could do to reduce a problem.
Sometimes the answer will be moving the tent.
Sometimes it will be changing a route.
Sometimes it will be setting a clear boundary.
And sometimes the correct decision really is to avoid the area altogether.
Safety
Always inspect a campsite before setting up.
Pay particular attention to unstable ground, steep slopes, water, overhead branches and other significant hazards.
Do not camp beneath dead or visibly damaged trees or branches.
Keep Scouts away from unstable riverbanks, steep edges and unsafe water.
Do not disturb wildlife, nests or burrows.
Treat unknown sharp objects, broken glass, wire and other hazardous debris as potential hazards.
Keep guy lines, equipment and other obstacles positioned to reduce trip risks.
Reassess the campsite when weather conditions change.
Follow the rules and guidance of the campsite, landowner or activity organiser.
If a significant hazard cannot be adequately managed, choose another location.
Learning Outcomes
Scouts learning to spot campsite hazards can develop their ability to:
Final Thought for Scouts
Good campsite selection isn’t about having perfect surroundings.
It’s about noticing what is around you.
The more you practise looking carefully, the easier it becomes to spot problems before they cause trouble.
Take a few minutes to look, think and plan before you pitch.
🔒Ready to test your survival skills?
Join Survival Guides UK for free, complete challenges, earn badges and increase your Survival Level.
JOIN FREE →
CRAIG BURR
FOUNDER · SURVIVAL GUIDES UK
I'm Craig, the person behind Survival Guides UK. I created SGUK because I wanted somewhere people could learn real outdoor skills in a practical, straightforward way — from lighting a fire and tying knots to navigation, campcraft and everything in between.
You can read more about the story behind SGUK here as well as our approach here.