Tarp Shelter Challenge: Build, Test and Improve
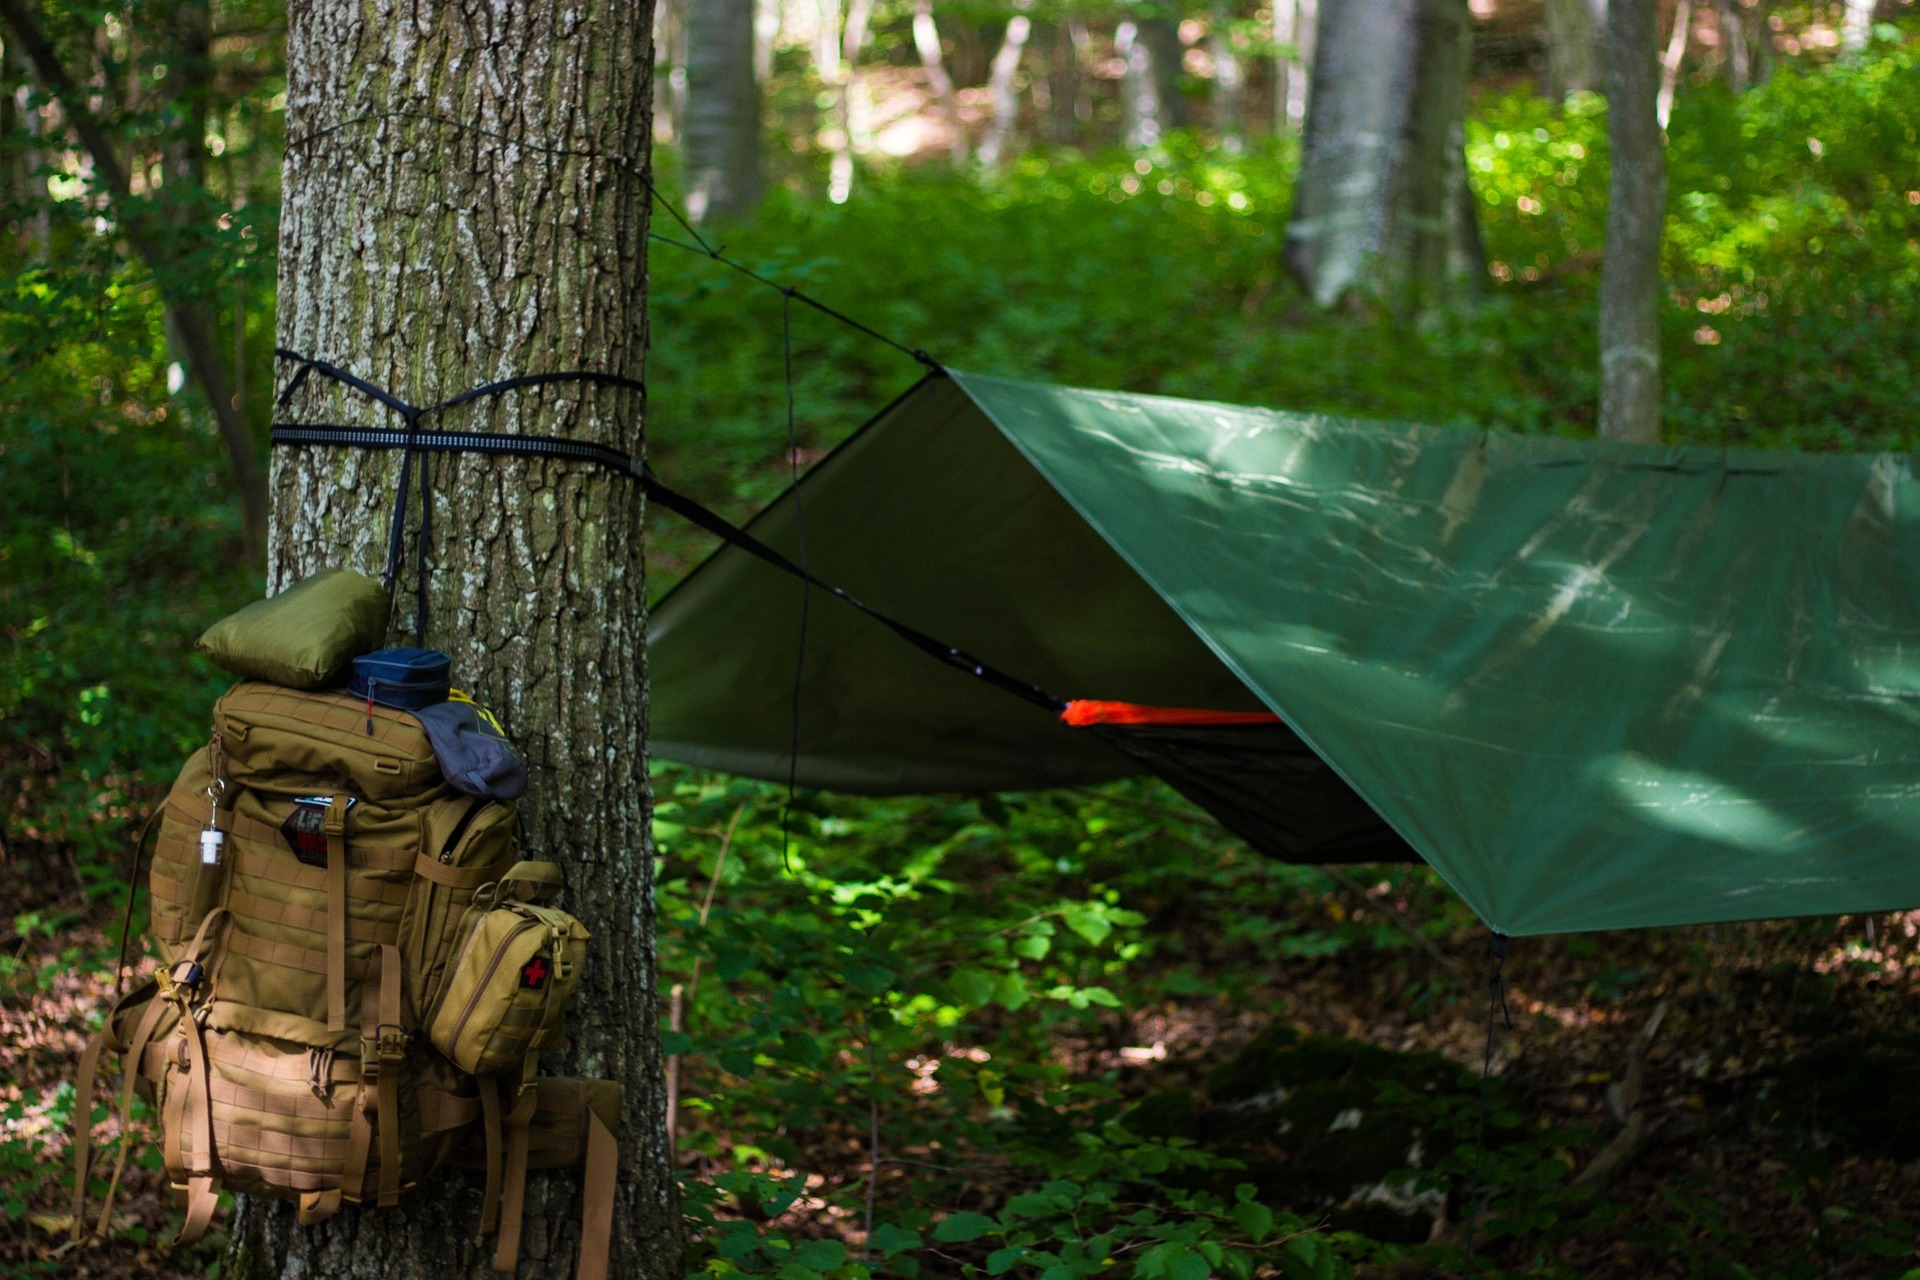
Building a tarp shelter is a useful Scout skill, but building one once and declaring it finished doesn’t teach the whole story.
A good shelter needs to be stable, practical, weather-aware and easy to use.
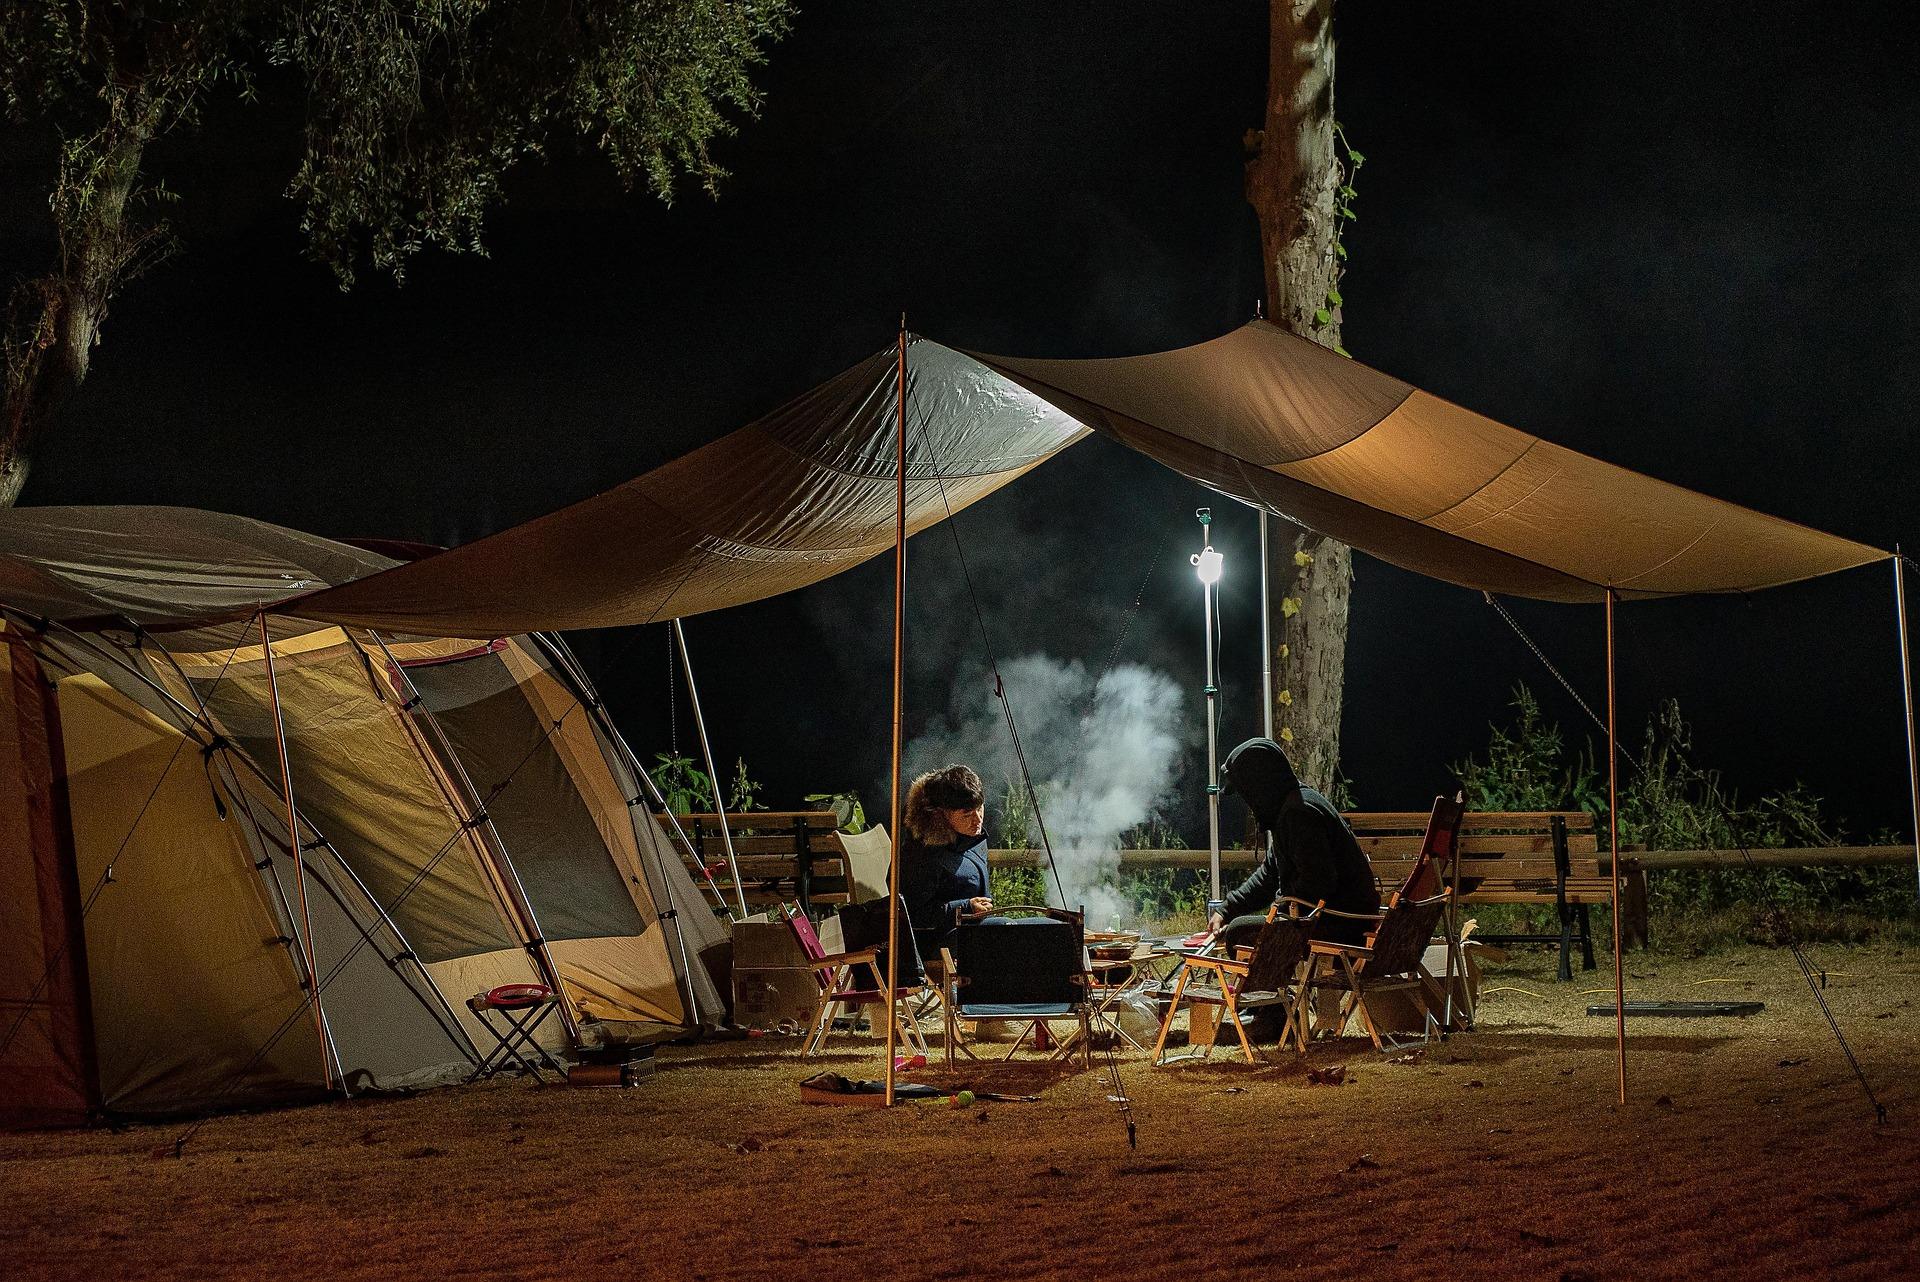
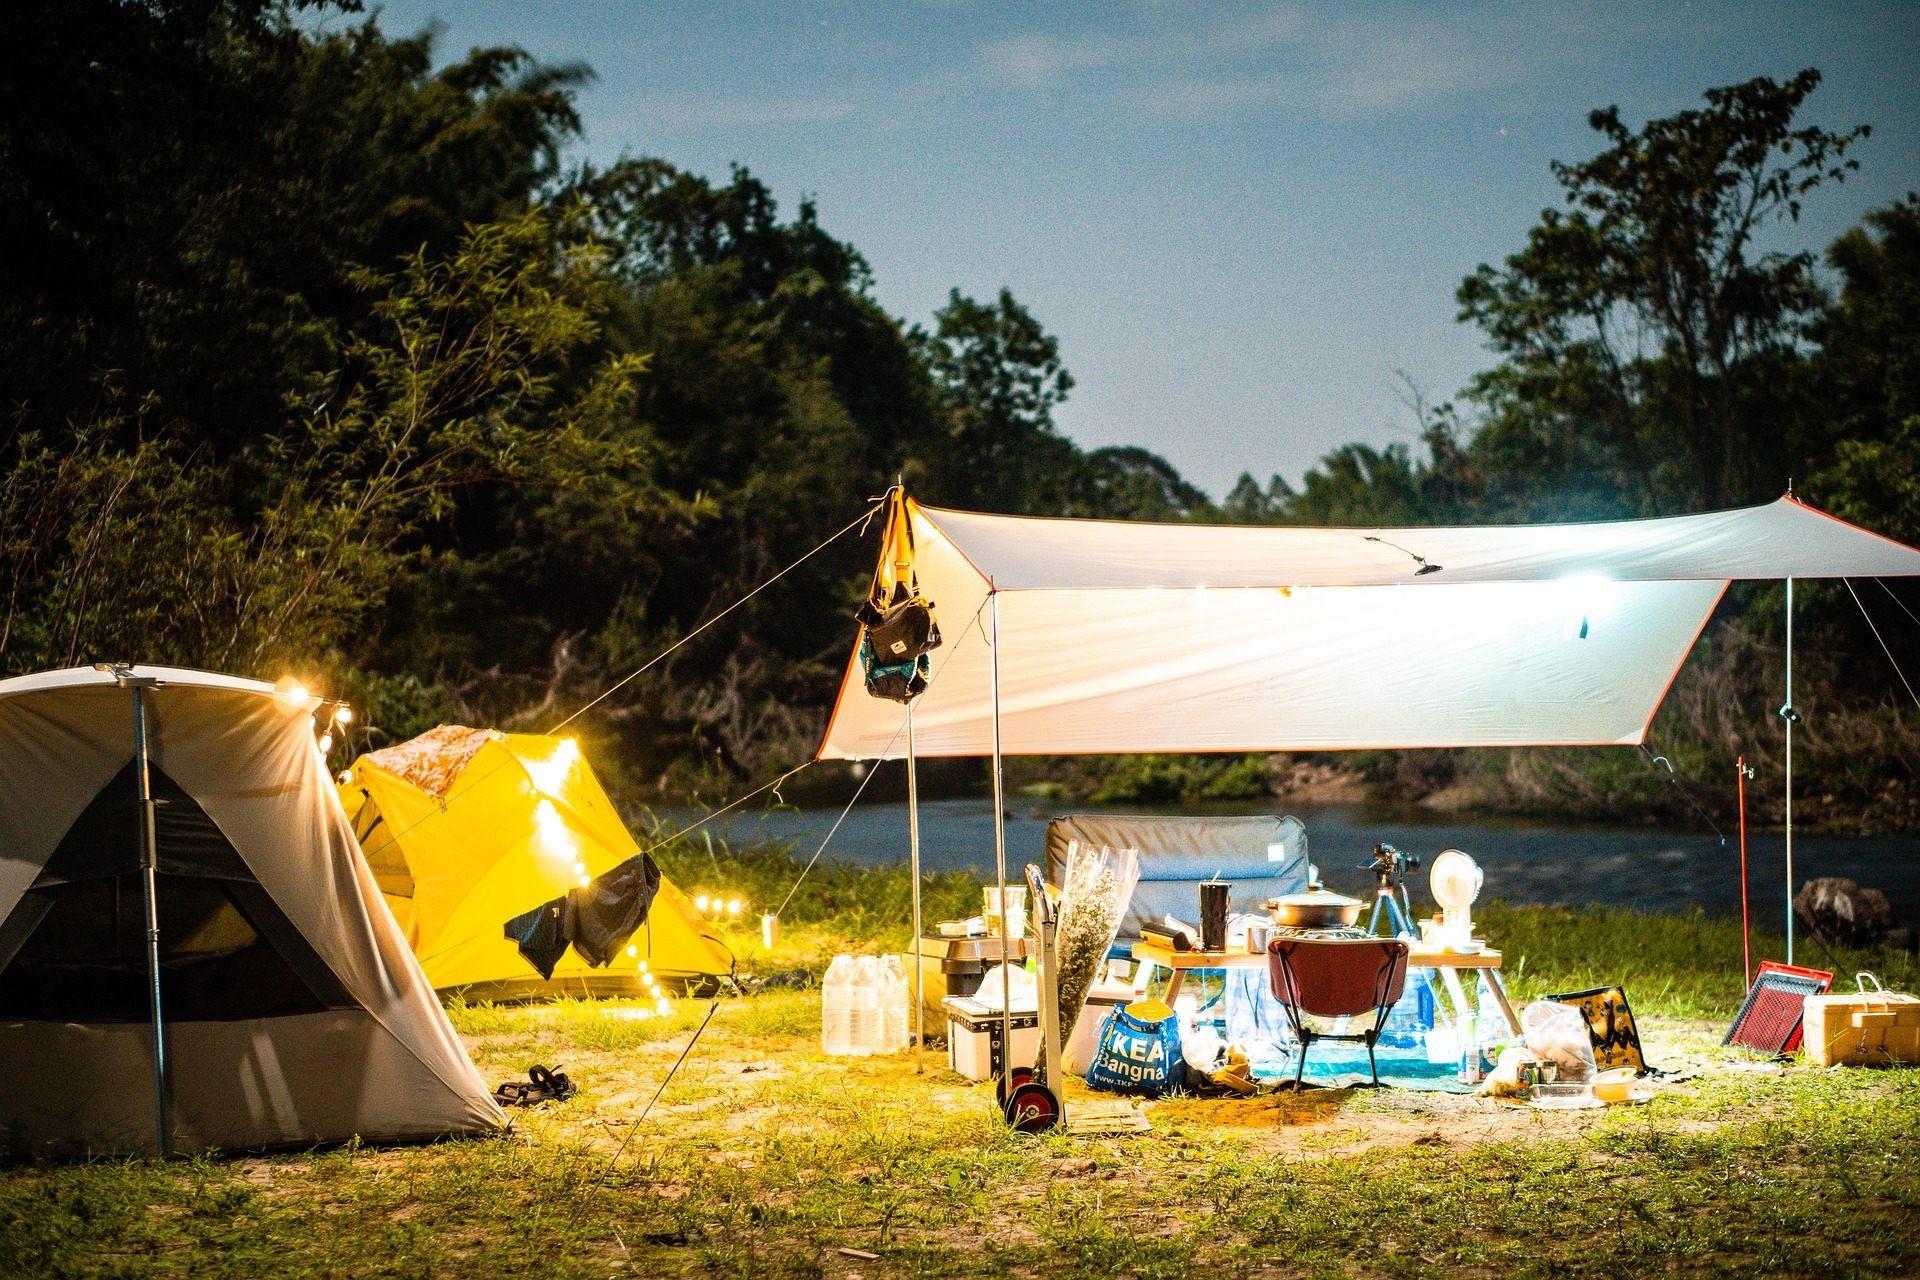
The Tarp Shelter Challenge turns shelter building into a practical problem-solving exercise. Scouts work in teams to design and build a tarp shelter, test it against a set of challenges, identify weaknesses and then improve their design.
There isn’t necessarily one perfect shelter.
The aim is to make Scouts think about why a particular design works, what could go wrong and how they can make it better.
Activity Overview
Teams are given a tarp, rope and suitable support equipment and challenged to build a usable outdoor shelter.
Once the first version is complete, the team tests it against a series of agreed criteria.
They might consider:
The team then makes improvements before presenting its final design.
This works particularly well with Scouts because different teams are likely to approach exactly the same problem in very different ways.
Before You Start
Choose a suitable outdoor location where tarp shelters can be erected safely and where the activity is permitted.
Check the weather before the session and make sure the conditions are appropriate for the activity.
You will need enough equipment for each team to work at the same time.
A useful basic setup is a tarp, cordage or guy lines, suitable pegs and poles or other appropriate supports.
A 3m × 3m tarp is a practical size for many Scout shelter exercises, and Scouts guidance also recommends tarps of around this size for survival-shelter activities.
Have spare rope and pegs available.
It’s also worth having waterproof clothing and a first-aid kit accessible.
Choose the Site First
Before anyone starts building, teams should inspect their proposed location.
This is deliberately part of the challenge.
A good-looking space isn’t necessarily a safe one.
Avoid areas beneath dead or damaged branches, near unstable slopes, beside water or in dips where rainwater could collect.
Teams should also avoid animal trails, insect nests and other obvious hazards.
Scouts guidance similarly recommends checking the surrounding area and avoiding falling-object hazards, animal trails and low ground where water can collect.
Ask each team to explain why they have chosen their location before they begin.
The Challenge Rules
Keep the rules simple.
Each team must build a shelter that:
Provides useful cover
Can be entered and exited safely
Uses the equipment responsibly
Has no obvious trip hazards
Is stable enough for its intended use
Can be improved after testing
You can add your own restrictions depending on the group.
For example, you might limit the number of pegs or give every team exactly the same length of rope.
This makes the challenge more about design and problem-solving than simply having the most equipment.
0–10 Minutes: Briefing and Site Assessment
Begin by explaining the challenge.
Don’t demonstrate a complete shelter immediately.
Instead, show the equipment and discuss what makes a good shelter.
Ask Scouts what they think a shelter needs to protect them from.
Rain?
Wind?
Cold?
Sun?
Ground moisture?
Then introduce the important principle:
A shelter is only useful if it is safe.
Give teams time to inspect their proposed locations.
They should identify hazards and decide which direction they want the shelter to face.
Encourage them to think about wind direction and where rain would go.
10–30 Minutes: First Build
Teams begin constructing their first shelter.
Allow Scouts to make their own decisions rather than providing a complete set of instructions.
The leader’s role is to supervise, answer questions and intervene where there is a safety concern.
Encourage teams to experiment with different arrangements.
One team might choose an A-frame.
Another might create a lean-to.
Another might produce a lower, more enclosed design.
The point is not to make every shelter identical.
The Scouts’ own tarp activities encourage young people to develop and test different shelter ideas rather than simply following one fixed design.
30–40 Minutes: The Shelter Test
When the shelters are complete, pause the building.
Teams now inspect their own shelters.
Give them a simple test sheet or ask them to work through the questions verbally.
Stability
Does anything move excessively?
Are the poles secure?
Are the guy lines properly tensioned?
Weather Protection
Where would rain enter?
Which direction would wind come from?
Are there gaps that could allow water through?
Accessibility
Can everyone get inside easily?
Can everyone get out quickly?
Is the entrance obvious?
Space
Is there enough room for the intended occupants?
Can people sit comfortably?
Is the structure unnecessarily large?
Safety
Are there trip hazards?
Are ropes visible enough?
Are there sharp or unstable objects?
Could anything fall onto the shelter?
The teams should record their weakest areas.
40–50 Minutes: Improve the Design
Now give teams a short period to improve their shelters.
This is where the activity becomes more interesting.
Instead of simply being told whether their shelter is good or bad, Scouts have to work out how to improve it.
Perhaps the entrance needs changing.
Perhaps a guy line is poorly positioned.
Perhaps the tarp is too loose.
Perhaps the shelter is facing the wrong direction.
Perhaps the team has used too much equipment in one area and not enough in another.
Encourage them to make specific improvements rather than rebuilding everything from scratch.
50–55 Minutes: Challenge Conditions
Introduce one final challenge.
For example:
“The wind has changed direction.”
Teams must decide what they would change.
Or:
“Heavy rain is expected.”
What needs improving?
Another option is:
“One of your guy lines has failed.”
How would the team keep the shelter stable?
You can adapt the scenario according to the weather and the experience of the group.
The aim is to encourage Scouts to think about how outdoor conditions can change.
Scouts already use changing-weather scenarios such as increasing rain and wind as part of survival activities, making this a useful way to reinforce decision-making rather than treating a shelter as a fixed structure.
55–60 Minutes: Review
Bring everyone together.
Ask each team to explain one thing that worked well and one thing they changed.
Then ask:
What made your shelter better after testing it?
What would you change if you had another 30 minutes?
Which design feature was most useful?
Did the biggest shelter turn out to be the best shelter?
What did you learn from another team’s design?
There doesn’t need to be an overall winner.
The strongest outcome is for Scouts to understand that good outdoor skills involve testing, noticing problems and adapting.
Optional Scoring System
If your group enjoys competition, you can award points.
For example:
5 points for a safe location.
5 points for stability.
5 points for weather protection.
5 points for easy access.
5 points for efficient equipment use.
5 points for improvements after testing.
Avoid making safety a competitive category where teams can “lose points” for something genuinely unsafe.
If a shelter has a significant safety problem, stop and correct it rather than allowing the team to continue for the sake of the competition.
Make It a Weather Challenge
If conditions are suitable, the weather itself can become part of the learning.
Light rain can reveal gaps and poor overlaps.
Wind can reveal loose guy lines or weak attachment points.
However, don’t deliberately expose Scouts to dangerous weather simply to test a shelter.
The activity should be conducted in conditions appropriate to the group and location.
If weather deteriorates significantly, shelter testing stops and the group moves to a safer arrangement.
Don’t Use Fire as a Test
A tarp shelter should never be tested by lighting a fire inside or immediately beside it.
Tarps and many synthetic shelter materials can burn or melt, and smoke can become trapped.
If fire skills are being taught, run them as a separate properly planned activity with appropriate equipment and safety controls.
Challenge With Limited Equipment
Once Scouts are comfortable with tarp shelters, make the design challenge more interesting by limiting resources.
For example, every team could receive:
One tarp.
Two poles.
Four pegs.
A fixed length of rope.
The restriction encourages Scouts to think carefully about how equipment is used.
It also demonstrates an important survival principle:
Having more equipment isn’t always the answer.
Good planning can make a limited kit much more effective.
Challenge With Different Shelter Priorities
Give each team a different objective.
One team might be asked to prioritise:
Maximum rain protection
Another:
Maximum ventilation
Another:
Fastest setup
Another:
Smallest equipment footprint
Another:
Maximum usable space
Afterwards, compare the designs.
This helps Scouts understand that shelter design involves compromises.
A shelter that performs brilliantly in one situation may be less suitable in another.
Younger Scouts
For younger Scouts, keep the challenge straightforward.
Give each team a tarp and a few simple pieces of equipment.
Instead of requiring detailed scoring, ask them to build something that keeps a small group covered.
The leader can introduce one improvement challenge at a time.
For example:
“Can you make the entrance easier to use?”
“Can you make it more stable?”
“Where would rain run?”
The emphasis should be on teamwork and experimentation.
Older Scouts
Older Scouts can take more responsibility for planning.
Give them the equipment first and allow them to design their shelter before beginning construction.
They could produce a quick sketch showing:
The intended layout.
Where the supports will go.
Where the entrance will be.
Which direction the shelter will face.
They can then compare the original plan with the finished shelter.
This adds an element of planning and evaluation to the practical skill.
Leader Notes
Try not to solve every problem for the Scouts.
If a shelter is leaning slightly, ask:
“What do you think is causing that?”
If water would run into the entrance, ask:
“Where would the rain go?”
Questions encourage Scouts to diagnose problems themselves.
Intervene immediately when there is a safety issue, but otherwise give teams room to experiment.
Don’t judge a shelter purely by appearance.
A shelter that looks impressive may perform poorly, while a simple design may provide excellent protection.
Accessibility
Shelter building can involve lifting, bending, crawling and working with ropes.
Not every Scout needs to perform every physical task.
Teams can divide responsibilities between:
Planning.
Site assessment.
Knot tying.
Equipment management.
Construction.
Testing.
Recording observations.
Leadership and communication.
This allows Scouts with different strengths and abilities to make meaningful contributions.
Safety
Complete an appropriate risk assessment before the activity and make sure the location and equipment are suitable.
Check the weather before starting and continue monitoring conditions during the session.
Do not build shelters beneath dead, damaged or unstable branches.
Avoid steep slopes, unstable ground, water margins, drainage channels and low areas where water could collect.
Keep away from animal trails, nests, insect colonies and other wildlife hazards.
Take care when carrying poles and other long objects. Keep the ends under control and make sure Scouts have enough space to move safely.
Guy lines can create trip hazards. Position them carefully and make them as visible as practical.
Do not allow Scouts to climb onto shelters or use the structures as play equipment.
If knives, axes, saws or other sharp tools are introduced, they should be covered by separate appropriate instruction, supervision and safety procedures.
Never use a fire, stove, candle or other naked flame inside a tarp shelter.
If weather conditions become unsafe, stop the challenge and move to an appropriate safe location.
Inspect completed shelters before anyone enters them.
Learning Outcomes
By completing the Tarp Shelter Challenge, Scouts can:
Final Thought for Leaders
The most valuable part of this activity isn’t the finished tarp.
It’s the process of build, test, think and improve.
Scouts may discover that their first idea doesn’t work particularly well. That’s useful.
They may see another team solve the same problem differently. That’s useful too.
The aim is to develop young people who don’t simply follow instructions, but who can look at a situation, identify a problem and work out a sensible solution.
A tarp is only a piece of fabric.
The real skill is knowing what to do with it.
🔒Ready to test your survival skills?
Join Survival Guides UK for free, complete challenges, earn badges and increase your Survival Level.
JOIN FREE →
CRAIG BURR
FOUNDER · SURVIVAL GUIDES UK
I'm Craig, the person behind Survival Guides UK. I created SGUK because I wanted somewhere people could learn real outdoor skills in a practical, straightforward way — from lighting a fire and tying knots to navigation, campcraft and everything in between.
You can read more about the story behind SGUK here as well as our approach here.