Tarp Shelters: A Beginner’s Guide to Building an Emergency Shelter
What Is a Tarp Shelter?
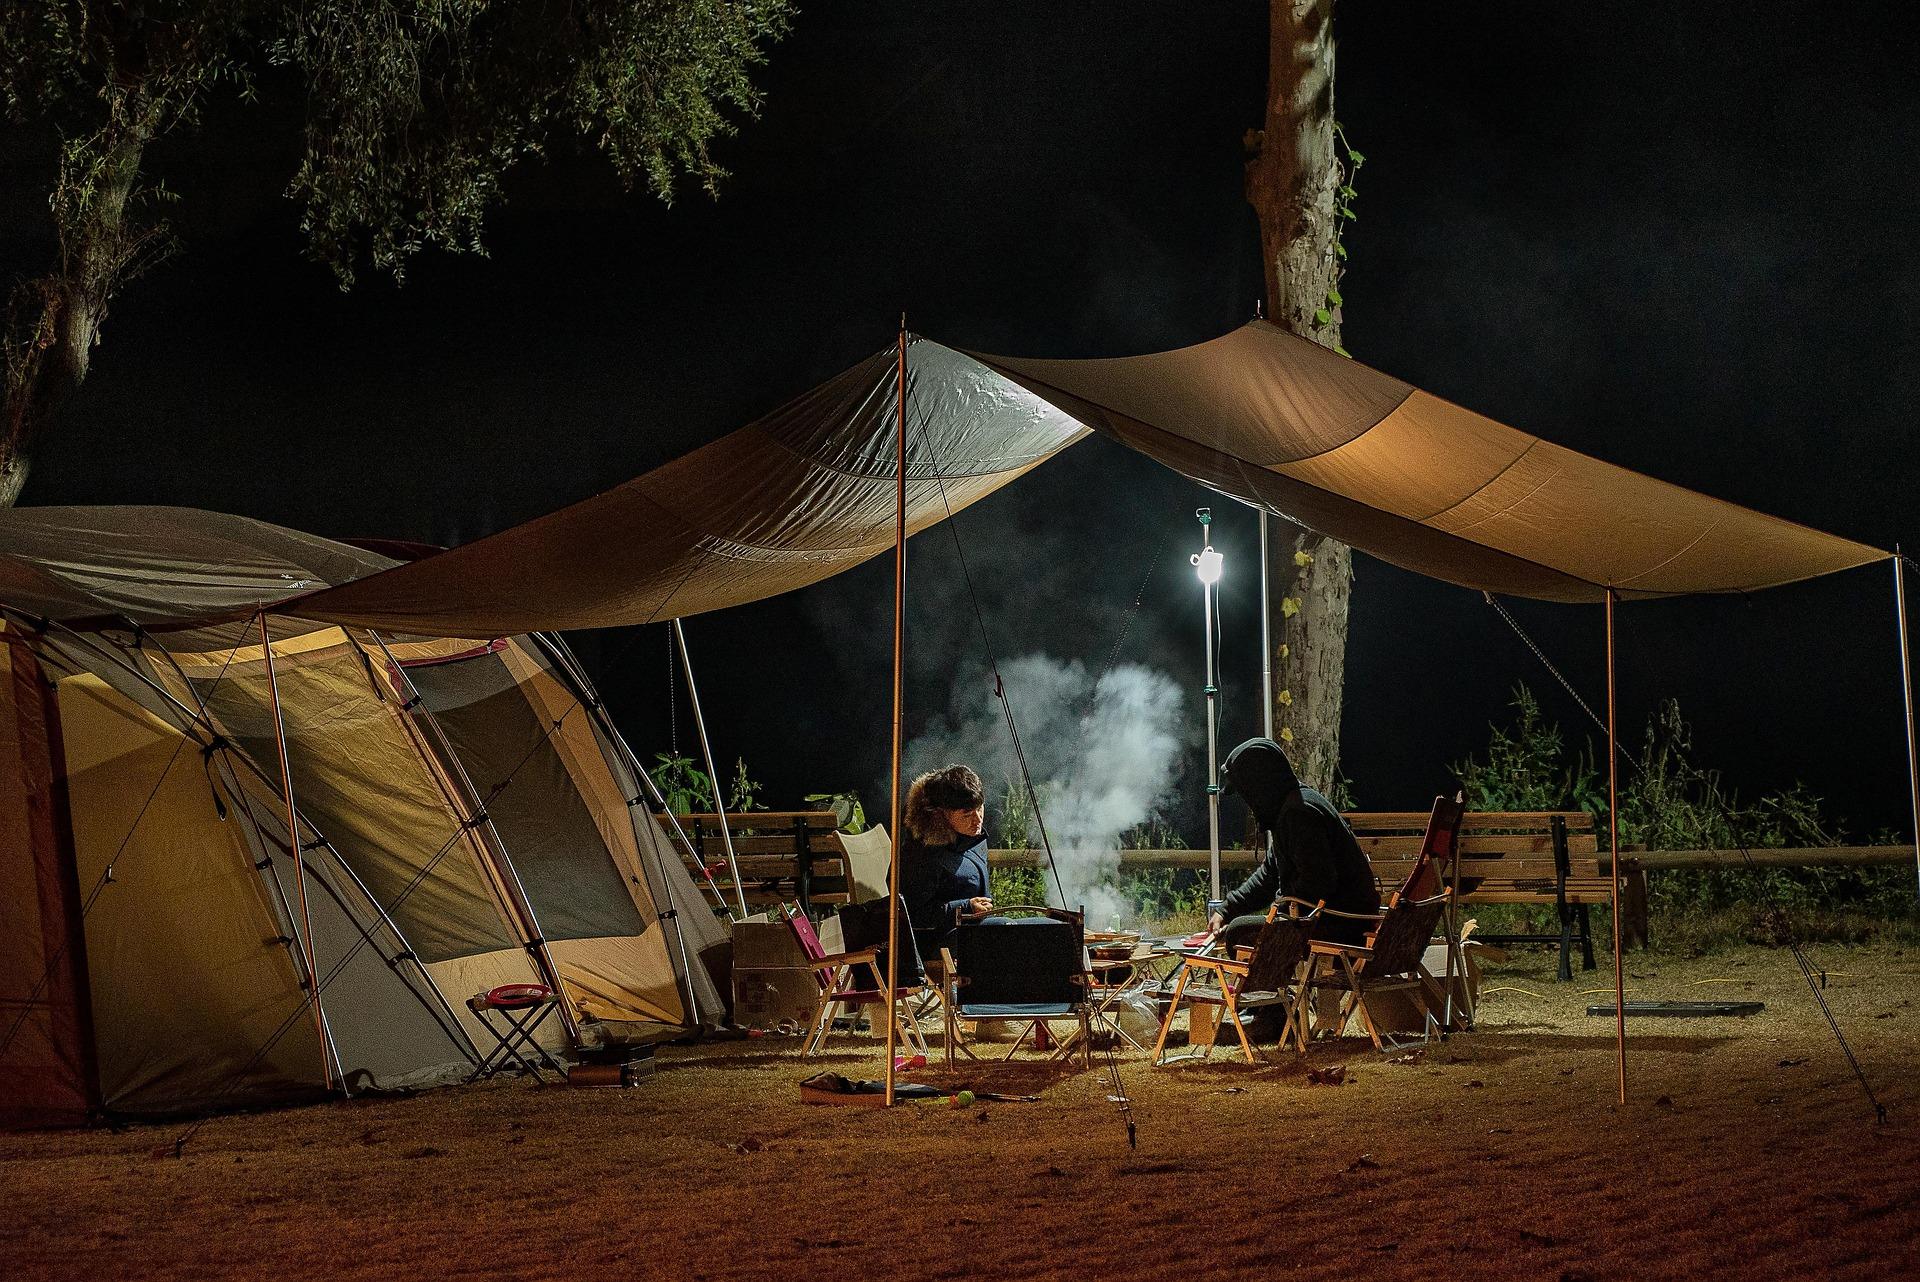
A tarp shelter is a simple temporary shelter made using a waterproof or water-resistant sheet of material.
Tarps are popular with:
- Campers
- Scouts
- Hikers
- Bushcraft enthusiasts
- Outdoor instructors
- Survival-skill groups
They’re lightweight, versatile and can be configured in several different ways.
Unlike a tent, a tarp usually doesn’t have a built-in floor or enclosed walls. Instead, you use cordage, trees, poles or pegs to create a shelter suited to the conditions.
SURVIVAL PRINCIPLE
A good shelter doesn’t need to be complicated.
It needs to protect you from the conditions you’re actually facing.
⚠️ SAFETY FIRST
A tarp shelter can provide useful protection from rain, wind and sun, but it is not automatically safe simply because it has been erected correctly.
Choose your location carefully.
Never pitch beneath dead or damaged trees, near unstable cliffs, in flood-prone areas or anywhere exposed to other obvious hazards.
During severe thunderstorms, a tarp is not a substitute for a substantial building. If dangerous weather is approaching, seek appropriate shelter where possible.
Never use a fire, barbecue or fuel-burning appliance inside a tarp shelter because of the risk of fire and carbon monoxide poisoning.
Why Learn to Build a Tarp Shelter?
Knowing how to use a tarp is a useful outdoor skill because one piece of equipment can perform several jobs.
A tarp can provide:
- Rain protection
- Wind protection
- Shade
- A dry area for equipment
- A cooking area when used safely
- An emergency shelter
- A covered space for group activities
It can also be quicker to erect than a natural shelter.
For Scouts and beginners, tarp shelters are particularly useful for teaching planning, knots, teamwork and understanding weather conditions.
What You Need
A basic tarp shelter doesn’t require a huge amount of equipment.
Ideally, carry:
Tarp
A waterproof or suitably water-resistant tarp with reinforced attachment points.
Cordage
Paracord or other suitable camping cord can be useful for ridgelines and guy lines.
Pegs
Useful for securing corners and guy lines.
Trees or Poles
Depending on the shelter design.
Groundsheet or Sleeping Mat
A tarp shelter doesn’t necessarily have a waterproof floor, so additional ground protection can make a major difference.
TOP TIP
Practise putting your tarp up before you need it.
Trying to work out your shelter system for the first time in heavy rain is not ideal.
Choosing the Right Tarp
Tarps come in different sizes, shapes and materials.
For beginners, a rectangular tarp is particularly versatile.
When choosing one, consider:
- Size
- Weight
- Waterproofing
- Strength
- Number of attachment points
- Pack size
- Intended use
A larger tarp gives you more shelter options but will generally take more space in your pack.
A smaller tarp is lighter but provides less coverage.
How Big Should a Tarp Be?
There isn’t one perfect size.
It depends on:
- Number of people
- Sleeping arrangement
- Weather
- Shelter design
- Amount of equipment
- Available pitching space
For one person, a relatively compact tarp may be sufficient.
For two or more people, a larger tarp can provide considerably more usable space.
Remember that usable shelter area is smaller than the tarp’s total dimensions once you pitch it at an angle.
Choosing a Safe Location
This may be the most important part of building a tarp shelter.
Before putting a single peg into the ground, look around.
Avoid areas with:
- Dead trees
- Hanging branches
- Unstable trees
- Rockfall risk
- Flooding risk
- Drainage channels
- Exposed ridges
- Unstable ground
- Animal hazards
- Other obvious dangers
Look up as well as around you.
A beautiful woodland clearing isn’t necessarily a safe place to sleep if there are dead branches overhead.
SHELTER RULE
A badly chosen location cannot be fixed by a perfectly pitched tarp.
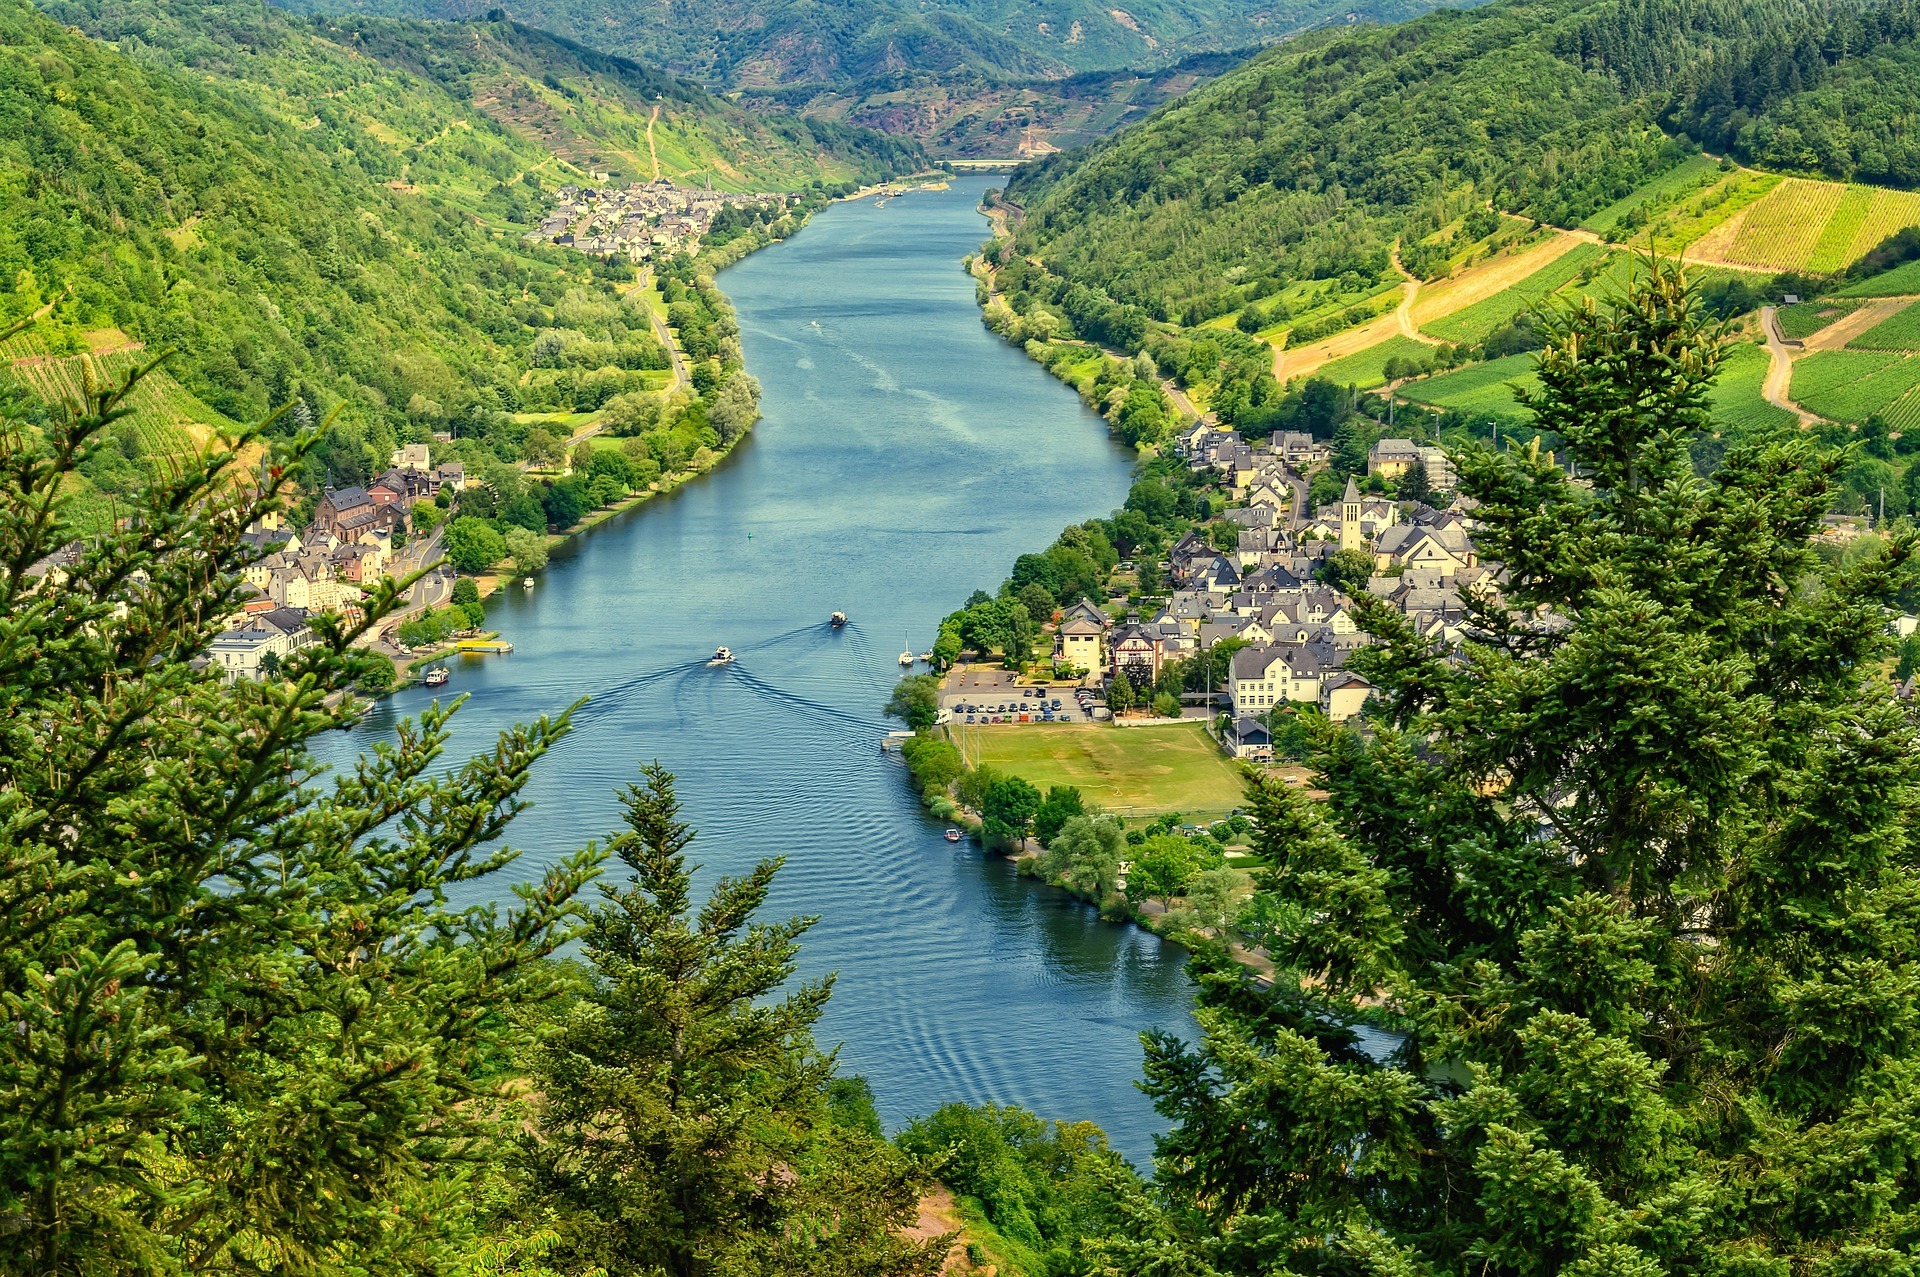
Don’t Pitch Beside a River
Water levels can change quickly following heavy rainfall.
A riverbank that appears safe in dry weather may become dangerous during a storm.
Avoid:
- River banks
- Stream beds
- Dry channels
- Low-lying areas beside water
If you’re camping somewhere unfamiliar, consider what would happen if heavy rain arrived during the night.
If water could naturally flow through your shelter location, choose somewhere else.
Avoid Dead Trees
This deserves special attention.
A tarp shelter often relies on trees for its ridgeline.
That doesn’t mean any two trees will do.
Check for:
- Dead branches
- Rotten sections
- Leaning trunks
- Broken limbs
- Signs of decay
- Trees that appear unstable
A strong wind can turn a damaged tree into a serious hazard.
LOOK UP
Before sleeping beneath trees, ask:
“What happens if this branch comes down tonight?”
If you don’t like the answer, move.
The Ridgeline
One of the simplest ways to construct a tarp shelter is to create a ridgeline.
A ridgeline is a length of cord running between two anchor points.
The tarp is then positioned over the ridgeline.
This creates a simple pitched shelter.

Building a Basic A-Frame Tarp Shelter
The A-frame is one of the easiest tarp shelter designs to understand.
Step 1: Choose Two Anchor Points
Find two suitable trees or use dedicated shelter poles.
Make sure the trees are healthy and stable.
Step 2: Set Up the Ridgeline
Run your cord between the two anchor points.
The ridgeline should be high enough to create useful internal space but not so high that the shelter becomes unstable.
Step 3: Place the Tarp
Drape the tarp over the ridgeline so that both sides hang down.
Step 4: Peg the Corners
Pull the corners out and secure them to the ground.
Step 5: Adjust the Tension
The tarp should be reasonably taut without being excessively stretched.
Step 6: Check the Shelter
Walk around it.
Look for:
- Gaps
- Loose lines
- Poor drainage
- Trip hazards
- Unstable anchors
BEGINNER TIP
Don’t try to make the tarp perfectly tight on your first attempt.
Learn how the material behaves first.
Tarp Shelter Door Orientation
The direction you face your shelter can make a significant difference.
Consider:
- Wind direction
- Rain direction
- Sun
- Terrain
- Nearby hazards
If strong wind is coming from one direction, you generally want to reduce the shelter’s exposure to it.
A shelter with a large open entrance facing directly into driving rain won’t provide much protection.
WEATHER TIP
Pitch for the weather you expect — not the weather you had when you arrived.
Lean-To Tarp Shelter
A lean-to is another simple configuration.
One side of the tarp is raised while the opposite edge is secured lower to the ground.
This can provide:
- Shade
- Wind protection
- A simple covered area
- A quick emergency shelter
It’s particularly useful when you don’t need a fully enclosed sleeping shelter.

Why Pitch Angle Matters
The angle of your tarp affects how well it deals with rain.
A relatively steep pitch encourages water to run down the surface rather than collecting.
A flatter tarp may provide more internal headroom but can allow water to pool.
Pooling water can put considerable stress on the material and attachment points.
TARP TIP
Give rain somewhere to go.
Don’t allow large pockets of water to collect on the tarp.
Creating a Good Ridgeline
The ridgeline needs to be secure without damaging trees or equipment.
Where appropriate, use suitable tree-friendly methods rather than tightly wrapping thin cord around tree bark.
Avoid damaging living trees.
If you’re camping on managed land, always follow the site’s rules regarding attaching equipment to trees.
Useful Knots for Tarp Shelters
You don’t need to learn dozens of knots.
A few useful knots can cover many basic shelter tasks.
Bowline
Useful for creating a fixed loop.
Taut-Line Hitch
Useful for guy lines where you want to adjust tension.
Clove Hitch
Useful for certain temporary attachments.
Round Turn and Two Half Hitches
Useful for securing a line to a suitable anchor.
The exact choice depends on your setup.
KNOT TIP
A few knots you can tie reliably are more useful than twenty knots you can’t remember.
Practise Your Knots
Knots are much easier to learn when you’re sitting somewhere warm and dry.
Practise at home.
Try tying them:
- Slowly
- Without looking
- With cold hands
- Wearing gloves
That last one can be surprisingly useful.
If you regularly camp in poor weather, you may eventually need to adjust shelter lines while wet and cold.
Tensioning the Shelter
A tarp that’s too loose can flap badly in the wind.
A tarp that’s excessively tight can place unnecessary strain on:
- Fabric
- Eyelets
- Webbing
- Cordage
- Trees
- Pegs
Aim for sensible tension.
After the shelter has been up for a while, check it again.
Rain can change the tension of some materials.
Use Guy Lines
Guy lines can increase the stability and usable space of a tarp shelter.
They allow you to pull sections of the tarp away from the main shelter.
But they also introduce a new hazard:
Trip hazards.
Make guy lines visible where possible.
Consider using brightly coloured cordage.
Keep them away from walking routes.
SAFETY TIP
The best guy line is one that keeps your shelter standing without causing someone to fall over it.
Pegging the Tarp
Drive pegs into suitable ground at an appropriate angle and ensure they are secure.
Different ground types behave differently.
Soft soil may hold pegs poorly.
Very hard ground may make standard pegs difficult to use.
If a peg keeps pulling out, don’t simply hammer it back into the same weak spot repeatedly.
Reassess the anchor.
What If You Don’t Have Trees?
You don’t need trees to use a tarp.
You can use:
- Tarp poles
- Trekking poles
- Suitable natural anchors where permitted
- Other appropriate camping equipment
A freestanding or pole-supported configuration can be useful where trees aren’t available.
Don’t use unstable branches or improvised supports that could collapse onto you.
Tarp Shelter in Rain
Rain is where a tarp really proves its value.
A few things can make a big difference:
- Pitch the tarp before the rain arrives
- Create a suitable slope
- Keep gear away from the edges
- Avoid low spots
- Ensure water can drain away
- Check for pooling
- Keep sleeping equipment dry
RAIN RULE
Set up before you’re soaked.
Putting up a tarp in heavy rain is possible, but it’s considerably less pleasant.
Tarp Shelters in Strong Wind
Wind can place considerable stress on a tarp.
Before using one in windy conditions:
- Choose a sheltered location
- Lower the profile
- Use secure anchor points
- Use appropriate guy lines
- Check all pegs
- Remove unnecessary loose material
If severe weather is forecast, reconsider whether a tarp shelter is appropriate at all.
A tarp isn’t a substitute for a safe building during severe storms.
Tarp Shelters and Snow
Snow presents different problems.
A tarp can provide overhead protection, but snow accumulation can place substantial weight on the fabric.
If you’re using a tarp in winter conditions, monitor snow accumulation and ensure the shelter design is appropriate for the conditions.
Don’t assume that a shelter that works perfectly in summer will work equally well under heavy snow.
Tarp Shelters and Fire
This is one of the most important safety considerations.
A tarp can be damaged extremely quickly by sparks and embers.
Never assume that because the tarp is marketed as heat-resistant or fire-retardant it is safe to expose it to an open fire.
Keep fires well away from combustible shelter materials.
And never bring an open fire inside a tarp shelter.
🔥 FIRE SAFETY
Never light a campfire underneath a tarp shelter.
Never cook with a barbecue inside it.
Never use a fuel-burning appliance inside an enclosed shelter unless the equipment is specifically designed and approved for that environment and adequate ventilation and manufacturer instructions are followed.
Carbon monoxide is invisible and potentially fatal.
Cooking Under a Tarp
It may be tempting to cook under a tarp when it’s raining.
Extreme care is required.
A small camping stove can still create:
- Fire
- Burns
- Carbon monoxide
- Heat damage
- Fuel hazards
Always follow the stove manufacturer’s instructions.
Never use equipment indoors or in an enclosed shelter unless it is specifically designed for that use.
If in doubt, cook outside.
Keep Your Sleeping Area Dry
A tarp doesn’t have a built-in floor.
This means water can splash underneath during heavy rain.
A sleeping mat and suitable groundsheet can make a major difference.
Keep sleeping bags and clothing away from the edges.
If possible, create a small area between the tarp edge and your sleeping equipment so rainwater has somewhere to drain.
Insulating From the Ground
One of the biggest causes of heat loss when sleeping outdoors is contact with cold ground.
A tarp overhead won’t solve this problem.
Use appropriate ground insulation.
This could include:
- Sleeping mat
- Closed-cell foam mat
- Suitable camping mattress
Don’t rely on the tarp itself to keep you warm.
WARMTH TIP
Shelter above you protects you from weather. Insulation beneath you helps protect you from the cold ground.
Tarp Shelters as Emergency Shelters
A tarp can be extremely useful in an emergency because it can be erected quickly.
If you’re unexpectedly delayed outdoors, your priorities should still be:
- Get somewhere safe
- Assess injuries
- Contact help if necessary
- Protect yourself from the weather
- Stay warm and dry
- Conserve energy
Don’t spend hours building a complicated shelter if you already have a perfectly good tarp that can be erected in minutes.
Don’t Build More Than You Need
There’s a tendency in survival demonstrations to construct elaborate shelters.
That’s not always useful.
If rain is approaching, you don’t need a shelter that looks impressive.
You need:
A safe location.
A stable structure.
Protection from the weather.
Enough room for what you need.
SURVIVAL PRINCIPLE
Build the simplest shelter that safely solves the problem.
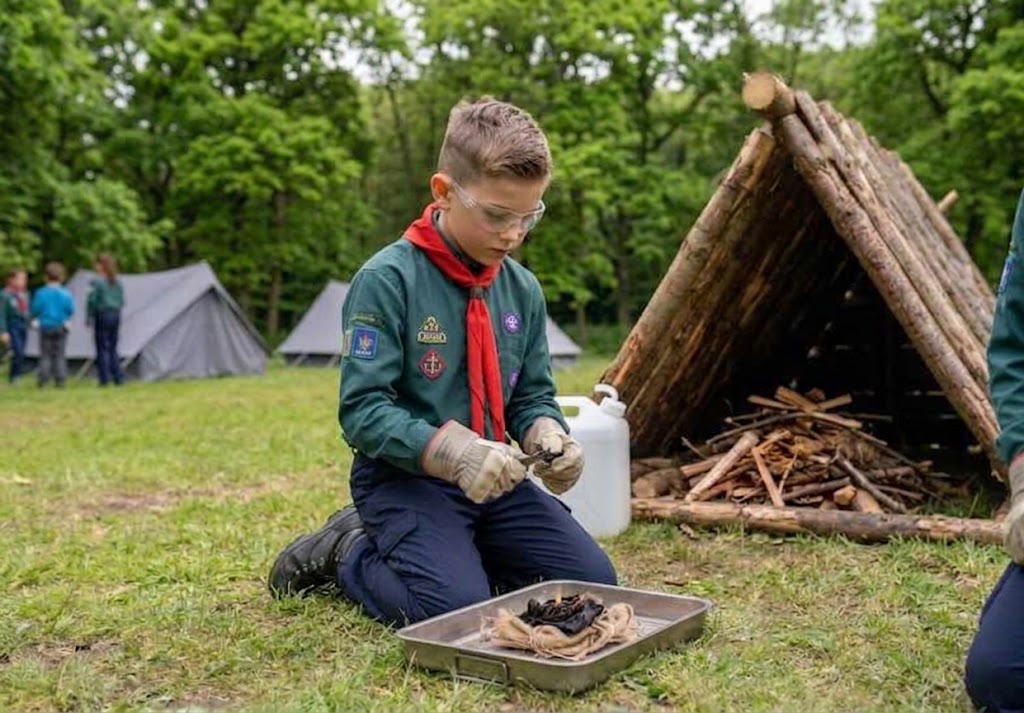
Tarp Shelters and Scouts
Tarp shelters are an excellent Scout activity.
They can teach:
- Knot tying
- Teamwork
- Planning
- Communication
- Shelter construction
- Weather awareness
- Risk assessment
- Problem solving
Give each group a tarp, cordage and pegs.
Then introduce a scenario:
“A storm is approaching. You have 15 minutes to create a shelter that keeps your group and equipment dry.”
Afterwards, discuss:
- Where did they pitch it?
- Why did they choose that location?
- Which direction did they face it?
- What happened when water was introduced?
- What worked?
- What failed?
- What would they change?
The important lesson isn’t simply “Can you build a tarp shelter?”
It’s:
“Can you make good decisions while building one?”
For organised Scout activities, always follow current Scouts guidance and your leader’s risk assessment.
Common Tarp Shelter Mistakes
Choosing the Wrong Location
The shelter may be perfect, but the location isn’t.
Pitching Too High
This can increase wind exposure.
Pitching Too Low
You may have poor ventilation and limited usable space.
Poor Tension
A loose tarp can flap and collect water.
Over-Tensioning
You can damage attachment points or fabric.
Ignoring Drainage
Rainwater needs somewhere to go.
Using Weak Anchors
A shelter is only as strong as its weakest attachment point.
Forgetting Guy Lines
This can reduce stability.
Creating Trip Hazards
Keep lines visible and away from paths.
Lighting Fires Too Close
Sparks can damage tarps and start fires.
Pitching Under Dead Trees
Falling branches can cause serious injuries.
Building Too Much
Don’t waste time constructing an elaborate shelter when a simple one would work.
Tarp Shelter Checklist
Before settling into your shelter, check:
A Simple Tarp Shelter Practice Session
If you’re learning this skill, don’t wait until you’re caught in bad weather.
Try this:
Challenge 1 — Basic Pitch
Set up an A-frame tarp shelter.
Challenge 2 — Rain
Test it with water and look for pooling or leaks.
Challenge 3 — Wind
Check whether the structure remains stable in appropriate controlled conditions.
Challenge 4 — Pack Away
Take it down and pack everything away neatly.
Challenge 5 — Repeat
Do the entire process again.
You’ll probably find that the second attempt is considerably faster.
SKILL-BUILDING TIP
Practise in good weather so you’re prepared for bad weather.
Final Thoughts
A tarp is one of the most versatile pieces of outdoor equipment you can carry.
It can provide shade on a hot day, protection from rain on a camping trip and a valuable emergency shelter when plans go wrong.
But the tarp itself isn’t what keeps you safe.
Good decisions do.
Choose a safe location.
Understand the weather.
Build a shelter appropriate to the conditions.
Use secure anchor points.
Keep your equipment dry.
Stay away from fire and carbon monoxide hazards.
And always be prepared to abandon your shelter if the location becomes unsafe.
The best tarp shelter isn’t necessarily the most complicated one.
It’s the one that keeps you safe, dry and protected with the least unnecessary effort.
THE GOLDEN RULE OF TARP SHELTERS
Location first. Weather second. Shelter third.
A well-built shelter in a dangerous location is still a dangerous shelter.
⚠️ SurvivalGuidesUK Safety Notice
This article provides general educational information and is not a substitute for professional outdoor training, camping instruction, first-aid training or official safety guidance.
Always consider the weather, terrain, local regulations and your own experience before building or using a tarp shelter.
Never damage trees or vegetation when setting up a shelter, and follow the rules of the landowner or campsite.
If severe weather is approaching, particularly thunderstorms, high winds or flooding, prioritise getting to a genuinely safe location over building or maintaining a tarp shelter.
🔒Ready to test your survival skills?
Join Survival Guides UK for free, complete challenges, earn badges and increase your Survival Level.
JOIN FREE →
CRAIG BURR
FOUNDER · SURVIVAL GUIDES UK
I'm Craig, the person behind Survival Guides UK. I created SGUK because I wanted somewhere people could learn real outdoor skills in a practical, straightforward way — from lighting a fire and tying knots to navigation, campcraft and everything in between.
You can read more about the story behind SGUK here as well as our approach here.