Tarp Shelters for Different Weather Conditions
A tarp shelter can be one of the most useful pieces of outdoor equipment a Scout can carry.
It is lightweight, flexible and can be pitched in several different ways. However, a tarp that works well on a calm summer afternoon may be completely unsuitable when the wind picks up or heavy rain arrives.
Learning how to adapt a tarp shelter to different weather conditions is therefore an important outdoor skill.
The key is not simply knowing lots of different tarp designs.
It is understanding how weather affects the shelter and what you can change to improve protection.
Why Weather Matters
A tarp doesn’t automatically provide good protection just because it is waterproof.
The way it is pitched, the direction it faces, the tension in the fabric and the choice of location can all affect how well it performs.
Rain can find gaps.
Wind can lift loose edges.
Cold air can pass underneath.
Hot weather can turn an enclosed shelter into an uncomfortable space.
Before pitching a tarp, Scouts should think about the conditions they are likely to encounter.
Start With the Location
Weather protection starts before the tarp is even unpacked.
Choose firm, reasonably level ground that is away from obvious hazards.
Avoid low points where rainwater could collect.
Don’t pitch directly beside streams or rivers.
Avoid unstable slopes and exposed edges.
Look above the proposed shelter for dead or damaged branches.
A location that provides some natural protection from wind can be useful, but never choose an unsafe position simply because it looks sheltered.
Tarp Shelters in Rain
Rain is one of the easiest weather conditions to demonstrate with a tarp.
The main objective is to encourage water to run away from the shelter rather than collect on top or enter through gaps.
A sloping pitch is generally more effective than a flat one.
Water should have a clear route downhill.
Create a Good Slope
A tarp with a noticeable slope allows rainwater to run off.
A poorly tensioned tarp can develop dips where water collects.
These pools can become surprisingly heavy and place considerable strain on the tarp and its attachment points.
Check the roof after pitching.
If you can see a low point where water could collect, adjust the tension or change the pitch.
Use Overlapping Edges
If the design uses multiple sections of tarp or has an opening, think carefully about where water will travel.
Edges should overlap appropriately rather than creating a direct route for rain to enter.
The direction of the overlap matters.
Imagine water flowing downhill across the fabric.
You want it to continue outside rather than being directed underneath the shelter.
Keep the Ground Dry
A waterproof roof won’t help much if water runs underneath the shelter.
Don’t pitch in a depression.
Look for natural drainage.
If the ground is already saturated, consider moving to a more suitable location.
Avoid digging channels around shelters simply as a matter of routine. Protecting the environment should be part of the exercise.
Don’t Touch the Inside of the Tarp
This sounds like a small point, but it matters.
If a waterproof tarp is pressed or rubbed from underneath, water can sometimes be encouraged through seams, condensation or areas where the fabric is under pressure.
Give the tarp enough space to shed water naturally.
Tarp Shelters in Wind
Wind can be much more challenging than rain.
A loose tarp can flap, make considerable noise and place stress on attachment points.
A poorly secured shelter can even become unstable.
Face the Shelter Away From the Wind
One of the simplest improvements is changing the orientation.
The most exposed opening should ideally be protected from the strongest wind.
A more enclosed side can face the wind while the entrance is positioned on the sheltered side.
Don’t rely entirely on the weather staying in one direction.
Wind can change.
Lower the Pitch
In stronger winds, reducing the height of the shelter can make it less exposed.
A lower shelter presents less surface area to the wind.
It may provide less standing or sitting space, but increased stability can be more important.
This is a useful lesson for Scouts:
The best design depends on the conditions.
Use Secure Guy Lines
Guy lines help keep the tarp under control.
They should be properly attached and tensioned without being pulled excessively tight.
A line that is too loose may allow the tarp to flap.
A line that is excessively tight can place unnecessary stress on attachment points.
Check the lines regularly because changing weather can alter the tension.
Avoid Trip Hazards
Guy lines can become difficult to see, particularly in poor weather or low light.
Position them where people are unlikely to walk into them.
Keep entrances and pathways clear.
If appropriate, use visible cordage or markers to make important lines easier to notice.
Check the Pegs
Strong wind can pull pegs out of soft ground.
Check that each peg is properly positioned and suitable for the ground conditions.
If a peg keeps coming loose, don’t simply keep hammering it back into the same hole.
Consider whether the location or anchoring method needs changing.
Tarp Shelters in Cold Weather
A tarp can reduce exposure to wind and precipitation, but it isn’t a sleeping bag or insulated tent.
Cold-weather shelter design should focus on reducing wind exposure while maintaining appropriate ventilation.
Reduce Wind Exposure
Cold air moving through an open shelter can quickly make conditions uncomfortable.
A lower, more enclosed pitch can help reduce drafts.
However, don’t seal the shelter completely.
Fresh air remains important.
Insulate From the Ground
The ground can draw heat away from the body.
For camping or survival-skill demonstrations, Scouts can learn why insulation underneath them is important.
Use suitable sleeping mats or other appropriate equipment rather than assuming that a tarp alone provides sufficient insulation.
Keep Clothing Dry
Staying dry is particularly important in cold conditions.
A tarp can provide a useful covered area for changing or protecting equipment.
Wet clothing can make cold conditions much more difficult to manage.
Plan clothing and equipment accordingly rather than expecting the tarp to solve every problem.
Condensation
Even when it isn’t raining, moisture can accumulate inside a shelter.
People breathe out warm, moist air.
That moisture can condense on cooler surfaces.
A very enclosed tarp can therefore become damp inside.
Good ventilation helps reduce this problem.
Tarp Shelters in Hot Weather
A tarp can be excellent for providing shade.
However, a shelter designed for heavy rain isn’t necessarily the best shelter on a hot day.
Air movement becomes more important.
Create Ventilation
Leave appropriate openings so air can move through the shelter.
A completely enclosed tarp can trap warm air.
Position the shelter to take advantage of a gentle breeze where possible.
Don’t block every opening simply to create shade.
Maximise Shade
The objective in hot weather is often to create a shaded area with good airflow.
A higher tarp pitch can allow more air to circulate.
The exact arrangement depends on the position of the sun and the available supports.
Watch the Sun
The sun moves throughout the day.
A shelter that provides excellent shade in the morning may be exposed by afternoon.
For longer outdoor activities, think about how the position of the sun will change.
This can be a useful planning exercise for Scouts.
Tarp Shelters in Snow
Snow introduces additional considerations.
Snow is heavy, particularly when it becomes wet.
A tarp should not be allowed to collect a large amount of snow.
Regularly check the shelter and remove accumulation safely if appropriate.
In severe winter conditions, a basic tarp shelter may not provide adequate protection.
Use equipment and shelter systems appropriate to the environment.
Changing Weather
One of the most useful tarp skills is learning to adapt.
You might begin with a relatively open shelter on a calm afternoon.
Later, rain arrives.
The wind increases.
The sun comes out again.
Rather than treating the shelter as finished, Scouts can learn to recognise that it may need adjusting.
Don’t Wait Until the Tarp Fails
Regular checks are better than reacting to a problem after it happens.
Look at:
The tarp tension.
The guy lines.
The pegs.
The attachment points.
Water collecting on the fabric.
Changes in wind direction.
The condition of the ground.
Small adjustments can prevent bigger problems.
Tarp Pitch and Weather
Different pitches have different strengths.
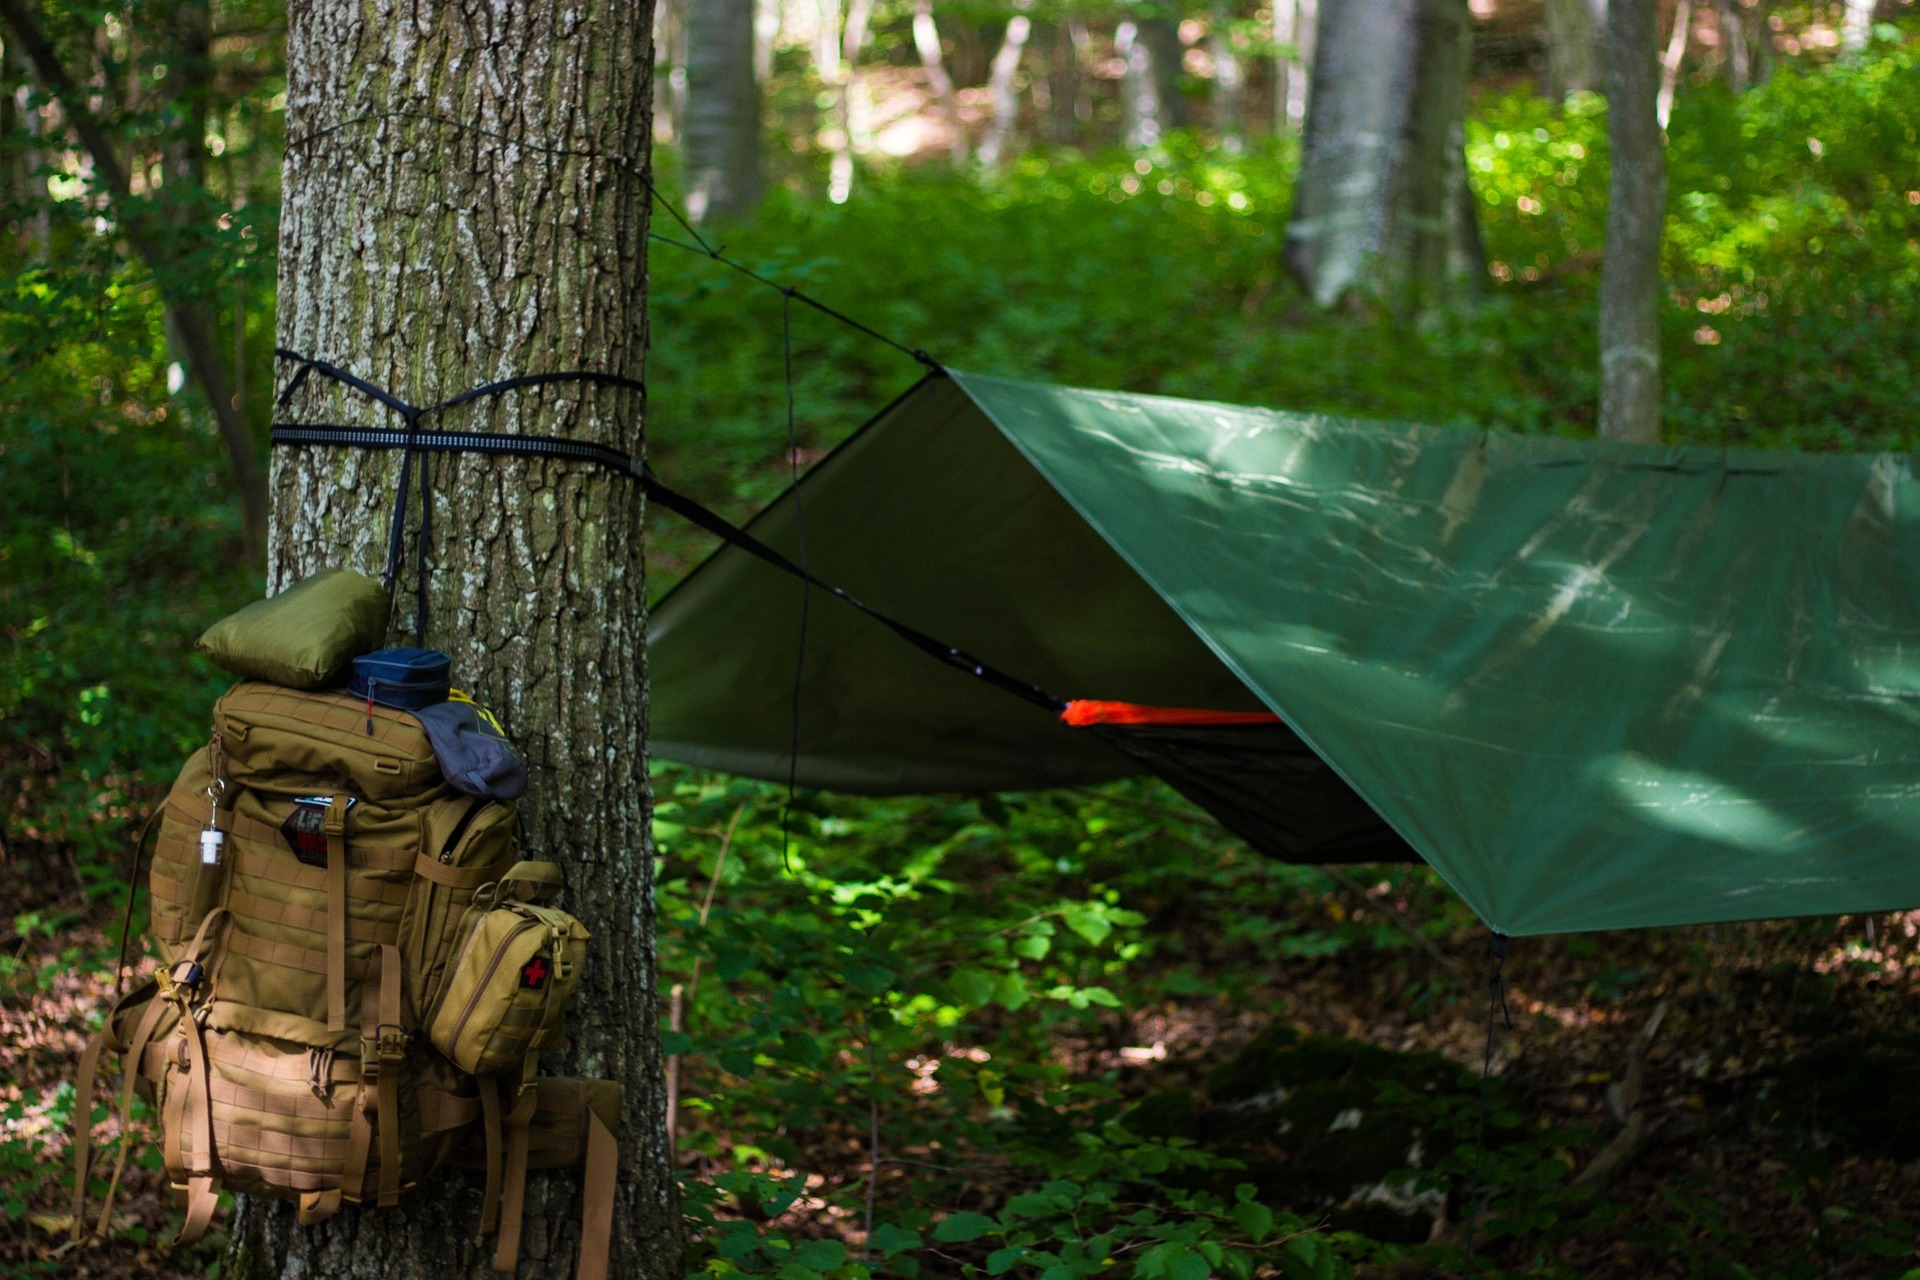
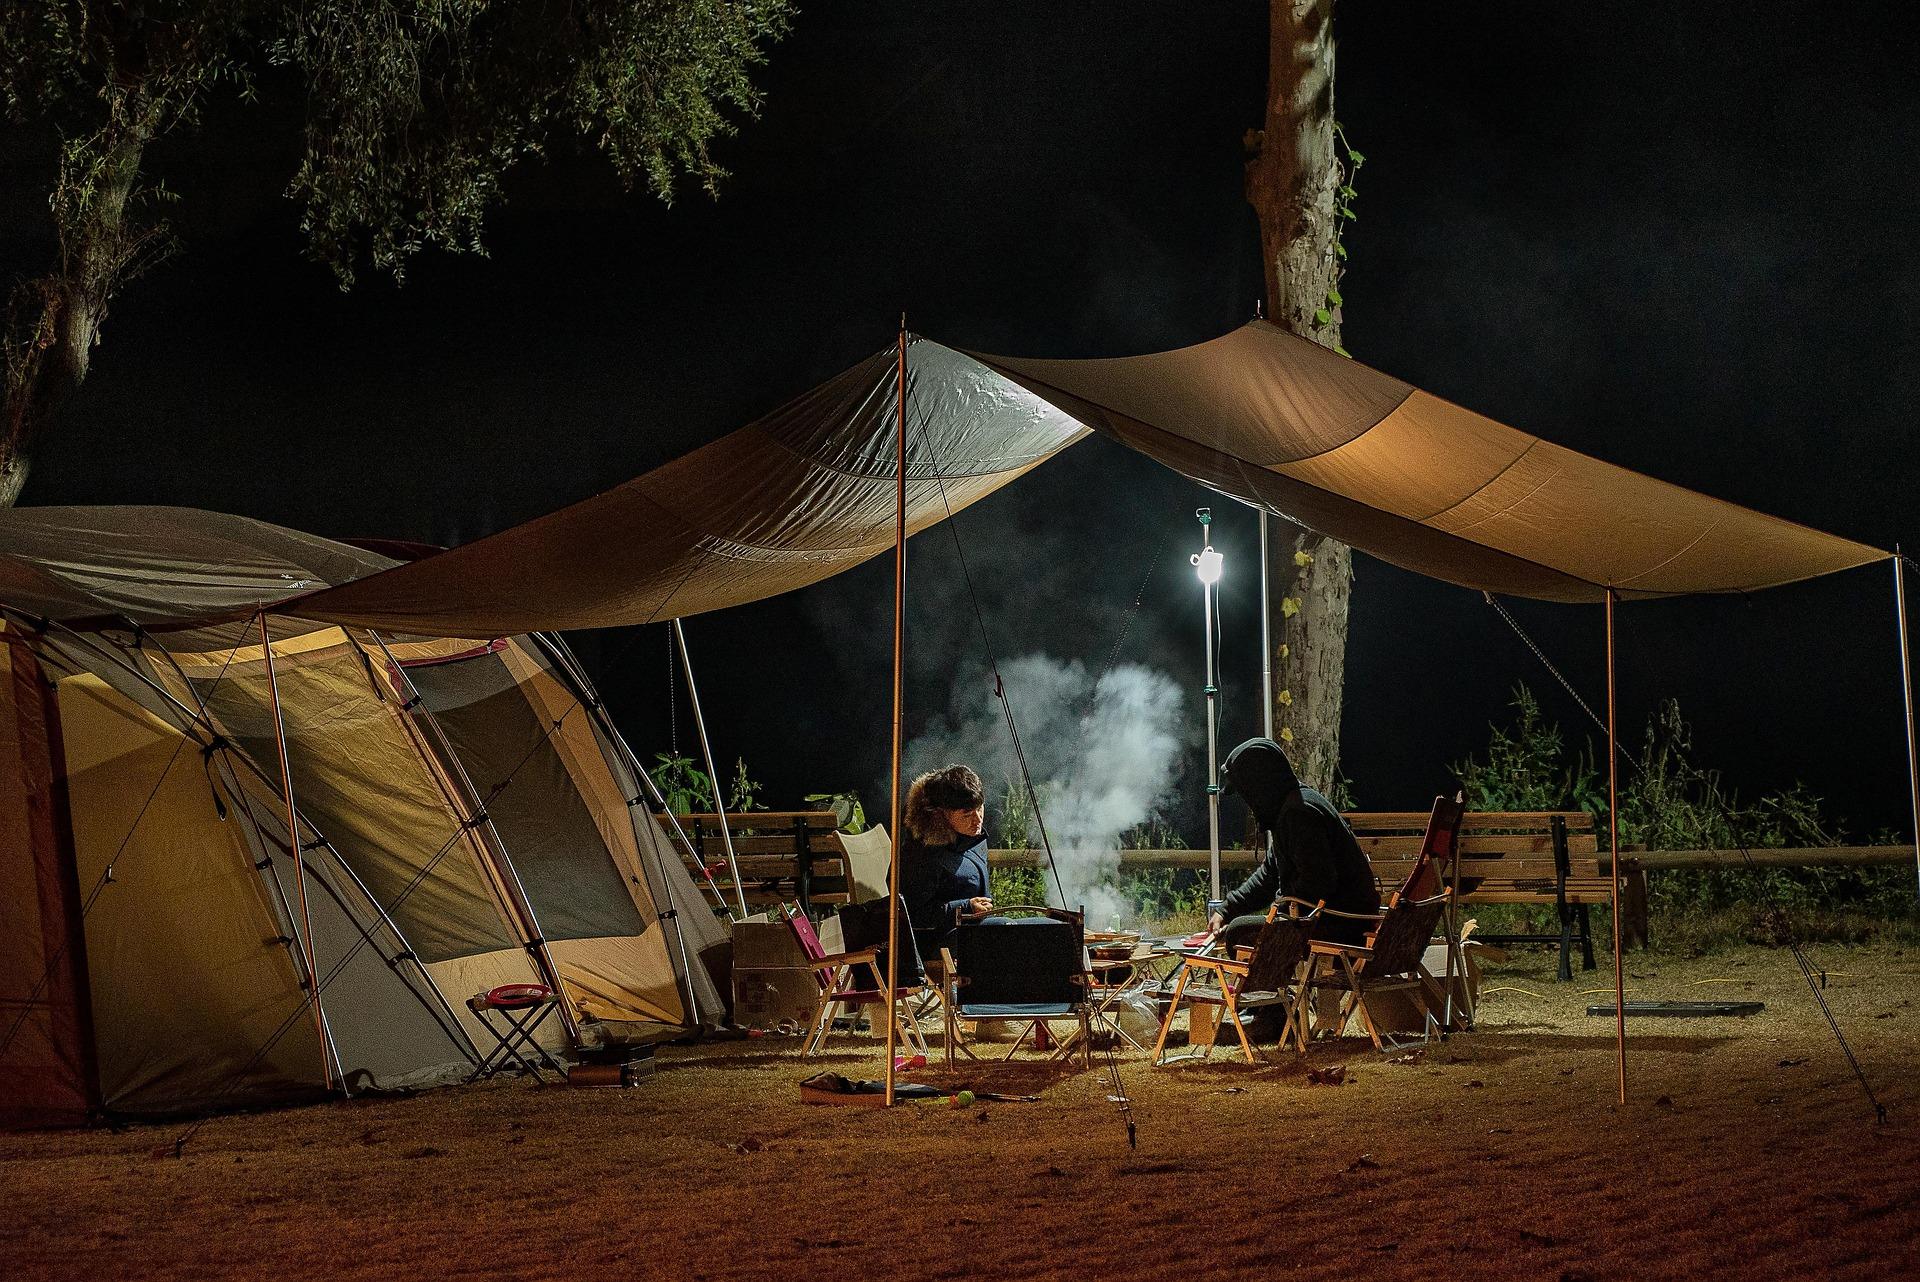
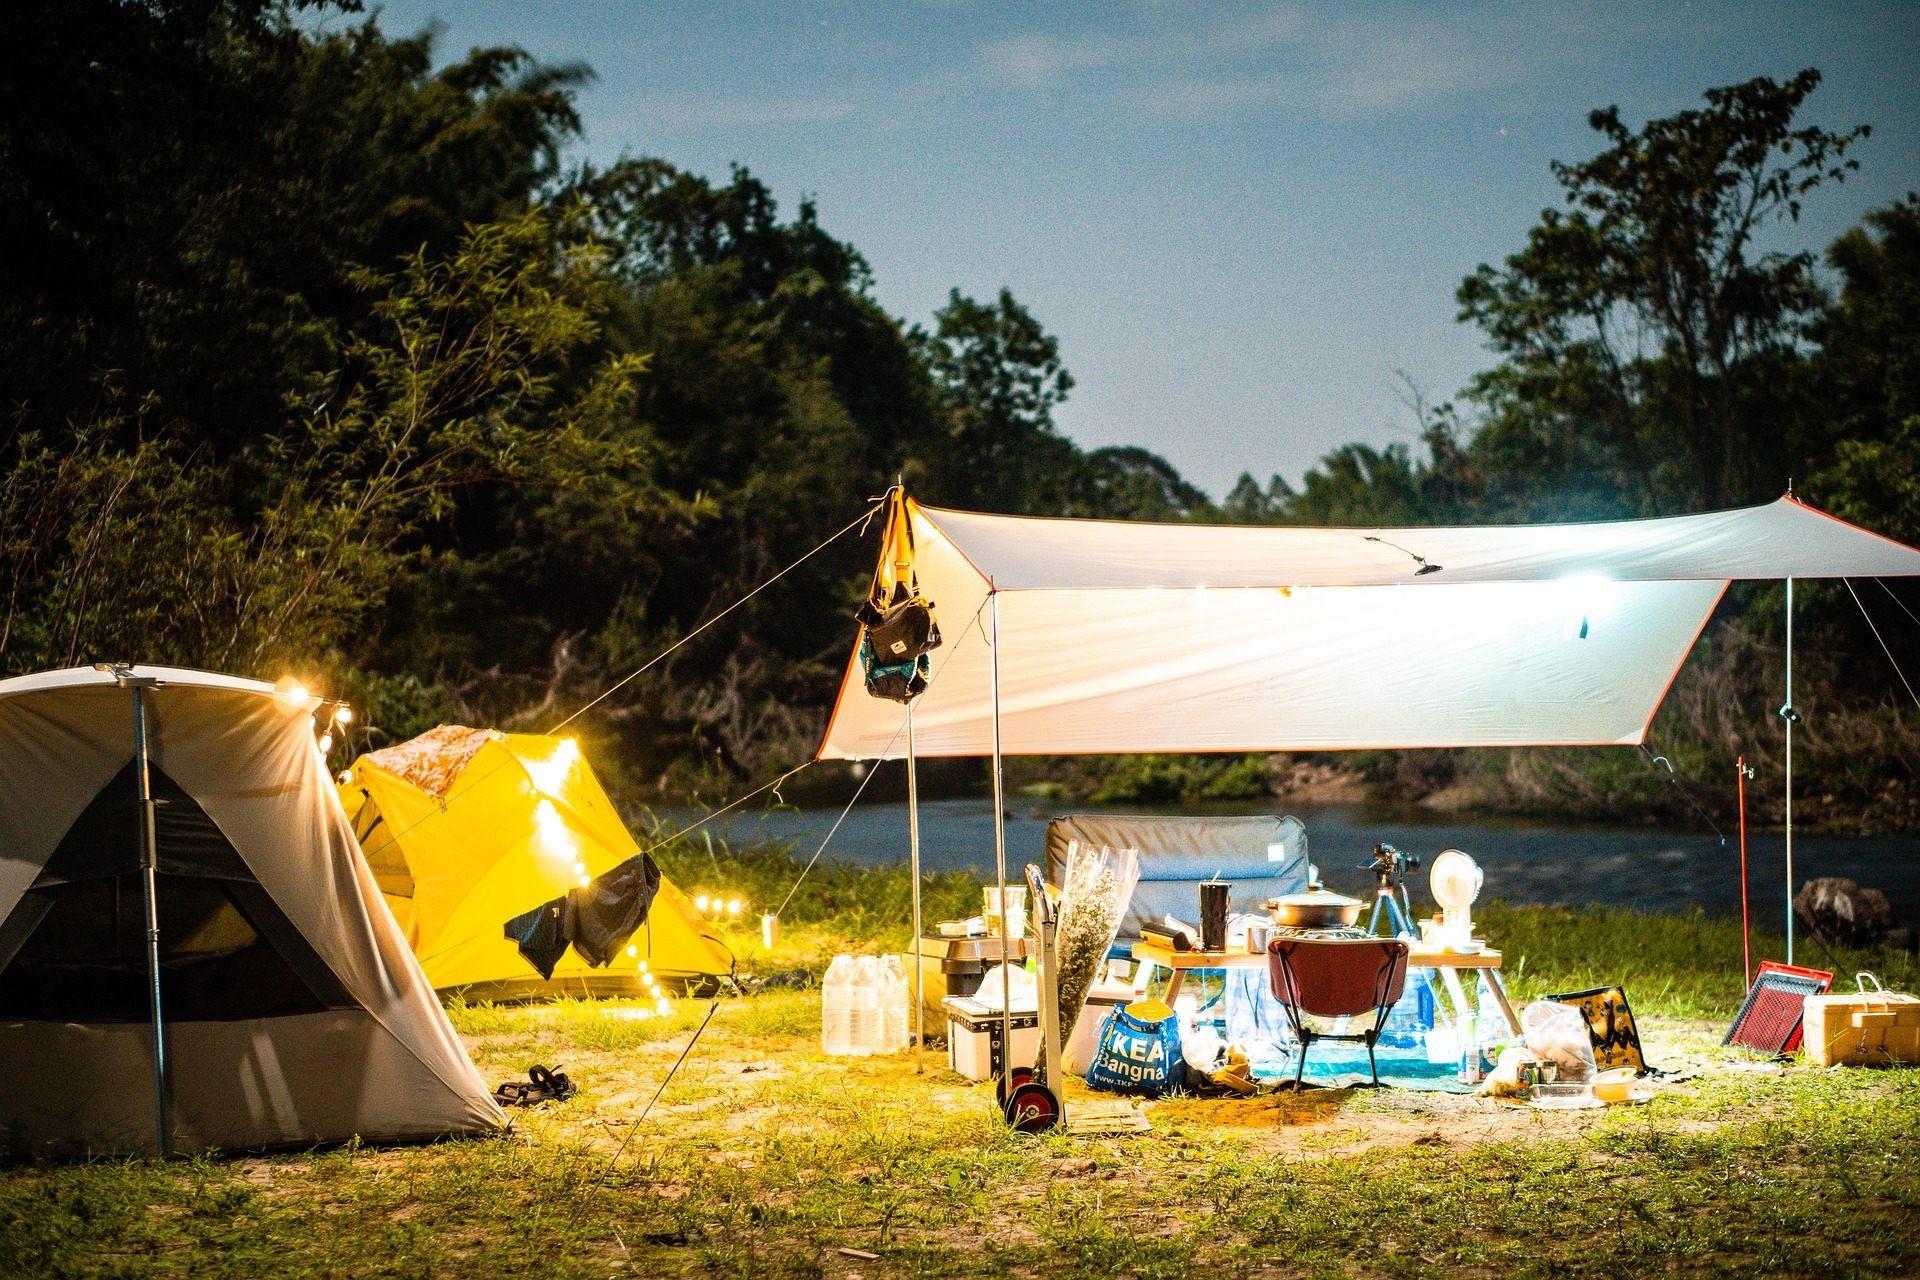
An open lean-to can provide excellent ventilation and easy access.
An A-frame can offer useful protection from rain on both sides.
A low pitch can reduce exposure to wind.
A more open pitch can be better in warm weather.
Rather than teaching Scouts that one particular design is always “best”, teach them to choose a design based on the conditions.
Protecting Equipment
Weather doesn’t only affect people.
Your equipment needs protection too.
Keep rucksacks, spare clothing and other important equipment underneath the sheltered area.
Don’t place valuable equipment where water could run.
Keep wet items separate from dry ones where possible.
This is particularly important on multi-day activities.
Tarp Size Matters
A larger tarp gives you more design options.
It can also catch more wind.
A smaller tarp may be easier to control but provide less usable space.
When selecting equipment, think about the conditions, intended use and number of people rather than simply buying the largest tarp available.
Tarp Shelters and Trees
Trees can provide convenient attachment points, but they require careful consideration.
Never attach a shelter to a dead, damaged or unstable tree.
Look above you as well as around you.
A strong-looking trunk doesn’t make the location safe if there are dangerous branches overhead.
Use appropriate tree-friendly attachment methods where attachment to trees is permitted.
Using Poles Instead
Poles can provide greater control over where a tarp is positioned.
They are particularly useful where suitable trees aren’t available or where attaching equipment to trees isn’t appropriate.
Make sure poles are stable and won’t fall into the shelter or onto people.
Learn to Read the Weather
Tarp shelters provide a useful opportunity to teach Scouts basic weather awareness.
Look at cloud development.
Notice changes in wind direction.
Watch for increasing rainfall.
Pay attention to temperature.
Consider how exposed the location is.
The purpose isn’t to become a meteorologist.
It’s to recognise when outdoor conditions are changing.
Know When to Pack Away
Sometimes the correct response to bad weather isn’t to build a stronger tarp.
It’s to stop the activity.
If severe weather develops, particularly thunderstorms, high winds, flooding or other dangerous conditions, follow your planned procedures and move to an appropriate safe location.
A tarp is not designed to make dangerous conditions safe.
Tarp Shelters and Thunderstorms
A tarp provides little meaningful protection from lightning.
If thunderstorms are approaching, don’t treat a tarp shelter as a safe refuge simply because it has a roof.
Follow appropriate severe-weather procedures and move to a suitable safer location.
After the Weather Improves
Don’t immediately assume everything is fine.
Inspect the shelter.
Check whether pegs have moved.
Look for damaged attachment points.
Check the tarp for tears.
Look for changes in the ground around the shelter.
Rain and wind can alter the stability of the whole setup.
Drying a Tarp
After use, allow the tarp to dry properly before storing it.
Packing away a wet tarp and leaving it stored can encourage mould and unpleasant smells and may damage the material over time.
If conditions allow, dry it fully before putting it away.
Follow the manufacturer’s care instructions.
Adapting the Skill for Scouts
Younger Scouts can learn the basic idea by comparing two shelter designs.
Ask which one would be better in heavy rain.
Then ask which might be better on a hot day.
Older Scouts can be given weather scenarios and asked to decide how they would modify a shelter.
For example:
“The wind has changed direction.”
“Heavy rain is starting.”
“The temperature has risen significantly.”
“The ground is becoming saturated.”
This turns tarp shelter building into a decision-making exercise.
Leader Notes
Avoid presenting tarp shelter design as a collection of rules that always apply.
Instead, teach Scouts to ask:
What is the weather doing?
What is the ground doing?
Where is the wind coming from?
What does the shelter need to protect us from?
What can we safely change?
This encourages adaptable thinking.
It’s also worth demonstrating that sometimes the best decision is to leave the shelter and move somewhere safer.
That is an important part of outdoor judgement.
Safety
Tarp shelter activities should be properly planned and supervised.
Always assess the location before pitching a shelter.
Avoid dead or damaged trees and branches, unstable slopes, flood-prone areas, stream beds and low ground where water may collect.
Never assume a tree is safe simply because it is large or appears healthy. Look for overhead hazards before attaching any equipment.
Keep guy lines and ropes positioned so they don’t create unnecessary trip hazards.
Check pegs, poles, ropes and tarp attachment points before use.
Do not allow Scouts to climb onto tarp shelters or use them as play equipment.
Never use candles, stoves, fires or other naked flames inside or immediately beneath a tarp shelter unless a separate, specifically designed and appropriately controlled procedure permits it. In normal Scout tarp-shelter activities, naked flames should be kept away from the shelter.
Monitor weather conditions throughout the activity.
If strong winds, thunderstorms, flooding or other dangerous conditions develop, stop the activity and move to an appropriate safe location.
Don’t deliberately expose Scouts to severe weather to test a shelter.
Ensure that the shelter always has a clear and usable exit.
Learning Outcomes
By learning how to adapt tarp shelters to different weather conditions, Scouts can:
Final Thought for Scouts
There isn’t one tarp pitch that is perfect for every situation.
A shelter that works beautifully in warm, calm weather might struggle when the wind changes.
A design that keeps heavy rain out might be uncomfortable on a hot afternoon.
The real skill is being able to look at the conditions and adapt.
Don’t just ask, “How do I pitch this tarp?” Ask, “What does this shelter need to do today?”
🔒Ready to test your survival skills?
Join Survival Guides UK for free, complete challenges, earn badges and increase your Survival Level.
JOIN FREE →
CRAIG BURR
FOUNDER · SURVIVAL GUIDES UK
I'm Craig, the person behind Survival Guides UK. I created SGUK because I wanted somewhere people could learn real outdoor skills in a practical, straightforward way — from lighting a fire and tying knots to navigation, campcraft and everything in between.
You can read more about the story behind SGUK here as well as our approach here.