Wilderness Shelter Challenges for Explorers
⚠️ SAFETY FIRST
Shelter-building activities should take place in a suitable, supervised area following an appropriate risk assessment. Check for unstable trees and branches, steep ground, water hazards and other environmental risks before starting.
Never encourage Explorers to climb trees, construct unstable structures or deliberately expose themselves to severe weather. Follow landowner requirements and leave the site as you found it.
Shelter building is a great skill for Explorers because it combines practical construction with decision-making.
At a younger age, the challenge might simply be:
“Can you build a shelter?”
For Explorers, you can ask much more.
Where should it go?
What should it protect against?
Which design is most suitable?
What materials are available?
How can the team build it safely?
What happens if the weather changes?
These questions turn shelter building into a much richer outdoor skills activity.
Start With the Site
Before anyone starts collecting materials, make site selection part of the challenge.
Give teams a suitable area and ask them to identify the best location.
They should consider:
Ground conditions.
Drainage.
Wind exposure.
Overhead hazards.
Available materials.
Access.
The surrounding terrain.
A well-designed shelter in a poor location isn’t a successful shelter.
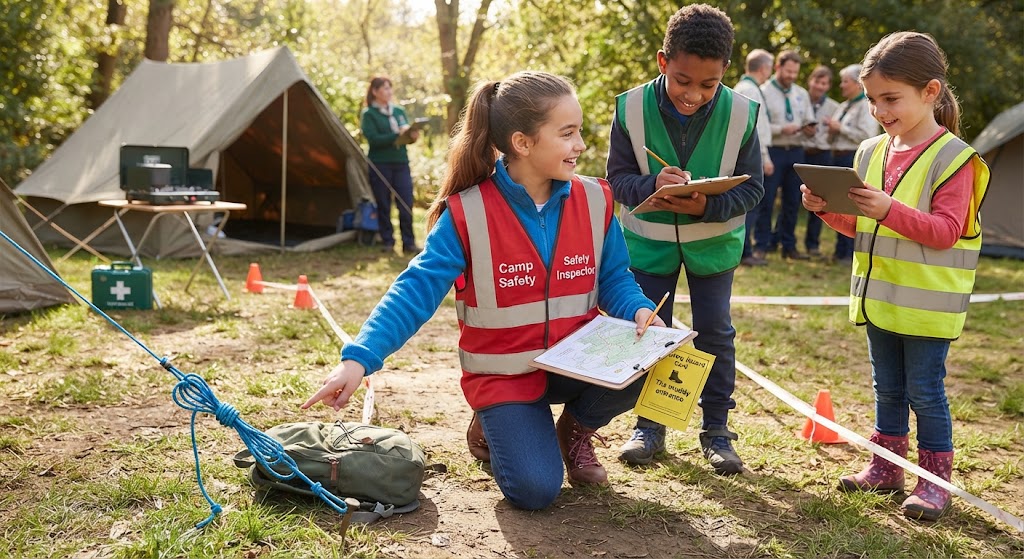
Challenge 1: Choose the Best Site
Mark several potential shelter locations.
Don’t tell Explorers which one is best.
Ask each team to inspect them and choose one.
Then ask:
“Why did you choose this site?”
You can compare the different decisions afterwards.
This teaches that shelter building begins with observation, not construction.
Challenge 2: Build a Basic Shelter
Give each team suitable materials and a simple objective:
“Build a shelter that could provide basic protection from wind and light rain.”
Don’t provide a complete design.
Let them work out how to achieve the objective.
This encourages creativity and problem-solving.
Challenge 3: Limited Materials
Give teams a deliberately limited selection of materials.
For example, they might have a certain amount of rope and a fixed number of tarps or suitable natural materials.
The objective becomes:
“Build the most effective shelter you can with what you have.”
This teaches resource management.
Challenge 4: The Smaller Shelter
Challenge teams to avoid building unnecessarily large structures.
“Build a shelter suitable for two people using the minimum practical amount of material.”
Afterwards, discuss why smaller shelters can sometimes be easier to heat, waterproof and maintain.
The lesson isn’t that small is always better.
It’s that design should match the purpose.
Challenge 5: Design for Wind
Tell Explorers that the main problem isn’t rain.
It’s wind.
Ask:
“How would you change your shelter design?”
They need to think about orientation, stability and how the structure is anchored.
They should also consider whether the site itself provides useful natural protection.
Challenge 6: Design for Rain
Change the scenario.
“Rain is now the main concern.”
Ask teams to inspect their designs.
Where would water run?
Could it collect on the roof?
Would the entrance allow rain inside?
Is the shelter positioned where water could pool?
This turns shelter building into a practical lesson in drainage and design.
Challenge 7: The Tarp Challenge
Give each team a tarp and suitable cordage.
Set a simple objective:
“Create a stable shelter using the tarp and available anchor points.”
This is an excellent opportunity to practise knots and tension.
Ask teams to experiment with different configurations and compare the results.
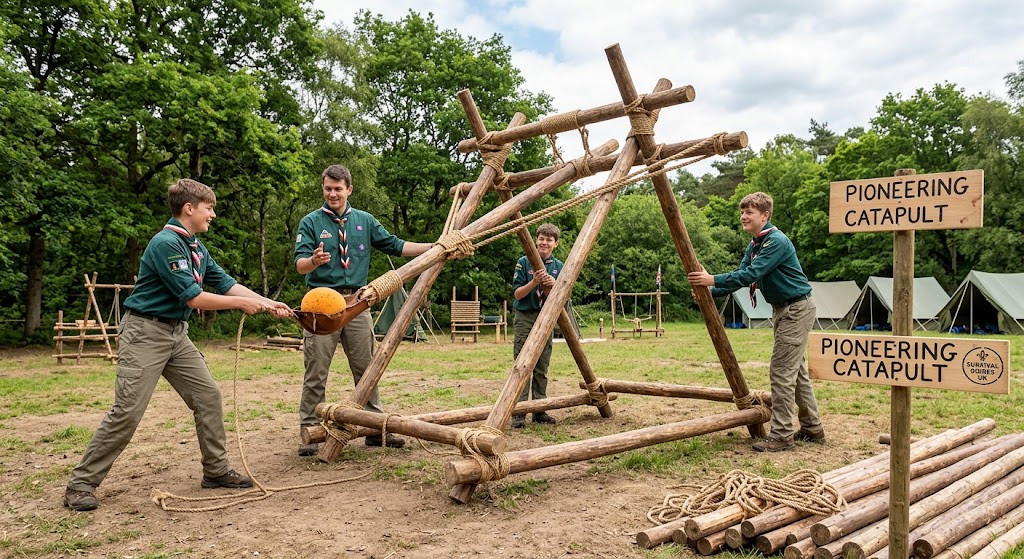
Challenge 8: Shelter Engineering
Ask teams to build a shelter that can withstand a gentle, controlled stability test.
For example, the leader can carefully inspect or lightly test appropriate parts of the structure.
The objective is to discover weak points.
Don’t use people as test subjects or deliberately create structures that could collapse onto someone.
After testing, ask:
“Where was the weakest point?”
“How could you improve it?”
Challenge 9: The Shelter Inspection
Instead of building anything, give Explorers an existing shelter with deliberately introduced problems.
For example:
A poor entrance position.
An unstable support.
A low section.
Poor drainage.
An unsuitable location.
Ask teams to identify as many problems as possible.
This is particularly useful because it teaches them to inspect their own work critically.
Challenge 10: The Changing Weather Scenario
Let the team complete their shelter.
Then introduce a fictional change:
“The wind has changed direction.”
Or:
“Heavy rain is expected.”
Ask:
“What would you change?”
They may decide that the shelter needs modification.
They may decide the site is no longer suitable.
They may decide that the safest option is to dismantle it.
That last answer can be just as valuable as making improvements.
Challenge 11: Shelter and Fire Planning
Give Explorers a campsite layout and ask them to plan where they would put:
The shelter.
The fire area.
The cooking area.
Equipment storage.
An access route.
They need to consider how the different areas interact.
This helps demonstrate that shelter building shouldn’t be considered in isolation.
Challenge 12: The Navigation Connection
Give teams a map of the area.
Ask them to identify potential shelter locations before going outside.
Then have them inspect those locations in person.
They can compare what the map suggests with what they actually find.
This combines navigation with environmental observation.
Challenge 13: The Team Leader Challenge
Give one Explorer responsibility for coordinating the shelter build.
Their job isn’t to do the construction.
It’s to organise the team.
They need to:
Assign roles.
Keep everyone involved.
Check the plan.
Monitor safety.
Make decisions.
Then rotate the leadership role.
This adds a valuable leadership element to a practical activity.
Challenge 14: Build, Test, Improve
Use a simple three-stage challenge:
Build it.
Test it.
Improve it.
Rather than rewarding the first team to finish, give them time to identify weaknesses and make improvements.
This teaches an important engineering principle:
The first design doesn’t have to be the final design.
Challenge 15: Shelter With a Purpose
Don’t always make the objective “build a shelter”.
Give the shelter a specific purpose.
For example:
“Build somewhere that provides shade.”
Or:
“Build somewhere to keep equipment reasonably protected from light rain.”
Or:
“Create a small emergency shelter suitable for a short wait.”
The purpose determines the design.
Don’t Encourage Survivalist Myths
Shelter challenges should teach practical outdoor skills rather than giving Explorers unrealistic ideas about wilderness survival.
A woodland shelter made during an activity isn’t necessarily suitable for spending a night in severe weather.
Don’t deliberately leave young people exposed to cold, wet or dangerous conditions to “test” their shelters.
The challenge should always remain controlled.
Use Natural Materials Responsibly
If natural materials are permitted, teach Explorers to use them responsibly.
Avoid damaging living trees.
Don’t strip vegetation unnecessarily.
Use loose materials where appropriate.
Follow the rules of the land you’re using.
And dismantle the shelter afterwards unless you have explicit permission to leave it.
The best outdoor skill includes looking after the environment.
Make Them Explain Their Design
Once the shelter is finished, ask the team to explain it.
“Why did you choose this location?”
“Why is the roof shaped this way?”
“How did you deal with wind?”
“Where would water go?”
“What would you change?”
This is where the activity becomes much more than construction.
They’re demonstrating their understanding.
Don’t Make It a Race
Shelter building can easily become competitive.
But the fastest team isn’t necessarily the best team.
Consider judging:
Safety
Site selection
Stability
Weather protection
Efficient use of materials
Teamwork
Environmental responsibility
Quality of the explanation
This rewards the behaviours you actually want to develop.
A Complete Explorer Shelter Challenge
For a larger activity, combine everything.
Give each team:
A map.
A defined area.
Suitable building materials.
A time limit.
A scenario.
Their task is to:
Choose a safe site.
Plan their shelter.
Build it.
Explain their design.
Identify potential weaknesses.
Make improvements.
Dismantle it safely.
Restore the site.
This can easily fill a substantial session while developing several different outdoor skills.
Finish With a Review
Once everything has been dismantled, ask:
What made a good shelter?
Was the best-looking shelter actually the best?
Which site was most suitable?
What problems did you encounter?
What would you do differently?
What changed when the scenario changed?
The final discussion is an important part of the activity.
Final Thoughts
Wilderness shelter challenges are about much more than tying rope and piling up branches.
They teach Explorers to assess their surroundings, make decisions, work as a team and adapt when circumstances change.
The best challenge isn’t necessarily the one that produces the biggest shelter.
It’s the one that makes young people stop and think:
“What does this shelter actually need to do, and what’s the safest way to achieve that?”
🏕️ THE BIG IDEA
Good shelter building starts with good decisions.
Choose the right location.
Understand the weather.
Match the design to the purpose.
Build carefully.
Test and improve it.
Know when conditions mean it’s time to stop.That’s what turns shelter building into a genuinely useful survival skill.
🔒Ready to test your survival skills?
Join Survival Guides UK for free, complete challenges, earn badges and increase your Survival Level.
JOIN FREE →
CRAIG BURR
FOUNDER · SURVIVAL GUIDES UK
I'm Craig, the person behind Survival Guides UK. I created SGUK because I wanted somewhere people could learn real outdoor skills in a practical, straightforward way — from lighting a fire and tying knots to navigation, campcraft and everything in between.
You can read more about the story behind SGUK here as well as our approach here.