Torch Signalling: Scout Emergency Skills Guide
Activity Overview
Difficulty: Easy–Moderate
Time: 20–30 minutes
Location: Campsites, woodland edges and suitable outdoor training areas
Best for: Cubs, Scouts, Explorers, Patrol Leaders and adult leaders
Skills: Emergency signalling, communication, Morse code, torch handling and night-time awareness
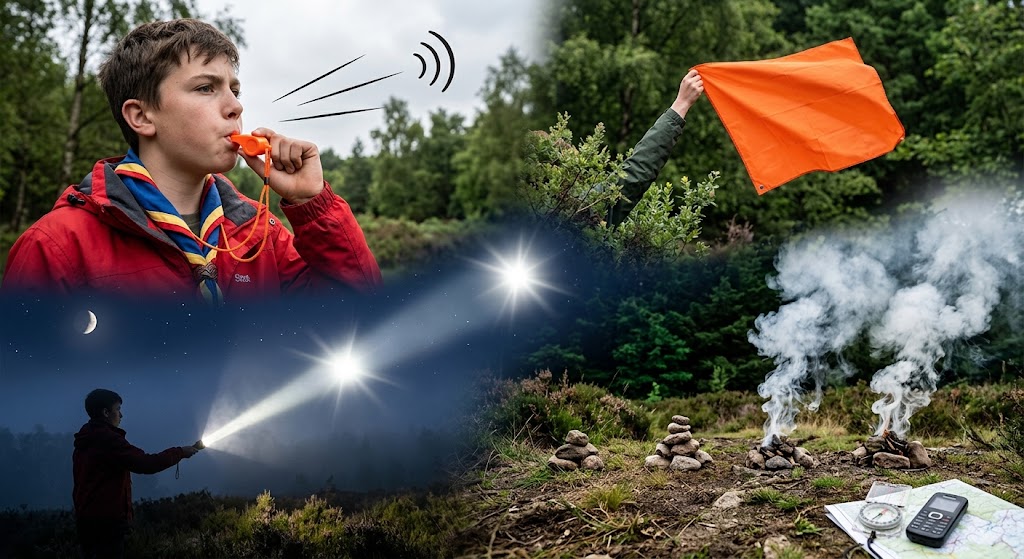
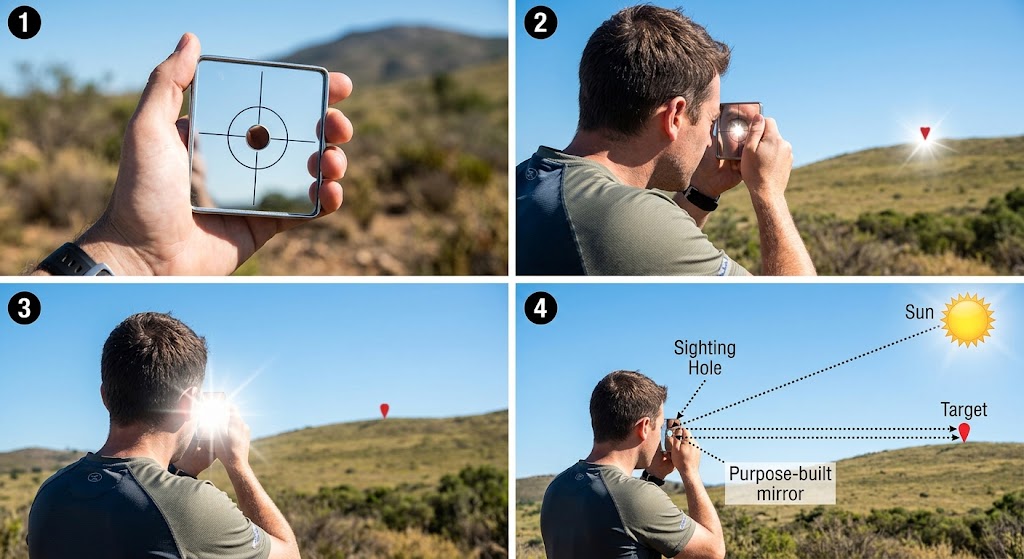
A torch can be used to attract attention and communicate simple messages, particularly at night.
For Scouts, the most useful techniques are deliberate flashes, agreed signals and Morse code. The torch should be used from a safe position and its battery conserved if help may take time.
A torch signal should never be mistaken for a substitute for contacting emergency services when a phone is available and an emergency requires assistance.
What You’ll Learn
You’ll learn how to use a torch to attract attention in darkness and how to communicate simple information using flashes.
You’ll also learn the basics of Morse code signalling, how to conserve battery power and how to signal without creating additional hazards.
🟡 SAFETY – MODERATE TO HIGH RISK
Never shine a powerful torch directly into someone’s eyes.
Don’t use a torch while walking through hazardous terrain unless it is being used for illumination.
Don’t climb trees, buildings or other structures to make a signal more visible.
If there is a genuine emergency, contact the emergency services where possible rather than relying solely on visual signalling.
Keep spare batteries or a charged power source available for longer activities where appropriate.
Equipment
You’ll need a torch with a reliable on/off switch.
A headtorch can also be useful for ordinary night-time movement, although a handheld torch is generally easier to use for deliberate signalling.
Spare batteries or a power bank may be useful on longer activities.
A watch or other means of timing can help when practising Morse code.
Prerequisites
Scouts should understand basic emergency procedures before practising signalling.
If Morse code is being taught, learn the relevant letters and signals before attempting to send complete messages.
Everyone taking part should know that the activity is a training exercise, so that signals aren’t mistaken for a genuine emergency.
Instructions
1. Choose a Safe Position
If signalling from a campsite, remain in a safe area.
If you’re practising outdoors at night, don’t move into difficult terrain simply to make the torch more visible.
The best signal is one produced from somewhere you can remain safely.
2. Check the Torch
Make sure the torch works before starting.
Check the batteries or charge.
Know how the switch operates so that you can produce controlled flashes.
3. Aim the Torch Safely
Point the beam towards the intended recipient or an open area where it can be seen.
Never deliberately shine it into someone’s face.
A wider beam can be useful for attracting attention, while a controlled beam is useful for signalling.
4. Use Simple Flashes
For basic signalling, use deliberate flashes rather than waving the torch randomly.
A repeated pattern is easier for someone at a distance to recognise.
For example, you might use:
Flash – pause – flash – pause – flash
when practising an agreed training signal.
The exact pattern should be established beforehand.
5. Attract Attention First
If someone is nearby but can’t see you, start with obvious, repeated flashes.
Once they respond, you can move to a more specific communication method.
Don’t immediately attempt a complicated message if the recipient hasn’t established that they can see your signal.
6. Use Morse Code
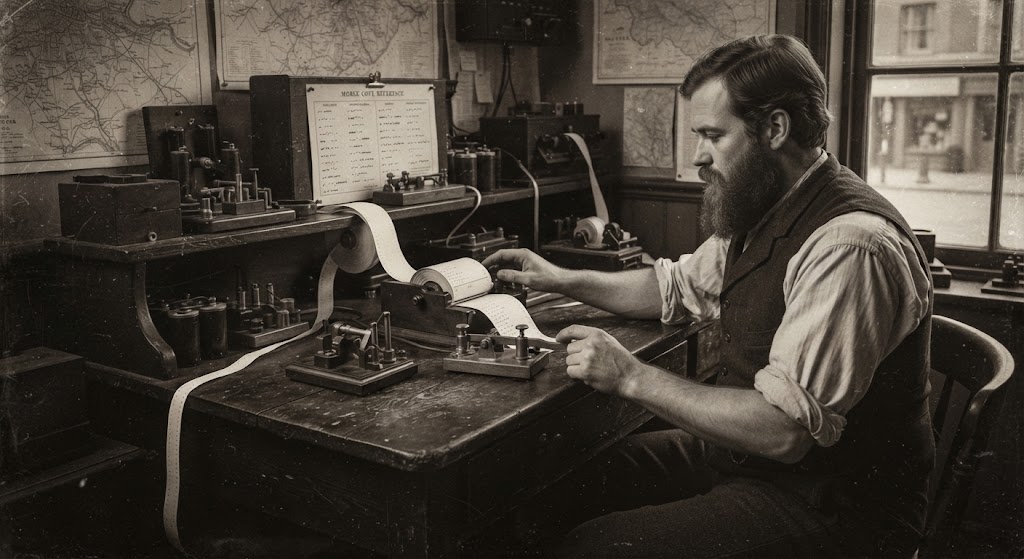
Morse code represents letters and numbers using short and long signals.
With a torch:
Short flash = dot
Long flash = dash
For example, the letter S is:
•••
and the letter O is:
–––
The well-known Morse distress signal SOS is:
••• ––– •••
This can be useful as a teaching exercise, but in a genuine emergency use the most reliable communication method available, particularly direct contact with emergency services.
7. Keep the Timing Consistent
Morse code relies on the difference between short and long signals.
Don’t rush the flashes together.
Use clear pauses between letters and longer pauses between words.
Practise slowly before attempting faster messages.
8. Send Short Messages
Start with simple messages such as a name, location or short instruction.
Long messages are difficult to send accurately by torch.
If a mobile phone or radio is available, it will normally be a more practical communication method.
9. Confirm Receipt
Where possible, have the recipient acknowledge that they received the message.
This helps identify errors before relying on the information.
10. Conserve the Battery
Don’t leave the torch continuously flashing when nobody is watching.
Use deliberate signals and then switch it off when it isn’t required.
If you’re waiting for assistance, preserve enough battery for further signalling.
11. Signal From an Open Area
At night, an unobstructed line of sight makes a torch much easier to see.
If you can safely remain in an open area, use it.
Don’t enter unsafe terrain merely to improve visibility.
12. Combine Signalling Methods
A torch can work alongside other emergency methods.
For example, a group might use a phone to communicate with emergency services while using a torch to help rescuers identify their position.
A whistle can also be useful if visibility is poor.
13. Listen and Watch
After signalling, pause and look and listen for a response.
Another torch may be visible in the distance.
Don’t assume that silence means your signal hasn’t been noticed.
14. Stop When Help Arrives
Once you’ve been located or the situation has been resolved, stop unnecessary signalling.
If an emergency service or search team has been contacted, follow their instructions.
Morse Code for Scouts
Morse code can make an excellent night-time skills activity.
Start with a small number of letters rather than attempting to memorise the entire alphabet immediately.
A simple progression is:
E = •
T = –
I = ••
M = ––
S = •••
O = –––
Once Scouts are comfortable with these, introduce more letters and short words.
Torch Signalling Practice
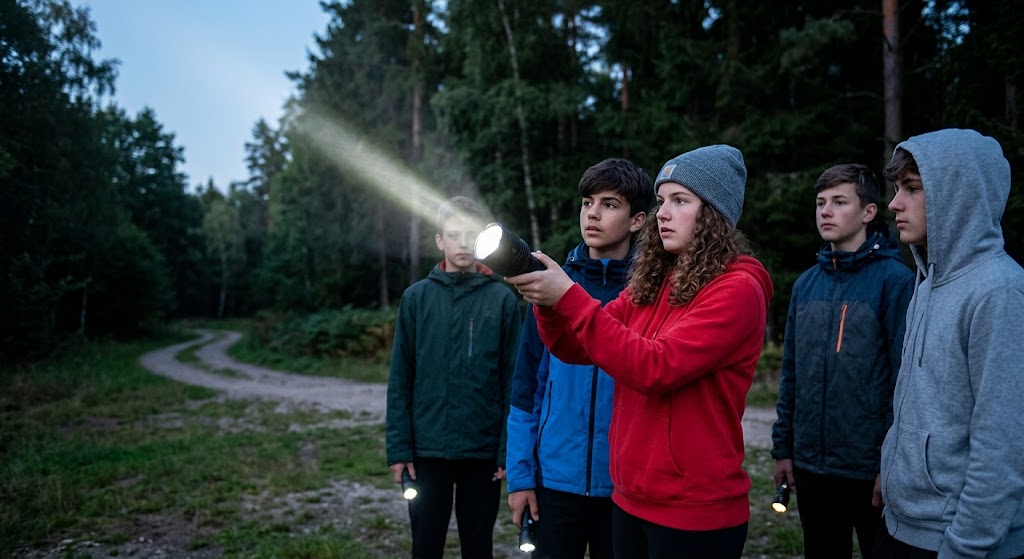
Set up two patrols within a safe, agreed area where they can see one another.
One patrol sends a simple message using a torch while the other records what it receives.
Start with individual letters, then progress to short words.
Keep the activity supervised and clearly distinguish training signals from genuine distress signals.
Final Tip
Torch signalling works because light is highly visible against a dark background.
Keep signals deliberate, keep the timing consistent and conserve your battery.
For Scouts, Morse code makes an excellent extension activity, but in a real emergency the priority is always to communicate with emergency services and provide your location as clearly as possible.
🔒Ready to test your survival skills?
Join Survival Guides UK for free, complete challenges, earn badges and increase your Survival Level.
JOIN FREE →
CRAIG BURR
FOUNDER · SURVIVAL GUIDES UK
I'm Craig, the person behind Survival Guides UK. I created SGUK because I wanted somewhere people could learn real outdoor skills in a practical, straightforward way — from lighting a fire and tying knots to navigation, campcraft and everything in between.
You can read more about the story behind SGUK here as well as our approach here.