Risk Assessment Guidance for Scout Leaders
Risk assessment is an important part of planning safe Scout and outdoor activities.
For leaders, it doesn’t need to be a complicated paperwork exercise. A useful risk assessment is simply a structured way of thinking about what could go wrong, who could be affected, what controls are already in place and whether anything else needs to be done before the activity starts.
The aim isn’t to remove every risk from an activity.
Scouting involves adventure, challenge and learning through experience. The aim is to make sure risks are understood and managed sensibly so that young people can take part safely.
What Is a Risk Assessment?
A risk assessment is a way of identifying hazards and deciding how those hazards should be controlled.
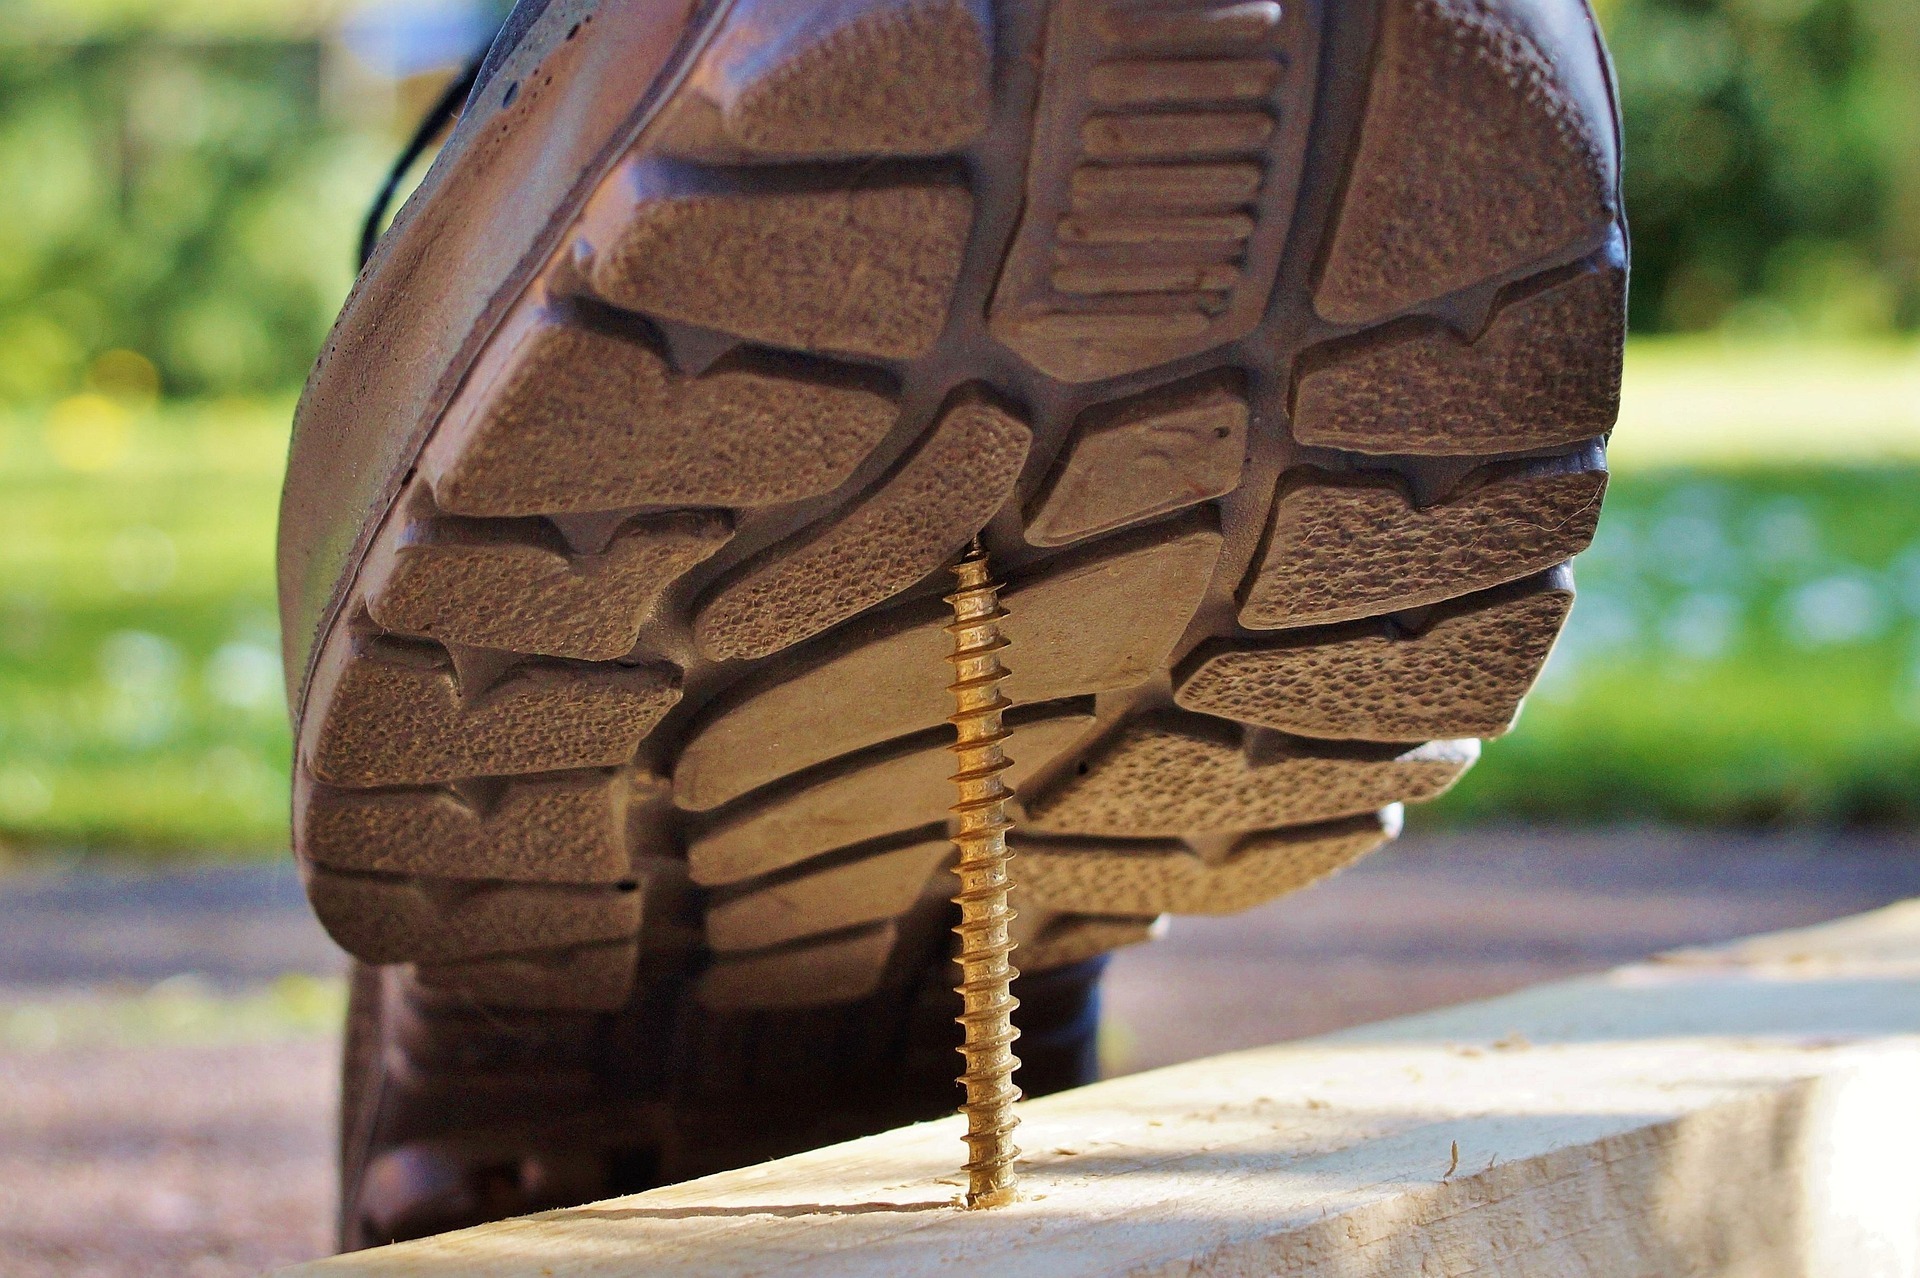
A hazard is something that could cause harm.
A risk is the possibility of someone being harmed by that hazard, taking into account how likely it is to happen and how serious the outcome could be.
For example, a steep slope is a hazard.
Young people falling down the slope is a potential risk.
The risk assessment then considers what can be done to reduce that risk to an acceptable level.
Why Risk Assessments Matter
A good risk assessment helps leaders think through an activity before young people become involved.
It can highlight things that are easy to overlook when you’re concentrating on the activity itself.
It also provides an opportunity to consider:
The location
The people taking part
The equipment
The weather
The activity
The supervision
What could change
The process is often just as valuable as the finished document.
Start With the Activity
Begin by describing what you are actually planning to do.
Don’t start with a generic list of hazards.
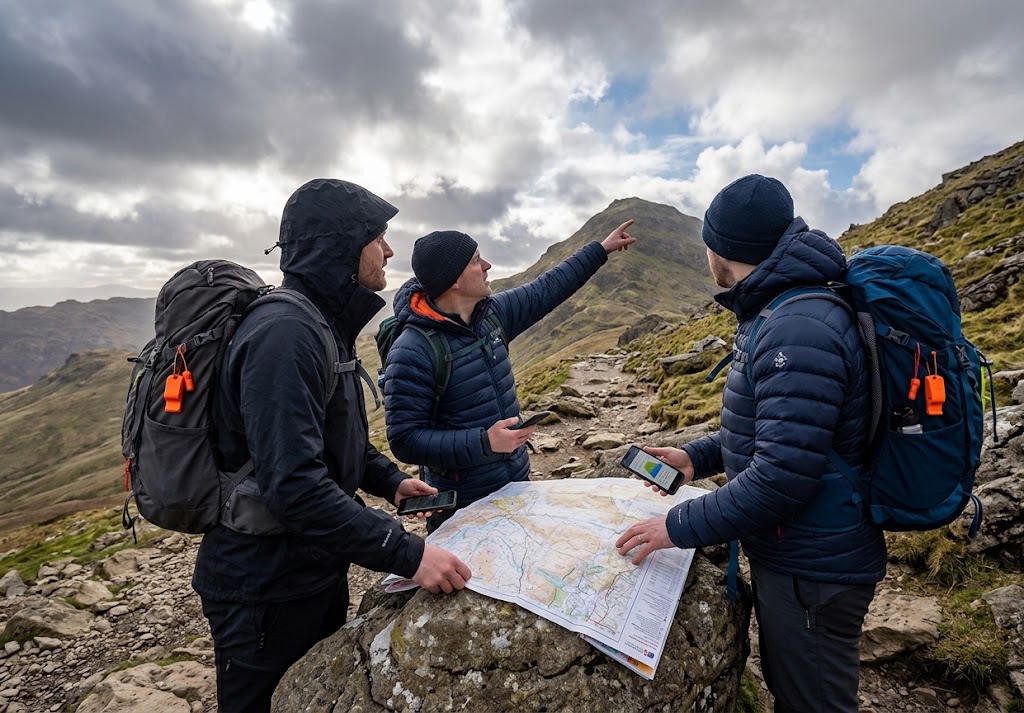
A risk assessment for a map-reading exercise in a meeting hall will be very different from one for a woodland hike.
Think about the actual activity from beginning to end.
Where will participants start?
What will they do?
Where will they move?
What equipment will they use?
How will the activity finish?
Thinking through the activity in sequence can reveal hazards that a generic checklist might miss.
Identify the Hazards
Walk through the activity and look for anything that could cause harm.
For an outdoor activity, this might include:
Uneven ground.
Roads and traffic.
Water.
Steep slopes.
Weather.
Fire.
Sharp tools.
Hot equipment.
Animals.
Falling branches.
Poor visibility.
Manual handling.
Equipment failure.
The behaviour of the group can also create risks.
For example, young people running while carrying equipment creates a different situation from young people walking carefully under supervision.
Think About Who Could Be Harmed
Don’t only think about the average participant.
Consider everyone involved in the activity.
This can include young people, leaders, helpers, visitors and members of the public.
Some participants may have less experience, additional support needs or other factors that affect how the activity should be organised.
The important question is:
“Who could be affected if this hazard caused a problem?”
Consider How the Risk Could Happen
Once you’ve identified a hazard, think about the actual route to harm.
For example:
Hazard: Uneven ground.
Possible problem: Someone trips.
Potential consequence: Injury.
Controls: Suitable footwear, appropriate route choice, sensible pace and supervision.
This makes the assessment much more useful than simply writing “uneven ground” in a box.
Think About Existing Controls
You may already have several measures in place.
For example, a campfire activity might already include:
A suitable fire area.
A clear boundary.
Appropriate supervision.
Fire-control equipment.
A planned method of extinguishing the fire.
You don’t need to invent additional controls simply to make the paperwork look thorough.
Record the controls that genuinely reduce the risk.
Add Further Controls Where Needed
If the existing arrangements aren’t sufficient, decide what else needs to happen.
The most effective controls usually involve changing the activity or environment, rather than simply telling people to “be careful”.
For example, instead of:
“Be careful near the road.”
you might choose a safer route, establish a controlled crossing point and position leaders appropriately.
Instead of:
“Don’t touch the hot equipment.”
you might create a designated cooking area, establish boundaries and provide appropriate supervision.
The question should be:
“What can we change to make this safer?”
Don’t Rely on Rules Alone
Instructions are useful, but they shouldn’t be your only control.
Telling young people not to run doesn’t physically prevent someone from running.
A better approach might combine:
Clear instructions
Suitable boundaries
Good group positioning
Appropriate supervision
An activity design that reduces opportunities for unsafe behaviour
Layering controls makes an activity more resilient.
Consider the People Involved
The same hazard may require different controls depending on the group.
Consider age, experience, confidence and familiarity with the activity.
A beginner may need more explanation and closer supervision than someone who has completed the same skill many times.
Don’t confuse familiarity with competence.
Someone who has used a piece of equipment before may still need a check or reminder when circumstances have changed.
Consider the Environment
The location can change the risk significantly.
A route that is straightforward in dry daylight may be unsuitable in heavy rain or poor visibility.
A campsite that is comfortable in calm weather may become more difficult in strong winds.
A field that looks harmless during the day may have hazards that are harder to identify after dark.
Whenever possible, consider the actual location rather than relying entirely on assumptions.
Weather Needs Its Own Consideration
Weather is one of the easiest factors to overlook because it can change after the risk assessment has been completed.
Think about the conditions expected at the time of the activity.
Consider:
Rain.
Wind.
Temperature.
Heat.
Snow and ice.
Visibility.
Thunderstorms.
Weather doesn’t just create new hazards.
It can make existing hazards more significant.
For example, rain can make a path slippery, while strong wind can affect trees, tents and other structures.
Equipment Risks
Every piece of equipment doesn’t necessarily require its own risk assessment, but important equipment hazards should be considered.
Think about whether equipment can:
Cut.
Burn.
Pinch.
Fall.
Break.
Become unstable.
Cause someone to trip.
Equipment should be checked before use and used according to its intended purpose.
Damaged equipment should be removed from use until it has been appropriately assessed, repaired or replaced.
Supervision Is a Control
Supervision can be an important part of managing risk.
However, simply writing “leader supervision” doesn’t explain how supervision will actually work.
Be specific.
Consider:
Where leaders will be positioned.
How many adults are needed.
Which areas need particular attention.
How leaders will communicate.
How the group will be monitored.
What happens if one leader needs to deal with an incident.
Good supervision controls should be practical enough to use during the activity.
Think About the Consequences
Not every hazard has the same potential outcome.
A minor trip on flat ground is different from a fall near deep water.
When considering risk, think about both likelihood and consequence.
You don’t need to turn every activity into a mathematical exercise.
A simple question is often useful:
“If this happened, how serious could it be?”
Then consider:
“How likely is it to happen with the controls we have in place?”
This helps you focus attention on the risks that matter most.
Don’t Make the Risk Assessment Unrealistic
A risk assessment containing dozens of unlikely hazards can become difficult to use.
The purpose isn’t to predict every possible event.
Focus on reasonably foreseeable hazards associated with the actual activity.
A shorter assessment that leaders understand and can use is generally more useful than pages of generic warnings that nobody reads.
Dynamic Risk Assessment
A risk assessment isn’t necessarily finished once the activity begins.
Outdoor activities change.
The weather can deteriorate.
Equipment can fail.
The group can become tired.
The route can be different from expected.
An area can become unexpectedly busy.
This is where dynamic risk assessment becomes important.
Leaders should remain aware of what is happening and be prepared to change the plan.
Ask yourself:
“Is the activity still safe to continue as planned?”
If not, change it.
When to Stop or Change an Activity
Changing an activity isn’t a failure.
It is often evidence of good judgement.
You might decide to:
Shorten a route.
Move an activity indoors.
Use a different piece of equipment.
Increase supervision.
Change the activity area.
Take a longer break.
Delay the activity.
Cancel the activity.
The original plan should never become more important than the safety of the people taking part.
Emergency Planning
Consider what you would do if one of the significant risks actually occurred.
You don’t need a complicated emergency plan for every minor activity.
For activities involving greater consequences, however, leaders should know how they would respond.
Think about:
Who would take charge?
Who would stay with the group?
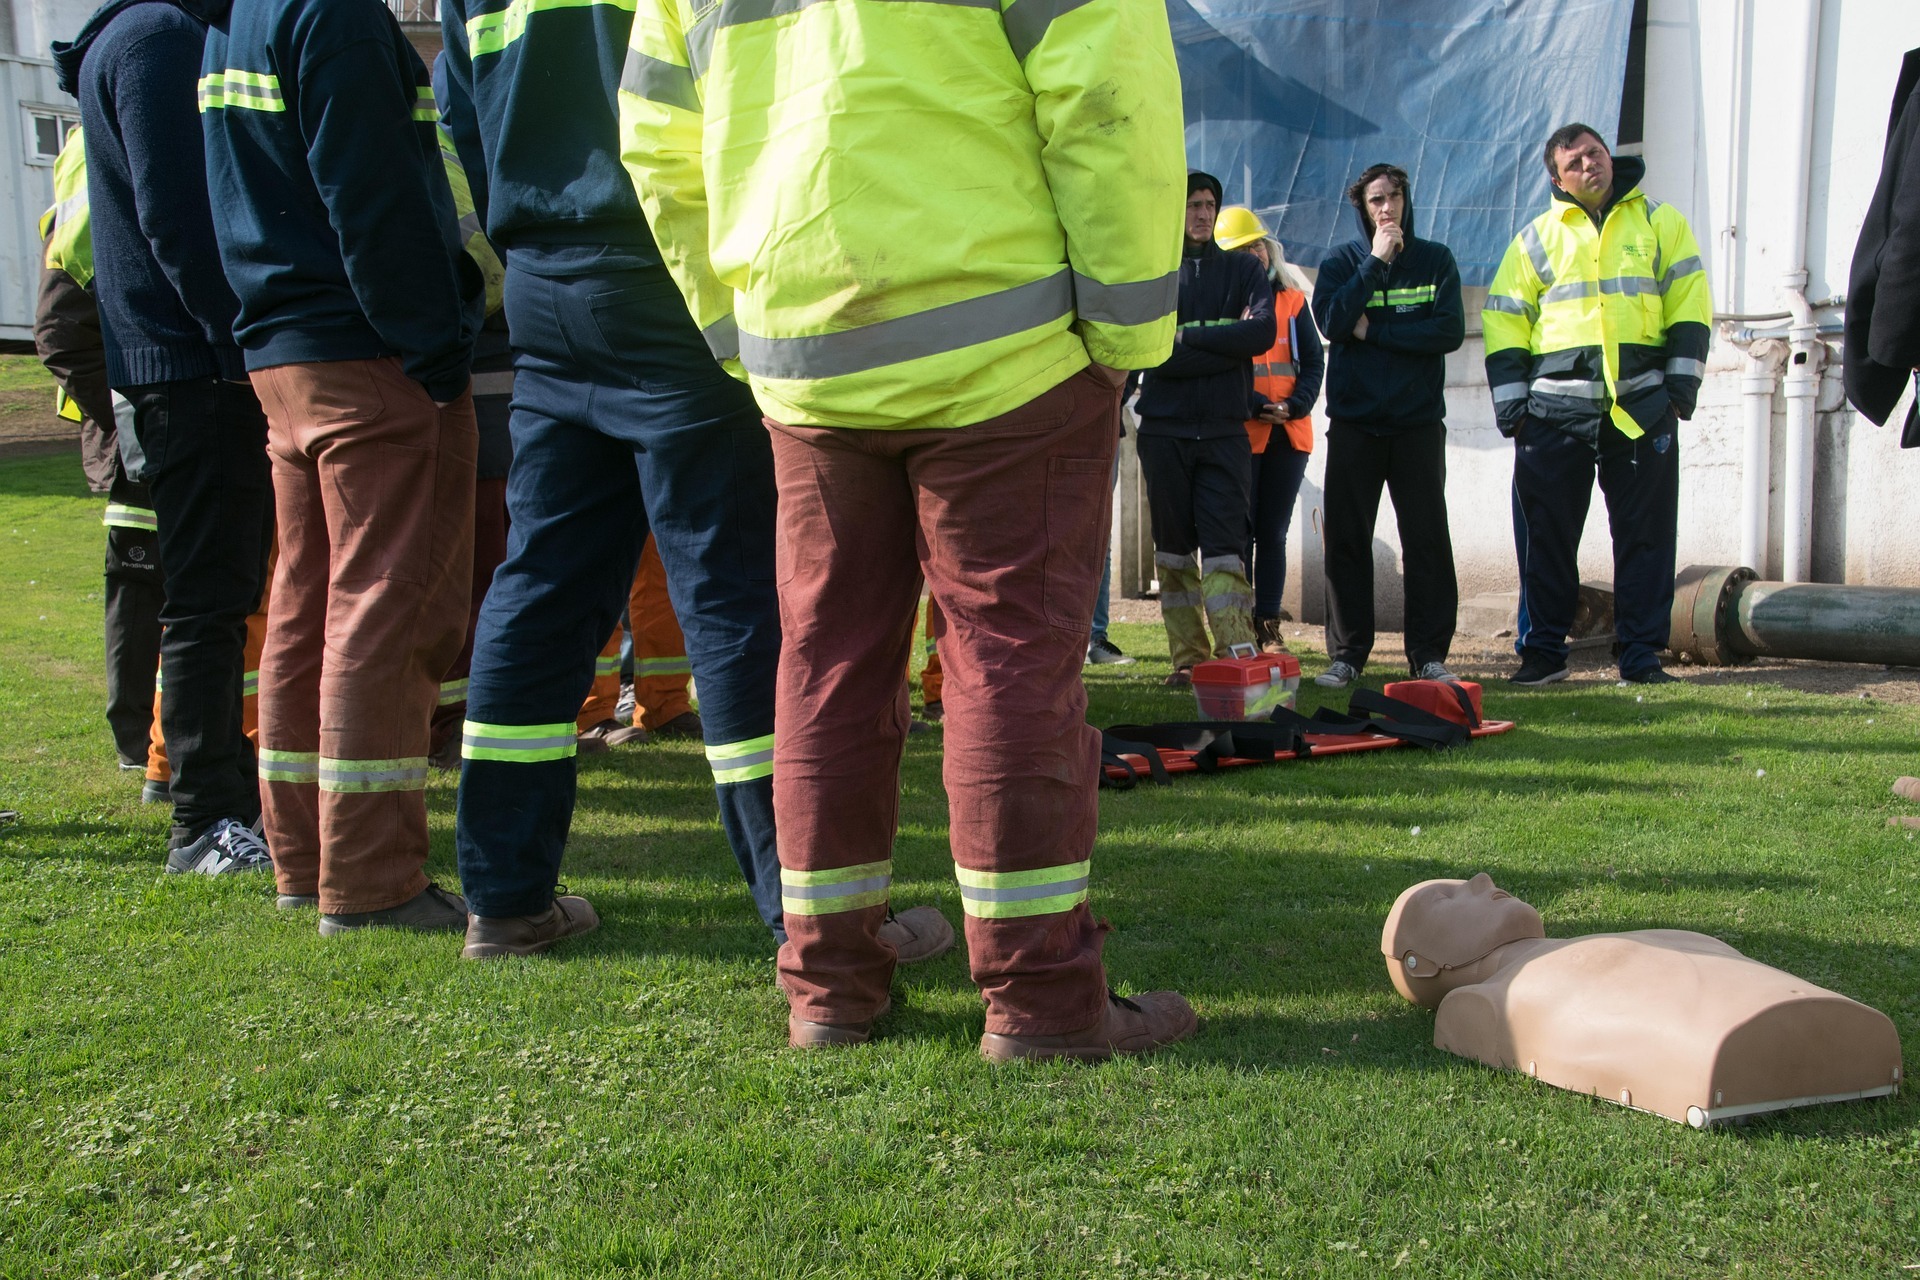
Where is the first-aid equipment?
How would you communicate?
Where is the nearest suitable access point for assistance?
What information would emergency services need?
Planning these things beforehand can reduce confusion if an incident occurs.
Review After the Activity
A risk assessment can be improved by what you learn during the activity.
Afterwards, ask:
“Did anything happen that we hadn’t anticipated?”
“Did our controls work?”
“Was supervision positioned effectively?”
“Did weather or conditions change?”
“Would we organise anything differently next time?”
Update your planning where necessary.
The purpose of reviewing isn’t to create more paperwork.
It’s to make future activities better.
A Simple Risk Assessment Example
Imagine you’re planning a Scout woodland navigation activity.
You might identify:
Hazard: Uneven ground and tree roots.
Risk: Trips and falls.
Controls: Appropriate footwear, route selection, sensible pace and supervision.
Hazard: Road near the activity area.
Risk: Participant entering traffic.
Controls: Clear boundary, briefing, appropriate adult positioning and controlled crossing arrangements.
Hazard: Changing weather.
Risk: Cold, wet or reduced visibility.
Controls: Weather check, suitable clothing, altered route or cancellation if conditions become unsuitable.
Hazard: Group separation.
Risk: A participant becomes lost or unsupervised.
Controls: Clear boundaries, group-management arrangements, regular checks and agreed procedures if someone becomes separated.
The exact controls will depend on the activity and location.
The example demonstrates the process rather than providing a template to copy without thought.
A Practical Risk Assessment Structure
For many activities, a simple structure is enough to organise your thinking.
Activity: What are we doing?
Location: Where is it happening?
Hazard: What could cause harm?
Who could be affected: Who is exposed to the hazard?
Risk: What could happen?
Existing controls: What are we already doing?
Further controls: What else is needed?
Responsible person: Who needs to make sure the control happens?
Review: When or under what circumstances will we reassess it?
This gives you a useful framework without turning the process into unnecessary paperwork.
Common Risk Assessment Mistakes
One common mistake is copying an old risk assessment without checking whether it still applies.
The activity may be similar, but the location, weather, equipment or group may have changed.
Another mistake is listing hazards without identifying realistic controls.
“Fire – burns” doesn’t tell a leader what to do.
A more useful assessment considers how the fire will be managed, who will supervise it, where participants will stand and how it will be extinguished.
Another mistake is assuming that once the document has been completed, the risk assessment is finished.
Outdoor leaders need to remain aware of changing conditions.
Keep the Risk Assessment Proportionate
Not every activity requires the same level of planning.
A simple indoor activity involving low levels of risk should not require the same process as a remote outdoor expedition.
The more significant the hazards, the greater the need for detailed planning, appropriate competence and suitable controls.
Think about the activity honestly rather than trying to make every risk assessment look identical.
Involve Young People Where Appropriate
Risk awareness is itself a useful Scout skill.
For suitable activities, ask young people what hazards they can identify.
Before a hike, for example, ask:
“What do you think we need to watch out for today?”
They may identify traffic, weather, uneven ground, water or getting separated from the group.
This helps develop the habit of noticing hazards rather than relying entirely on adults to point them out.
For younger sections, keep the discussion simple and age-appropriate.
Safety
Risk assessment should support, not replace, appropriate safety procedures, supervision, training, competence and organisational requirements.
For Scout activities, leaders should follow the current rules, guidance and activity requirements that apply to their organisation, section and location.
Higher-risk activities may require specific qualifications, competent supervision, equipment or procedures.
Do not rely on a generic risk assessment for specialist activities.
If circumstances change significantly, stop and reassess rather than continuing simply because the original plan was approved.
Where a hazard cannot be adequately controlled, the safest decision may be to change or cancel the activity.
Learning Outcomes for Leaders
Developing good risk-assessment habits can help leaders:
Final Thought for Leaders
A risk assessment shouldn’t be something you complete and then forget about.
It should help you think clearly about the activity you’re actually going to run.
Good risk management doesn’t mean removing every element of challenge.
It means understanding the hazards, putting sensible controls in place and staying alert to what is happening around you.
Sometimes the result will be carrying on as planned.
Sometimes it will mean changing the route, moving indoors or increasing supervision.
And sometimes the right decision will be to stop.
Being willing to make that decision is an important part of responsible outdoor leadership.
🔒Ready to test your survival skills?
Join Survival Guides UK for free, complete challenges, earn badges and increase your Survival Level.
JOIN FREE →
CRAIG BURR
FOUNDER · SURVIVAL GUIDES UK
I'm Craig, the person behind Survival Guides UK. I created SGUK because I wanted somewhere people could learn real outdoor skills in a practical, straightforward way — from lighting a fire and tying knots to navigation, campcraft and everything in between.
You can read more about the story behind SGUK here as well as our approach here.