60-Minute Activity Plan: The Missing Kit Mystery
A fast-moving team activity where young people investigate a fictional outdoor incident, study clues, remember details and work out what happened. It needs very little equipment and can be adapted easily for Beavers, Cubs or Scouts.
Activity Overview
Time: 60 minutes
Group size: 6–24 young people
Suitable for: Beavers, Cubs and Scouts
Location: Indoors or outdoors
Main skills: Observation, communication, memory, teamwork and problem-solving
The scenario is simple: a piece of important expedition equipment has gone missing. Teams become the investigation crew and must work out what happened by examining a collection of clues.
The activity deliberately combines different types of challenge. Young people first have to observe carefully, then remember information, discuss possibilities and finally make a decision based on the evidence.
The aim isn’t to produce a complicated mystery. It’s to encourage young people to slow down, notice details and explain why they think something happened.
What You’ll Need
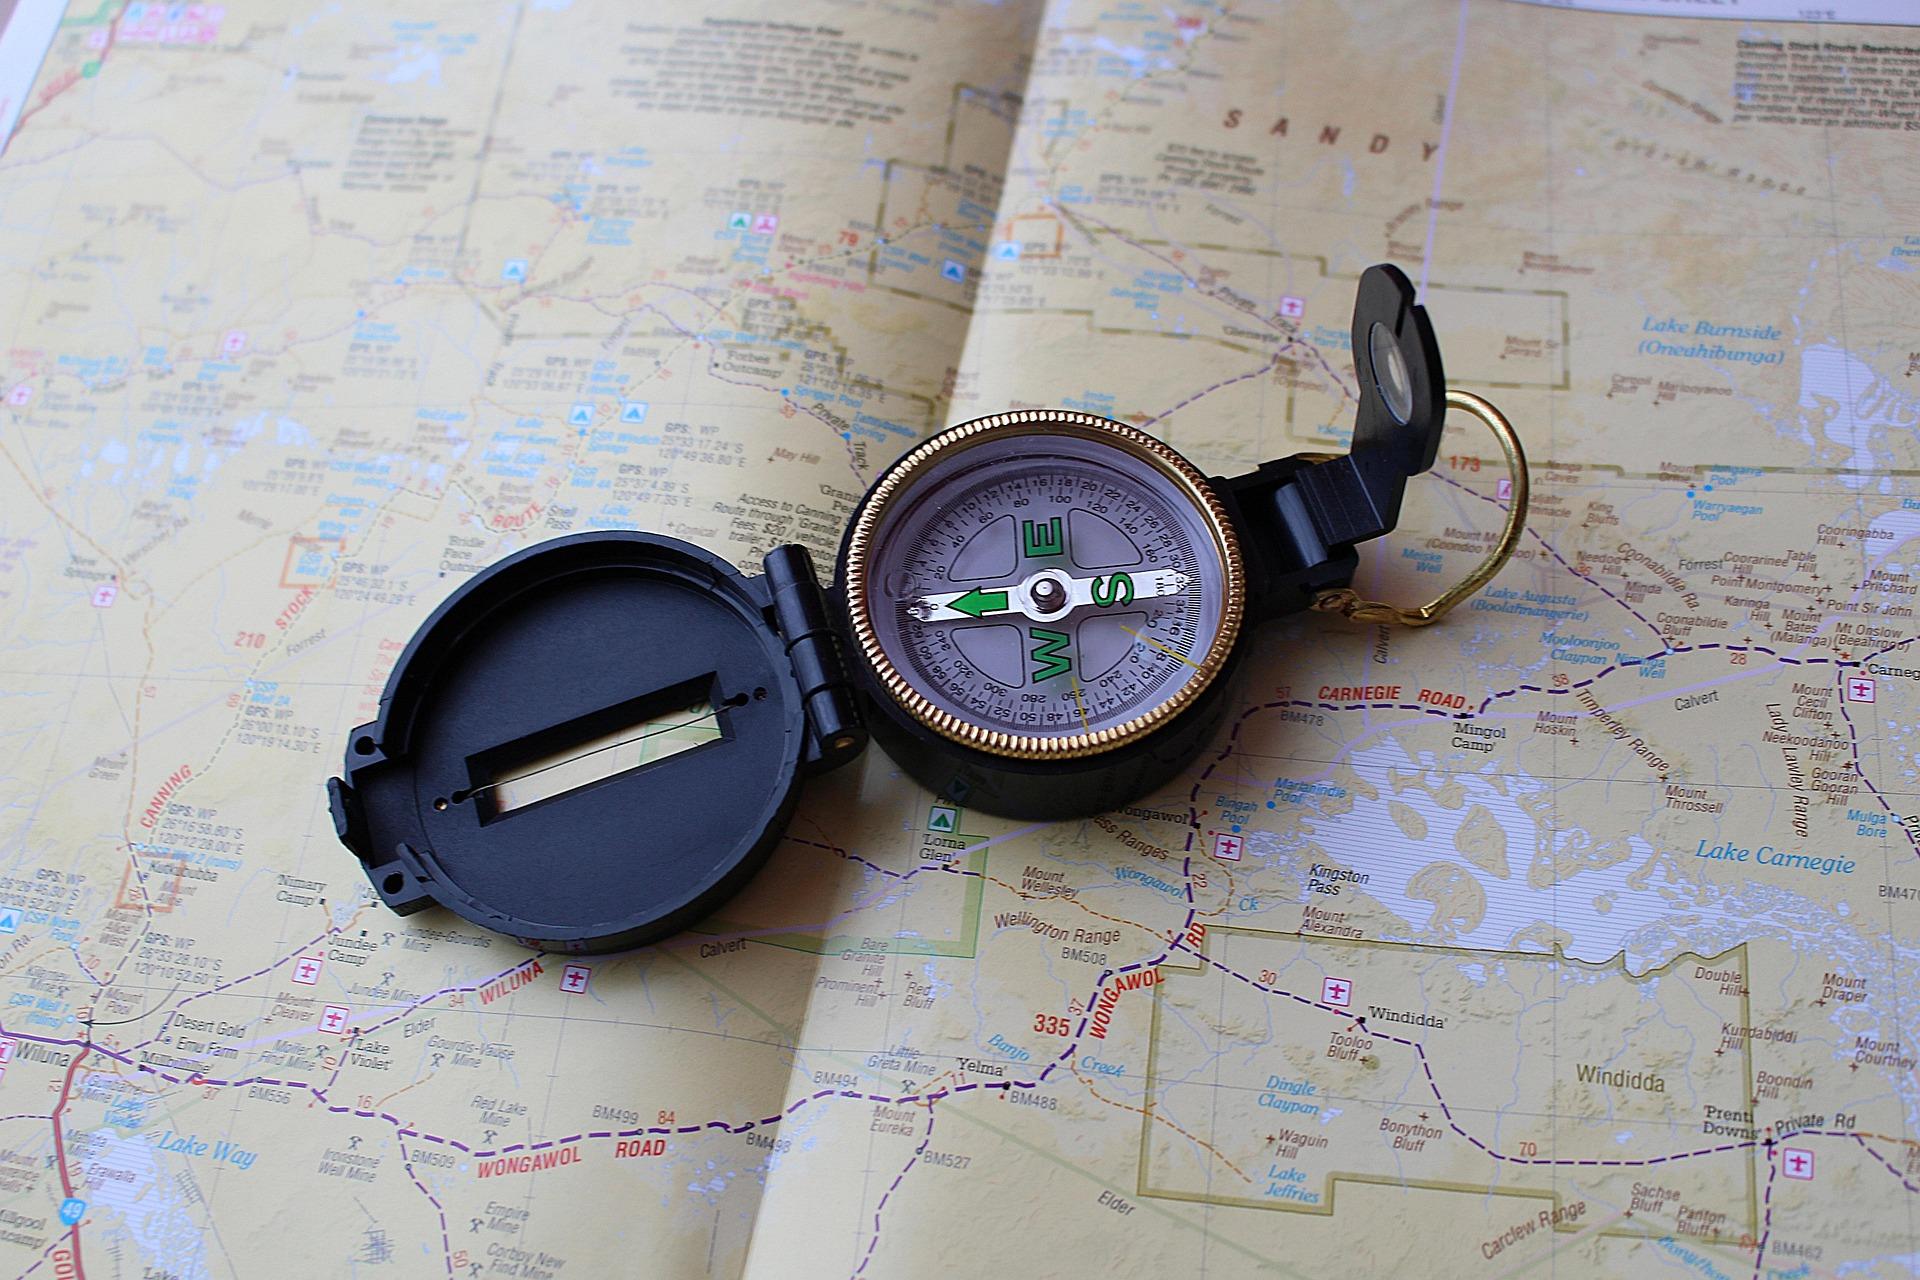
You’ll need a selection of ordinary outdoor items such as a rucksack, water bottle, map, torch, mug, compass, waterproof jacket or first-aid kit.
You’ll also need several pieces of paper or cards to act as clues. These might contain short statements, times, locations, simple sketches or descriptions.
The easiest way to prepare the activity is to create a fictional story beforehand. For example, a group was preparing for a walk when their emergency torch disappeared. Several people had been near the kit, but only some of the clues are relevant.
Keep the story simple enough that the youngest participants can follow it.
Before You Start
Set up a small “scene” using the equipment. Don’t hide things excessively; the challenge is observation rather than an elaborate treasure hunt.
Place around six clues where teams can find them. A few should be useful, while others can simply provide background information. Avoid making the clues deliberately misleading or confusing.
Before the young people arrive, decide what actually happened. Write this down for yourself so you can judge the teams’ conclusions later.
For example:
The torch was not stolen. It was moved from the rucksack to the equipment table because someone thought it was broken. Another person then packed it into a different bag by mistake.
There can be several possible explanations, but only one should fit all the clues.
Safety
This is a low-risk activity, but normal activity-area supervision still applies.
Make sure the equipment used as clues doesn’t create trip hazards. If the activity takes place outdoors, keep the investigation area within the normal boundaries of your meeting place and make sure young people know where they are allowed to go.
Avoid using real emergency equipment, medication or anything that needs to remain immediately accessible as part of the mystery.
If you use a compass, map or other outdoor equipment, remind young people that the items are being used for the activity and should be treated carefully.
0–10 Minutes: Set the Scene
Bring everyone together and introduce the mystery.
You could say:
“Something has gone missing from our expedition kit. Nobody knows exactly what happened. Your job is to investigate the evidence and work out what happened.”
Show the group the equipment but don’t allow them to touch anything yet.
Give them a minute or two simply to look.
Then ask:
“What do you notice?”
Take a few answers, but don’t confirm whether observations are important.
Explain that good investigators don’t immediately jump to conclusions. They collect information first.
Split the group into small teams if numbers allow.
10–25 Minutes: The Observation Challenge
Give each team a short period to inspect the scene.
For younger groups, allow them to walk around the area and write down or tell a leader what they notice.
For Cubs and Scouts, make it more challenging. Give them perhaps two minutes to study the scene and then take them somewhere they can’t see it.
Ask questions such as:
The point isn’t to catch them out. The questions should reward careful observation.
Afterwards, reveal the scene again and allow them to check their answers.
This is a useful opportunity to talk briefly about how easy it is to assume that we have noticed something simply because we were looking at it.
25–40 Minutes: Follow the Clues
Now introduce the written clues.
Give each team the same set, or place them around the room for teams to collect.
The clues might say things such as:
“At 7:10, Alex was packing the rucksack.”
“The torch was seen on the equipment table after the group returned.”
“Nobody used the torch during the walk.”
“The blue rucksack belonged to Sam.”
“The equipment table was moved after the kit check.”
Some clues should connect together.
Encourage teams to lay their clues out and discuss them rather than simply reading them one at a time.
For younger children, read the clues aloud and help them put events into order.
Older Scouts can create a simple timeline showing what happened.
The important rule is that they must be able to explain their answer using the evidence.
40–52 Minutes: Make Your Case
Bring the teams together.
Each team gets a couple of minutes to decide what they think happened and prepare their explanation.
They don’t need to agree with the other teams.
Ask each team:
“What happened?”
Then ask:
“Which clues make you think that?”
This second question is the most important part of the activity.
If a team has reached the correct conclusion but can’t explain why, gently ask them to go back through the evidence.
If they’ve reached a different conclusion, don’t immediately tell them they’re wrong. Ask whether their explanation accounts for all the clues.
This turns the final stage into a reasoning exercise rather than simply a race to guess the answer.
52–60 Minutes: Reveal and Reflect
Reveal what actually happened.
Then spend a few minutes discussing the investigation.
Ask the group:
“Which clue was most useful?”
“Was there anything you noticed at the beginning that turned out to be important?”
“Did anyone make an assumption that changed later?”
Finish by connecting the activity to real outdoor situations.
When you’re camping, hiking or dealing with an unexpected problem, it can be tempting to immediately decide what has happened. Taking a moment to observe, gather information and compare the evidence can lead to a much better decision.
Adapting for Different Ages
Beavers
Keep the mystery very simple and use pictures as well as words. Instead of six written clues, use three or four picture clues.
The observation section can focus on remembering colours, positions and objects.
The main goal should be “Look carefully and tell us what you noticed.”
Cubs
Cubs can handle a slightly longer sequence of events and more written clues.
Give them a simple timeline to complete, or let them draw one themselves.
You can also deliberately include one clue that initially appears important but doesn’t actually affect the answer, encouraging them to think rather than simply collect information.
Scouts
Make the investigation more realistic.
Give Scouts conflicting witness statements and ask them to identify which information is reliable, which is uncertain and what they still need to know.
You could also introduce a second stage where they are allowed to ask the leader three questions about the incident. They must decide which questions will give them the most useful information.
That turns the activity into a more advanced exercise in information gathering and decision-making.
Leader Notes
The quality of the mystery matters more than its complexity.
Don’t create a puzzle so complicated that young people need to guess what the leader was thinking. Every important part of the solution should be supported by evidence they’ve been given.
It is also worth resisting the temptation to correct teams too quickly. If someone has made an incorrect assumption, asking “What makes you think that?” is often more valuable than simply giving them the answer.
You can easily create several versions of this activity using different scenarios. A missing piece of camping equipment, a mixed-up food box, an unexplained change to a route or a misplaced set of instructions can all work using the same basic idea.
For larger groups, consider giving each team a different part of the evidence. They then have to interview the other teams to build the complete picture. This makes communication a much bigger part of the activity.
Learning Outcomes
By the end of the activity, young people should have had opportunities to practise:
These are useful skills well beyond the game itself. Outdoor activities often involve making decisions with incomplete information, and learning to pause, observe and think things through is an important part of becoming more confident outdoors.
Final Thought for Leaders
A good activity doesn’t always need to involve running, building or competing.
Sometimes one of the most useful things you can teach young people is simply to stop and look properly.
The Missing Kit Mystery turns that idea into a game. It gives young people a reason to pay attention, encourages them to question their first assumptions and shows that a good answer is much stronger when you can explain how you reached it.
🔒Ready to test your survival skills?
Join Survival Guides UK for free, complete challenges, earn badges and increase your Survival Level.
JOIN FREE →
CRAIG BURR
FOUNDER · SURVIVAL GUIDES UK
I'm Craig, the person behind Survival Guides UK. I created SGUK because I wanted somewhere people could learn real outdoor skills in a practical, straightforward way — from lighting a fire and tying knots to navigation, campcraft and everything in between.
You can read more about the story behind SGUK here as well as our approach here.