How to Use a Whistle for Signalling
⚠️ SAFETY FIRST
A whistle is a signalling tool, not a substitute for calling emergency services.
If you are in immediate danger or someone is seriously injured, call 999 or 112 if you can.
If you become lost, stay calm, make yourself as safe as possible and use your whistle to attract attention. Don’t keep moving simply because you haven’t received an immediate response.
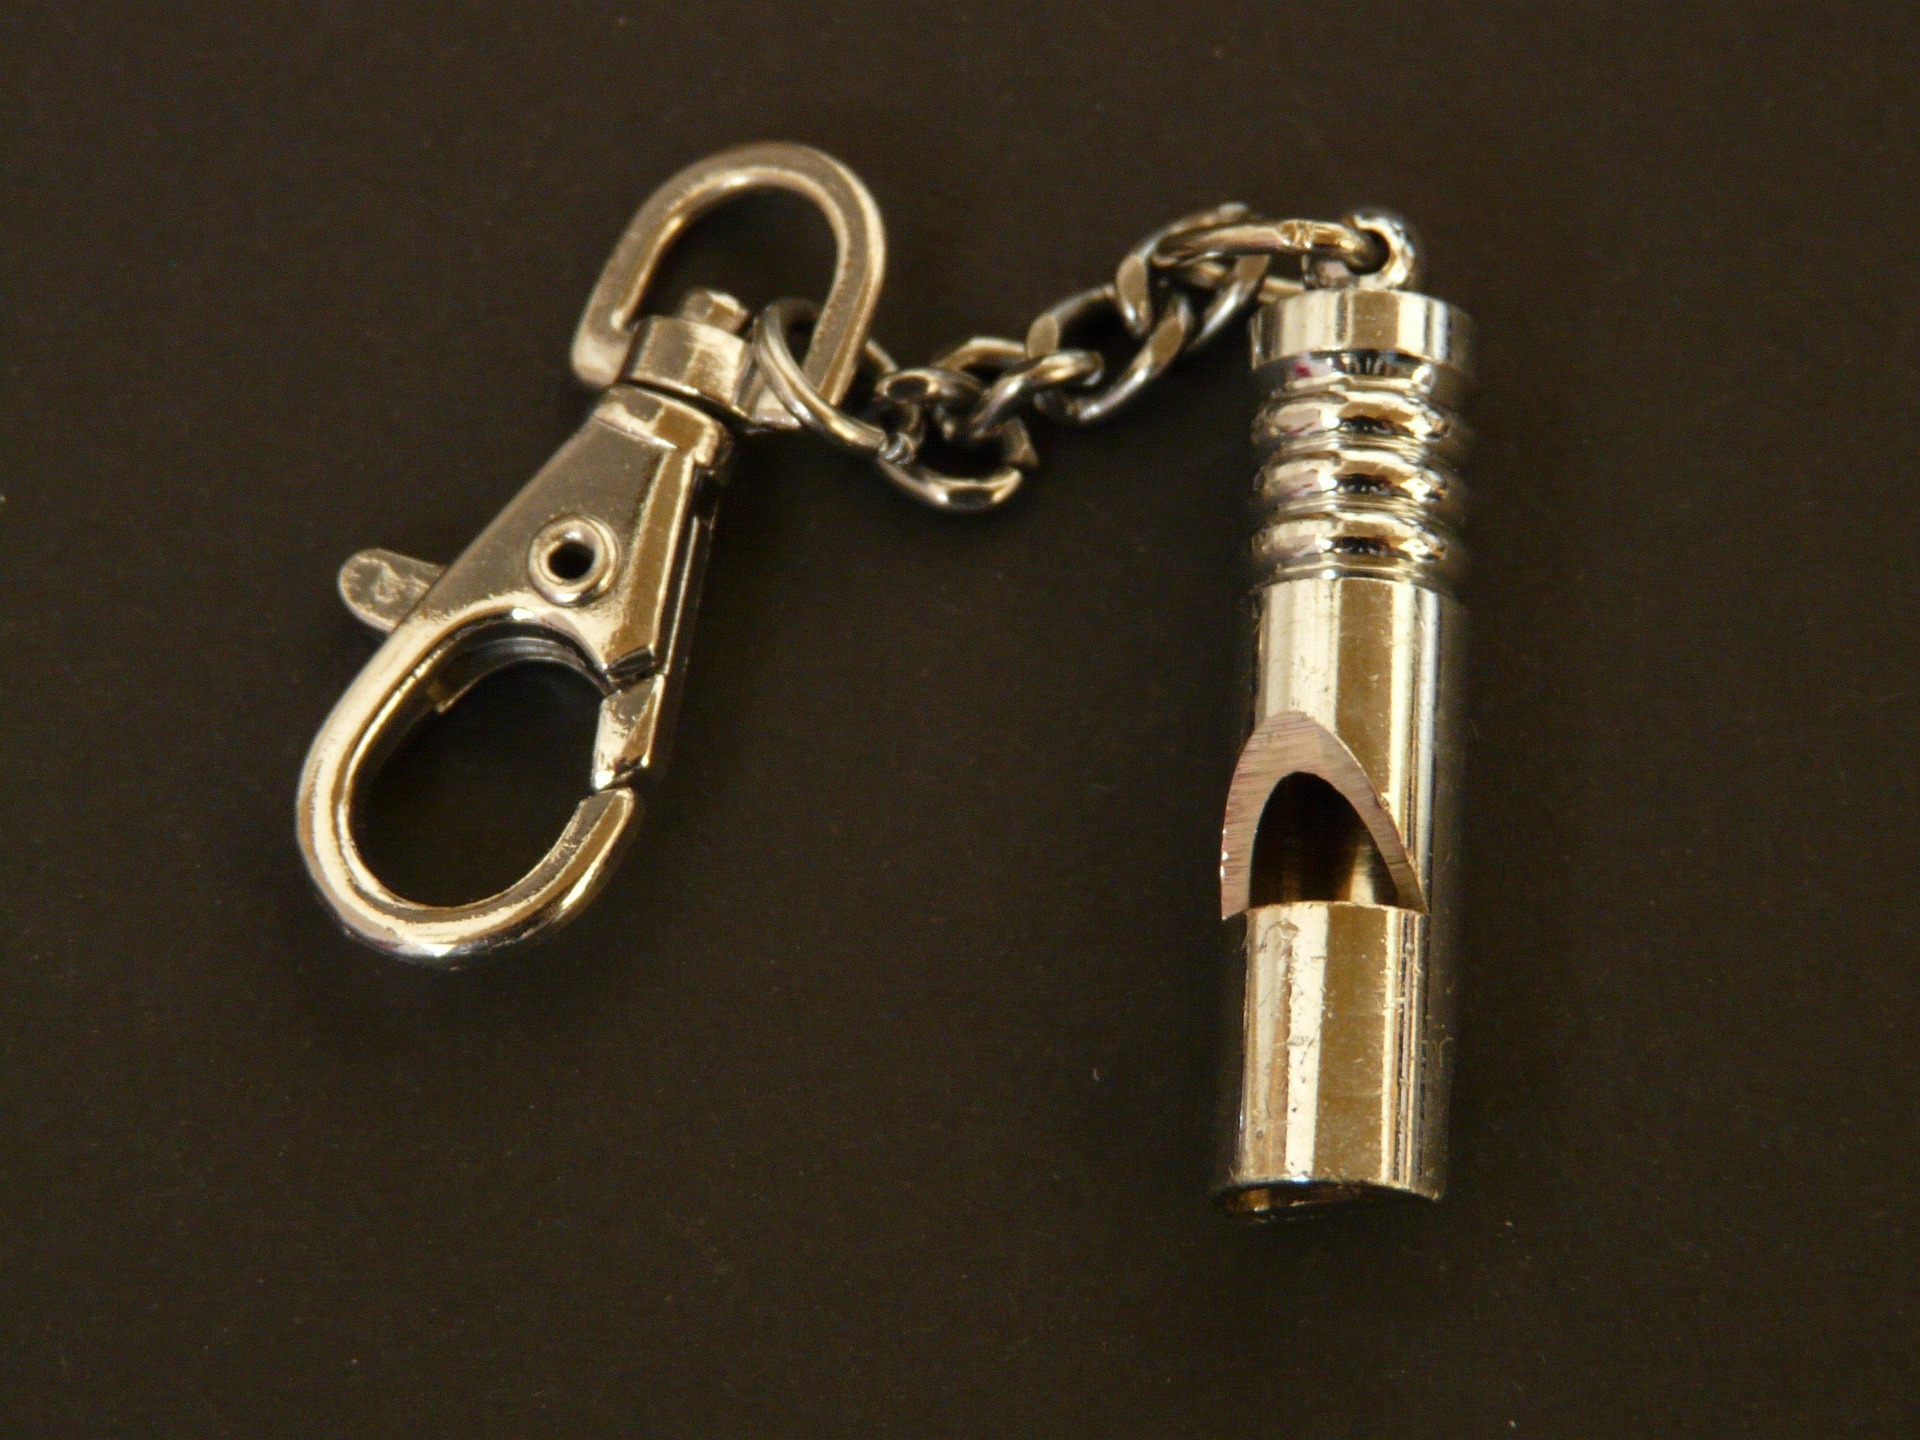
A whistle is one of the simplest pieces of emergency equipment you can carry outdoors.
It’s small.
It’s lightweight.
It doesn’t need batteries.
And, importantly, a whistle can make a much louder and more distinctive sound than shouting.
That makes it particularly useful if you’re lost, separated from your group or need to attract the attention of someone nearby.
For Scouts, learning how to use a whistle is a simple skill that can be practised almost anywhere.
Why Carry a Whistle?
If you become separated from your group, your first instinct might be to shout.
That’s understandable.
But shouting is tiring.
Your voice can become hoarse.
And sound doesn’t necessarily travel as well as you might expect outdoors.
A whistle allows you to produce a loud signal repeatedly without using nearly as much energy.
It can also help rescuers distinguish your signal from ordinary sounds in the environment.
SIMPLE SURVIVAL TOOL
A whistle weighs almost nothing but can be heard much further than a normal voice in many situations.
Keep one somewhere you can reach easily rather than buried at the bottom of your rucksack.
The Basic Distress Signal
A commonly taught outdoor distress signal is:
Six whistle blasts.
Pause.
Then repeat.
The pattern can be used to indicate that you need assistance.
If you’re using a whistle to attract attention, keep the pattern consistent rather than blowing randomly.
In some settings, particularly organised groups, you may be taught different whistle signals. Always follow the signalling system agreed by your group or activity leader.
Why Use a Pattern?
A single whistle could be mistaken for something else.
A repeated pattern is more noticeable.
It tells anyone listening:
“That sound is deliberate.”
This is particularly useful in woodland, hills or other environments where ordinary sounds can be difficult to identify.
If you’re signalling for help, give the signal and then listen.
Don’t continuously blow the whistle without stopping.
Don’t Blow It Constantly
One of the biggest mistakes is using the whistle continuously.
There’s usually no benefit in exhausting yourself by making a constant noise.
Instead:
Signal.
Stop.
Listen.
Signal again.
The quiet periods are important because they allow you to hear a response.
You might hear:
How Loud Should You Blow?
A whistle is designed to be loud.
You don’t need to blow it continuously at maximum effort.
Use short, deliberate blasts.
If you’re signalling over a long period, conserving your energy matters.
You may need to continue for some time before anyone reaches you.
What If Someone Responds?
If you hear a response, don’t immediately run towards it.
You don’t necessarily know exactly where the sound came from.
Sound can travel strangely through woodland, valleys and hills.
Stay in a safe location and continue communicating with the people searching for you.
If appropriate, answer with your agreed signal.
Your goal is to help them locate you rather than accidentally becoming harder to find.
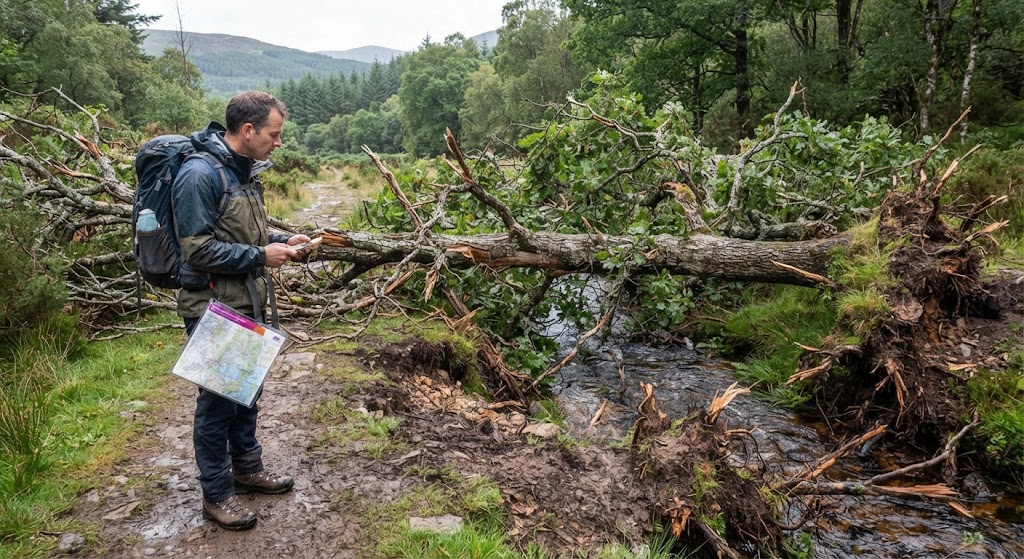
If You’re Lost
A whistle can be particularly useful if you’ve realised you’re lost.
The first step isn’t necessarily to start walking.
Stop.
Take a breath.
Think about where you last knew your location.
Check your map and navigation equipment if you have them.
If you can safely retrace your steps, consider doing so.
If you’re genuinely unsure where you are, staying in a safe location can make you easier to find than continuing to wander.
🧭 IF YOU’RE LOST
STOP
Think
Observe
Plan
Use your whistle to attract attention if appropriate and conserve your energy.
Don’t Wander Around Looking for Help
This is particularly important for children and young people.
If you’ve become separated from your group, wandering around can make the situation worse.
You may move further away from the people searching for you.
If your location is already known, staying put can make it much easier for others to find you.
There are exceptions, particularly if your current location is dangerous.
If you’re somewhere exposed to an immediate hazard, move to a safer nearby location where possible.
Use Your Whistle From a Safe Position
Don’t climb a tree, scramble onto a cliff or cross dangerous ground just because you think your whistle might be heard more clearly.
Your safety comes first.
A whistle is useful precisely because you can use it without putting yourself into additional danger.
What About Three Whistle Blasts?
You may have heard that:
Three blasts = distress.
This signal is widely taught in some outdoor and mountaineering contexts, while other groups teach six blasts.
There isn’t one universal whistle signal used everywhere.
For organised activities, the most important thing is to learn the signalling system being used by your group.
If you are alone and need to attract attention, a repeated, deliberate distress signal is more useful than relying on someone knowing one particular pattern.
Whistle Signals on Scout Activities
Scout groups may use whistles for more than emergencies.
A leader might use agreed whistle signals to communicate during activities.
For example, a group may have its own signals for:
These are different from general distress signals.
Make sure everyone understands the signals before an activity starts.
SCOUT TIP
Don’t assume every Scout group uses exactly the same whistle signals.
Agree the signals before the activity and make sure everyone knows what they mean.
Don’t Use Your Whistle as a Toy
A whistle is a safety tool.
Constantly blowing it for fun can cause problems.
Other people may start ignoring the sound.
You could also disturb wildlife or other visitors.
If you’re practising, do it at an appropriate location and under suitable supervision.
Once everyone knows the skill, save the whistle for when it’s actually needed.
Where Should You Carry It?
The best emergency equipment isn’t much use if you can’t reach it.
Attach your whistle somewhere accessible.
For example:
Avoid putting it at the bottom of your main bag.
If you’re separated from your group, you don’t want to unpack your entire rucksack before you can signal.
Don’t Rely on Your Whistle Alone
A whistle is one layer of your emergency equipment.
You should also consider appropriate navigation and communication equipment for the activity.
For a longer or more remote walk, that might include:
The exact equipment depends on the activity and environment.
Whistle vs Shouting
A whistle has several advantages over shouting.
You can make a loud signal repeatedly without exhausting your voice as quickly.
It also creates a distinctive sound.
But shouting can still be useful.
If you know someone is close by, calling their name may be more effective than blowing a whistle.
Use whichever method makes sense for the situation.
Whistle Signalling in Woodland
Woodland can make navigation and signalling difficult.
Trees can block your view and make it difficult to judge where sounds are coming from.
If you’re lost in woodland, stay calm.
Use your whistle from a safe location.
Listen carefully between signals.
Don’t assume that the direction you think a whistle or shout came from is necessarily accurate.
Whistle Signalling in Open Country
On open hills and moorland, sound can travel a long way.
Wind can also make it difficult to hear.
Position yourself somewhere safe and sheltered from obvious hazards if possible.
Use your signal consistently and listen carefully for a response.
Don’t move towards an unknown sound if doing so would take you into dangerous terrain.
Whistle Signalling Near Water
Water can make sounds difficult to judge.
Rivers, lakes and coastal areas can also contain serious hazards.
Never put yourself in danger trying to get closer to someone you think you can hear.
If someone is in the water, don’t enter the water yourself unless you are trained and it is safe to do so.
Use your whistle to attract attention and get appropriate help.
A Simple Scout Whistle Activity
Teaching whistle signalling doesn’t need to be complicated.
Take Scouts somewhere suitable and establish an agreed boundary.
Give each Scout a whistle.
Start with simple exercises.
Ask them to practise a short signal.
Then have one person move to a safe location where they cannot be seen.
The rest of the group has to use sound to work out where they are.
You can then introduce different scenarios:
Someone is separated from the group.
Someone needs attention.
Someone needs emergency assistance.
The activity teaches an important lesson:
Good signalling isn’t just about making noise. It’s about communicating clearly.
Teach Scouts to Listen
Signalling activities often focus entirely on making the noise.
Listening is just as important.
After every signal, stop.
Listen.
Look.
Think.
You might hear a response that tells you help is nearby.
This is also a useful outdoor skill generally.
Being quiet for a moment can reveal information that you would miss while talking or moving.
Final Thoughts
A whistle is a tiny piece of equipment that can provide a big advantage in an emergency.
It can help you attract attention without exhausting your voice and can make it easier for others to locate you.
But knowing how to use one is more than simply blowing it as loudly as possible.
Use a recognised or agreed signal.
Pause and listen.
Stay in a safe location.
Conserve your energy.
And don’t move into danger simply because you haven’t received a response.
Most importantly, remember that a whistle is one part of your safety equipment, not a replacement for good preparation, navigation or emergency communication.
THE BIG IDEA
Signal clearly. Stop and listen. Stay safe.
Carry your whistle where you can reach it quickly, learn your group’s signals and practise using it before you actually need it.
A small whistle could make a very big difference when someone needs to find you.
🔒Ready to test your survival skills?
Join Survival Guides UK for free, complete challenges, earn badges and increase your Survival Level.
JOIN FREE →
CRAIG BURR
FOUNDER · SURVIVAL GUIDES UK
I'm Craig, the person behind Survival Guides UK. I created SGUK because I wanted somewhere people could learn real outdoor skills in a practical, straightforward way — from lighting a fire and tying knots to navigation, campcraft and everything in between.
You can read more about the story behind SGUK here as well as our approach here.