Half-Day Activity Plan: The Ultimate Outdoor Survival Challenge
A practical half-day survival activity for Scouts combining navigation, shelter, teamwork, observation, problem-solving and outdoor decision-making.
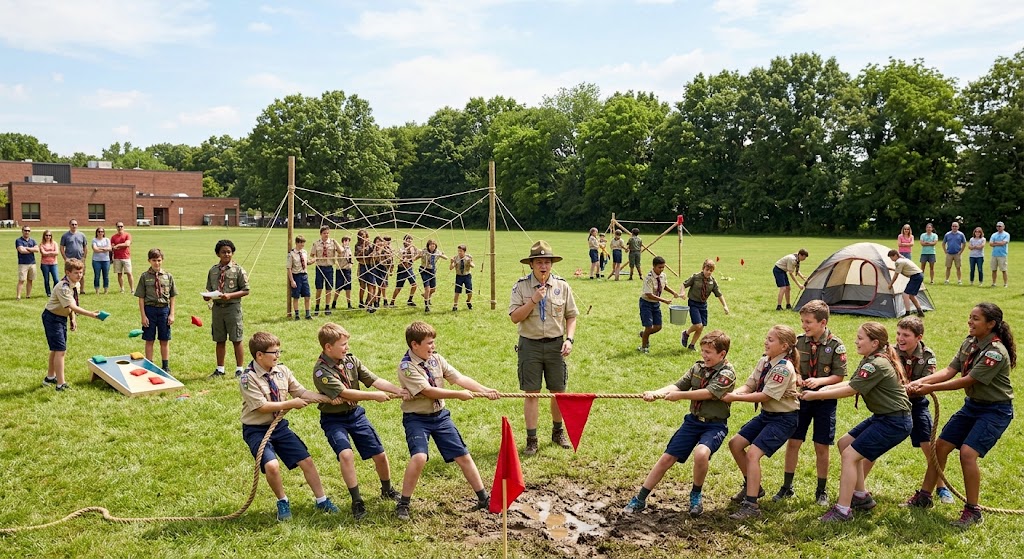
This is designed as a larger activity that can fill a substantial morning or afternoon without feeling like one long game. Teams move through a series of connected challenges, with each stage contributing to a final expedition scenario.
Activity Overview
Duration: Approximately 3–4 hours
Group size: 8–30 young people
Suitable for: Cubs and Scouts, with simpler challenges for Beavers
Location: Suitable outdoor site with a mixture of open and sheltered areas
Main skills: Navigation, campcraft, survival priorities, teamwork, observation, communication and problem-solving
The activity works best when presented as one continuous mission.
Teams have been given responsibility for completing an imaginary expedition. They must navigate between activity areas, collect information and complete practical challenges along the way.
The final challenge brings everything together.
Rather than competing purely on speed, teams earn points for good decisions, teamwork, safe working and successful completion.
Before You Start
Choose an area that you know well and can safely supervise.
Set up several activity stations around the site. They don’t need to be far apart; the navigation element can use a simple map showing where the stations are located.
Prepare:
Create teams of approximately four to six young people.
Give each team a scorecard and explain that their objective isn’t simply to finish first.
A team that rushes, ignores instructions or takes unnecessary risks should score less than a team that works carefully.
Safety
Carry out an appropriate risk assessment for the location, weather, equipment and planned activities.
Establish clear boundaries before the activity begins. Young people should know which areas are out of bounds and where leaders will be positioned.
Do not deliberately make participants lost or place them in situations where they cannot quickly return to a leader.
Any navigation element should take place within a controlled area appropriate to the group’s experience.
If using tarps, ropes or poles, inspect all equipment beforehand and prevent unsafe climbing or unstable structures.
Don’t use untreated natural water for drinking.
If a fire or stove activity is added, use appropriate supervision, equipment and procedures.
Keep teams within the agreed supervision arrangements throughout the session.
Weather should be monitored throughout the activity, with the session adapted or stopped if conditions become unsuitable.
0–15 Minutes: The Expedition Briefing
Gather everyone together and introduce the scenario.
Tell the group:
“Your team has been asked to complete an outdoor expedition. Along the way you’ll encounter problems that require practical skills and good decisions. Your job isn’t to be the fastest team. Your job is to make the best decisions.”
Give each team its equipment and scorecard.
Explain that they will need to visit several checkpoints.
At each checkpoint they will receive a new challenge.
Don’t reveal every challenge at the beginning.
This keeps the activity feeling like an expedition rather than a collection of unrelated games.
15–40 Minutes: Navigation Mission
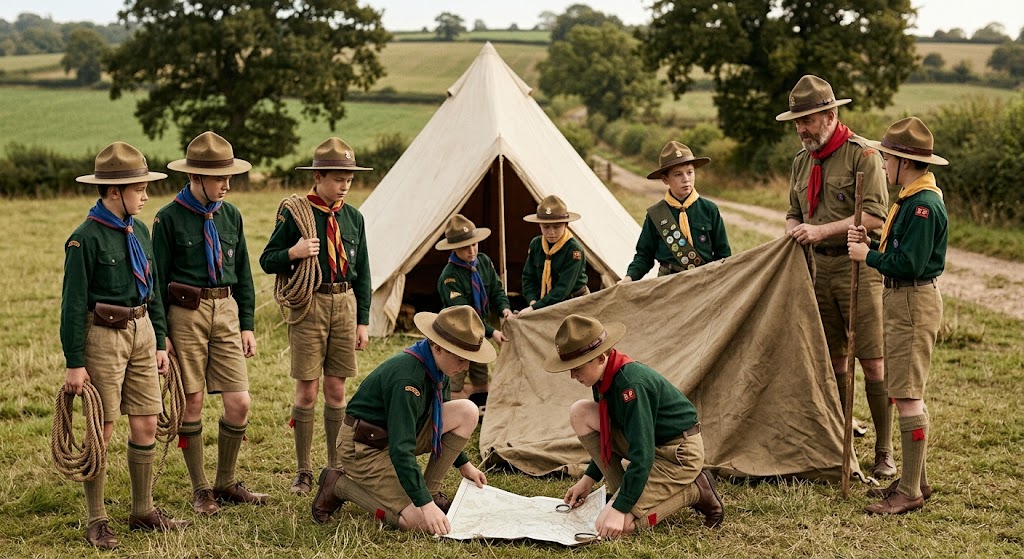
Give each team a simple map showing several checkpoints.
Teams must work out the route they want to take.
For Cubs, use obvious landmarks and simple map features.
For Scouts, introduce grid references, bearings or route-choice decisions appropriate to their experience.
At each checkpoint, they collect a piece of information.
For example, they might receive:
A weather update
A piece of equipment
A map clue
A survival priority
A message
The team needs all of these later.
The purpose isn’t to turn the activity into a race.
Encourage teams to stop, check their map and communicate before moving.
40–65 Minutes: Survival Priorities
Bring teams to a central activity area.
Give each team a fictional situation:
“Your group has become delayed during an expedition. The weather is deteriorating and you aren’t going to reach your planned destination as quickly as expected.”
Give them a selection of equipment cards.
They must decide what they would use first.
Include useful items alongside distractions.
For example:
A tarp.
A first-aid kit.
A compass.
Food.
Water.
A torch.
Extra clothing.
Rope.
A phone.
A whistle.
Ask teams to explain their priorities.
The important lesson is that survival isn’t simply about having the most equipment.
It’s about using what you have sensibly.
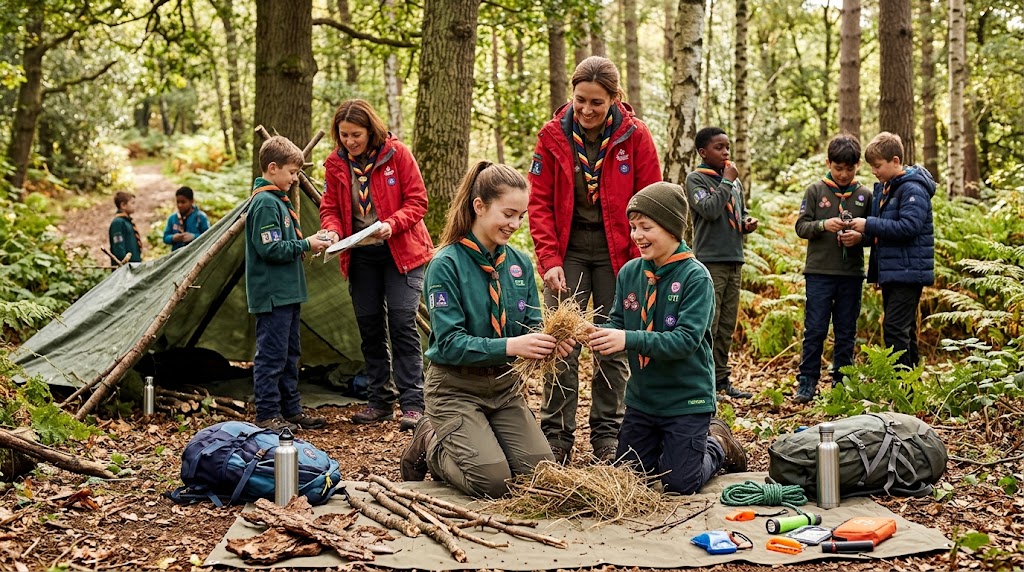
65–95 Minutes: Shelter Challenge
Now introduce the practical challenge.
Tell teams:
“Conditions have changed. Your group needs a temporary shelter while you reassess the situation.”
Give each team a tarp and rope.
Their task is to construct a simple shelter suitable for their fictional situation.
Before they start building, ask them to identify:
Where the shelter should go.
Which direction it should face.
How they will keep it stable.
How the team will use the space.
Give them approximately 20 minutes.
For Scouts, award additional points for planning before construction.
For Cubs, provide a simple example or demonstrate a basic arrangement first.
Inspect shelters before allowing anyone to use them.
95–110 Minutes: Break and Expedition Review
Take a short refreshment and toilet break.
Use this opportunity to ask teams to review their progress.
Ask:
“What has your team done well?”
Then:
“What would you change if you started again?”
Don’t make this a formal debrief yet.
The aim is to give young people a chance to reset before the next stage.
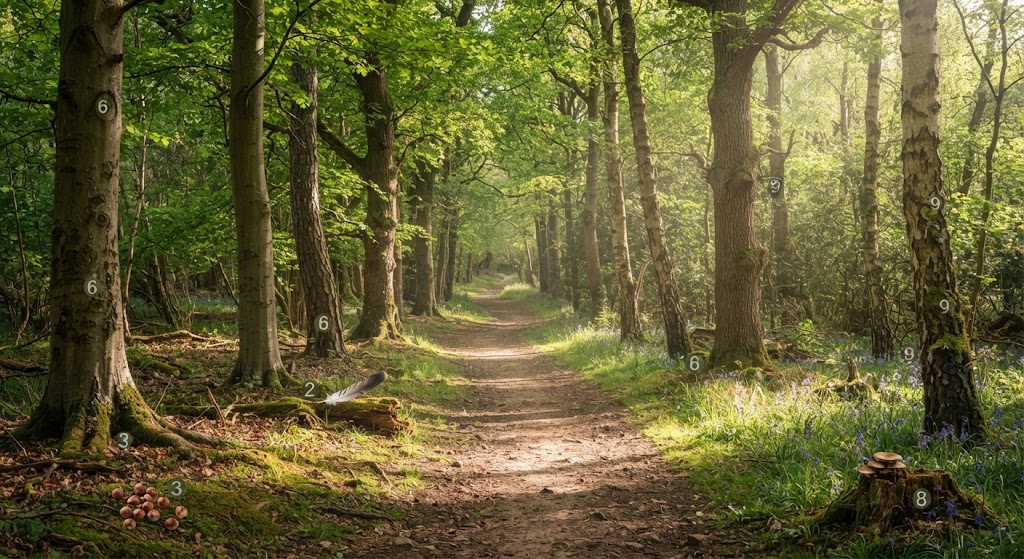
110–135 Minutes: The Observation Challenge
Move the teams to a different area.
Explain that their next task is about noticing things that other people might miss.
Set up a controlled observation area containing a mixture of natural and artificial objects.
For example:
A piece of rope.
A boot print.
A coloured marker.
A leaf from a different area.
A piece of camping equipment.
A deliberately moved object.
Teams have a limited time to study the area.
Then remove or change several things.
Teams must identify what has changed.
For younger groups, use obvious objects.
For Scouts, make the changes subtle.
This develops observation skills that are useful for navigation and outdoor awareness without pretending that young people can track people or animals perfectly from tiny clues.
135–155 Minutes: Emergency Communication
Give teams a fictional incident.
For example:
“A member of your group has injured their ankle and cannot continue walking normally.”
The team must decide what information a leader needs.
Ask them to prepare a short message containing:
Who needs help.
What has happened.
Where they are.
What the group has already done.
What they need next.
For Cubs, have them deliver the message directly to a leader.
For Scouts, introduce a map and ask them to give a clear location as part of their message.
The emphasis should be on clear information rather than dramatic role-play.
155–180 Minutes: The Final Expedition Challenge
Bring everything together.
Give teams their final scenario:
“The weather has deteriorated. One person is tired, your original route is no longer suitable and you need to decide what happens next.”
Give each team the information they collected throughout the afternoon.
They must create a plan.
Their plan should cover:
Where they are.
What their immediate priorities are.
Where they will go or whether they should remain where they are.
How they will communicate.
What equipment they will use.
How they will keep the group together.
Give teams approximately 15 minutes to prepare.
Then each team presents its plan.
180–195 Minutes: Team Presentations
Give each team a few minutes to explain its decision.
Don’t focus only on whether the answer matches what you expected.
Instead, ask:
“Why did you choose that?”
“What information influenced your decision?”
“What could go wrong?”
“What would make you change your plan?”
This makes the final challenge about reasoning rather than finding a single correct answer.
195–210 Minutes: Final Review
Bring everyone together for the final debrief.
Ask the group which challenge they found most difficult.
Then ask which skill they think would be most useful on a real outdoor adventure.
Discuss how the different activities connected.
Navigation helped them understand where they were.
Observation helped them notice their surroundings.
Campcraft helped them create shelter.
Communication helped them work with others.
Decision-making helped them bring everything together.
Finish with:
“The best outdoor skill is being able to make a good decision before a problem becomes an emergency.”
Adapting for Different Ages
Beavers
Run a shorter and simpler version.
Use three main stations: navigation pictures, equipment choices and a basic shelter challenge.
Keep the scenario positive and avoid describing serious emergencies.
Focus on staying together, listening to leaders, recognising hazards and solving simple problems.
Cubs
Use the full structure but simplify the navigation.
Give Cubs clear checkpoints and straightforward map clues.
They can build a basic shelter, complete observation challenges and work through simple scenarios.
Give more points for teamwork and safe behaviour than technical skill.
Scouts
Make the activity progressively more independent.
Use proper maps, grid references and bearings where appropriate.
Give Scouts fewer instructions during the shelter challenge.
Introduce changing weather, equipment limitations and more complicated decision-making.
Ask them to justify their decisions throughout rather than simply completing tasks.
Leader Notes
The strength of a half-day activity is that it allows you to build a story around the skills.
Instead of saying, “Now we’re going to do knots”, the team has a reason to use rope.
Instead of saying, “Now we’re doing navigation”, they need navigation information to continue their expedition.
This makes the individual activities feel connected.
Don’t feel that every station needs to be competitive.
Some challenges are better used to develop confidence or introduce a new skill.
You can also run the activity with different scenarios throughout the year.
A summer version could involve heat, route changes and water planning.
A winter version could introduce shorter daylight, changing weather and clothing decisions.
Learning Outcomes
By the end of the activity, young people should have had opportunities to:
Equipment Checklist
For a group of approximately 20 young people, consider preparing:
Adjust quantities according to your group size and the activities you choose.
Final Thought for Leaders
A half-day activity gives you something that a short meeting often can’t: time for young people to make decisions, get things wrong, rethink them and try again.
That’s particularly valuable with outdoor skills.
The goal isn’t to produce young survival experts in one afternoon.
It’s to help young people become more observant, more prepared and more confident when something doesn’t go exactly according to plan.
If they finish the activity understanding that good preparation, teamwork and sensible decisions are more important than heroic survival tricks, the session has done its job.
🔒Ready to test your survival skills?
Join Survival Guides UK for free, complete challenges, earn badges and increase your Survival Level.
JOIN FREE →
CRAIG BURR
FOUNDER · SURVIVAL GUIDES UK
I'm Craig, the person behind Survival Guides UK. I created SGUK because I wanted somewhere people could learn real outdoor skills in a practical, straightforward way — from lighting a fire and tying knots to navigation, campcraft and everything in between.
You can read more about the story behind SGUK here as well as our approach here.