Advanced Stream Crossing Techniques
Crossing a stream can look simple until the water becomes deeper, faster or more unpredictable.
A shallow stream in calm conditions may present little difficulty, while the same watercourse after heavy rainfall can become a serious hazard.
Advanced stream crossing is therefore not about finding a clever way to get across. It is about assessing the water, choosing the safest route, knowing when not to cross and having a plan if something goes wrong.
What You’ll Learn
By the end of this lesson, you will understand:
- How to assess a stream before attempting a crossing
- How to choose a safer crossing point
- Why water depth and speed both matter
- How to assess the riverbed and banks
- How to cross while maintaining stability
- When group crossings may be appropriate
- How to recognise when a crossing should be abandoned
- What to do if someone loses their footing
Equipment
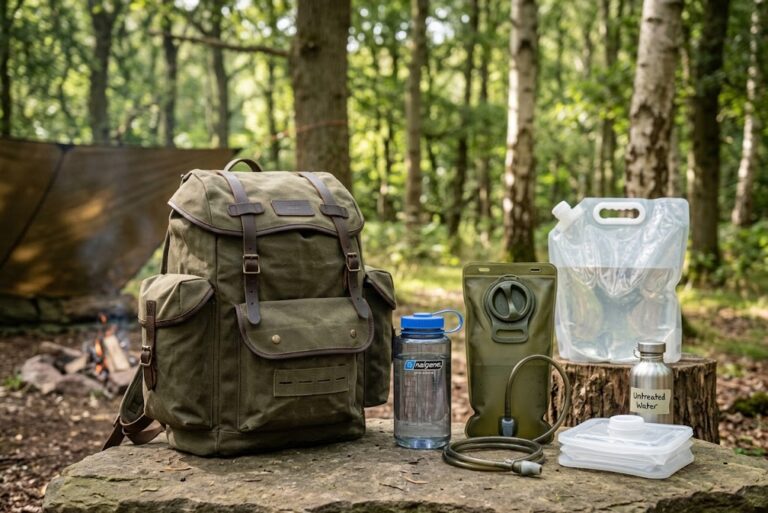
Depending on the journey, you may have:
- Walking poles
- Suitable outdoor footwear
- A waterproof map
- A dry bag
- A rucksack with adjustable straps
- A means of securing equipment
Do not treat specialist equipment as a substitute for good judgement.
Prerequisites
Before attempting an advanced stream crossing, you should already understand the basics of crossing shallow streams safely.
You should also be comfortable assessing water depth, flow, riverbanks and the surrounding terrain.
Stop and Assess First
Never rush straight into moving water.
Before approaching the crossing, stop and assess the entire area.
Look at:
- The width of the stream
- The apparent depth
- The speed of the current
- The riverbed
- The banks
- Obstacles
- Downstream hazards
- Possible alternative crossing points
- Whether another route avoids the water completely
The safest crossing is often the one that you do not need to make.
Look for an Alternative
Before crossing, look both upstream and downstream.
A few minutes of walking may reveal a narrower section, a bridge, a ford or another route that is substantially safer.
Do not assume that the narrowest-looking section is automatically the best place to cross.
A narrow channel can contain faster-moving water, deeper holes or an awkward riverbed.
Look for a section where the water is relatively shallow, the current is manageable and both banks provide stable access.
Understand Water Speed
Moving water becomes more difficult to deal with as its speed increases.
Fast-moving water can exert considerable force on your legs and body.
It can also make it harder to recover if you lose your footing.
Do not judge the difficulty of a crossing purely by its depth.
Shallow fast water can be more hazardous than deeper slow-moving water.
If the current is strong enough to make you uncertain about maintaining your footing, look for another route.
Check the Riverbed
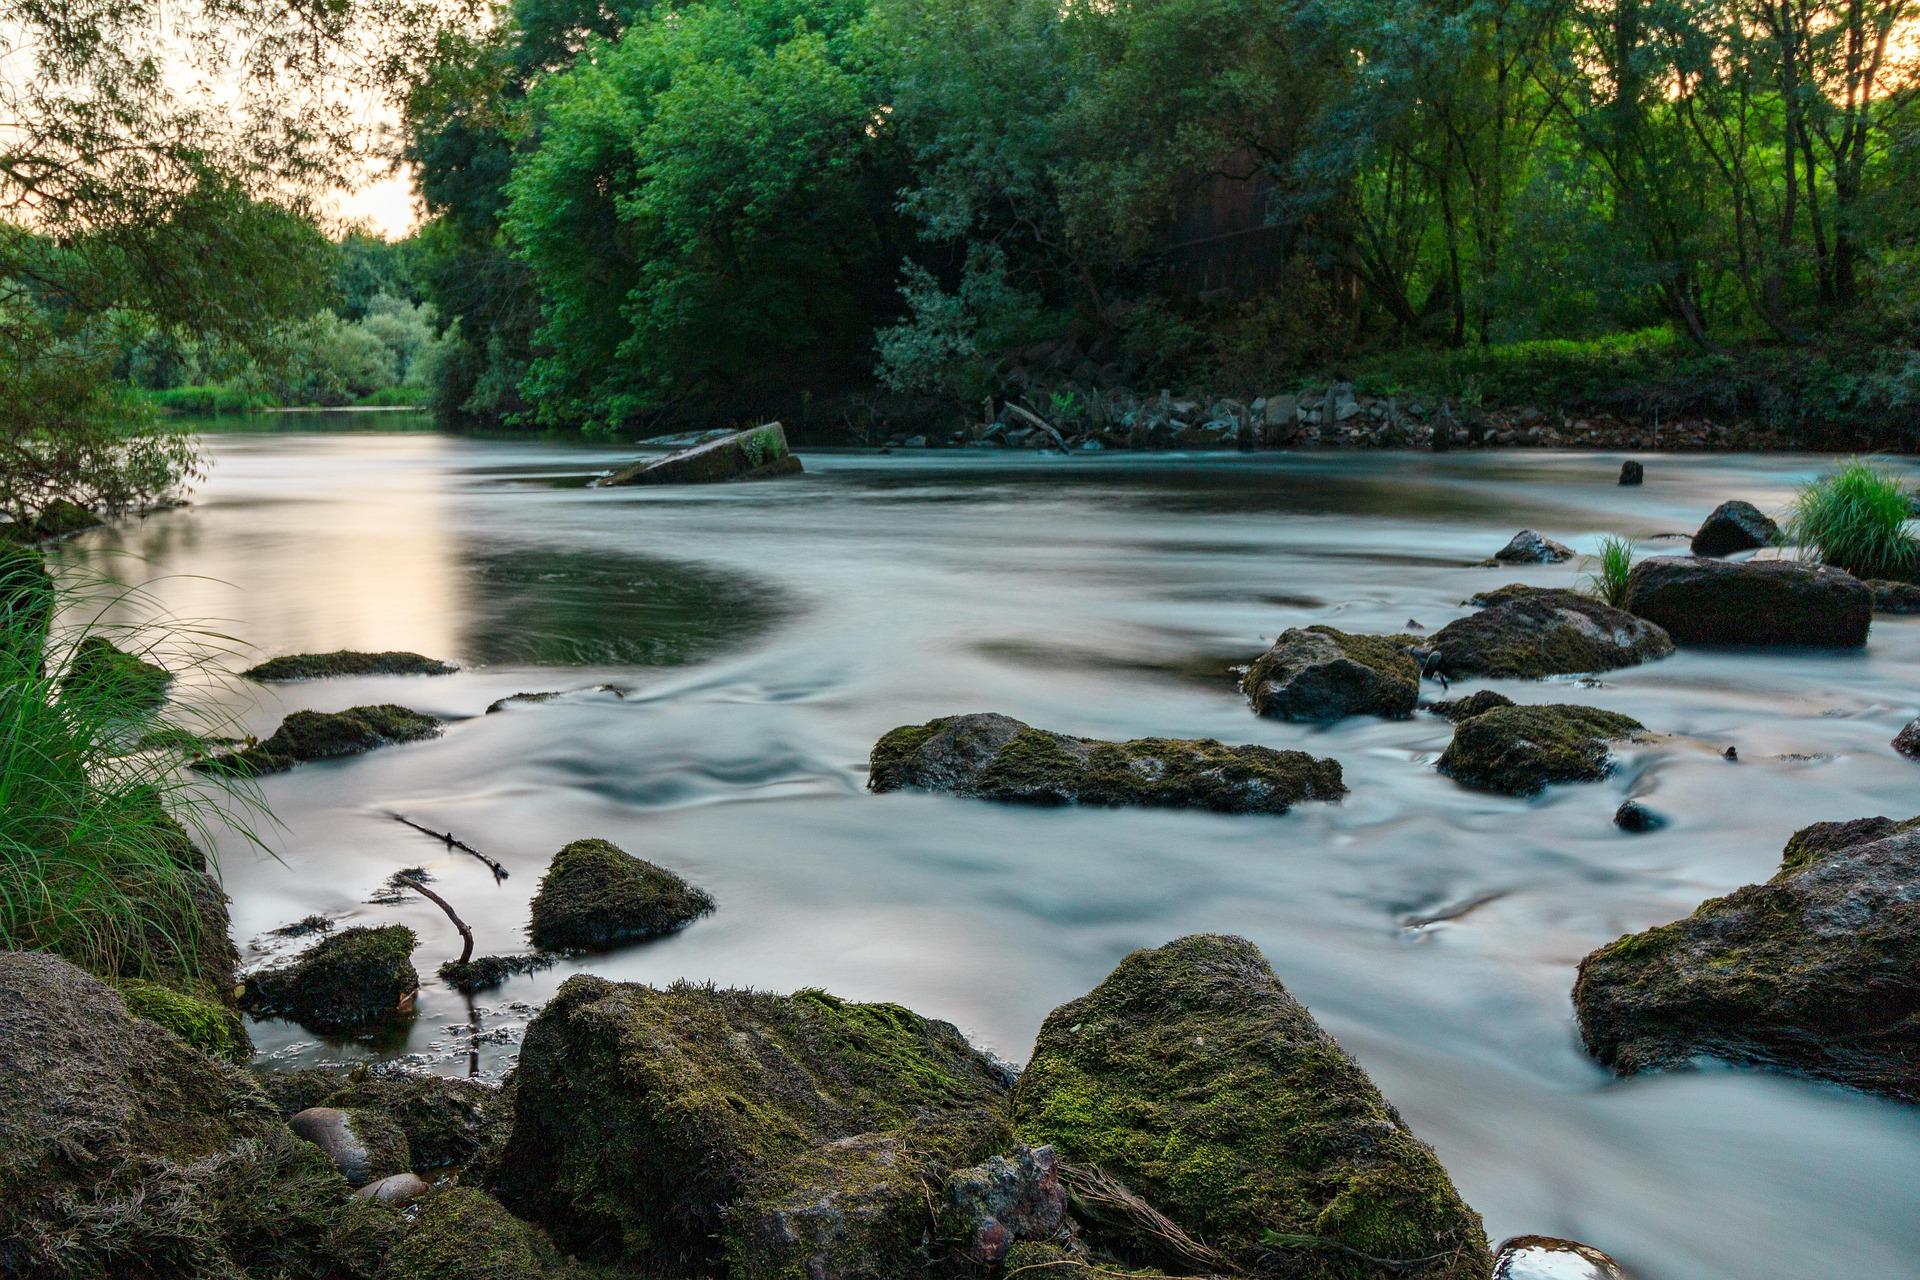
The riverbed is often hidden beneath the water.
What appears to be a smooth crossing may contain:
- Loose stones
- Large rocks
- Deep holes
- Mud
- Slippery surfaces
- Uneven ground
- Sudden changes in depth
Use a suitable pole to probe the bottom ahead of you where appropriate.
Do not rely on your eyes alone.
Assess the Banks
Getting into the water may be easy. Getting out can be the difficult part.
Check both sides before crossing.
Look for:
- Stable ground
- A gradual exit
- Muddy or slippery banks
- Steep edges
- Dense vegetation
- Loose rocks
- Undercut banks
A crossing point with an easy entry but dangerous exit is not a good crossing point.
Secure Your Equipment
Before entering the water, consider what would happen if you fell.
Loose equipment can make recovery more difficult.
For a rucksack, loosen or adjust the straps so that you can release it if necessary.
Keep important equipment secured against water where appropriate, using dry bags or suitable waterproof protection.
Do not allow straps or equipment to become entangled around you.
The objective is to make it easier to escape from your equipment rather than becoming trapped by it.
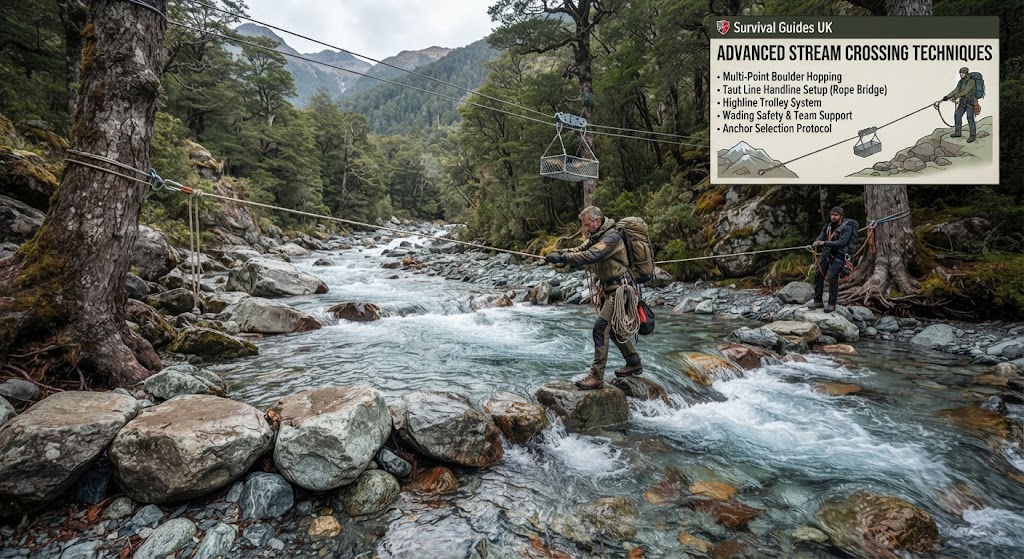
Use Three Points of Contact
When crossing manageable shallow water, aim to maintain stability.
This can mean having:
- Two feet and a pole in contact with the riverbed, or
- Two feet and another stable point of contact
Move deliberately rather than rushing.
Place your feet carefully and test each step before transferring your weight.
Face towards the flow where appropriate so that you can maintain awareness of the current.
Move Sideways, Not Directly Against the Current
When conditions are suitable for a crossing, moving across the stream at an angle can be more stable than attempting to walk directly against the current.
Keep your movements controlled.
Do not take large steps or jump between rocks.
Maintain your balance and continually reassess the depth and speed of the water.
If conditions change significantly during the crossing, do not continue simply because you have already started.
Do Not Cross Alone When the Risk Is Significant
An advanced crossing should not automatically become a solo challenge.
If the water is powerful, deep or difficult to assess, another person can provide additional support and help summon assistance if something goes wrong.
However, people should not form a human chain in fast-moving water simply because it appears to provide more support.
A person falling into the current can pull others off balance.
Group decisions should be based on the conditions rather than automatically assuming that more people in the water makes a crossing safer.
Consider the Downstream Area
Always look downstream before entering the water.
Ask:
If I fall here, where will the water take me?
Potential downstream hazards include:
- Waterfalls
- Rapids
- Weirs
- Rocks
- Fallen trees
- Deep pools
- Narrow channels
- Debris
- Bridges or other structures
A crossing that looks manageable can become unacceptable if a fall would carry someone directly towards a serious downstream hazard.
Beware of Weirs and Structures
Do not attempt to cross near weirs or other artificial structures.
Water can behave unpredictably around these features, and recirculating currents can create extremely dangerous conditions.
If your route encounters a weir, find a safer way around it.
Do not use the presence of a shallow-looking section below a weir as evidence that it is safe to cross.
Think About Recent Rainfall
Recent weather can completely change a familiar crossing.
Heavy rain can:
- Increase water depth
- Increase current speed
- Make the riverbed unstable
- Turn clear water into muddy water
- Make banks slippery
- Introduce debris
A crossing that was safe earlier in the day may no longer be suitable after significant rainfall.
If conditions have changed, reassess the crossing from the beginning.
When to Turn Back
There should be a clear point at which you decide not to cross.
Turn back and find another route if:
- You cannot confidently assess the depth
- The current is too strong
- The riverbed is unstable
- The exit is dangerous
- There are serious downstream hazards
- The water level is rising
- You have to fight against the current to remain stable
- Someone in the group is uncomfortable with the crossing
Turning around is not failure.
It is part of good route management.
What If You Lose Your Footing?
If you fall into moving water, your immediate priority is to protect your airway and avoid being trapped.
If possible, turn so that your feet point downstream while keeping your head above water.
Use your arms to help control your position and look for an opportunity to move towards the bank.
Do not try to stand immediately in fast-moving water if doing so could cause your feet to become trapped between rocks.
Once the water becomes shallow and the current is manageable, move towards the bank.
After reaching safety, check yourself and your equipment and reassess whether the crossing should continue.
If someone else falls in, do not automatically enter the water after them. A rescuer can quickly become a second casualty.
Use safer rescue options from the bank where possible and summon emergency assistance when necessary.
Practical Exercise
Do not practise advanced stream crossings by deliberately entering dangerous water.
Instead, choose a safe, shallow watercourse and practise assessment from the bank.
Before approaching the water, identify:
- The safest-looking crossing point
- The fastest-moving section
- The deepest-looking section
- Possible hazards downstream
- The safest entry point
- The safest exit point
- An alternative route if the crossing is unsuitable
Then imagine that the water level has risen significantly.
Would your decision change?
This exercise develops the most important advanced crossing skill: making the decision before you enter the water.
Final Tip
The strongest stream-crossing skill is knowing when not to cross.
Assess the whole watercourse, not just the point immediately in front of you. Consider depth, current, riverbed, banks, weather and downstream hazards.
If you cannot confidently identify a safe way across, find another route.
A successful crossing is not the one that gets you across the water. It is the one that gets you to the other side without unnecessarily putting yourself or anyone else in danger.
🔒Ready to test your survival skills?
Join Survival Guides UK for free, complete challenges, earn badges and increase your Survival Level.
JOIN FREE →
CRAIG BURR
FOUNDER · SURVIVAL GUIDES UK
I'm Craig, the person behind Survival Guides UK. I created SGUK because I wanted somewhere people could learn real outdoor skills in a practical, straightforward way — from lighting a fire and tying knots to navigation, campcraft and everything in between.
You can read more about the story behind SGUK here as well as our approach here.