Tent Guy Lines UK: How to Use and Adjust Guy Lines
Activity Overview
Difficulty: Easy
Time: 15–20 minutes to learn; ongoing during camping
Location: Campsites, woodland, hills and other outdoor camping areas
Best for: Cubs, Scouts, Explorers, Patrol Leaders, campers and outdoor enthusiasts
Skills: Tent pitching, knots, tensioning, campsite organisation and weather awareness
Tent guy lines are cords attached to a tent to help stabilise and tension the structure.
They are particularly useful in windy conditions because they help prevent the tent fabric from flapping excessively and can improve the stability of the tent.
Attach each guy line to the designated point on the tent, run it out at a suitable angle and secure it to a properly positioned peg. Adjust the tension so the line is firm without pulling the tent out of shape.
Guy lines should be visible, correctly tensioned and positioned where people won’t trip over them.
What You’ll Learn
You’ll learn what guy lines do, how to attach and tension them and how to position their pegs.
You’ll also learn how to use common tensioners and knots and how to adjust guy lines when weather conditions change.
🟢 SAFETY – LOW RISK
Guy lines can create a significant trip hazard, particularly around entrances and busy campsites.
Position them where people can see and avoid them.
Use suitable guy-line markers or brightly visible cord where appropriate, especially in low light.
Don’t place guy lines across paths or other areas where people are likely to walk.
In strong winds, don’t rely on guy lines alone. Make sure the whole tent is correctly pitched and secured.
Equipment
You’ll need a tent with guy-line attachment points, suitable guy lines and appropriate tent pegs.
Many modern tents already have guy lines attached.
A mallet can be useful for suitable pegs and ground conditions, although some pegs should be inserted by hand.
A small amount of spare cord can be useful for repairs or replacement.
Prerequisites
No previous experience is required.
It helps to know how to pitch your particular tent.
Before camping, identify the guy-line attachment points and practise adjusting the tensioners.
Instructions
1. Understand What Guy Lines Do
Guy lines transfer some of the forces acting on the tent to the ground.
They can help support poles and keep the flysheet correctly tensioned.
This is particularly useful when wind is pushing against the tent.
Guy lines aren’t simply decorative cords. When correctly positioned, they are part of the tent’s overall stability system.
2. Find the Guy-Line Attachment Points
Look around the flysheet for the points designed to accept guy lines.
These are usually reinforced areas connected to the tent structure or pole sleeves.
Only attach guy lines to appropriate points.
Don’t tie them randomly to zips, mesh panels or other parts of the tent that aren’t designed to take tension.
3. Extend the Guy Line
Run the guy line away from the tent towards the ground.
A suitable angle will depend on the tent design and the location of its attachment point.
Don’t stretch the line unnecessarily far.
You need enough distance to create useful tension while keeping the peg close enough to the tent that it doesn’t become an unnecessary obstacle.
4. Position the Peg
Place the peg in suitable ground and orient it according to the peg’s design and the direction of pull.
The peg should be secure and should not wobble excessively.
Avoid placing pegs in areas where they are likely to be pulled out by people walking through the campsite.
5. Tension the Guy Line
Use the tent’s built-in tensioner if it has one.
Pull the line until it is firm but don’t over-tighten it.
The aim is to support the tent rather than distort it.
If tightening a guy line causes the flysheet, pole or attachment point to bend noticeably out of shape, it is probably too tight or incorrectly positioned.
6. Check the Whole Tent
Guy lines work as part of the complete tent system.
Once you’ve tensioned them, look at the tent from several directions.
The flysheet should be reasonably smooth and clear of the inner tent where the design requires a gap.
Poles should remain correctly positioned and the tent should retain its intended shape.
7. Use All the Guy Lines You Need
You don’t necessarily need every guy line in calm weather.
However, in windy or changeable conditions, use the guy points recommended by the tent manufacturer.
For larger tents or exposed pitches, additional guying can make a significant difference.
Follow the tent’s specific pitching instructions rather than assuming that every guy point should always be used.
8. Adjust Guy Lines in Wind
Wind can change the tension in guy lines as the tent moves.
After pitching, check the lines again once the wind increases.
If necessary, adjust them so the tent remains correctly tensioned.
Don’t wait until the tent is already struggling in strong winds before checking the setup.
9. Don’t Over-Tension
More tension isn’t always better.
Excessive tension can put unnecessary stress on attachment points, fabric and poles.
It can also distort the tent and reduce its ability to move naturally in wind.
Aim for firm and supportive, not drum-tight.
10. Keep Guy Lines Visible
Guy lines can be surprisingly difficult to see, especially at night.
Use brightly coloured cord or suitable reflective sections where possible.
A headtorch can also help you identify lines around camp after dark.
Make sure everyone in the group knows where the guy lines are positioned.
11. Keep Entrances Clear
Avoid running guy lines across the natural route into and out of a tent.
If a guy point makes this unavoidable, make the line particularly visible and consider how people will move around it.
This is especially important for busy group camps.
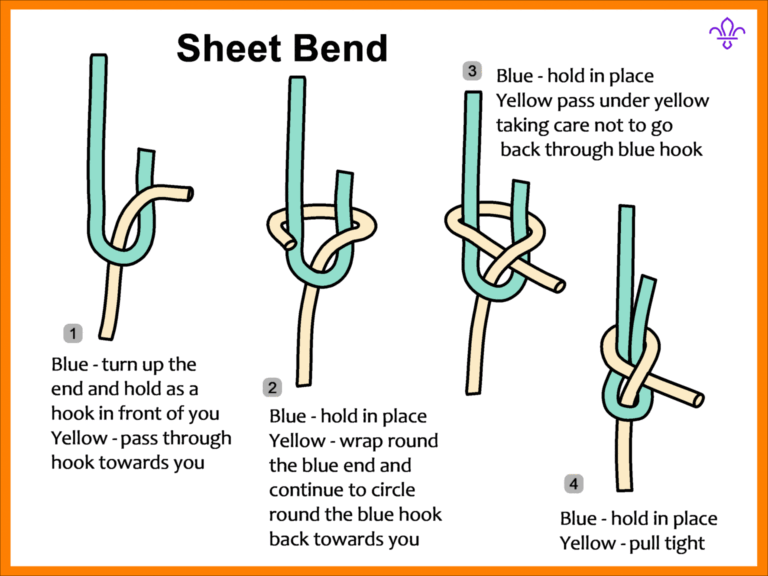
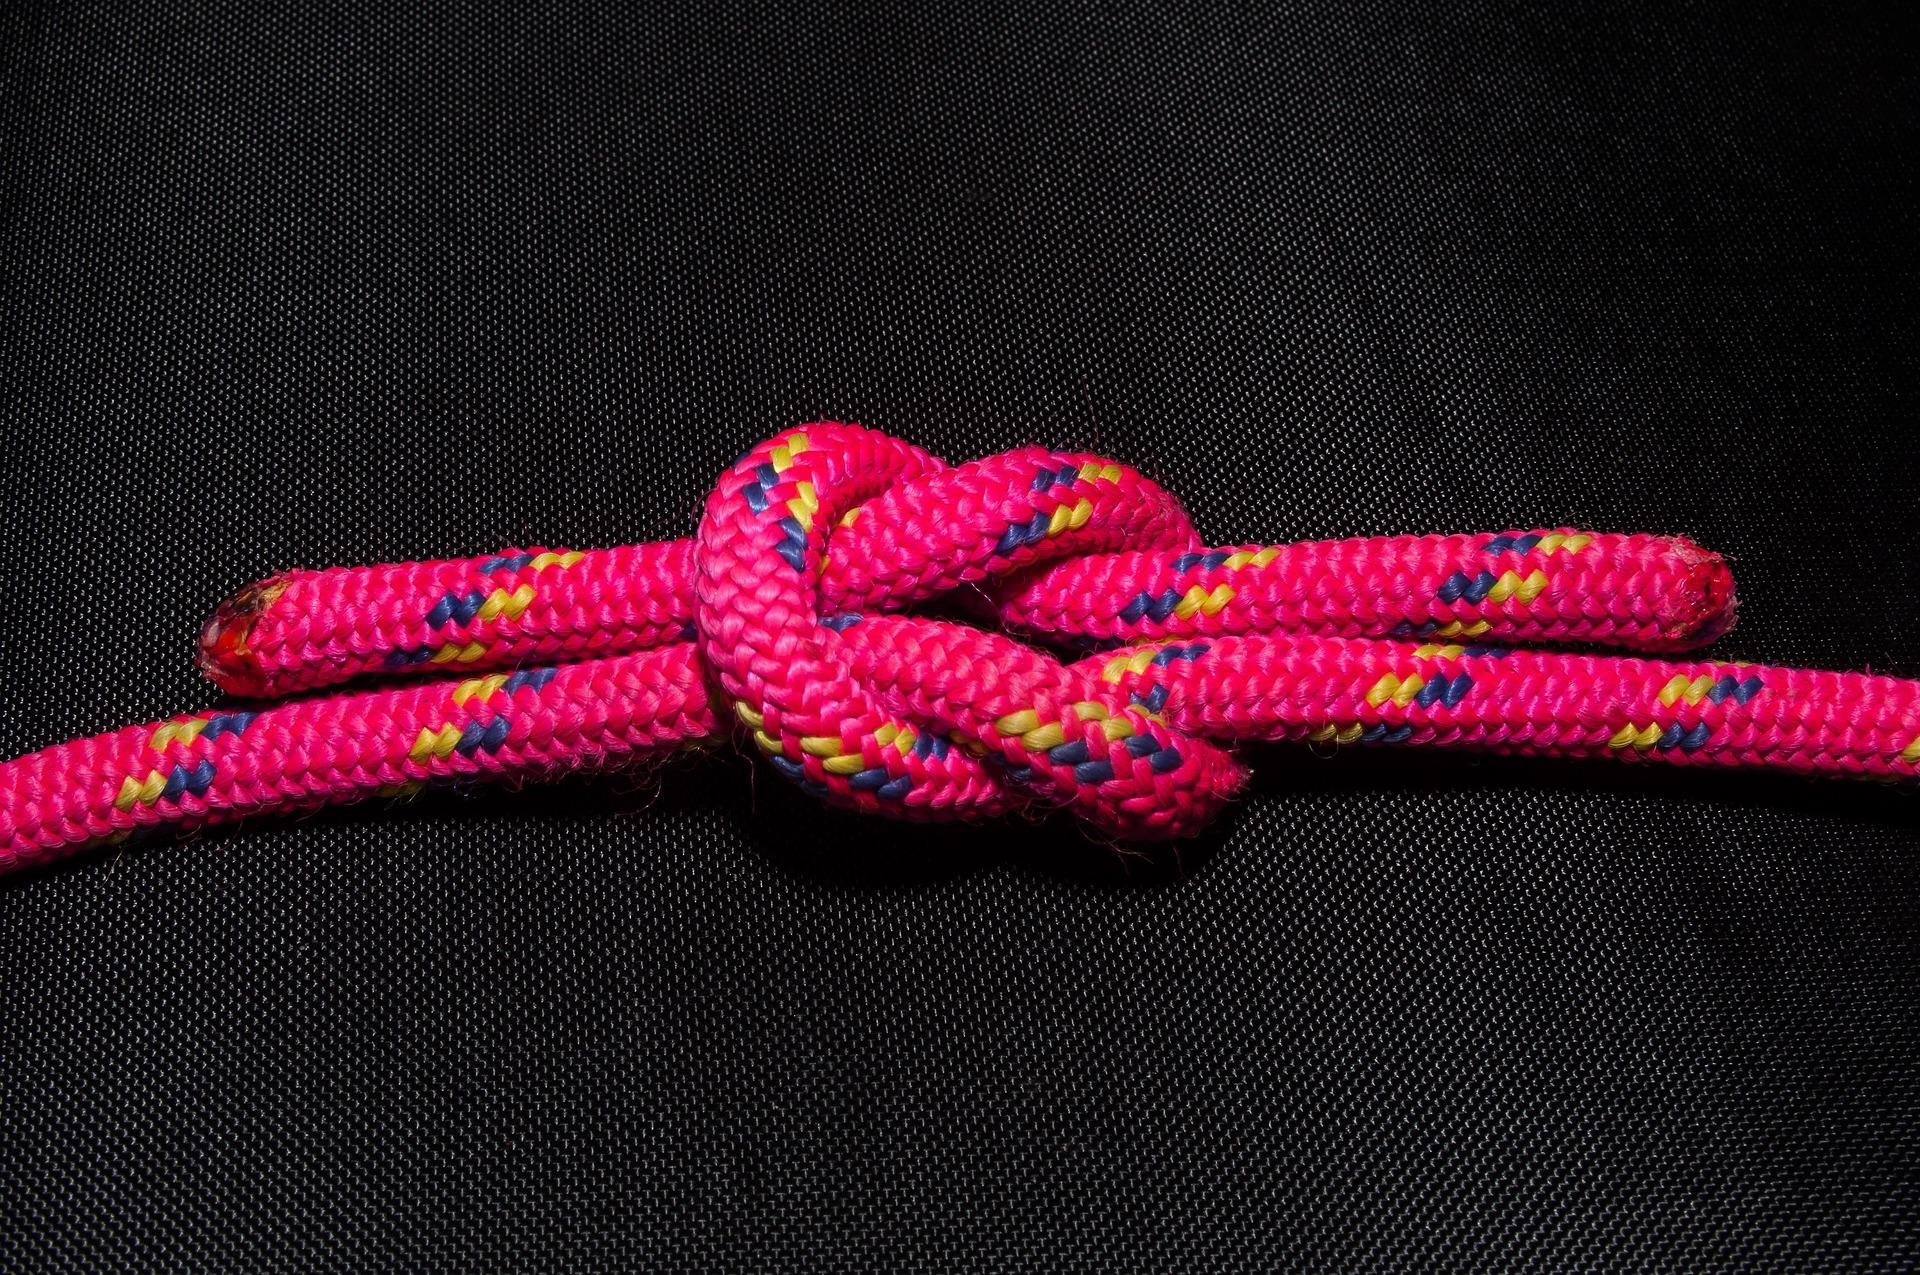
12. Learn a Simple Guy-Line Knot
Many tents use adjustable plastic tensioners, so you may not need to tie a knot.
However, knowing a simple adjustable knot can be useful when repairing or replacing cord.
A taut-line hitch is one option because it can be adjusted while remaining secure under appropriate tension.
Practise knots before relying on them outdoors.
13. Check the Guy Lines Before Packing
Before dismantling the tent, inspect the guy lines for damage.
Look for fraying, knots that have tightened excessively and damaged tensioners.
Untangle lines before packing them away.
This makes pitching much easier next time.
14. Check the Pegs
Guy lines are only useful if their pegs remain secure.
Check that pegs aren’t bent or damaged.
Remove mud and dirt before storing them.
Different ground conditions require different types of pegs, so use pegs appropriate to the campsite and your tent.
15. Carry Spare Cord
A small amount of suitable spare cord can be useful on longer trips.
It can replace a damaged guy line or provide a temporary repair.
Don’t use unsuitable cord for a critical load-bearing application if it isn’t strong enough or appropriate for the tent.
Guy Lines in Different Weather
Calm Weather
You may need fewer guy lines depending on the tent manufacturer’s recommendations and conditions.
Even so, make sure the tent is properly pitched.
Rain
Correct guy-line tension can help keep the flysheet properly positioned and reduce contact between the outer and inner tent.
Strong Wind
Use the appropriate guy points and check every connection.
Make sure pegs are secure and the tent is pitched in a suitable sheltered location where possible.
Snow
Snow and winter conditions can place additional loads on tents and guy lines.
Use equipment designed for the conditions and follow the manufacturer’s winter-pitching guidance.
Common Guy-Line Problems
|
Problem |
Likely cause |
Solution |
|---|---|---|
|
Guy line keeps coming loose |
Poor tension or unsuitable peg |
Reposition and retension |
|
Tent fabric looks distorted |
Guy line too tight |
Reduce tension |
|
Line is difficult to see |
Low-visibility cord |
Use reflective or visible cord |
|
Peg pulls out |
Poor ground or wrong peg |
Reposition or use a more suitable peg |
|
Guy line is tangled |
Poor packing |
Coil or organise lines before storage |
|
Tent still moves in wind |
Insufficient or poorly positioned guying |
Check all attachment points and pitching |
Final Tip
Guy lines work best when they are correctly positioned and moderately tensioned.
Don’t simply pull them as tight as possible.
Pitch the tent correctly, secure the pegs, keep the lines visible and check them again when the weather changes.
A well-set-up guy line should support the tent without making the whole structure unnecessarily rigid.
🔒Ready to test your survival skills?
Join Survival Guides UK for free, complete challenges, earn badges and increase your Survival Level.
JOIN FREE →
CRAIG BURR
FOUNDER · SURVIVAL GUIDES UK
I'm Craig, the person behind Survival Guides UK. I created SGUK because I wanted somewhere people could learn real outdoor skills in a practical, straightforward way — from lighting a fire and tying knots to navigation, campcraft and everything in between.
You can read more about the story behind SGUK here as well as our approach here.