How to Whittle Tent Pegs
Making your own tent pegs is a simple campcraft skill that is surprisingly satisfying. You don’t need much equipment, and once you know what makes a good peg, you can make one to suit the ground and the shelter you’re putting up.
A homemade wooden peg doesn’t need to look perfect. In fact, a roughly shaped peg made from the right piece of wood will often do a better job than a beautifully carved one made from something unsuitable. The important things are that it is strong enough, has a useful point and gives the guyline something to hold on to.
Choose the Right Wood
Start with a straight piece of reasonably strong wood. A fallen branch can work well if you have permission to collect it and it is sound rather than rotten.
Avoid wood with large cracks, obvious decay or lots of weak knots. A peg gets hammered into the ground, so it needs to cope with repeated impacts without splitting.
For your first few attempts, choose a piece that is a little thicker than the finished peg needs to be. This gives you some material to remove while shaping it and makes the job easier to control.
Freshly cut green wood can be easier to carve, although it may shrink as it dries. Dry, sound wood can also work well, particularly when you need a peg that will be used straight away.
Decide What Sort of Peg You Need
There isn’t one perfect tent peg for every situation.
A small peg may be perfectly adequate for a lightweight guyline in soft ground, while a larger shelter or harder ground calls for something considerably stronger. The shape of the peg should reflect the job it has to do.
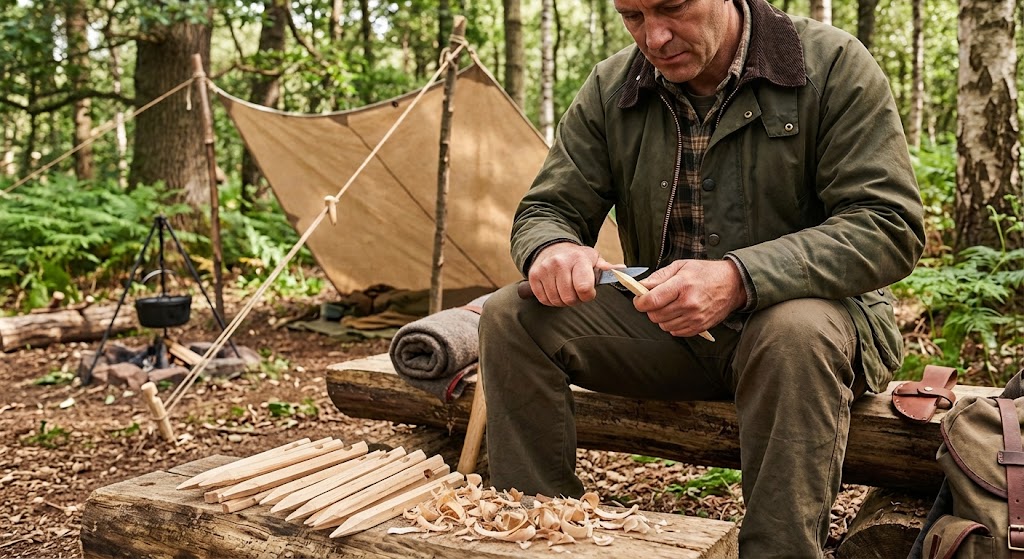
A useful basic design has a pointed end for entering the ground and a notch or groove near the top where the guyline can sit. You can also leave a small shoulder at the top rather than making the entire peg pointed.
Before you start carving, have a look at the pegs you’re trying to replace. That gives you a good idea of the length and thickness you actually need.
Prepare the Piece of Wood
Cut the wood to a manageable length before you start whittling. It is much easier to work on a piece that you can hold securely than a long branch that keeps getting in the way.
Remove any small side branches or rough protrusions carefully. You don’t need to make the whole piece perfectly smooth because the finished peg is going into the ground.
Keep the useful thickness. One common mistake when making wooden pegs is to remove too much wood in an attempt to make them look neat.
You’re making a piece of camp equipment, not a decorative carving.
Shape the Point
The easiest way to start is to work gradually towards the end of the peg.
Use controlled cuts to remove small amounts of wood and create a taper. Rotate the peg regularly so that you don’t end up removing most of the material from one side.
The finished point doesn’t need to be needle-sharp. A strong, reasonably narrow point is more useful than a very thin tip that can snap when you hit it into hard ground.
Pay attention to the grain while you work. If your knife starts lifting long strips of wood or the piece begins to split, change the direction of your cut rather than forcing it.
Add a Notch for the Guyline
The top of the peg needs something to stop the guyline sliding off.
One simple option is to carve a shallow notch around the peg near the top. Make it deep enough to hold the cord but not so deep that you’ve weakened the peg.
You can also leave a small shoulder above the notch. When the guyline is pulled tight, it sits against the shoulder instead of simply sliding towards the end.
Don’t carve away more wood than necessary. A simple notch is usually all you need.
Keep the Peg Strong
It is tempting to keep carving until the peg looks perfectly smooth, but there is little benefit in doing this.
Leave the body of the peg fairly substantial. The part that takes the most punishment is the top, because that is where you will strike it when putting it into the ground. The thinner you make it, the greater the chance of it splitting or breaking.
If you’re making several pegs, don’t automatically make every one identical. The size should suit the shelter and the ground you’re expecting to use them in.
Using the Peg
When you use a homemade peg, drive it into the ground at an angle with the top leaning away from the shelter. The guyline should pull against the peg rather than directly in the direction it is being driven.
Choose firm ground where possible and make sure the peg is properly seated before putting the guyline under full tension.
In very soft ground, even a beautifully made wooden peg may not hold. In those conditions, a longer or wider peg, a different anchoring method or a different position may be needed.
Hard or stony ground can present the opposite problem. Don’t keep hammering a peg when it is clearly meeting something solid underneath.
Whittle Safely
Whittling is a useful knife skill, but it still deserves proper attention.
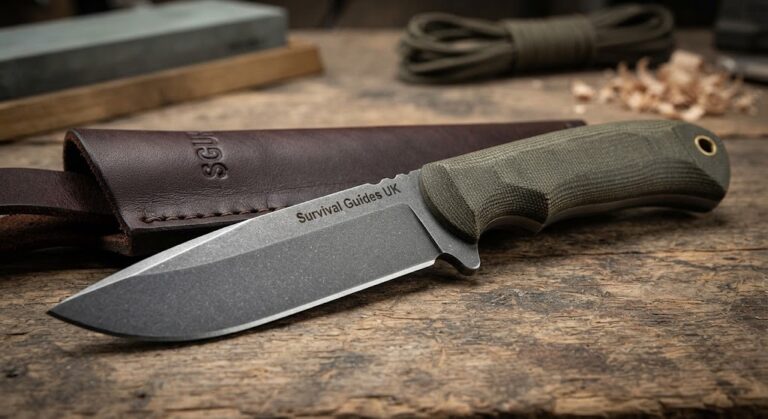
Sit or stand in a stable position and make sure your cutting strokes are directed away from your body. Keep your supporting hand behind the cutting edge rather than in front of it, and don’t try to make large cuts when a series of small controlled cuts will do the job.
Keep the knife sharp. A blunt knife tends to require more force and is harder to control.
Take your time around knots and awkward sections of grain. If the wood starts behaving unpredictably, stop and reposition it rather than forcing the cut.
Children should learn whittling with close adult supervision and a knife appropriate for their age and ability.
Don’t Worry About Making Them Perfect
One of the nice things about making tent pegs is that they don’t need to be works of art.
Your first peg might have an uneven point or a notch that isn’t quite where you intended it to be. That’s fine. Put it in the ground and see how it performs. You’ll quickly learn which shapes hold well and which ones are too thin, too short or simply awkward to hammer in.
Once you’ve made a few, you’ll naturally start choosing better pieces of wood and removing only the material you actually need to remove.
That’s when whittling tent pegs stops being a carving exercise and becomes a useful campcraft skill.
🔒Ready to test your survival skills?
Join Survival Guides UK for free, complete challenges, earn badges and increase your Survival Level.
JOIN FREE →
CRAIG BURR
FOUNDER · SURVIVAL GUIDES UK
I'm Craig, the person behind Survival Guides UK. I created SGUK because I wanted somewhere people could learn real outdoor skills in a practical, straightforward way — from lighting a fire and tying knots to navigation, campcraft and everything in between.
You can read more about the story behind SGUK here as well as our approach here.