How to Tie a Figure Eight Knot
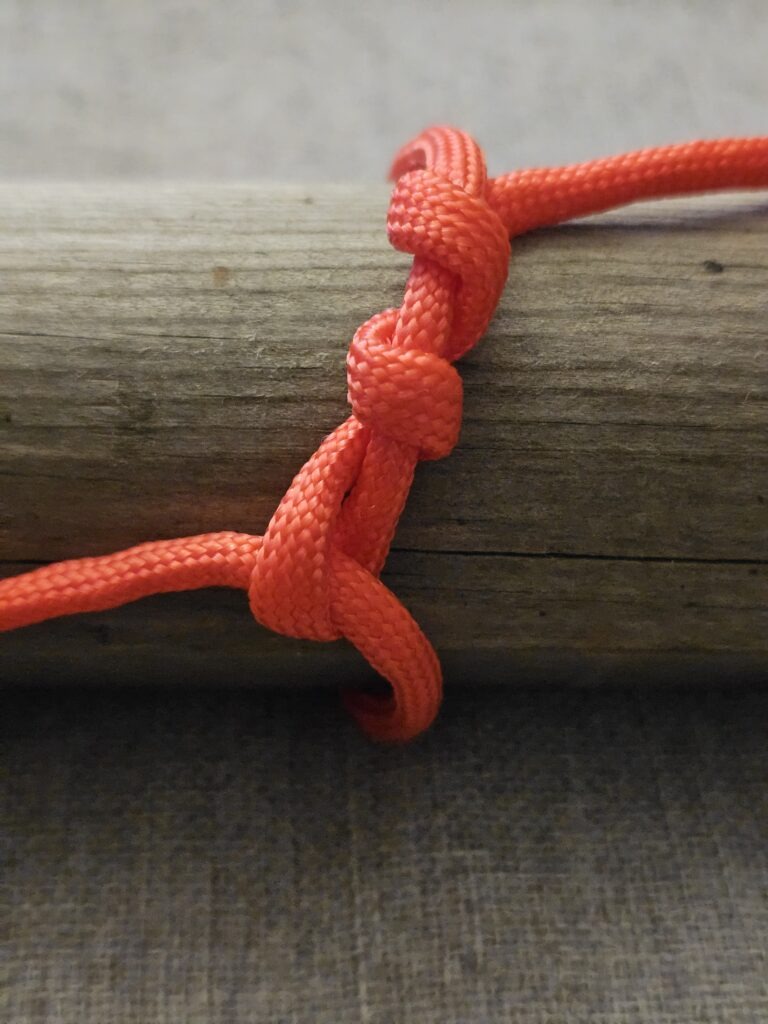
The figure eight knot is a simple and useful stopper knot. It creates a larger knot at the end of a rope, helping to prevent the rope from accidentally passing through a hole, ring or other opening.
It is easy to recognise and provides a useful foundation for learning several other knots, including the figure eight on a bight.
What You’ll Learn
By the end of this guide, you should be able to:
- Tie a figure eight knot.
- Recognise the correct shape of the finished knot.
- Understand common uses for the knot.
- Check that the knot has been tied correctly.
Equipment
- A length of rope or cord.
- A rope with a reasonably firm construction is helpful when learning because the shape of the knot is easier to see.
Understanding the Knot
A stopper knot is used to prevent a rope from passing through an opening or running completely through another knot.
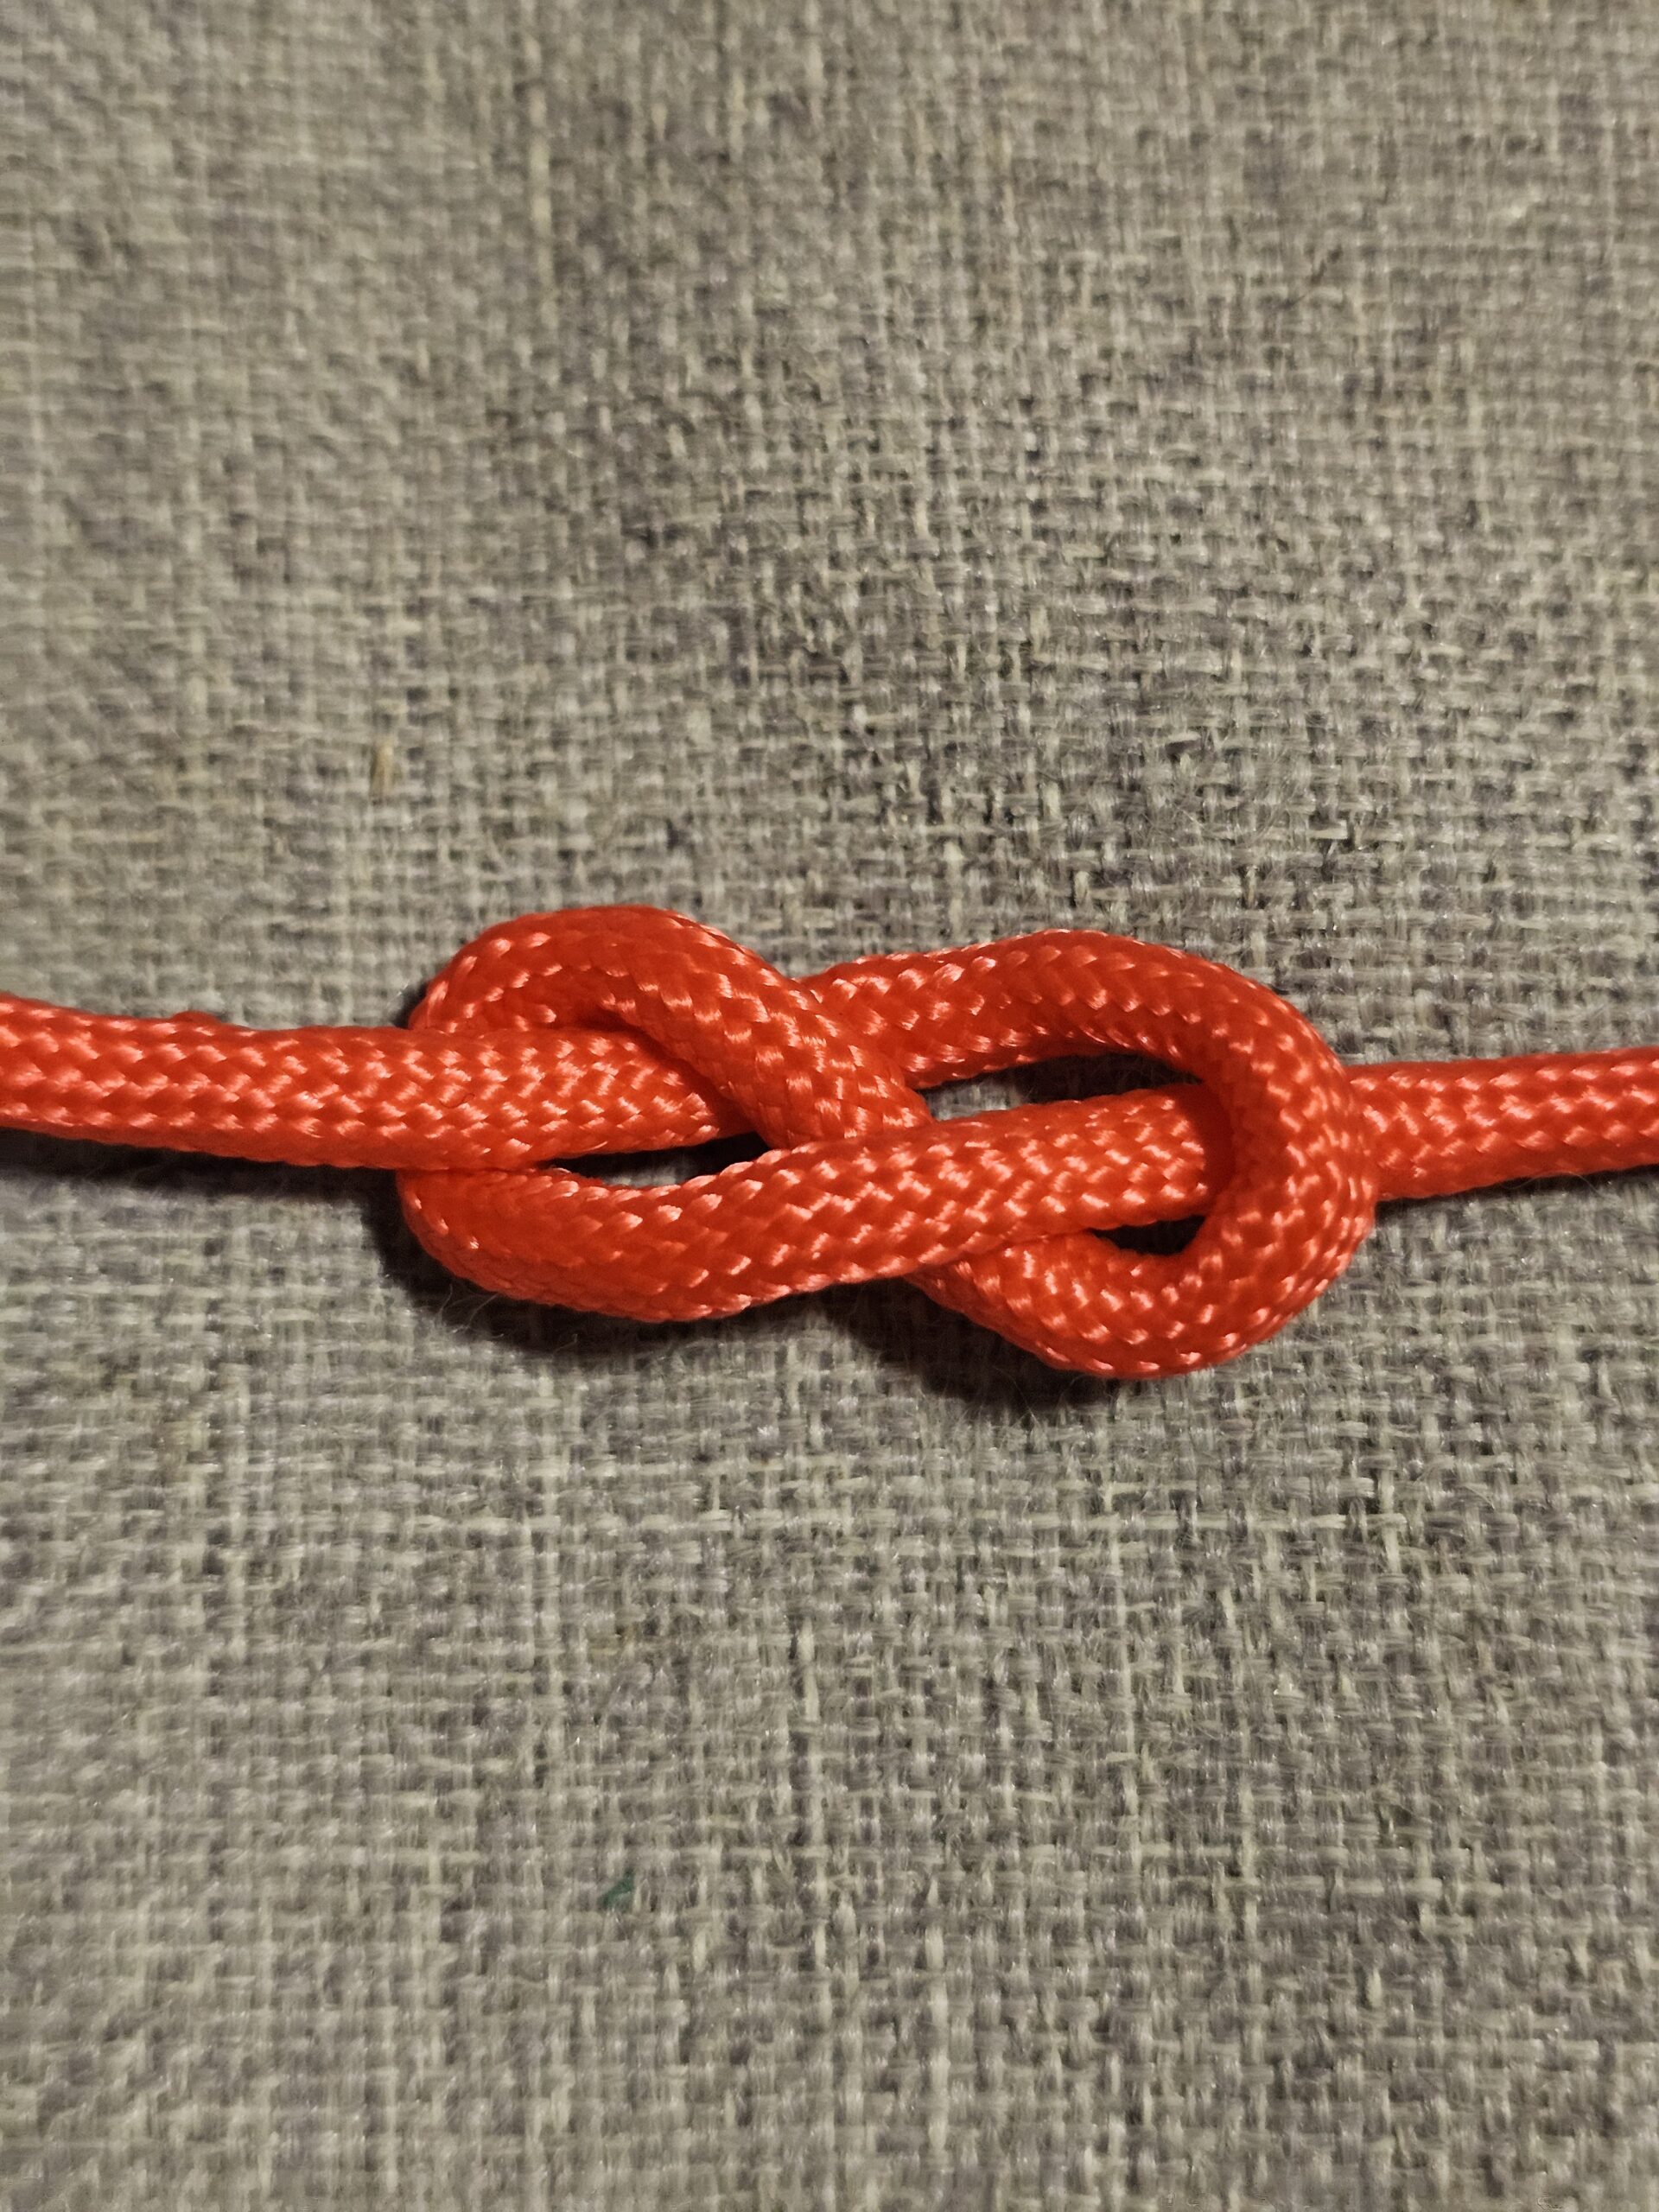
The figure eight gets its name from the shape the rope makes as it crosses over and under itself.
The knot is straightforward because the working end follows a simple path around a loop before passing back through it.
How to Tie a Figure Eight Knot
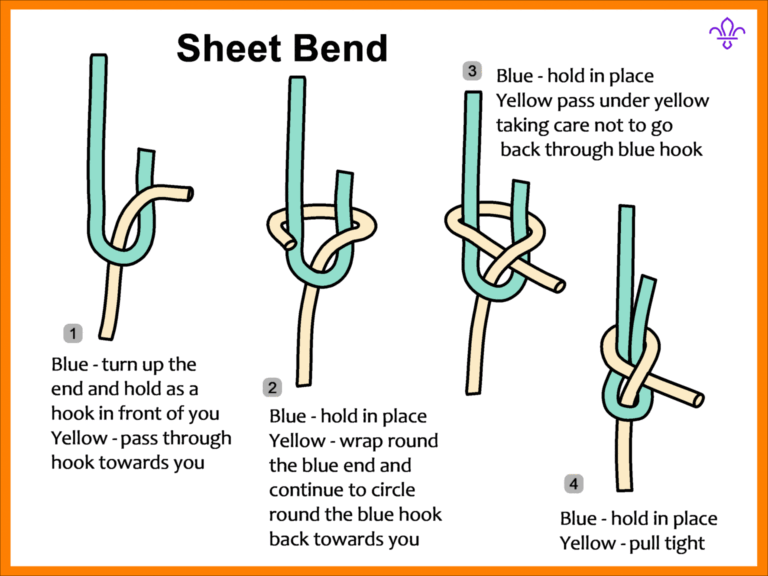
1. Hold the rope
Take the rope in one hand and leave enough length at the end to tie the knot.
The end you are working with is called the working end.
2. Make a loop
Take the working end and cross it over the standing part of the rope to form a loop.
The standing part is the longer section of rope leading away from the knot.
3. Pass the working end underneath
Take the working end underneath the standing part.
The rope should now begin to form the characteristic figure eight shape.
4. Bring the working end back over
Bring the working end back over the standing part and towards the original loop.
5. Pass the working end through the loop
Pass the working end through the original loop.
Pull the working end through to complete the knot.
6. Tighten the knot
Pull the working end and standing part to tighten the knot.
Dress the knot neatly so that the rope follows a clear figure eight shape without unnecessary crossings or twists.
How to Check Your Figure Eight
A correctly tied figure eight should:
- Clearly resemble the number 8.
- Have two distinct loops within the knot.
- Have the rope following a smooth, organised path.
- Be pulled snug so that the knot holds its shape.
- Have enough rope extending beyond the knot for the intended use.
If the rope has crossed over itself in an unexpected place or the knot does not resemble a clear figure eight, untie it and try again.
Common Uses
A figure eight knot can be useful for:
- Acting as a stopper at the end of a rope.
- Preventing a rope from pulling through a pulley or ring.
- Stopping the end of a rope from passing through a knot or piece of equipment.
- General campcraft and outdoor ropework.
- Learning the foundation for other figure eight knots.
It is also an important building block for learning the figure eight on a bight.
Important Safety Information
A figure eight knot is not automatically suitable for every situation simply because it is a strong-looking knot.
Do not use this basic stopper knot as a substitute for a purpose-designed knot or rope system in climbing, rescue, abseiling or other life-safety applications.
Always check the knot before use and make sure there is sufficient rope beyond the finished knot.
Final Tip
The easiest way to learn the figure eight is to watch the rope rather than memorise the finished shape.
Practise making the loop, passing the rope underneath and then bringing it back through. Once the rope naturally follows the figure eight pattern, the knot becomes much easier to tie consistently.
🔒Ready to test your survival skills?
Join Survival Guides UK for free, complete challenges, earn badges and increase your Survival Level.
JOIN FREE →
CRAIG BURR
FOUNDER · SURVIVAL GUIDES UK
I'm Craig, the person behind Survival Guides UK. I created SGUK because I wanted somewhere people could learn real outdoor skills in a practical, straightforward way — from lighting a fire and tying knots to navigation, campcraft and everything in between.
You can read more about the story behind SGUK here as well as our approach here.