How to Light a Fire Safely: A Beginner’s Guide
Affiliate disclosure: This article contains affiliate links. If you purchase something through one of our links, we may earn a commission at no additional cost to you.
Lighting a Fire Safely
A fire can provide warmth, light and a way to cook outdoors. Learning how to light one is a useful outdoor skill — but the most important part of fire lighting isn’t getting the flames going. It’s knowing when, where and how you can safely have a fire in the first place.
A good firelighter thinks ahead, prepares the area, controls the fire and leaves the site safe when they’re finished.
This guide introduces the basic principles of fire lighting. It is intended for appropriate, permitted locations with suitable supervision and safety arrangements.
Safety First
Never light an open fire simply because you are outdoors. In England, government guidance advises avoiding open fires in the countryside and only having them in safe, designated areas. Always follow local restrictions, landowner/campsite rules and the requirements of the organisation you’re taking part with.
For Scout activities, follow the current Scouts safety guidance, including permission, risk assessment, appropriate supervision and an appropriate emergency plan.
Before You Light Anything
The first skill is preparation.
Don’t start collecting wood and lighting matches before you’ve decided whether the fire is actually appropriate.
Is a fire allowed?
Check first.
You may need:
- Permission from the landowner
- Permission from the campsite
- A designated fire area
- Approval from your group or organisation
- To follow temporary fire restrictions
If you’re unsure, don’t light it.
A portable camping stove may be a safer and more appropriate alternative.
Check the weather
Weather can change the risk of an outdoor fire considerably.
Pay particular attention to:
- Strong or changing winds
- Very dry conditions
- Drought
- Hot weather
- Nearby dry vegetation
- Forecast changes during the time you’ll have the fire
Wind is particularly important because sparks and embers can travel away from the fire.
Scouts specifically recommends checking the weather forecast before running a campfire.
Choose a suitable location
A fire needs a safe, clear and appropriate area.
For an organised campfire, use the designated fire area or surface provided by the site.
Keep the fire:
- Away from tents
- Away from low branches
- Away from dry vegetation
- Away from buildings and structures
- Away from anything that could easily catch fire
- In a location with good ventilation
The size of the fire should match the location and the purpose of the activity.
Bigger isn’t better.
Scouts’ current guidance also specifically warns against putting fires directly on concrete because heating can cause the trapped air in the concrete to expand rapidly.
Understand Your Fuel
A fire needs three basic things:
HEAT
Something has to provide enough heat to start combustion.
OXYGEN
A fire needs air. That’s why completely covering a fire can make it go out.
FUEL
Something has to burn.
This is often called the fire triangle.
Remove one of the three and the fire will eventually stop.
The Three Stages of Firewood
One of the easiest ways to understand fire lighting is to think about fuel in stages.
TINDER
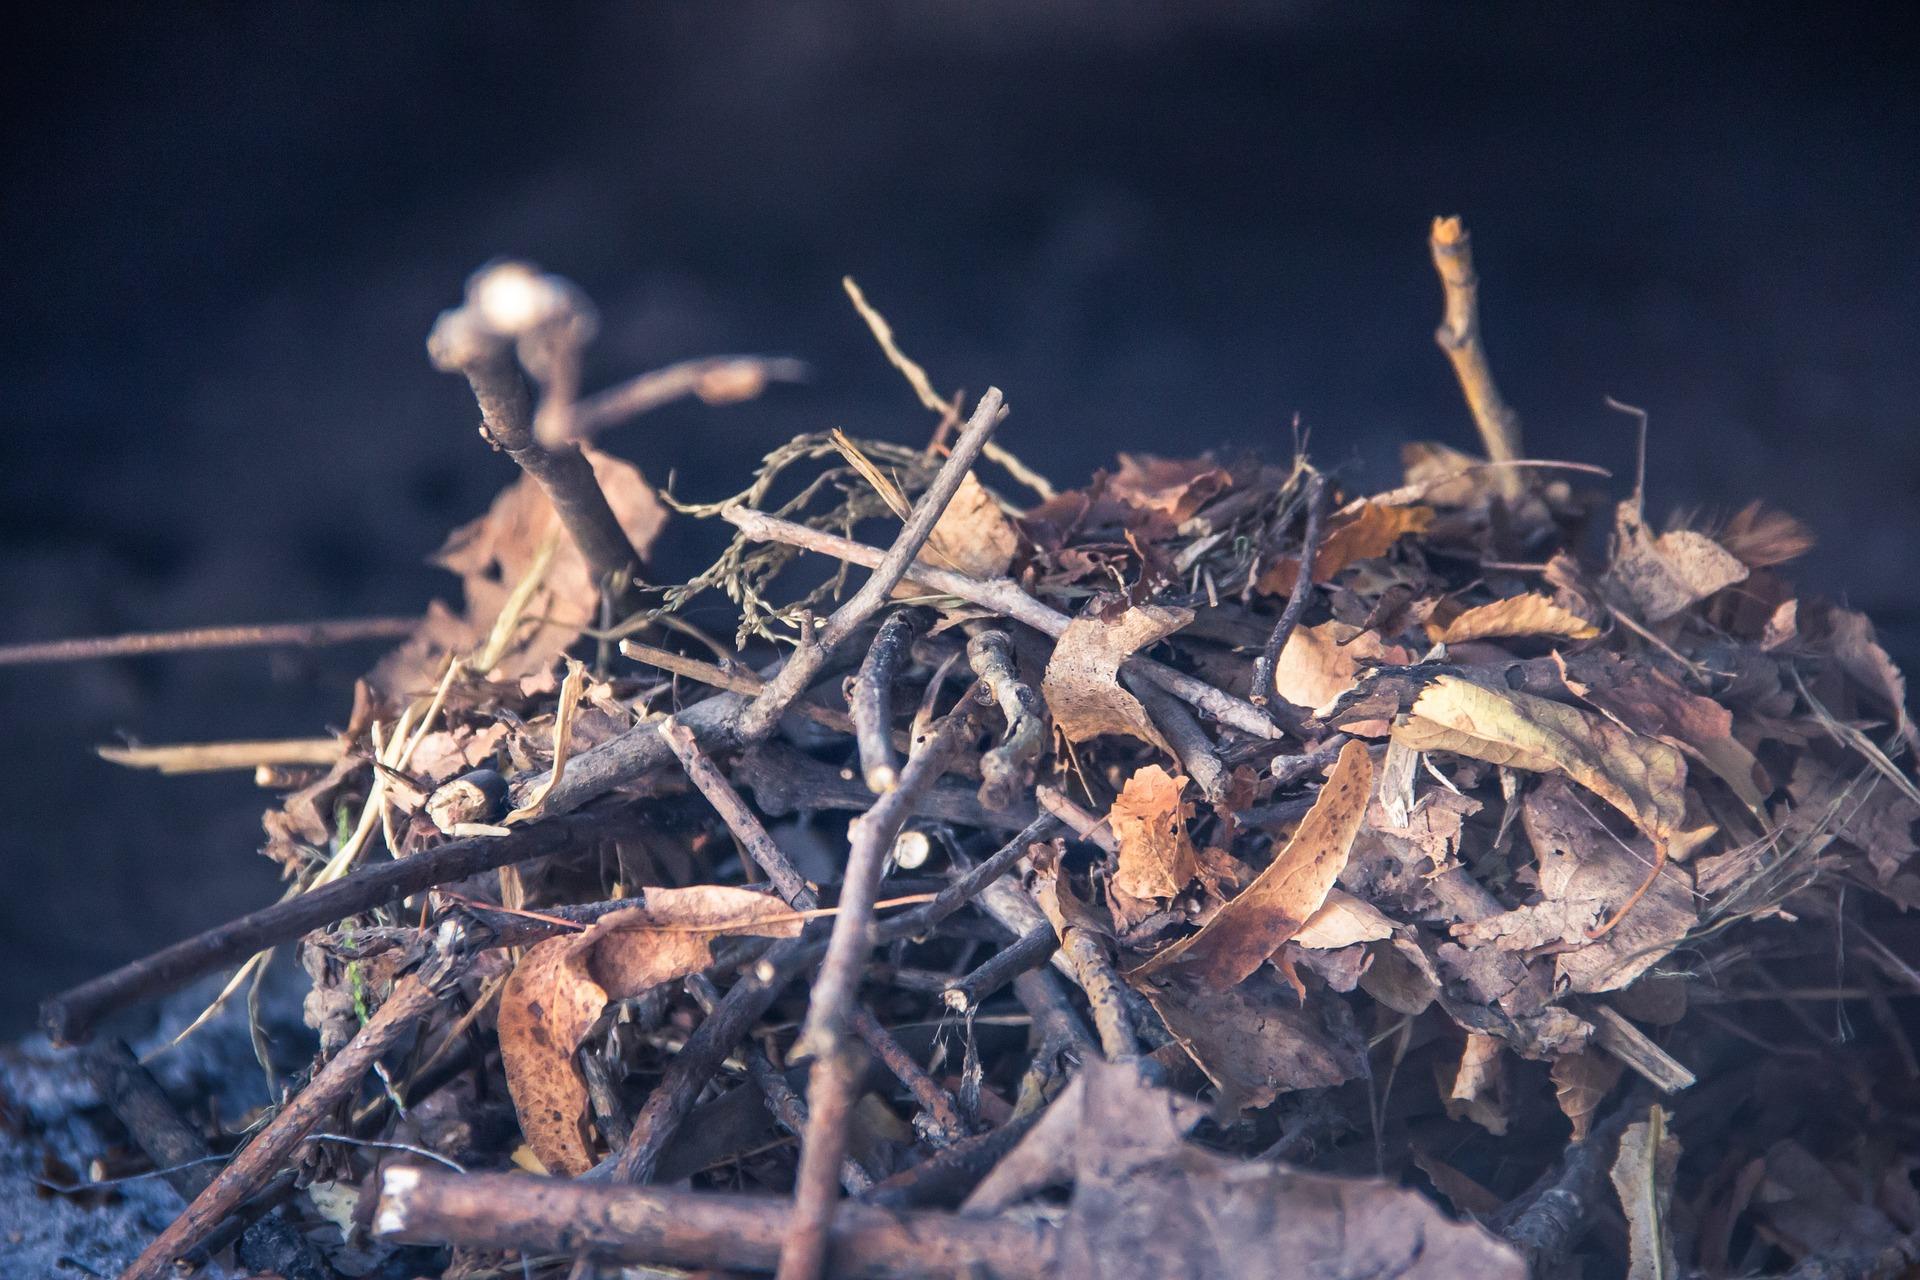
Tinder is the material that catches easily from a small flame or spark.
Examples can include:
1. Suitable dry natural tinder
2. Commercial firelighters designed for the purpose
Your tinder needs to be dry and appropriate for the situation.
KINDLING
Kindling is slightly larger material used to turn a small flame into a sustainable fire.
Think:
Tinder → small kindling → larger kindling
Don’t jump straight from a tiny flame to large logs.
FIREWOOD
Once the fire has established itself, larger pieces of suitable firewood can be added gradually.
Only use the amount you actually need.
Scouts recommends using only kindling or bought firelighters to start a campfire and specifically says not to use accelerants such as petrol, lighter fuel or spirits.
Building Your Fire
There are many traditional fire layouts, and different designs have different advantages.
For beginners, the important principle is:
Start small and give the fire enough air to develop.
Arrange your tinder and kindling so that:
- Air can reach the flame
- The small material can catch easily
- Larger fuel can be added gradually
- You aren’t forced to reach over the fire
- The fire remains manageable
You don’t need a huge pile of wood.
A small, controlled fire is easier to light, easier to supervise and easier to extinguish.
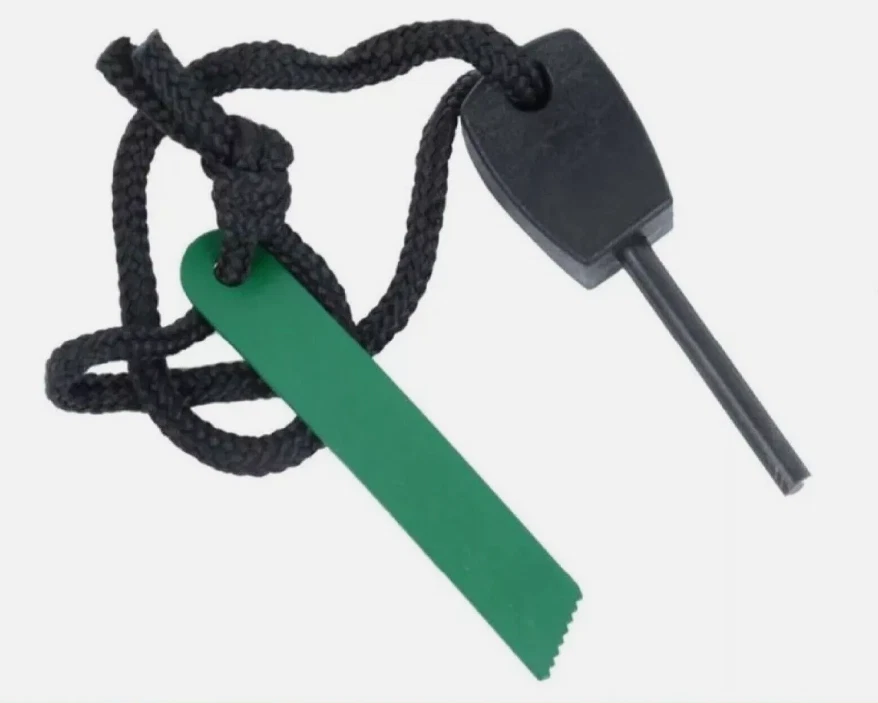
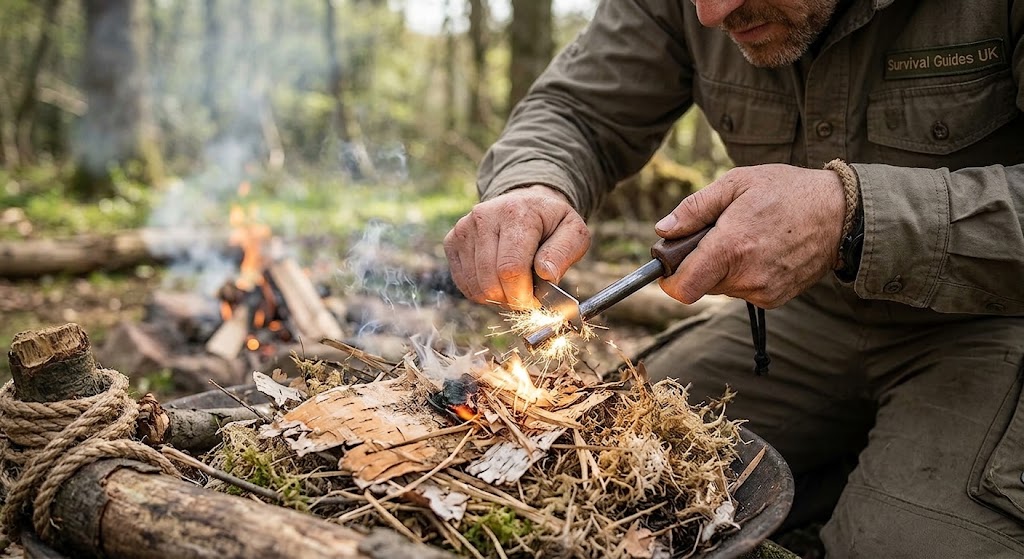
FLINT STEEL MAGNESIUM FERRO ROD
An entry level flint steel with practice can easily and quickly start a fire. It is the most important tool in your survival kit.
Applicable at anywhere, anytime and any condition, including moist wet weather or low temperature.
Lighting the Fire
Once everything is prepared, lighting should be the quickest part of the process.
Have everything ready first:
Then use an appropriate ignition method according to the activity’s safety rules and the equipment being used.
Never use petrol, lighter fuel, alcohol or other accelerants to make a fire burn faster. Scouts explicitly prohibits accelerants for campfires.
Once the tinder catches, allow the flame to develop before gradually adding suitable kindling.
Don’t rush it.
One of the most common beginner mistakes is adding large pieces of wood too soon.
A fire needs time to build up enough heat.
Give Your Fire Air
If your fire keeps going out, the answer isn’t always more fuel.
It may need more oxygen.
Watch how the fire behaves.
A healthy fire should have a good supply of air around its fuel.
Avoid:
- Smothering the flames
- Packing fuel too tightly
- Building the fire unnecessarily large
- Constantly rearranging burning material
Learning to read the fire is part of becoming a competent firelighter.
Adding More Wood
As the fire develops, add fuel gradually.
Hold wood securely and place it onto the fire rather than throwing it.
Never throw objects into a fire.
Keep your hands, clothing and face away from the flames.
Scouts recommends briefing young people not to reach over fires, wave sticks around them or pick up burning wood, and to place wood onto the fire carefully.
When You’re Finished: Put It Out Properly
A fire isn’t finished when the flames disappear.
Hot embers can remain capable of starting another fire.
When you’re finished:
- Stop adding fuel.
- Allow the fire to reduce safely.
- Douse it thoroughly with water.
- Check for remaining heat and embers.
- Continue until the fire is completely out.
- Leave the area safe and tidy.
Scouts’ current campfire guidance says fires should be safely extinguished and doused with water to prevent stray sparks.
If you’re on a managed site, follow the site’s specific instructions for disposing of ash and restoring the fire area.
Things You Should Never Do
Never:
Fire Lighting: The Skills You Are Really Learning
Lighting a fire isn’t just about making flames.
You’re learning:
PLANNING
Can you prepare everything before starting?
OBSERVATION
Can you assess the location and weather?
PATIENCE
Can you allow the fire to develop rather than rushing it?
CONTROL
Can you keep the fire at an appropriate size?
RESPONSIBILITY
Can you keep other people safe?
ENVIRONMENTAL AWARENESS
Can you leave the area without damaging the environment?
These are the skills that make someone a good firelighter.
Your First Fire-Lighting Challenge
The Preparation Challenge
Before lighting a fire, see if you can complete this checklist:
Can you explain why each step matters?
That’s the real challenge.
Scout Connection
Fire lighting and fire safety are useful skills within the Scout programme, but the exact requirements for badges and awards can change.
Scouts currently publishes fire-related activities, including Cautious Campfire, and identifies relevant programme connections.
If you’re working towards a particular badge:
Always check the current official Scouts requirements and speak to your leader.
SurvivalGuidesUK is an independent educational resource and isn’t an official Scouts website.
SurvivalGuidesUK Safety Notice
Fire can cause serious injury, property damage and wildfires.
This article provides general educational information and does not replace appropriate training, supervision, risk assessment, local restrictions, landowner requirements or organisational safety procedures.
Children and young people should only participate in fire-lighting activities with appropriate adult supervision and safety arrangements.
🔒Ready to test your survival skills?
Join Survival Guides UK for free, complete challenges, earn badges and increase your Survival Level.
JOIN FREE →
CRAIG BURR
FOUNDER · SURVIVAL GUIDES UK
I'm Craig, the person behind Survival Guides UK. I created SGUK because I wanted somewhere people could learn real outdoor skills in a practical, straightforward way — from lighting a fire and tying knots to navigation, campcraft and everything in between.
You can read more about the story behind SGUK here as well as our approach here.