Building a Pioneering Stretcher: Scout Pioneering Guide
Activity Overview
Difficulty: Moderate
Time: 45–90 minutes
Location: Scout campsites and suitable outdoor areas
Best for: Scouts, Explorers, Patrol Leaders and experienced pioneering groups
Skills: Pioneering, lashings, ropework, teamwork, construction and emergency awareness
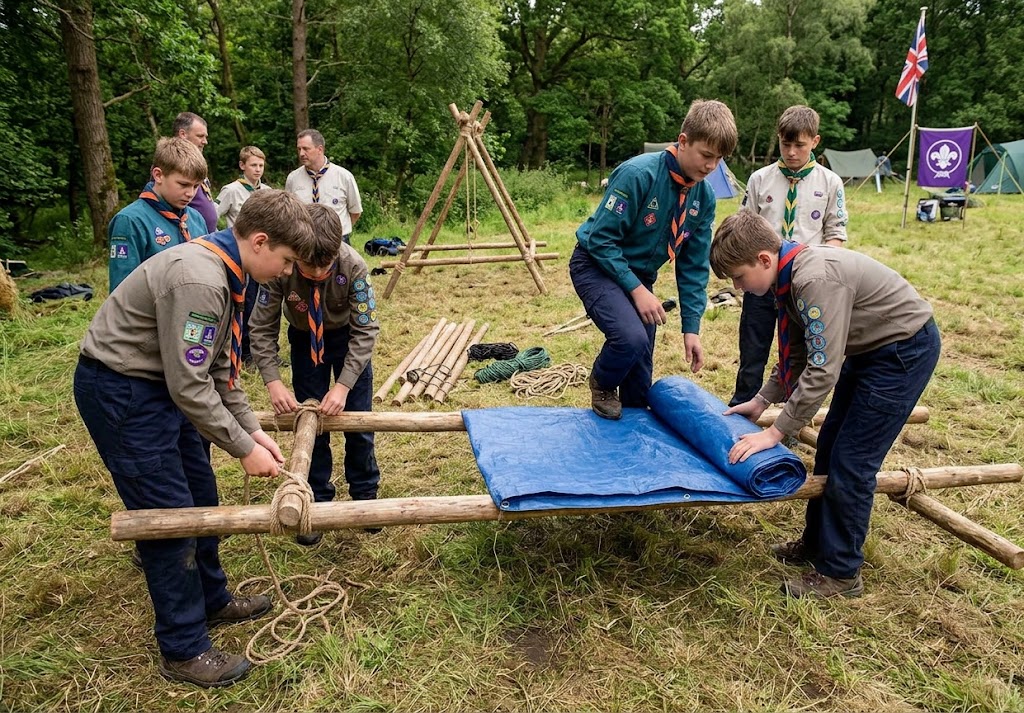
A pioneering stretcher is a temporary structure made from poles and rope lashings, traditionally used to demonstrate pioneering and emergency-response skills.
A homemade pioneering stretcher should not be treated as a certified rescue device. For training, it can be built and used with a suitable, uninjured volunteer under close supervision. A real casualty should only be moved when necessary, using appropriate equipment and people with the relevant training.
The stretcher should be strong, stable and comfortable enough for its intended training purpose, with every lashing checked before use.
What You’ll Learn
You’ll learn how to construct a basic stretcher using two long poles and a series of rope lashings.
You’ll practise securing a framework, creating a supporting surface and checking a pioneering structure before applying a load.
You’ll also learn an important emergency-care principle: building a stretcher is different from deciding whether someone should be moved.
🔴 SAFETY – HIGH RISK
A pioneering stretcher can fail if the poles, rope or lashings are unsuitable or incorrectly constructed.
For training exercises, use an uninjured volunteer and keep the stretcher close to the ground. Do not lift someone high above the ground or carry them over difficult terrain simply to demonstrate the technique.
Do not use a homemade pioneering stretcher to move a seriously injured person unless there is an immediate necessity and appropriately trained people have determined that movement is required.
Unnecessary movement can worsen some injuries, particularly suspected spinal injuries.
Never use the stretcher for a casualty who requires specialist handling simply because a pioneering stretcher is available.
Equipment
You’ll need two long, strong pioneering poles for the sides and suitable rope for the lashings.
Additional shorter poles can be used to create cross supports.
You’ll also need a suitable working area with enough room to construct and inspect the stretcher safely.
Use only clean, sound rope and poles without significant damage.
Prerequisites
A working knowledge of the square lashing and clove hitch is useful.
Scouts should also understand basic first-aid principles, particularly that an injured person should not be moved unnecessarily.
This is a pioneering construction exercise, not a substitute for first-aid or casualty-handling training.
Instructions
1. Choose a Safe Working Area
Build the stretcher on level, clear ground.
Remove unnecessary obstacles from the working area.
If you intend to demonstrate carrying it, choose a route that is short, level and free from trip hazards.
2. Inspect the Poles
Choose two poles of suitable length and strength.
Check them carefully for cracks, splits, rot or other damage.
The poles form the main structure, so don’t use anything that could reasonably be expected to fail under load.
3. Position the Main Poles
Place the two long poles parallel to each other.
Leave enough space between them for the intended user.
Keep the poles aligned throughout construction.
The distance between them should be consistent rather than gradually becoming wider or narrower.
4. Prepare the Cross Supports
Select shorter poles that will run between the two main poles.
These will support the body of the stretcher and help keep the long poles correctly spaced.
Position them at regular intervals along the length.
5. Attach the First Cross Support
Use an appropriate lashing to secure the first cross pole to both main poles.
A square lashing is commonly suitable where the poles meet at right angles.
Make the lashing neatly and finish it securely.
Don’t move on simply because the poles appear to be held together. Check that the joint is properly constructed.
6. Add the Remaining Cross Supports
Work along the stretcher, attaching the remaining cross poles.
Keep the spacing reasonably consistent.
Check each joint as it is completed.
The finished framework should remain rectangular rather than twisting into a parallelogram.
7. Add Longitudinal Support if Required
Depending on the design, additional rope or poles can be used to provide support along the length of the stretcher.
This can improve stability and distribute loads.
Follow the design being taught rather than adding random pieces of rope or wood without considering how they affect the structure.
8. Create the Supporting Surface
A rope lattice can be constructed between the two main poles to provide a flexible supporting surface.
Use suitable rope and maintain consistent tension.
The surface should support the volunteer without creating large gaps or uncomfortable pressure points.
9. Check the Ropework
Inspect every lashing and section of rope.
Look for loose wraps, poorly finished knots, damaged rope or areas where the rope is likely to slip.
A pioneering stretcher depends on multiple connections, so one poorly constructed joint can compromise the whole structure.
10. Check the Shape
Stand back and inspect the stretcher.
The two main poles should remain parallel and the cross supports should be secure.
Check that the structure hasn’t twisted or become distorted during construction.
11. Test It Without a Person
Before putting anyone on the stretcher, apply a small amount of load in a controlled manner.
Watch for movement in the poles and lashings.
If anything shifts unexpectedly, stop and correct the problem.
Never use a person as the first test load.
12. Carry Out a Supervised Test
For a training exercise, use an uninjured volunteer and keep the stretcher close to the ground.
Have several people positioned to support and control it.
Lift only a small distance and check how the structure behaves.
If there is any sign of instability, lower it immediately.
13. Practise Communication
Carrying a stretcher requires clear communication.
One person should coordinate the movement so that everyone lifts, walks and lowers the stretcher together.
Commands should be simple and understood by everyone before the exercise starts.
14. Keep the Route Simple
For training, don’t carry the stretcher across obstacles simply to make the exercise more impressive.
Use a short, level route.
Real casualty movement requires proper assessment of the terrain, casualty condition, equipment and number of people available.
15. Lower It Together
When finishing the exercise, the person coordinating the movement should give a clear instruction before everyone lowers the stretcher.
Don’t allow individual carriers to put it down independently.
16. Inspect After Use
Check the rope and poles again after the exercise.
Look for loosened lashings, damaged rope or changes in the shape of the structure.
A stretcher that was secure before use shouldn’t automatically be assumed to be secure afterwards.
17. Dismantle Carefully
Remove the lashings systematically.
Don’t cut ropes while the structure is under load.
Keep people clear of the stretcher as the framework is dismantled.
18. Store the Equipment
Clean and dry the rope and poles as appropriate.
Store them correctly and separate damaged equipment from serviceable equipment.
Pioneering Stretcher Design
There are several ways to construct a pioneering stretcher.
The simplest designs use two long poles with cross supports and a rope lattice or other supporting surface.
More elaborate designs may use additional poles and lashings to improve rigidity.
For a Scout pioneering exercise, simplicity is usually preferable. The aim is to develop accurate ropework and teamwork rather than create an unnecessarily complicated structure.
Pioneering Stretcher and First Aid
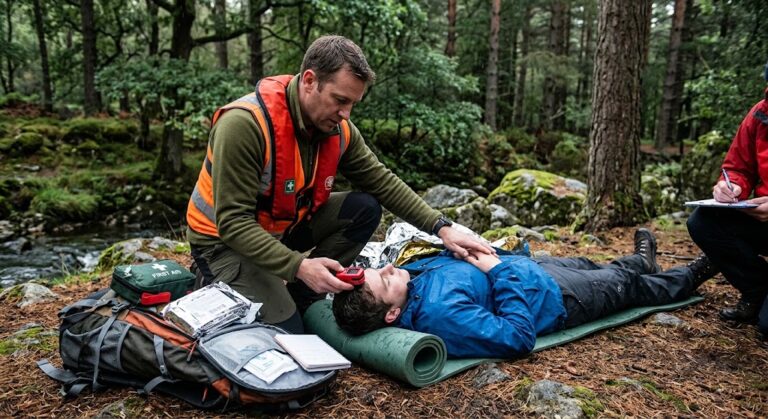
A pioneering stretcher can be useful for teaching the difference between first-aid knowledge and improvisation.
If somebody is injured outdoors, the first priority is to assess the situation and provide appropriate first aid.
Moving a casualty is not automatically the correct response.
If they are in immediate danger, moving them may be necessary. Otherwise, it may be safer to keep them still, protect them from the environment and summon appropriate help.
A pioneering stretcher should never encourage Scouts to practise moving one another as though they were real casualties.
Teamwork
This project works particularly well as a patrol activity.
One group can prepare the poles while others prepare rope lengths and begin the lashings.
Once the framework is complete, the whole patrol can inspect it together.
The carrying exercise also demonstrates the importance of communication: everyone needs to know when to lift, move and lower.
Final Tip
A pioneering stretcher is a useful way to combine ropework, construction and emergency awareness, but don’t confuse a pioneering exercise with real casualty rescue.
Build it carefully, inspect every joint and keep training exercises low-level and controlled.
Most importantly, remember that a stretcher is a means of moving a casualty, not a reason to move one. In a real emergency, the casualty’s condition and the circumstances determine whether movement is appropriate.
🔒Ready to test your survival skills?
Join Survival Guides UK for free, complete challenges, earn badges and increase your Survival Level.
JOIN FREE →
CRAIG BURR
FOUNDER · SURVIVAL GUIDES UK
I'm Craig, the person behind Survival Guides UK. I created SGUK because I wanted somewhere people could learn real outdoor skills in a practical, straightforward way — from lighting a fire and tying knots to navigation, campcraft and everything in between.
You can read more about the story behind SGUK here as well as our approach here.