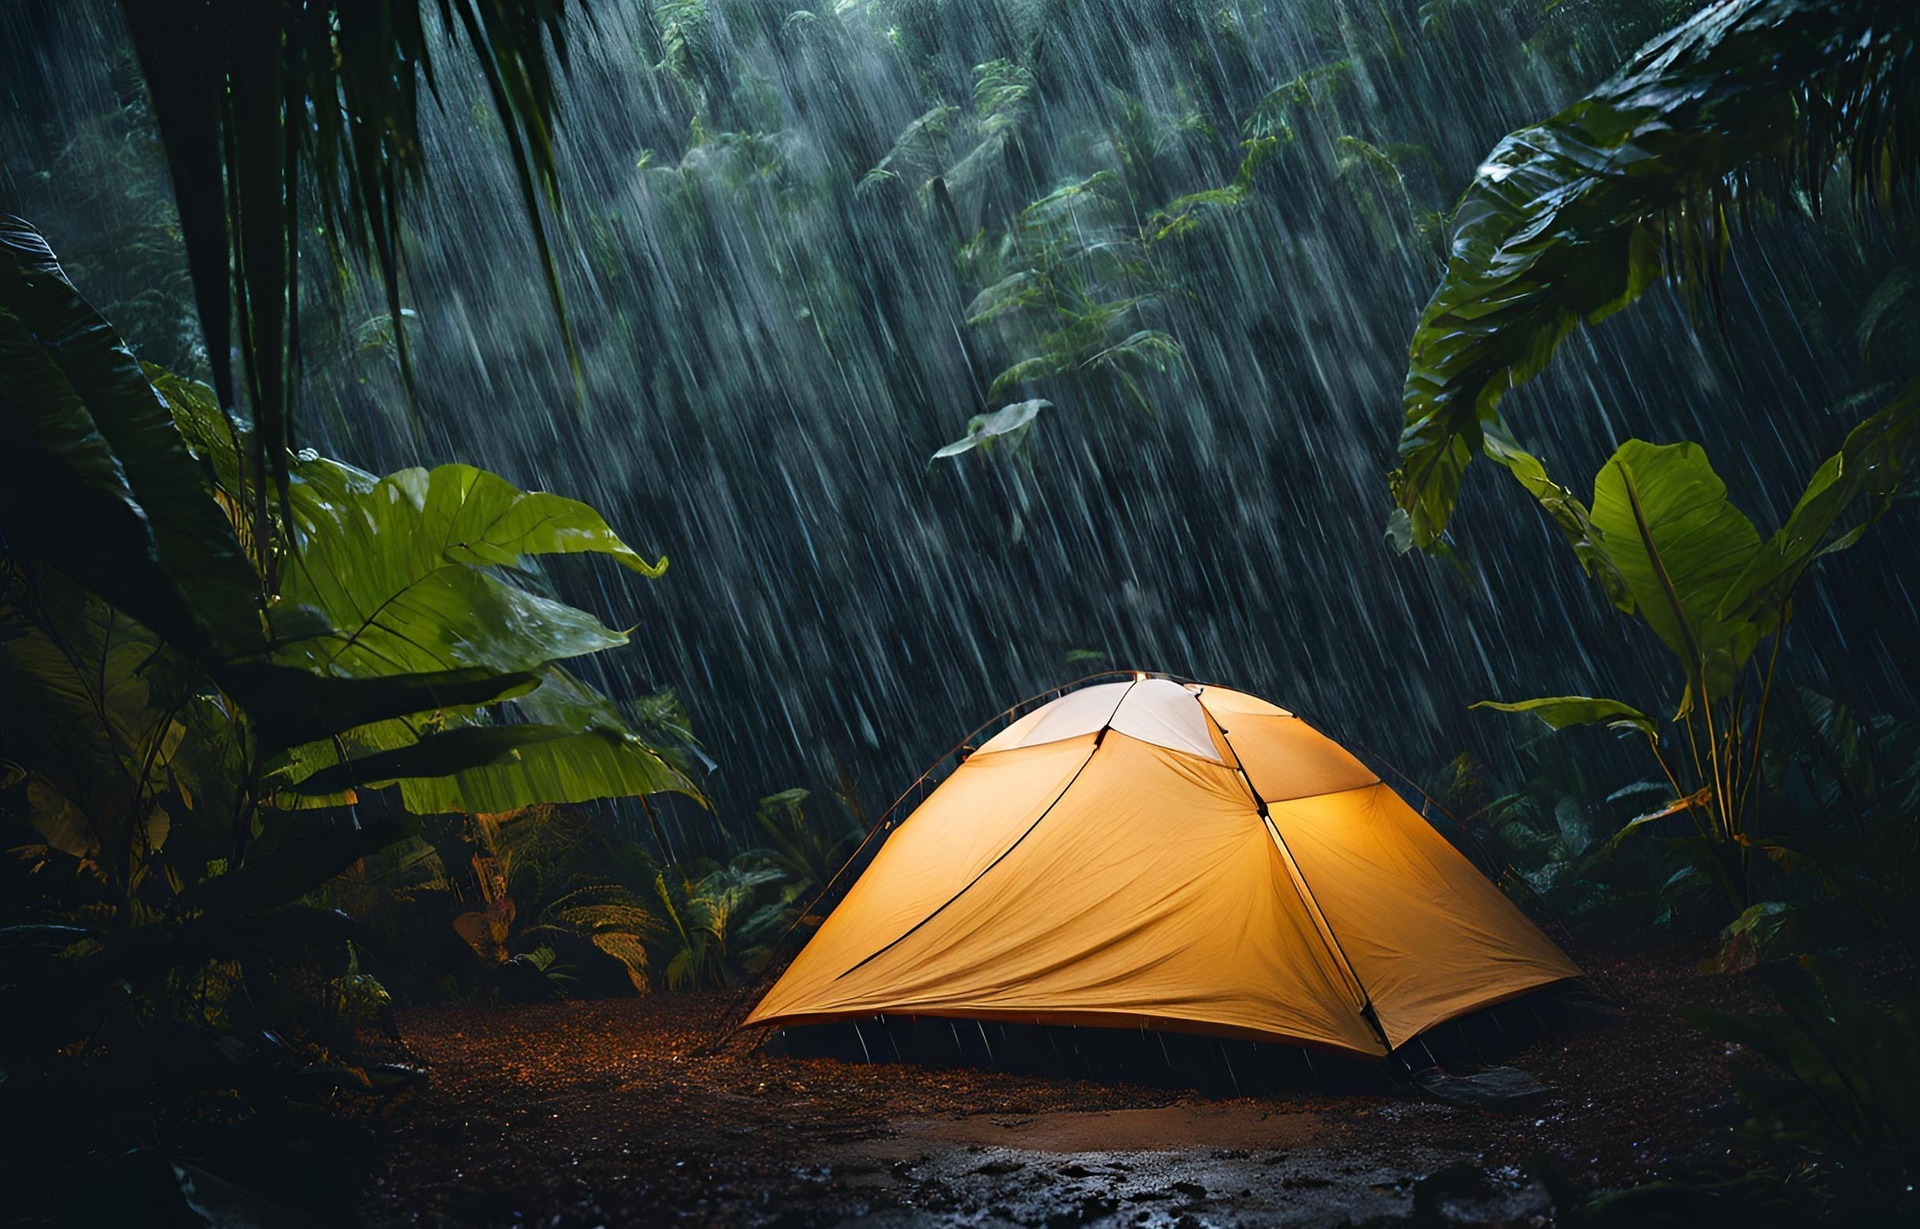
What to Do If Your Tent Leaks
⚠️ SAFETY FIRST
A leaking tent is inconvenient, but severe weather can become a genuine safety issue.
If conditions include strong winds, flooding, lightning or other dangerous weather, don’t stay in an unsafe location simply because you want to keep the tent dry. Follow your group’s emergency procedures and move to a safer shelter if necessary.
What Should You Do If Your Tent Leaks?
Few things are more frustrating when camping than waking up to find water inside your tent.
You might discover:
The good news is that a small tent leak doesn’t necessarily mean the whole tent has failed.
Often, you can identify where the water is coming from, protect your equipment and make a temporary repair.
The key is to act before everything inside becomes soaked.
Find the water. Stop it spreading. Protect your sleeping gear. Stay dry.
1. Don’t Panic
If you discover a leak during the night, your first reaction might be:
“Everything is soaked!”
Take a moment.
Turn on your torch and have a look around.
Work out:
Finding the source is the first step towards fixing it.
2. Check Whether It’s Actually a Leak
Not every drop of water inside a tent has come through a hole.
Condensation can create a surprising amount of moisture.
It can form when warm, damp air inside the tent meets the colder tent fabric.
You may find:
If the inside of the flysheet is covered in droplets but there isn’t a specific leak, condensation may be the culprit.
💧 LEAK OR CONDENSATION?
Leak: Water usually enters from a particular point or area.
Condensation: Moisture may appear across larger areas of the inside of the tent.
Improving ventilation can help reduce condensation.
3. Protect Your Sleeping Bag First
If water is getting into your tent, protect the things that matter most.
Your sleeping bag is particularly important.
Once a sleeping bag becomes soaked, keeping warm becomes much harder.
Move it away from the leaking area.
You can also protect it using:
Keep essential dry clothing protected too.
4. Move Your Equipment Away From the Leak
Don’t leave your backpack directly underneath dripping water.
Move:
to the driest parts of the tent.
If there is a large amount of water coming in, prioritise warmth, shelter and essential equipment rather than trying to keep every possession perfectly dry.
5. Check the Flysheet
If your tent has a separate flysheet, look at it carefully.
Make sure it is:
A flysheet that is touching the inner tent can allow water to transfer through.
Retensioning the tent may solve what initially looks like a leak.
⛺ CAMPING TIP
A well-pitched tent sheds water much better than a poorly pitched one.
Take time to tension the flysheet correctly and make sure the fabric isn’t resting against the inner tent.
6. Check the Tent’s Position
Sometimes the problem isn’t the tent.
It’s where you’ve pitched it.
Water naturally flows downhill.
If your tent is sitting in a depression, water may collect underneath it.
Look for:
This is why choosing a good campsite is part of staying dry.
7. Don’t Dig a Trench Around the Tent
You may hear old advice telling you to dig a drainage trench around your tent.
For modern camping, this generally isn’t a good idea.
Digging can damage the ground and may not be permitted at your campsite or on the land you’re using.
Instead, choose an appropriate campsite in the first place and use the site’s established drainage arrangements where available.
8. Check the Groundsheet
If water is coming from underneath, check the groundsheet.
A groundsheet that extends beyond the edges of the tent can collect rainwater and channel it underneath.
Where a footprint or groundsheet is designed to fit beneath your tent, it should normally not stick out beyond the edges.
If it does, rain can land on it and run underneath your tent.
🌧️ QUICK CHECK
If your tent floor is wet:
Is the ground wet?
Is the groundsheet sticking out?
Is water flowing underneath the tent?
Don’t automatically assume the tent fabric has failed.
9. Check the Doors and Zips
Rain can enter through doors and zips, particularly if:
Make sure the outer door is correctly closed.
If your tent has storm flaps or rain covers, make sure they’re positioned correctly.
10. Look at the Seams
The seams of a tent are potential weak points.
If water appears to be coming through a seam, you may need:
Follow the repair product’s instructions.
For a temporary emergency repair, suitable waterproof repair tape can sometimes help keep water out until the tent can be properly repaired.
11. What If There’s a Small Hole?
A small puncture doesn’t necessarily mean you need a new tent.
A suitable tent repair patch or waterproof repair tape can provide a temporary fix.
Before repairing:
- Dry the area as much as possible.
- Clean it if the repair instructions require this.
- Apply the repair material according to its instructions.
- Allow it to cure if required.
A permanent repair is usually better done once you’re home and the tent can be properly cleaned and dried.
12. Don’t Tape the Inside Without Thinking
If you’re trying to repair a leak, it’s tempting to cover everything with tape.
But different tent fabrics and waterproof coatings require different repair methods.
Some adhesives and tapes may damage certain materials.
Check the tent manufacturer’s repair guidance where possible.
This is particularly important with specialist lightweight fabrics.
13. Improve Ventilation
If your problem is condensation rather than an actual leak, ventilation is one of the best solutions.
Use the tent’s:
where weather conditions allow.
You want to reduce the amount of warm, moist air trapped inside the tent.
🌬️ CONDENSATION TIP
Two people breathing inside a small tent can produce a surprising amount of moisture overnight.
Ventilation matters, even when it’s raining.
14. Don’t Dry Wet Clothes Inside the Tent Without Ventilation
Putting wet clothes inside a tent may seem like a good way to keep them out of the rain.
But they release moisture as they dry.
That moisture can then condense on the inside of the tent.
If you’re drying clothing inside, use appropriate ventilation and avoid creating an excessively damp environment.
15. Use a Dry Bag System
If you’re camping in wet weather, organise your equipment so that important items stay dry even if something goes wrong.
For example:
DRY BAG 1
Sleeping bag.
DRY BAG 2
Spare clothes.
DRY BAG 3
Electronics and other sensitive equipment.
You don’t have to use three separate bags, but the principle is useful:
Don’t let one leaking tent turn into one completely soaked rucksack.
What If Your Sleeping Bag Gets Wet?
This is more serious than having a wet pair of socks.
A wet sleeping bag loses insulating performance.
If it becomes significantly wet:
If you’re becoming cold and unable to warm yourself, think about the risk of hypothermia.
During a Scout activity, tell your leader immediately.
What If the Tent Is Completely Flooded?
If water is entering faster than you can manage, stop trying to save the tent.
Your priorities are:
People first.
Warmth second.
Essential equipment third.
If the location itself is becoming unsafe because of flooding, rising water or severe weather, leave the area and follow your emergency plan.
A tent can be replaced.
A person’s safety is more important.
🚨 WEATHER WARNING
Never camp in a location where rising water could put you at risk.
A dry tent is irrelevant if the ground around it is flooding.
What If It’s Raining All Night?
You may not be able to completely fix a leak during a storm.
Instead, focus on managing the problem until conditions improve.
Keep:
Place absorbent items or towels where they’re useful, but don’t rely on them to solve a major leak.
What If You’re on a Scout Camp?
Tell your leader.
They may have:
Don’t try to move a tent or change your campsite without permission, particularly if you’re part of a larger camp.
How to Prevent a Leaking Tent
The best time to deal with a leaking tent is before you leave home.
Test it
Pitch the tent and check it before a trip.
Check the seams
Look for damaged or deteriorating seam sealing.
Inspect the flysheet
Look for holes, tears and damaged waterproof coatings.
Check the zips
Make sure they work properly.
Check the groundsheet
Make sure it fits correctly.
Practise pitching
A badly pitched tent may not shed water properly.
Pack a repair kit
Carry suitable repair tape and other manufacturer-recommended supplies.
🎒 CAMPING KIT TIP
A small tent-repair kit takes up very little space.
Consider carrying:
Small repairs are much easier before a minor problem becomes a major one.
Choosing a Good Campsite
Where you pitch your tent can make a huge difference.
Avoid:
Look at the ground before you pitch.
Ask:
“Where would the water go if it rained heavily tonight?”
That simple question can prevent a lot of problems.
A Simple “LEAK” Checklist
You could teach Scouts to remember:
L — Locate
Find where the water is coming from.
E — Equipment
Protect sleeping bags, clothes and important kit.
A — Adjust
Check the flysheet, groundsheet, tension and ventilation.
K — Keep safe
If the weather or campsite becomes dangerous, leave and seek safer shelter.
A Useful Scout Activity
This could make a great practical campcraft activity.
Give Scouts a tent and ask them to identify ways water could get inside.
Then challenge them to find:
The aim isn’t simply to teach them how to repair a tent.
It’s to teach them how to prevent the problem in the first place.
Final Thoughts
A leaking tent can make camping uncomfortable, but it doesn’t necessarily mean the trip is ruined.
First, work out whether you’re dealing with a genuine leak or condensation.
Then:
Protect your sleeping bag.
Move vulnerable equipment.
Check the flysheet and groundsheet.
Improve ventilation.
Make temporary repairs if appropriate.
And always keep an eye on the weather.
If conditions become dangerous, don’t stay put simply because you’ve already pitched your tent.
⛺ THE BIG IDEA
Stay dry by preventing problems before they start.
Pitch carefully.
Choose your campsite wisely.
Keep important kit protected.
Carry a repair kit.
And if the weather becomes dangerous, prioritise people over tents.
🔒Ready to test your survival skills?
Join Survival Guides UK for free, complete challenges, earn badges and increase your Survival Level.
JOIN FREE →
CRAIG BURR
FOUNDER · SURVIVAL GUIDES UK
I'm Craig, the person behind Survival Guides UK. I created SGUK because I wanted somewhere people could learn real outdoor skills in a practical, straightforward way — from lighting a fire and tying knots to navigation, campcraft and everything in between.
You can read more about the story behind SGUK here as well as our approach here.