Complete Camp Setup Checklist | Free Printable Camping Guide
Setting up camp properly can make the difference between a relaxed, organised camping trip and a campsite full of forgotten equipment and unnecessary problems.
Whether you’re camping with your family, heading out with a Scout group or setting up an outdoor base for a weekend adventure, having a simple camp setup checklist helps make sure the important jobs are completed before everyone settles in.
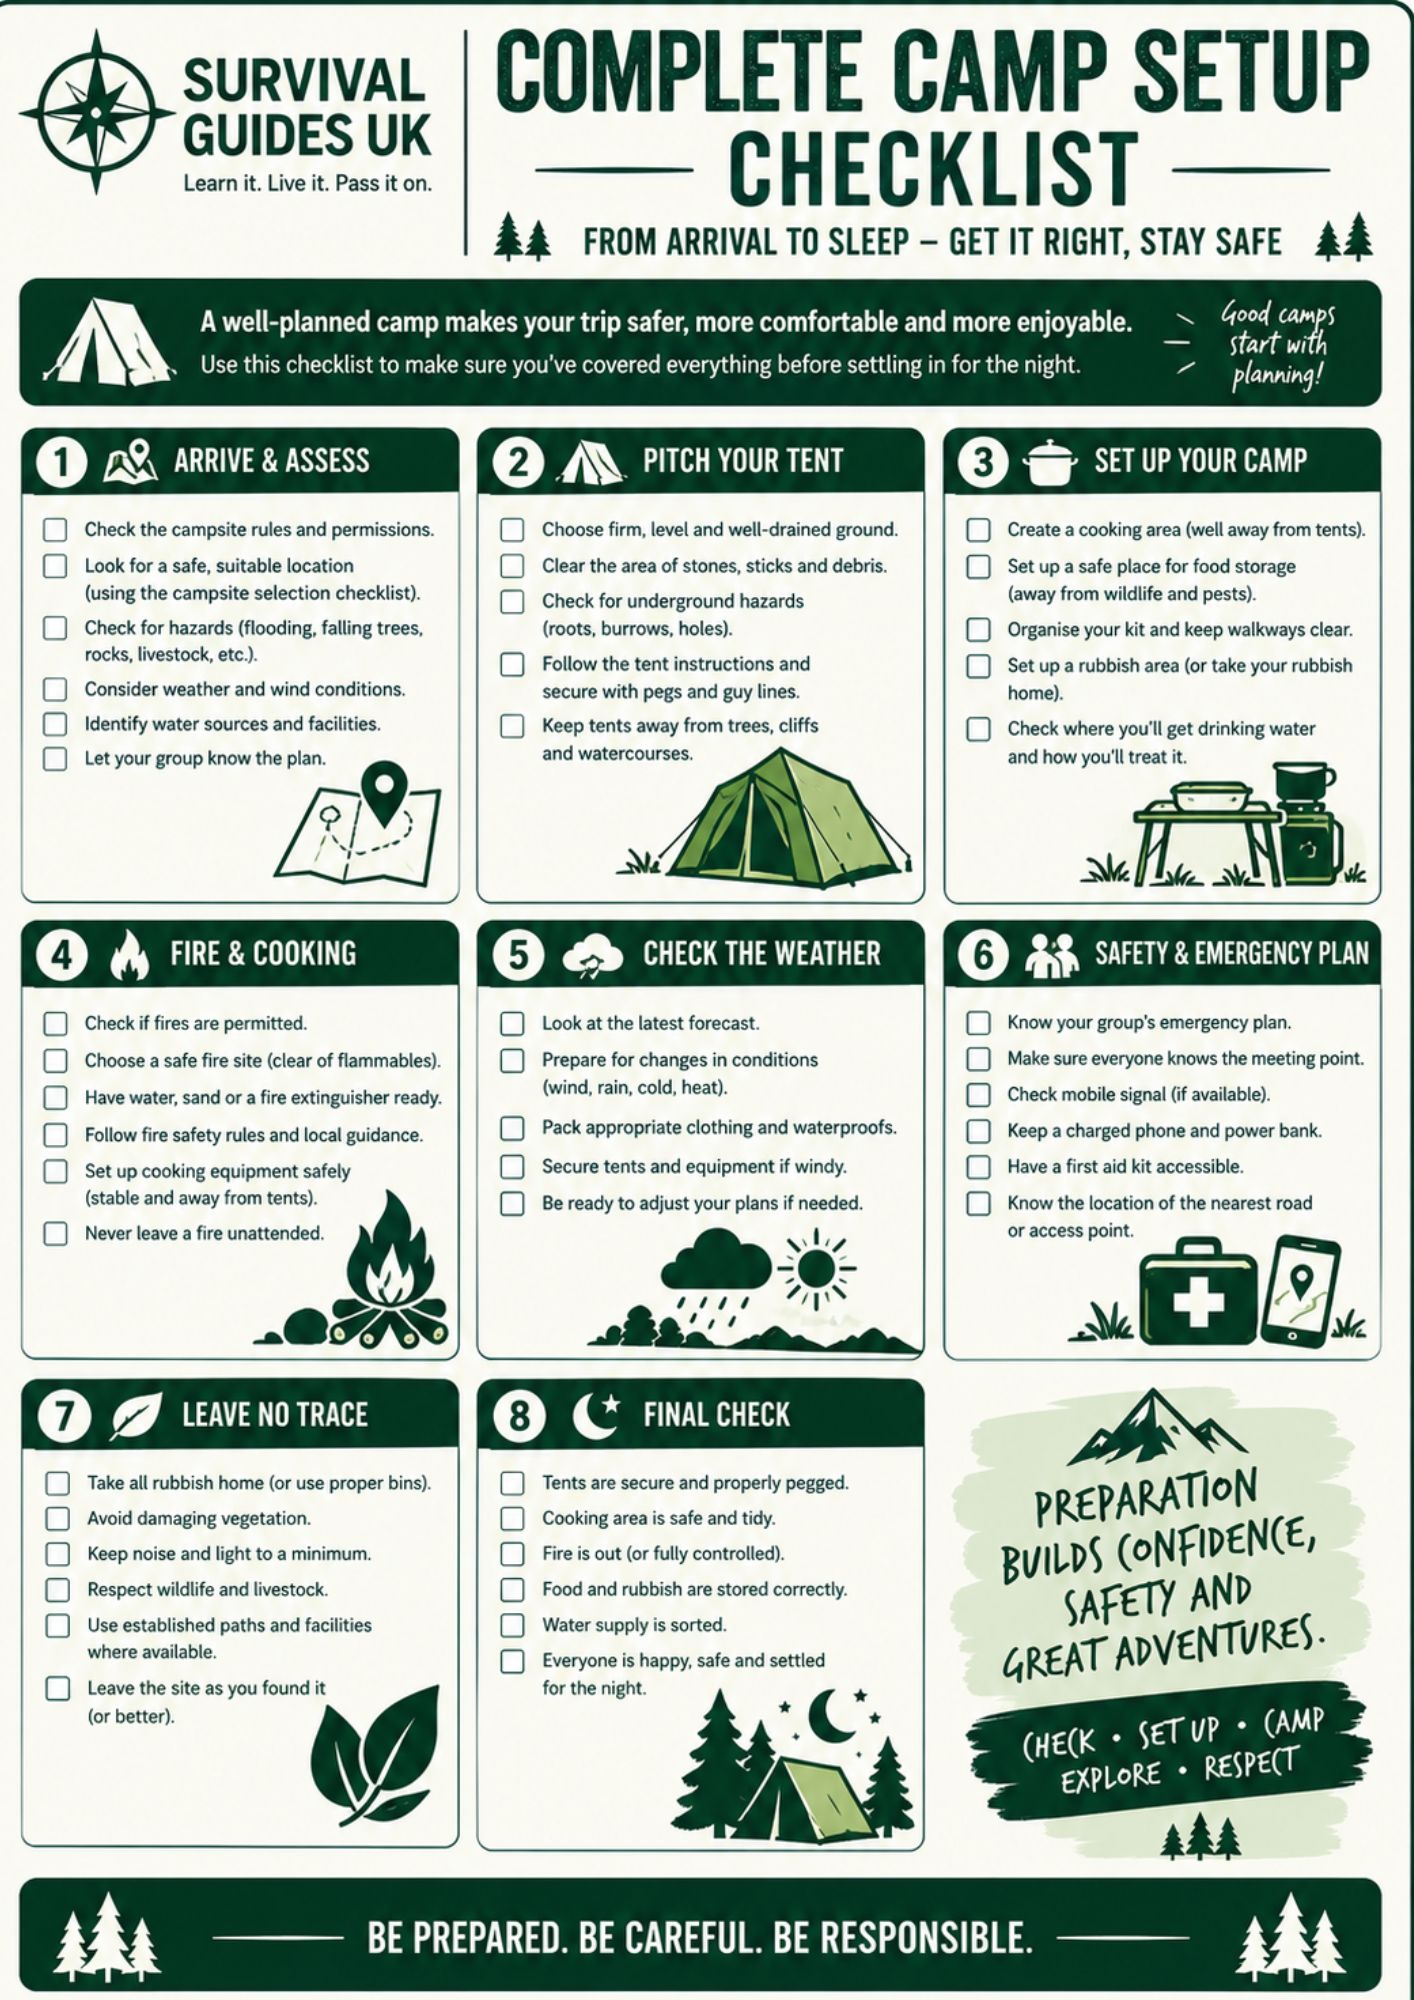
We’ve created this free printable Complete Camp Setup Checklist to help you work through the process from arriving at your campsite to getting everything ready for the night.
Download the free Camp Setup Checklist
Restricted Content
Members Only
Join Survival Guides UK for free to access and download this resource.
JOIN FREE →The A4 printable is designed as a quick reference for:
- Scouts and Guides
- Scout leaders
- Campers
- Hiking groups
- Outdoor education
- Families
- Bushcraft and campcraft activities
Print it at 100% scale on A4 paper and keep it with your camping equipment or outdoor skills folder.
Step 1 – Assess your campsite
Don’t immediately start putting up your tent when you arrive.
Take a few minutes to look around and make sure you’ve selected a suitable area.
Check:
☐ Camping is permitted
☐ Ground is firm and reasonably level
☐ There are no obvious trip hazards
☐ The area isn’t waterlogged
☐ There is no obvious flood risk
☐ No dangerous trees or branches are overhead
☐ The site is suitable for the weather
☐ There is enough room for your group
Think about what the campsite might be like later in the day or overnight, rather than judging it only by the conditions when you arrive.
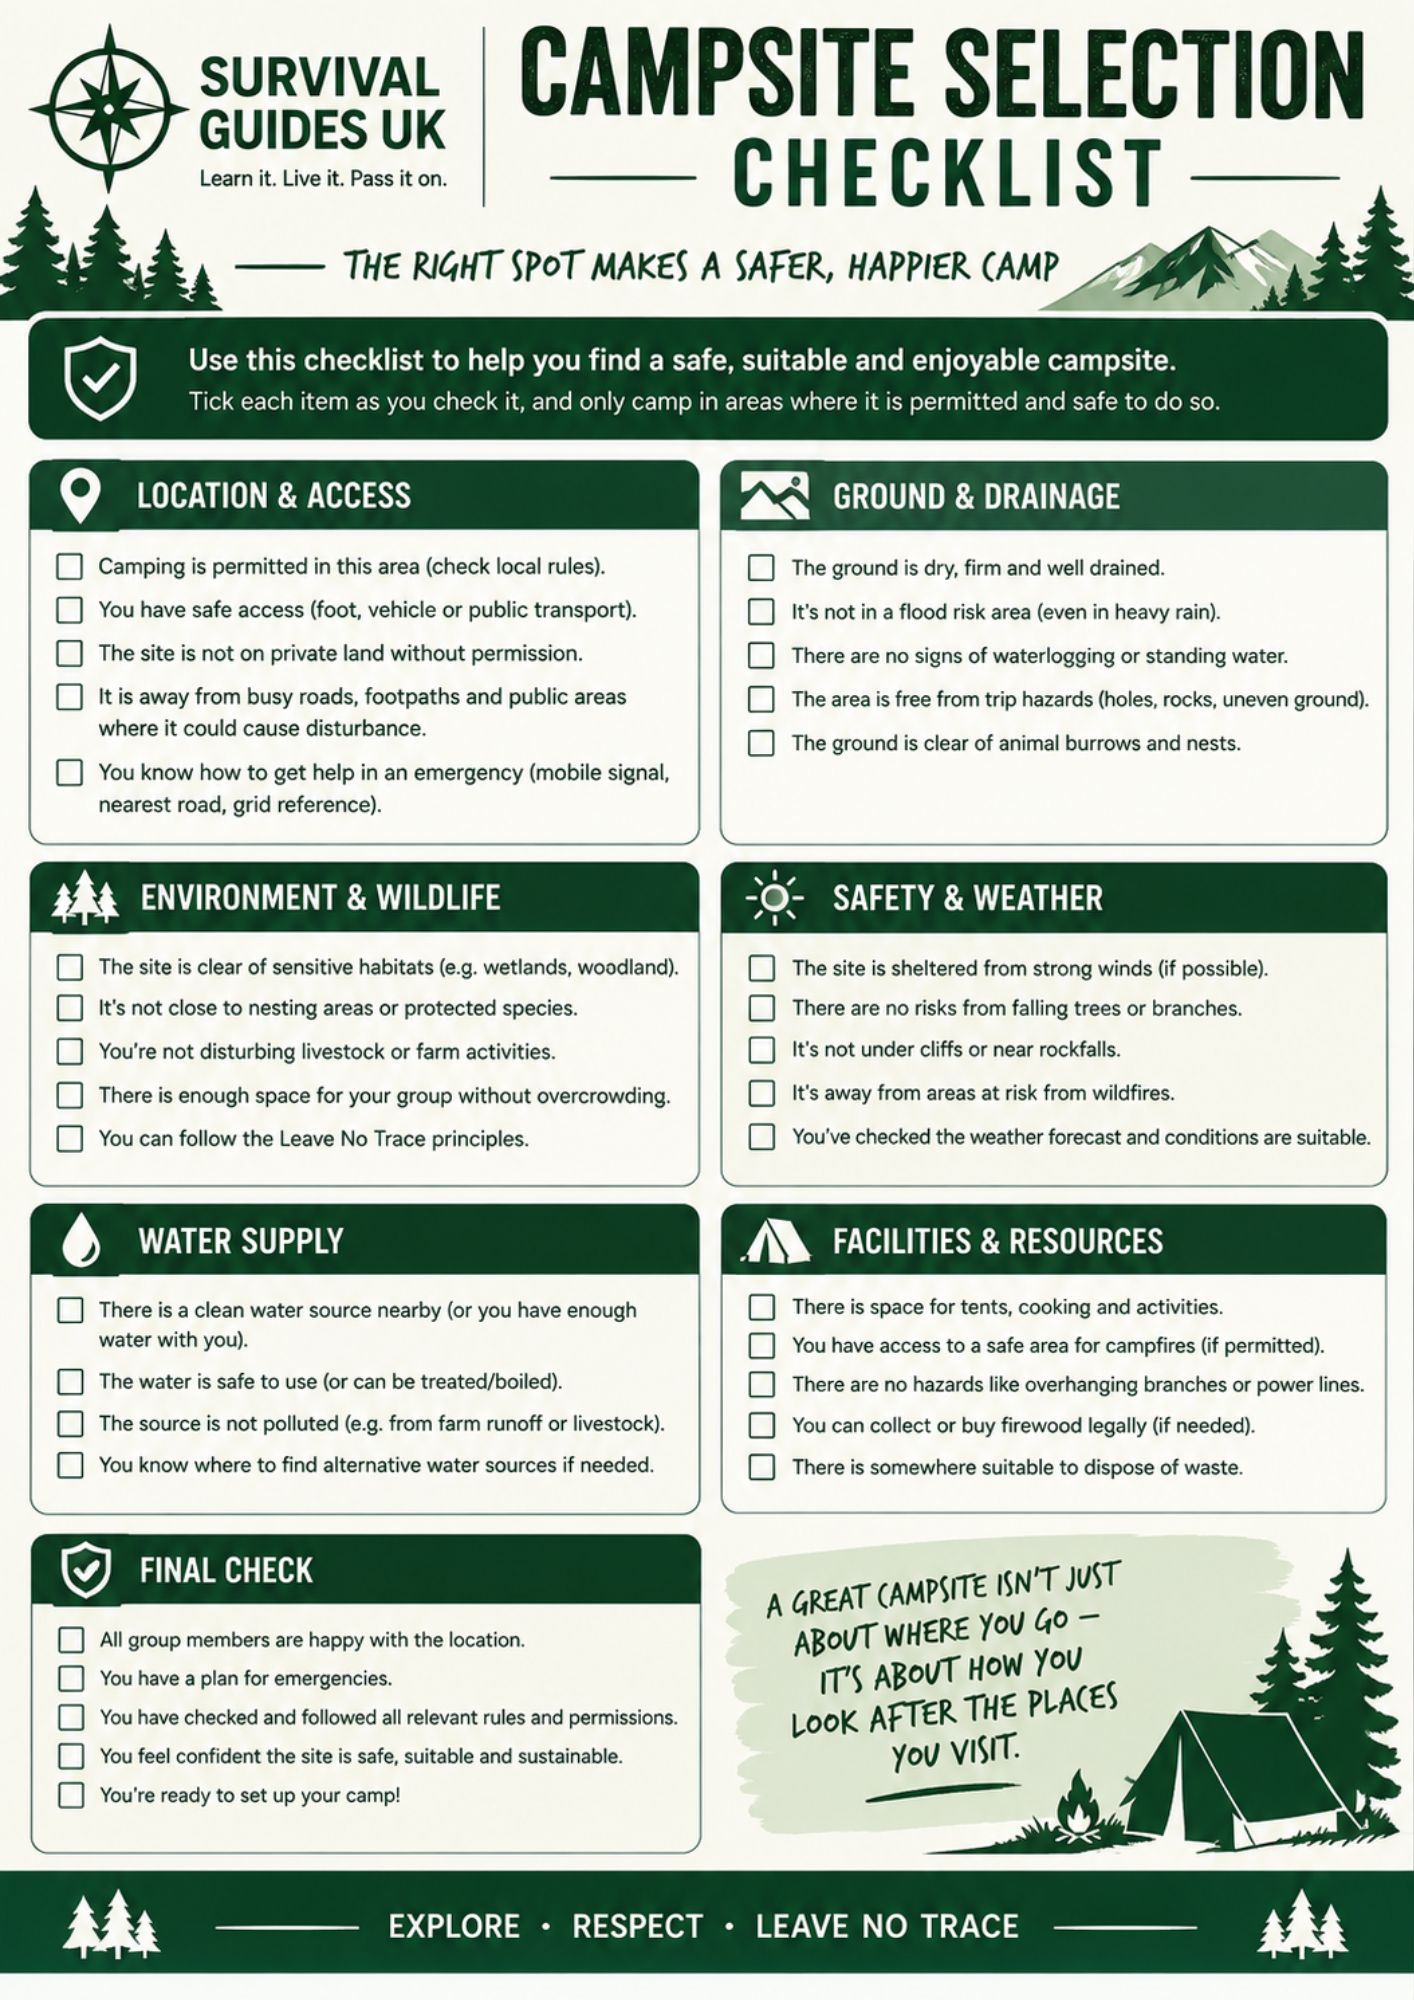
For more help choosing a suitable location, see our Campsite Selection Checklist.
Step 2 – Organise your equipment
Once you’ve chosen your site, get your equipment organised before opening everything.
Keep important items together and make sure everyone knows where equipment can be found.
Useful items might include:
- Tents and shelters
- Sleeping equipment
- Cooking equipment
- Food
- Water
- Lighting
- First aid kit
- Navigation equipment
- Spare clothing
- Waste bags
- Fire equipment, where fires are permitted
Keeping equipment organised from the beginning makes the rest of the camp much easier.
Step 3 – Pitch your tent
Choose the best position within your campsite before pitching.
Consider:
- Wind direction
- Drainage
- Access
- Nearby hazards
- Where you’ll cook
- Where you’ll store equipment
- Where people will walk
Make sure tent entrances aren’t obstructed and that guy lines don’t create unnecessary trip hazards.
Once the tent is pitched, check that:
☐ Pegs are secure
☐ Guy lines are correctly positioned
☐ Doors and zips work properly
☐ Sleeping area is dry
☐ Equipment is stored safely
☐ Tent is stable
If conditions are windy or wet, check the tent again periodically.
Step 4 – Set up your sleeping area
Get your sleeping area organised before you get tired.
Set up:
- Sleeping bag
- Sleeping mat
- Pillow
- Spare clothing
- Personal equipment
Keep essential items where you can find them easily.
A headtorch or torch should be easy to reach at night.
Don’t leave essential equipment buried at the bottom of a rucksack.
Step 5 – Establish your cooking area
If you’re cooking at camp, choose a suitable location away from sleeping areas and flammable materials.
Follow the campsite’s rules and manufacturer’s instructions for any stove or cooking equipment.
Organise:
☐ Cooking equipment
☐ Fuel
☐ Food
☐ Water
☐ Utensils
☐ Washing-up equipment
☐ Waste storage
Keep cooking equipment stable and supervised.
Never use fuel-burning cooking equipment inside a tent or other poorly ventilated enclosed space.
Step 6 – Sort your water
Make sure you know where your drinking water is coming from.
You should have enough safe water for:
- Drinking
- Cooking
- Washing
- Emergency needs
Never assume that water from a stream, lake or other natural source is safe to drink simply because it looks clean.
If you’re using a natural water source, follow appropriate treatment guidance.
Keep clean drinking water separate from dirty water and waste.
Step 7 – Set up lighting
As daylight disappears, your campsite can become much harder to navigate.
Set up your lighting before you need it.
Check:
☐ Headtorch available
☐ Spare batteries or charged lights available
☐ Main camp lighting ready
☐ Trip hazards are visible
☐ Important equipment can be located in the dark
A simple tip:
Put your headtorch somewhere you can reach without leaving your sleeping bag.
Step 8 – Fire safety
If fires are permitted at your campsite, follow the site’s rules and any local restrictions.
Before lighting a fire:
☐ Confirm fires are permitted
☐ Choose an appropriate fire location
☐ Keep tents and flammable materials away
☐ Check wind conditions
☐ Have suitable extinguishing materials available
☐ Make sure someone is responsible for supervision
Never leave a campfire unattended.
Before going to bed or leaving camp, make sure the fire is completely extinguished.
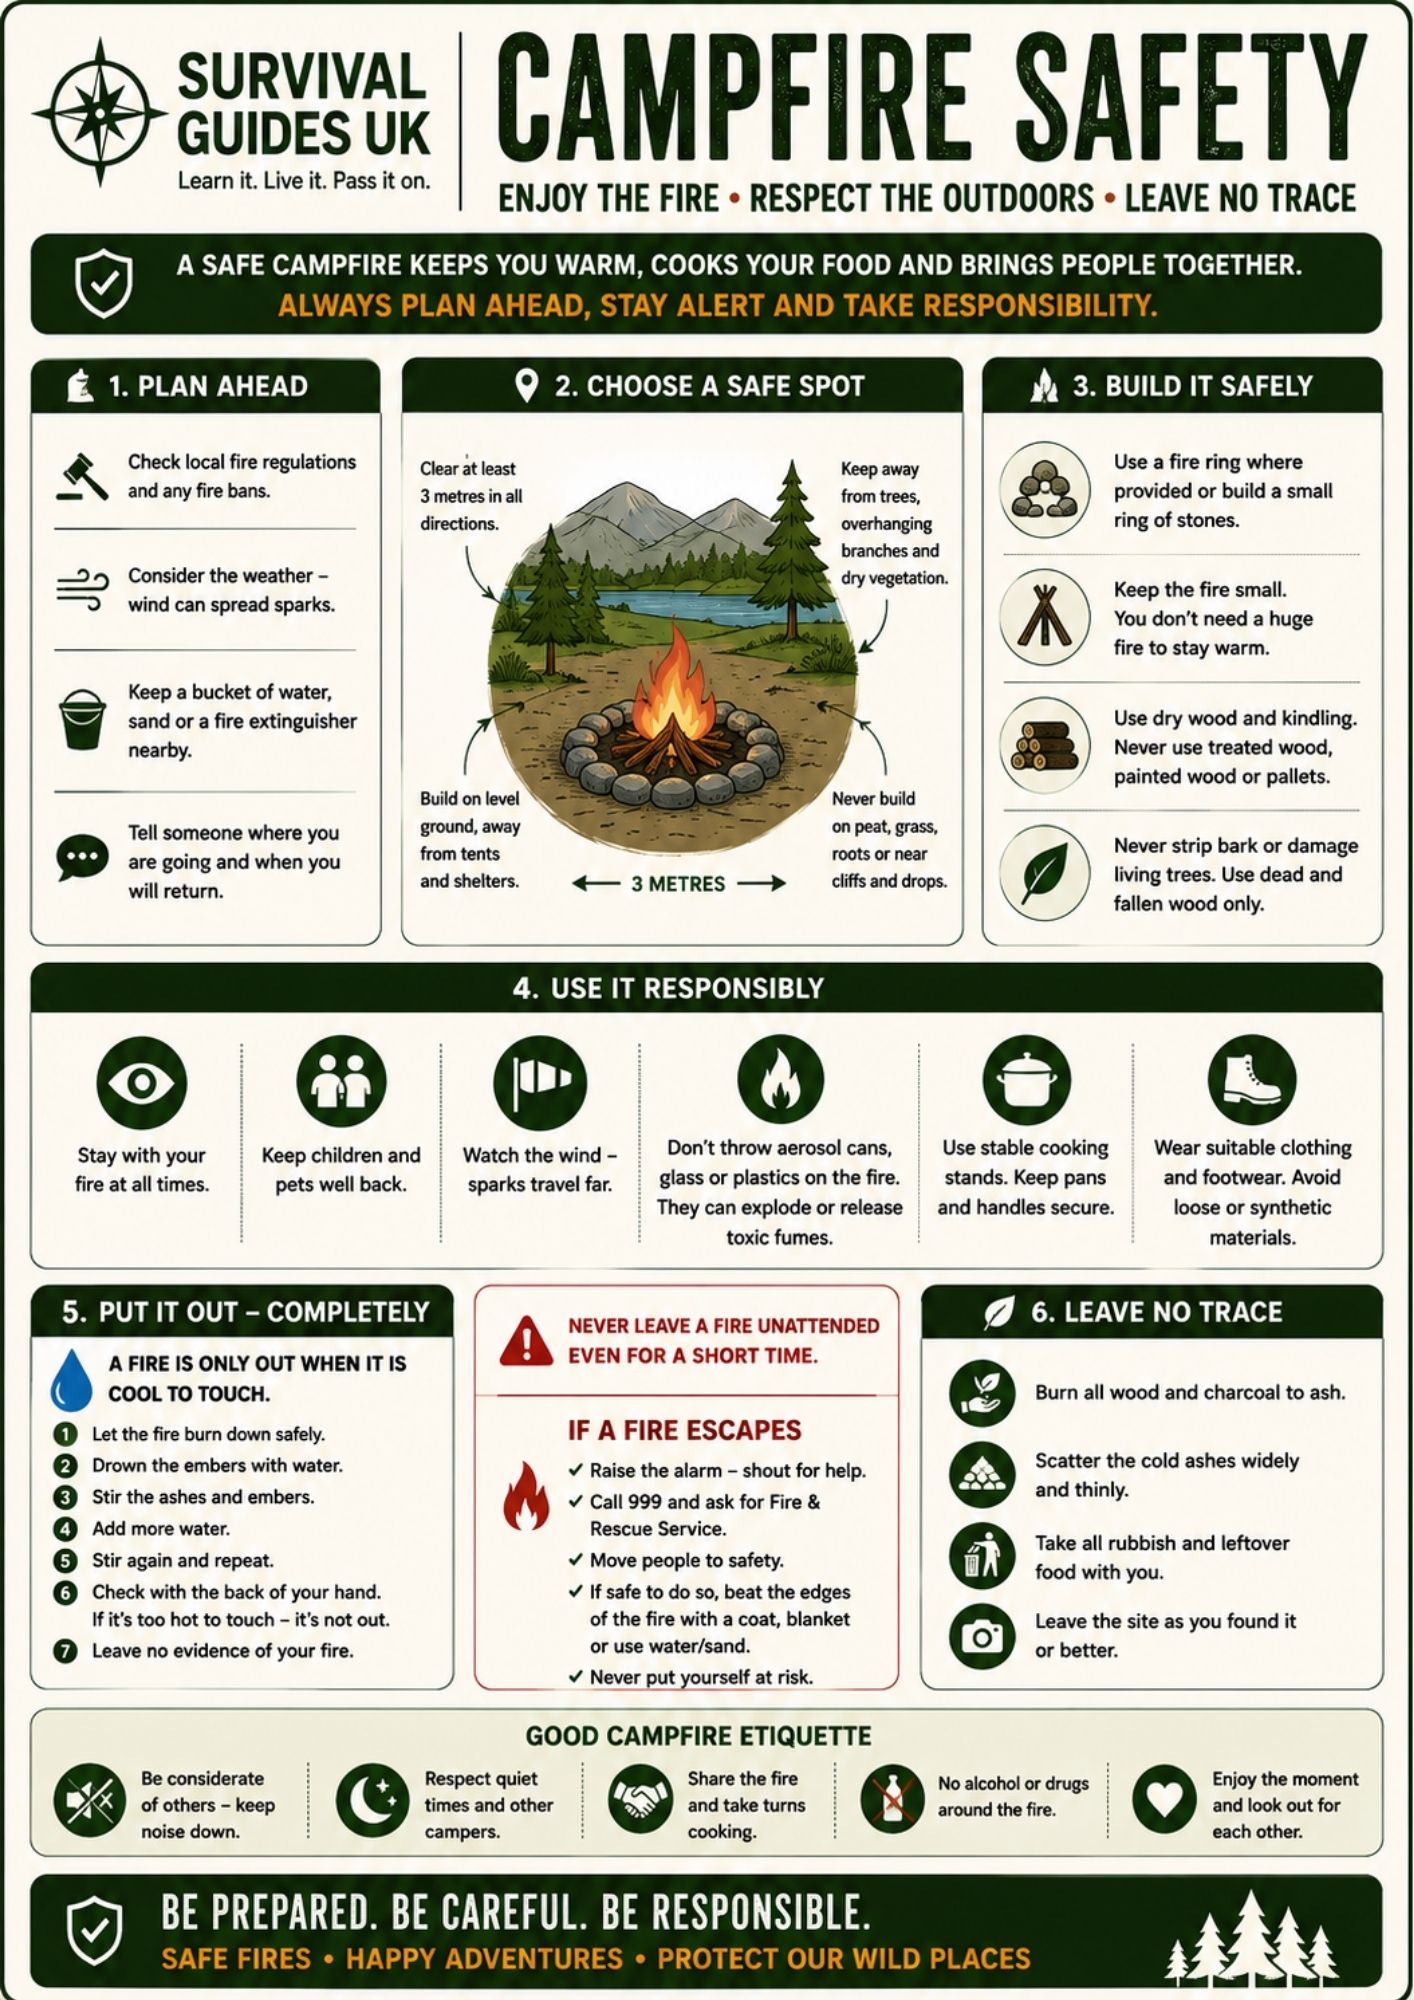
For more information, see our Campfire Safety Guide.
Step 9 – Organise food and rubbish
Food should be stored appropriately for the campsite and local wildlife.
Don’t leave food or rubbish scattered around camp.
At the end of meals:
☐ Food is stored safely
☐ Cooking equipment is cleaned
☐ Food waste is dealt with
☐ Rubbish is secured
☐ Washing-up water is disposed of appropriately
Good food and waste management helps prevent unwanted visits from animals and keeps your campsite clean.
Step 10 – Establish your camp boundaries
This is particularly useful for Scout and group camps.
Make sure everyone knows:
- Where the tents are
- Where cooking takes place
- Where the fire area is, if applicable
- Where equipment is stored
- Where people can and cannot go
- Where the toilets are
- Where the meeting point is
- What to do in an emergency
A few minutes spent explaining the campsite layout can prevent confusion later.
Step 11 – Check the weather
Once your camp is established, check the forecast again.
Conditions can change quickly outdoors.
Think about what you may need if:
Rain arrives:
Can you keep essential equipment dry?
Wind increases:
Are your tents and shelters secure?
Temperature drops:
Do you have enough warm clothing and sleeping equipment?
Hot weather arrives:
Do you have enough water and shade?
Being prepared for changing conditions is much easier than trying to reorganise camp after the weather has already deteriorated.
Step 12 – Final camp inspection
Before everyone settles down, walk around the entire campsite.
Check:
☐ Tents secure
☐ Equipment organised
☐ Cooking area safe
☐ Food stored
☐ Water available
☐ Lighting available
☐ Fire safe or completely extinguished
☐ Rubbish secured
☐ Trip hazards identified
☐ Emergency arrangements understood
For a group camp, having a leader or designated person complete the final inspection can be particularly useful.
Camp setup doesn’t end when the tents are up
A good campsite isn’t just about getting the tents pitched.
The aim is to create an organised environment where everyone knows:
Where things are.
What they’re responsible for.
What the hazards are.
What to do if something goes wrong.
This becomes even more important when camping with a larger group.
Camp setup checklist
Our printable checklist provides a simple sequence to follow:
ARRIVE
Assess the site and identify hazards.
ORGANISE
Get equipment together and establish your camp layout.
PITCH
Set up tents and shelters securely.
SLEEP
Prepare sleeping areas and keep essential equipment accessible.
COOK
Establish a safe cooking area and organise food and water.
SAFETY
Check fire arrangements, lighting, weather and emergency procedures.
INSPECT
Walk around the completed camp before settling in.
Download the printable checklist
The Complete Camp Setup Checklist is designed to be a practical reference rather than another complicated camping manual.
It’s ideal for:
- Scout camps
- Group camping
- Family camping
- Outdoor education
- Hiking trips
- Campcraft training
- Bushcraft activities
- Beginner campers
Print it, tick off each section as you set up and use it to develop good camping habits.
Learn it. Live it. Pass it on.
Safety note
This is an independent educational resource from Survival Guides UK. Always follow the rules of the campsite or landowner, manufacturer’s instructions for camping equipment and applicable local safety guidance. Conditions outdoors can change, so reassess your campsite and equipment whenever weather or circumstances change.
🔒Ready to test your survival skills?
Join Survival Guides UK for free, complete challenges, earn badges and increase your Survival Level.
JOIN FREE →
CRAIG BURR
FOUNDER · SURVIVAL GUIDES UK
I'm Craig, the person behind Survival Guides UK. I created SGUK because I wanted somewhere people could learn real outdoor skills in a practical, straightforward way — from lighting a fire and tying knots to navigation, campcraft and everything in between.
You can read more about the story behind SGUK here as well as our approach here.