Grid Reference Cheat Sheet – Free Printable Guide
Knowing how to give and find a grid reference is one of the most useful map-reading skills for anyone learning outdoor navigation.
Grid references allow you to describe a precise location on a map using the numbered grid printed across it. They are widely used in Scouting, hiking, outdoor education, navigation training and the Duke of Edinburgh’s Award.
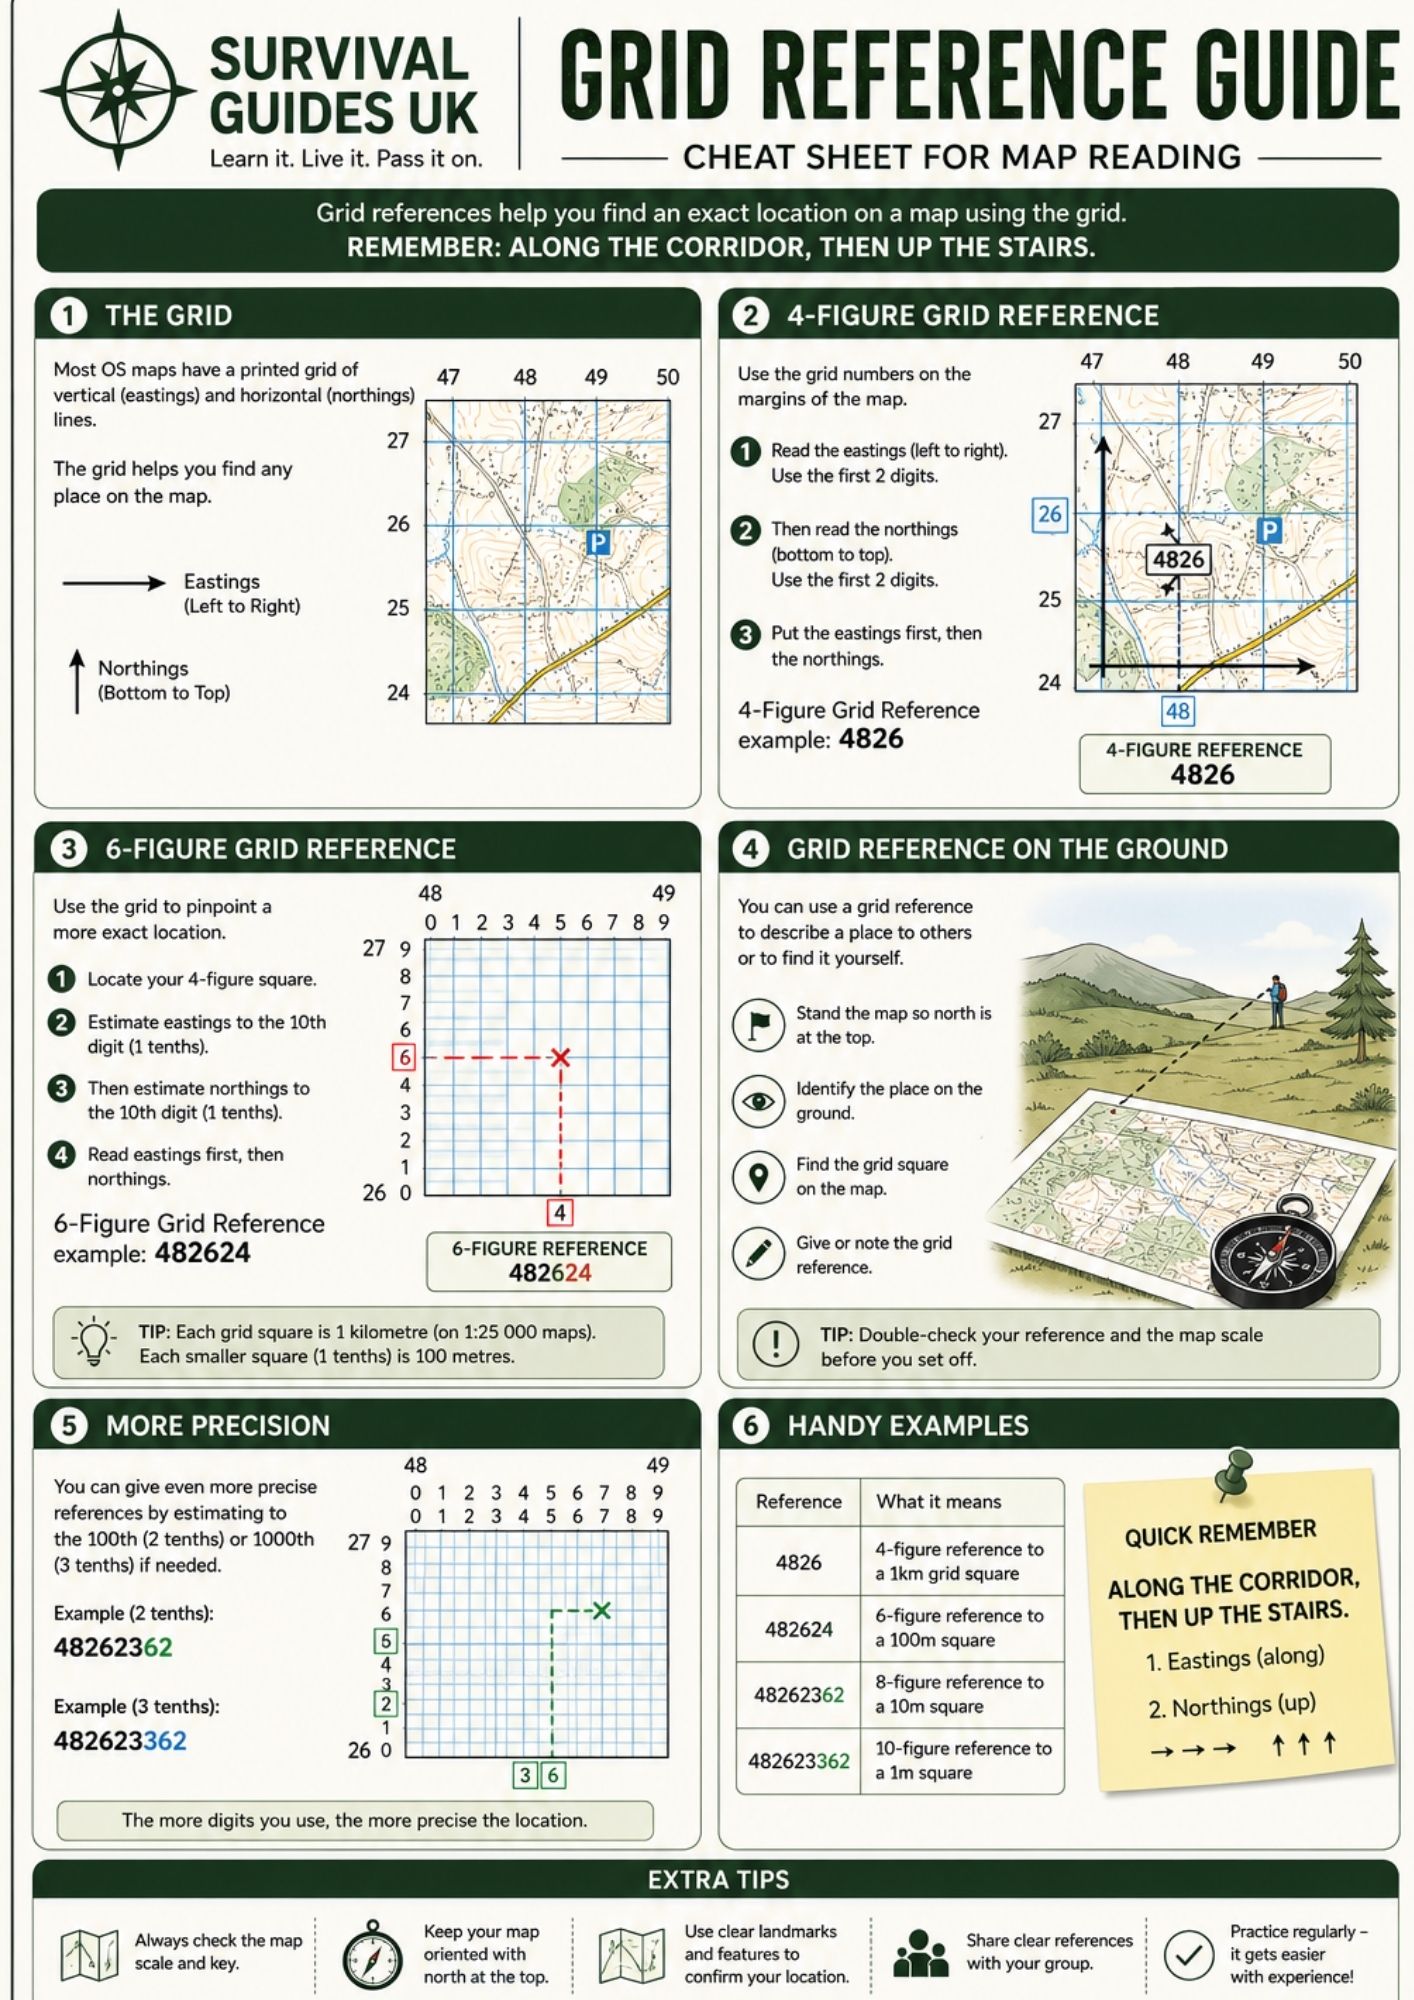
We’ve created this free printable grid reference cheat sheet to make learning the basics easier.
Download the Free Grid Reference Guide
Restricted Content
Members Only
Join Survival Guides UK for free to access and download this resource.
JOIN FREE →Print the guide and keep it with your map-reading notes, Scout resources, hiking equipment or outdoor skills folder.
For the best results, print at 100% scale on A4 paper.
The Most Important Rule
When taking a grid reference, remember:
Along the corridor, then up the stairs.
This means:
1. Eastings first – read from left to right.
2. Northings second – read from bottom to top.
This simple phrase is one of the easiest ways to remember which numbers to use first.
What are Eastings and Northings?
A map grid is made up of vertical and horizontal lines.
Eastings
Eastings run vertically and their numbers increase as you move from west to east.
Think of them as the numbers you travel along from left to right.
Northings
Northings run horizontally and their numbers increase as you move north, from bottom to top.
Think of them as the numbers you travel up.
So when giving a grid reference:
Eastings first, northings second.
What is a Four-Figure Grid Reference?
A four-figure grid reference identifies a particular grid square.
It uses:
For example:
4826
The 48 identifies the easting.
The 26 identifies the northing.
Together, 4826 identifies the 1 km grid square containing the location on a typical 1:25,000 OS map.
Remember
Don’t give the numbers in the order you happen to see them on the map.
Always use:
Easting → Northing
What is a Six-Figure Grid Reference?
A six-figure grid reference gives a much more precise location.
It uses:
For example:
482624
You can think of it as splitting the grid square into ten smaller sections in each direction.
The first three digits identify the easting:
482
The final three digits identify the northing:
624
This allows you to pinpoint a location much more accurately than a four-figure reference.
How to Take a Six-Figure Grid Reference
Follow these steps:
Step 1 – Find the correct easting
Find the vertical grid line immediately to the left of your feature.
Read its two-digit number.
Step 2 – Estimate across the square
Estimate how many tenths of the square you need to move to the right.
This gives you the third easting digit.
Step 3 – Find the correct northing
Find the horizontal grid line immediately below your feature.
Read its two-digit number.
Step 4 – Estimate upwards
Estimate how many tenths of the square you need to move upwards.
This gives you the third northing digit.
Step 5 – Put them together
Write the complete reference as:
EEE NNN
Eastings first, followed by northings.
Four Figures vs Six Figures
|
Grid Reference |
Accuracy |
Example |
|---|---|---|
|
4 figure |
Identifies a grid square |
4826 |
|
6 figure |
Pinpoints a much smaller location |
482624 |
|
8 figure |
Greater precision |
48262362 |
|
10 figure |
Very high precision |
4826233632 |
The more figures you use, the more precisely you can describe a location.
For most everyday outdoor navigation and Scout activities, six-figure grid references are particularly useful.
Why Grid References are Useful
Grid references allow you to communicate a location clearly without having to describe it using landmarks or written directions.
For example, you could use a grid reference to identify:
They are especially useful when several people are working from the same map.
Grid References and Your Compass
Grid references work particularly well alongside other navigation skills.
You can use a grid reference to identify where you want to go, then use your map and compass to plan and follow a route.
A typical navigation exercise might involve:
Grid reference → Find the location → Plan the route → Take a bearing → Navigate → Check your position
Practising these skills together will help build confidence in map reading.
A Quick Memory Trick
If you only remember one thing, remember:
ALONG THE CORRIDOR, THEN UP THE STAIRS
EASTINGS → NORTHINGS
Left → Right
Bottom → Top
Once this becomes automatic, taking grid references becomes much easier.
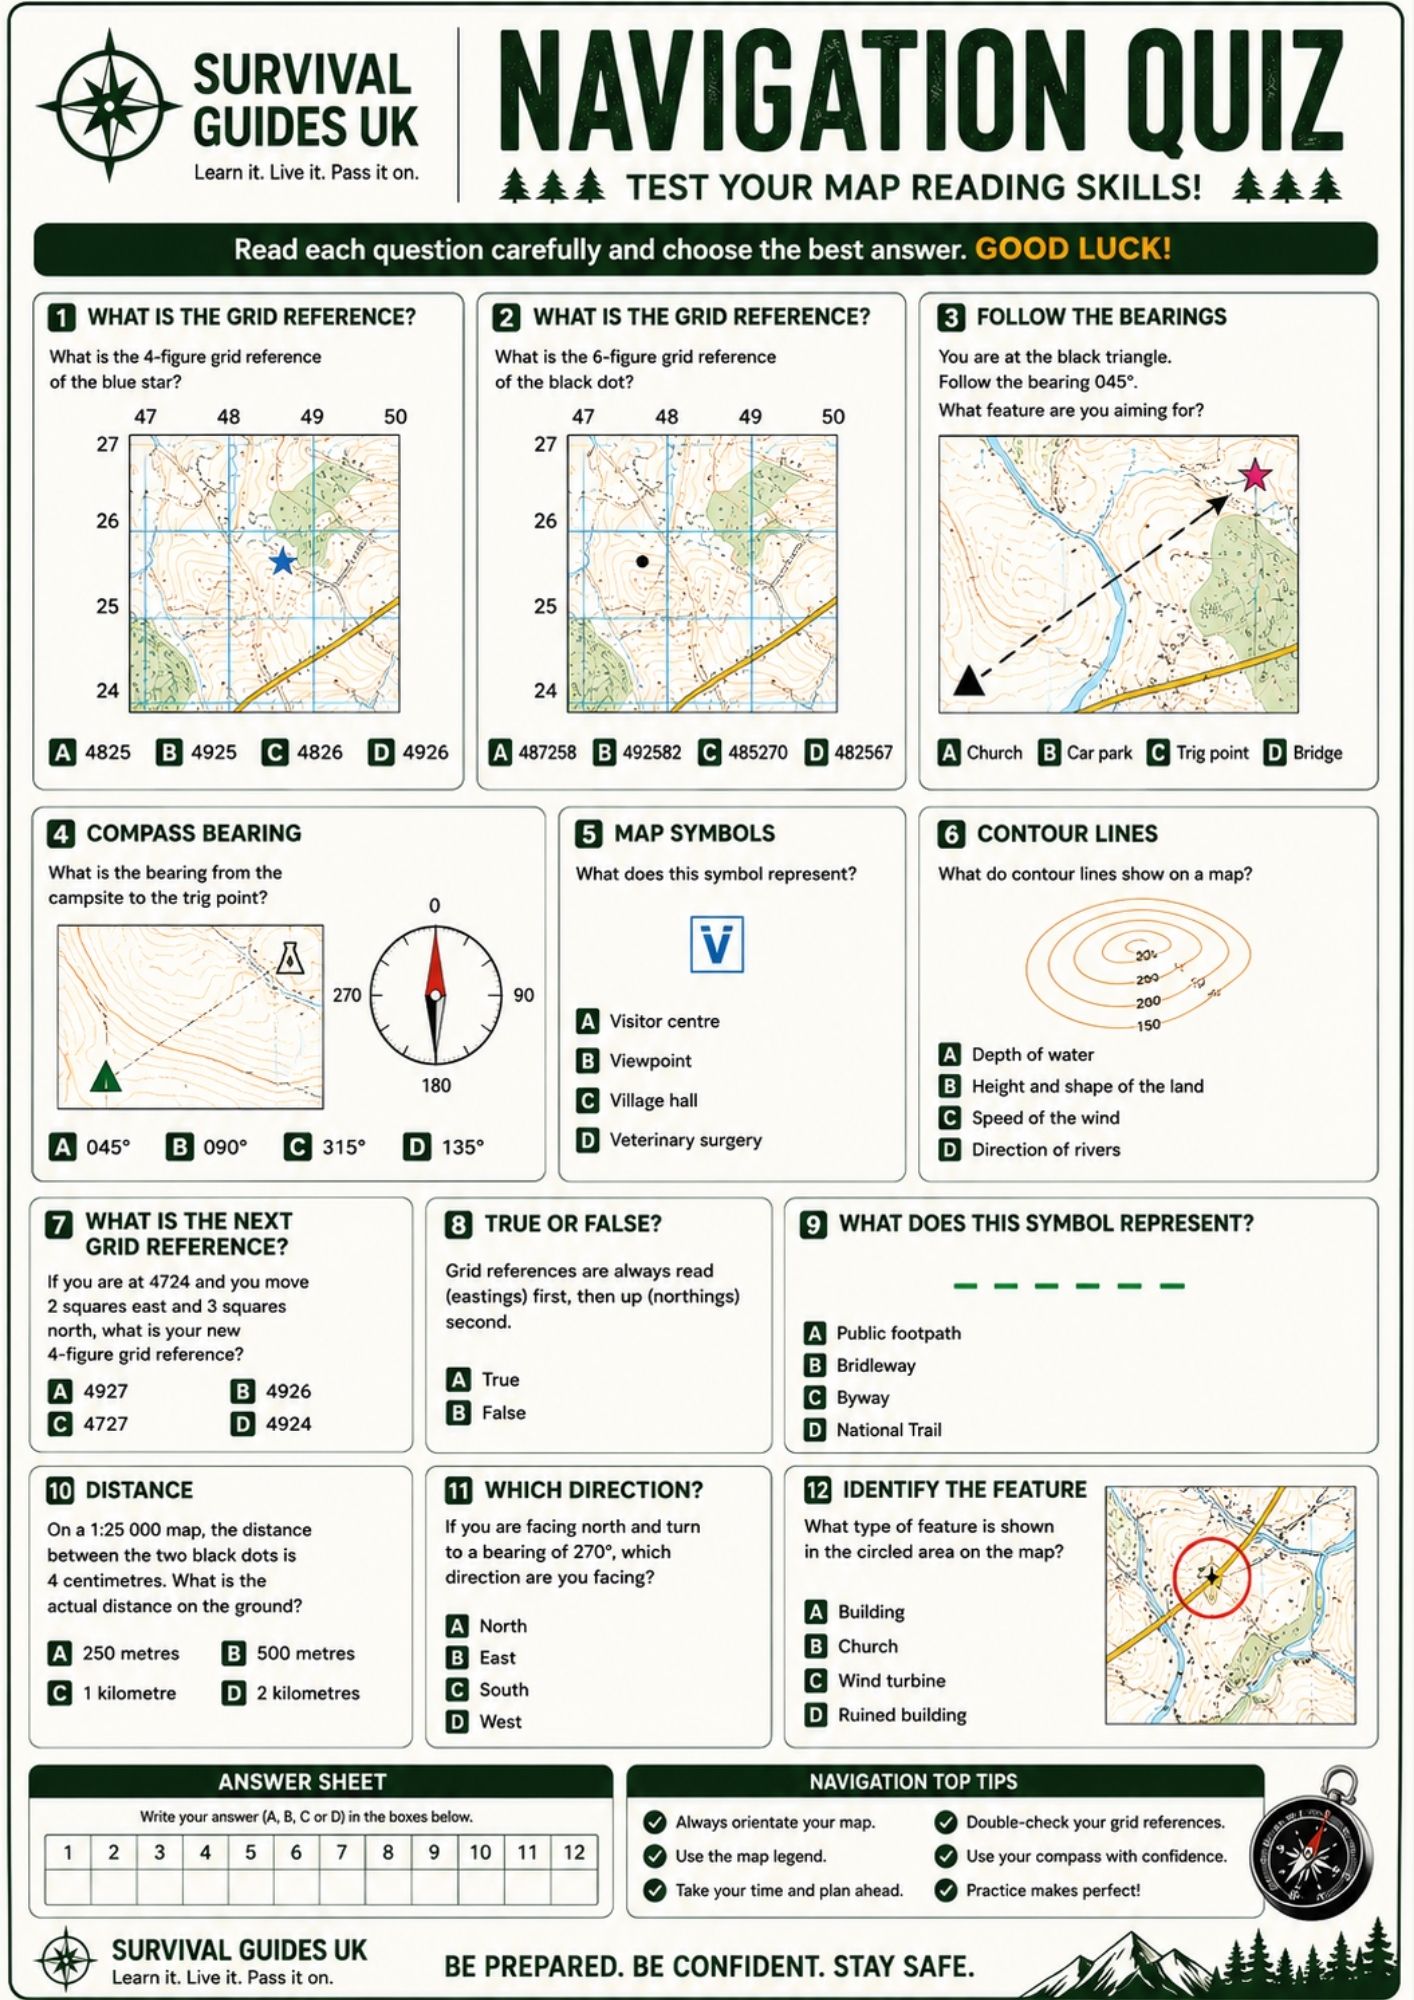
Practise Your Grid References
The best way to learn is to practise.
Take a map and choose several obvious features such as a building, road junction, bridge or hill.
For each feature:
You can then swap roles and test each other.
This makes a great activity for Scouts, Guides, DofE groups and outdoor skills sessions.
Our Grid Reference Cheat Sheet gives you the key information in one easy-to-use reference.
It’s ideal for:
Print it, practise the techniques and take it with you when you’re learning navigation outdoors.
Learn it. Live it. Pass it on.
Important note
This is an independent educational resource produced by Survival Guides UK. Grid references and map conventions can vary between mapping products and scales, so always check the legend and instructions for the particular map you are using.
🔒Ready to test your survival skills?
Join Survival Guides UK for free, complete challenges, earn badges and increase your Survival Level.
JOIN FREE →
CRAIG BURR
FOUNDER · SURVIVAL GUIDES UK
I'm Craig, the person behind Survival Guides UK. I created SGUK because I wanted somewhere people could learn real outdoor skills in a practical, straightforward way — from lighting a fire and tying knots to navigation, campcraft and everything in between.
You can read more about the story behind SGUK here as well as our approach here.