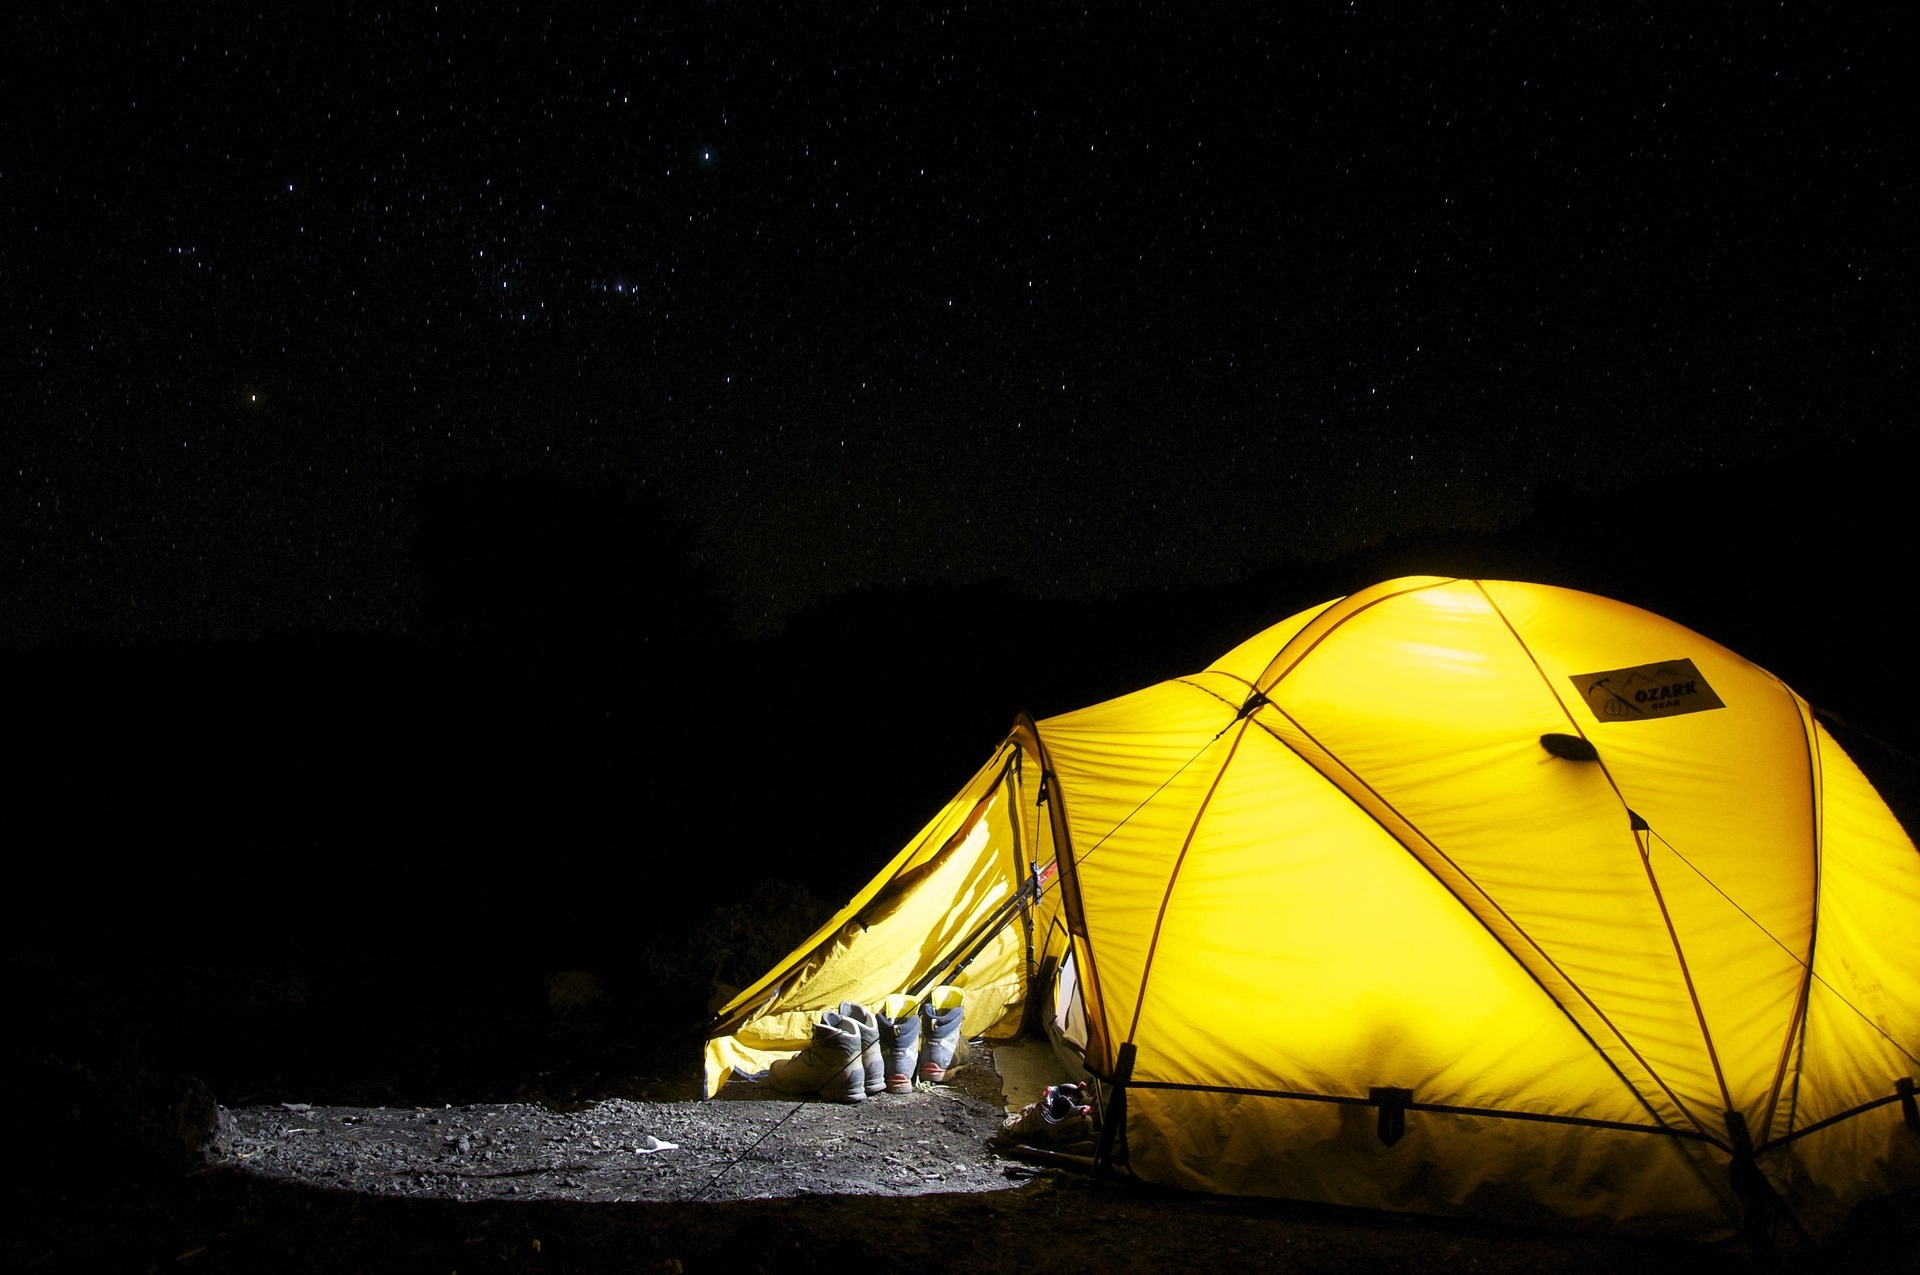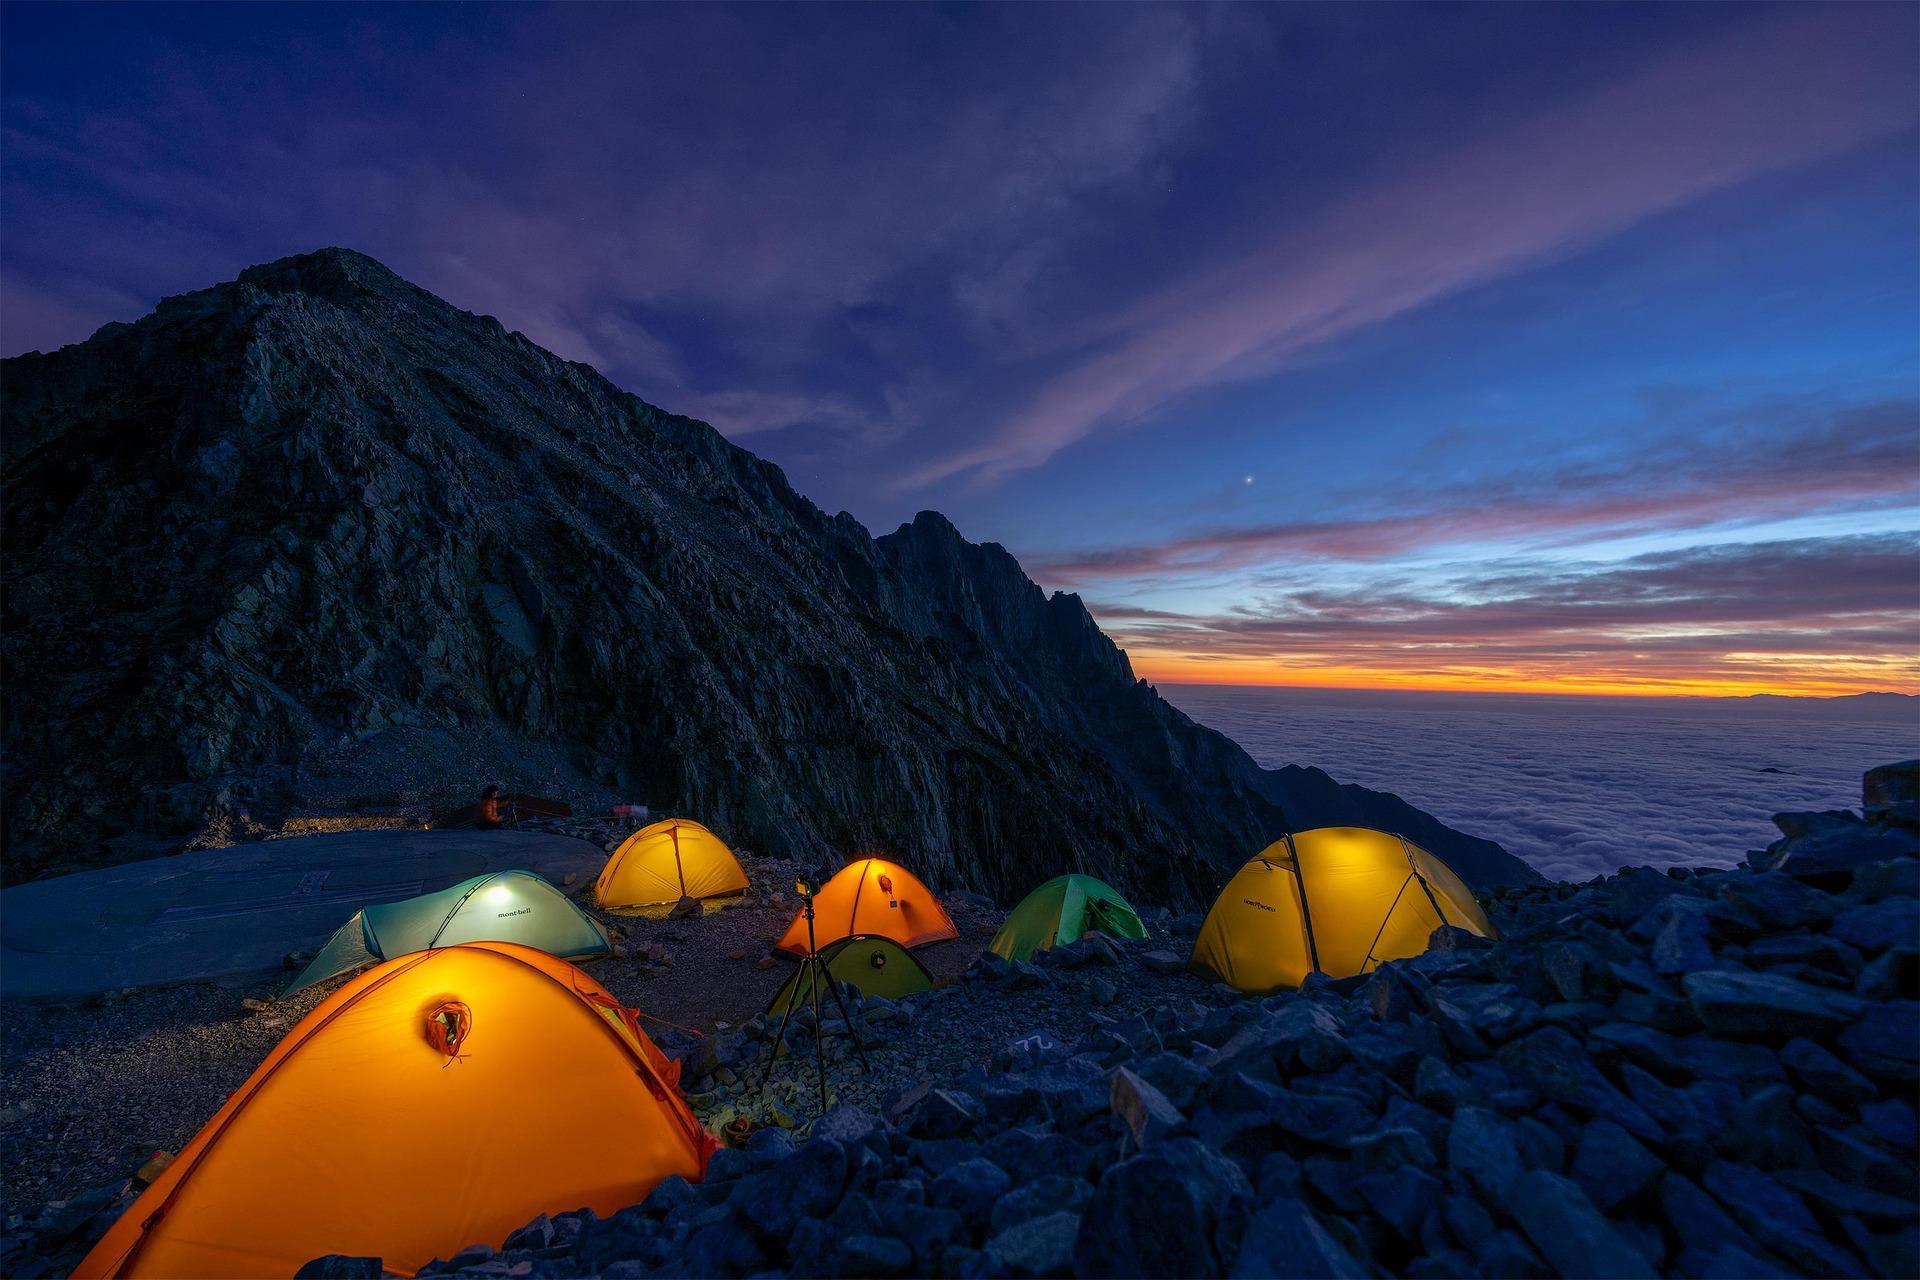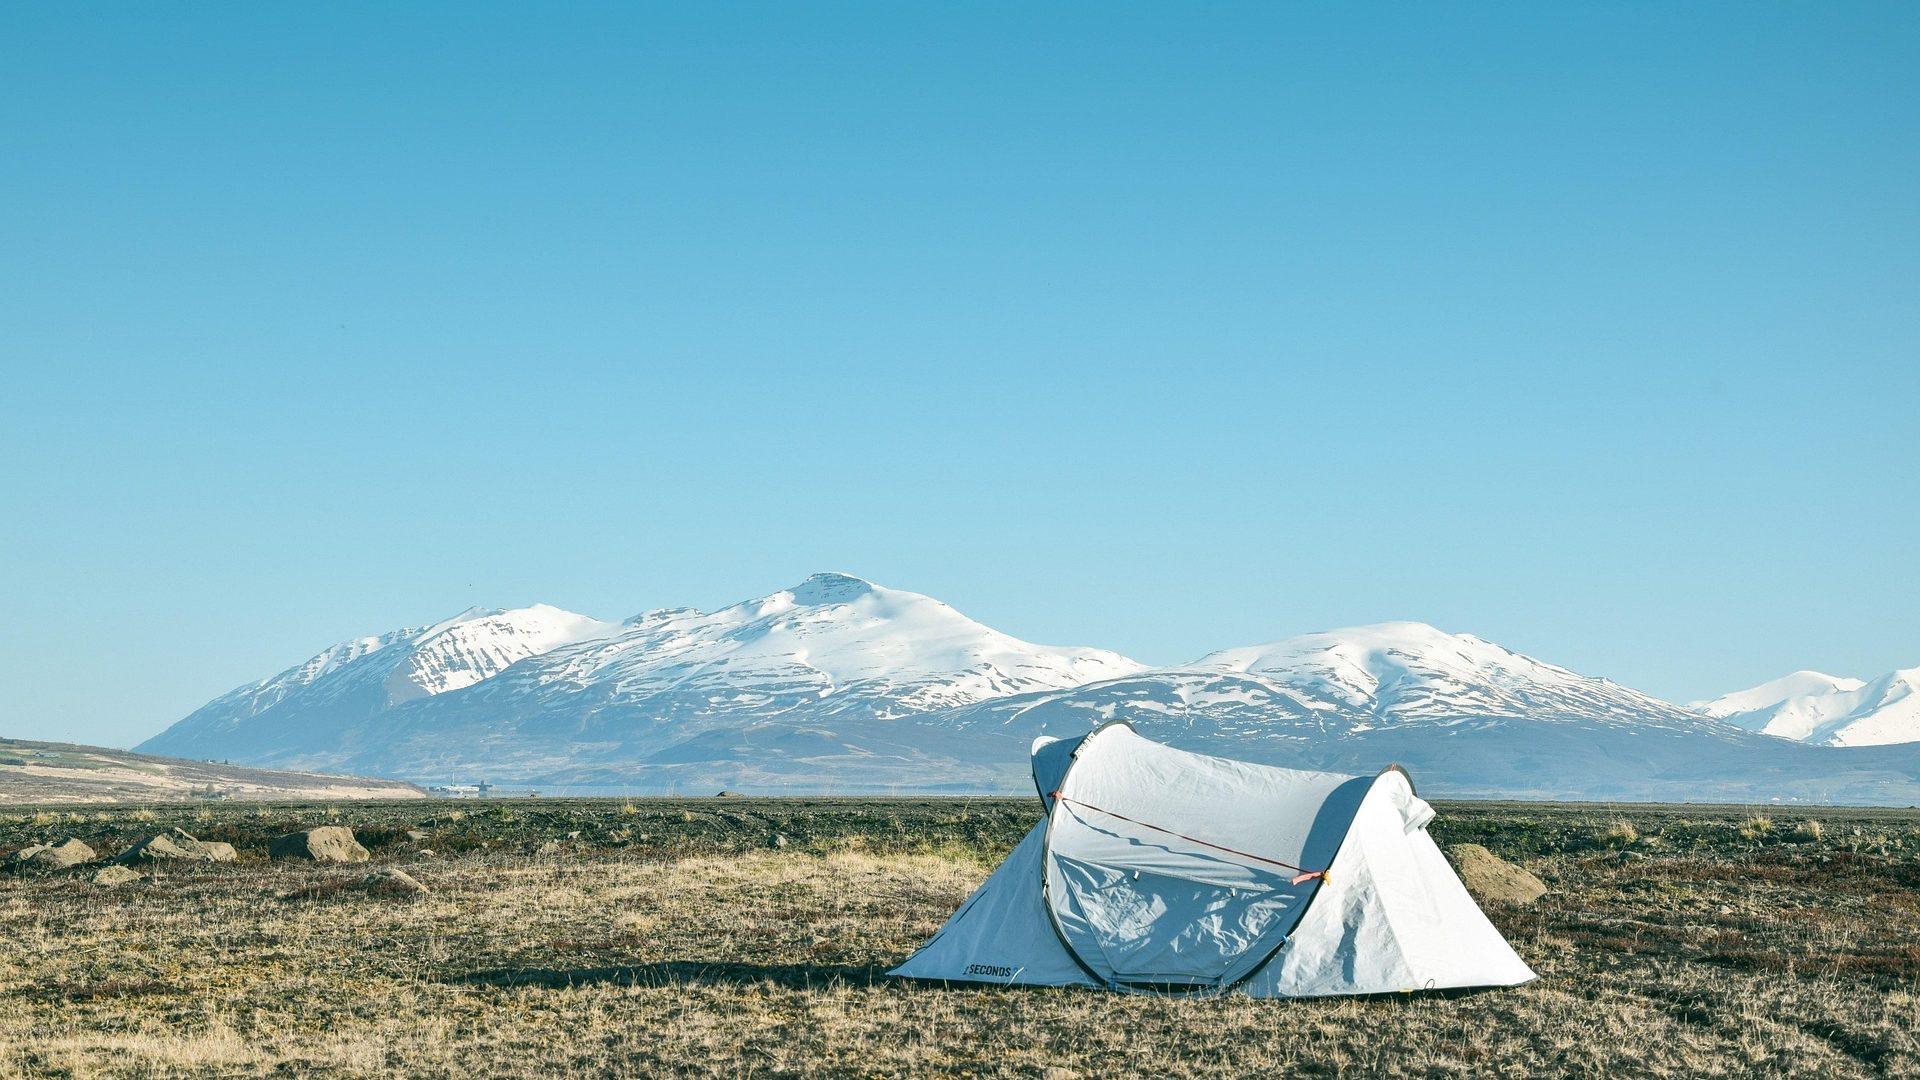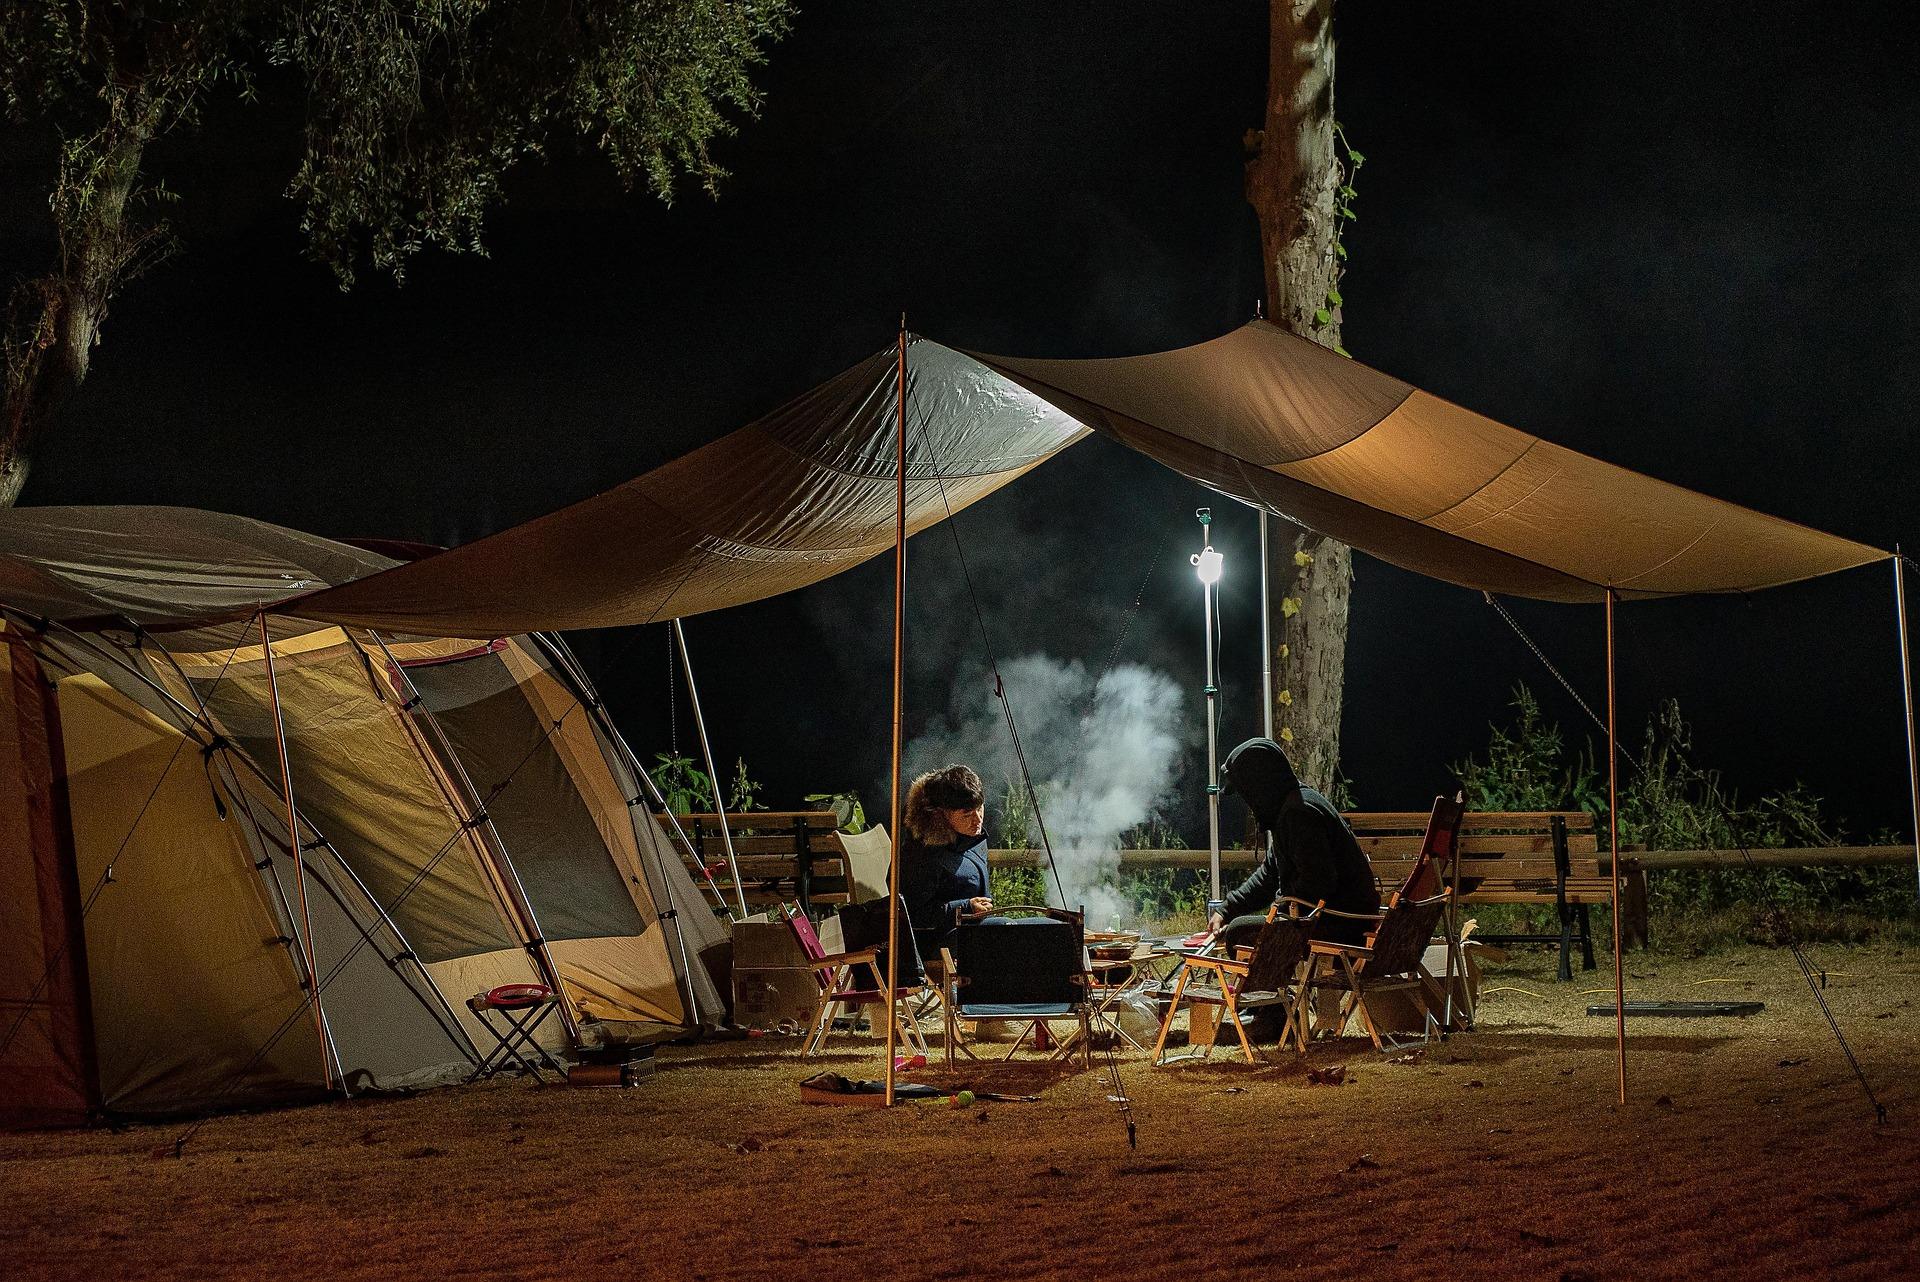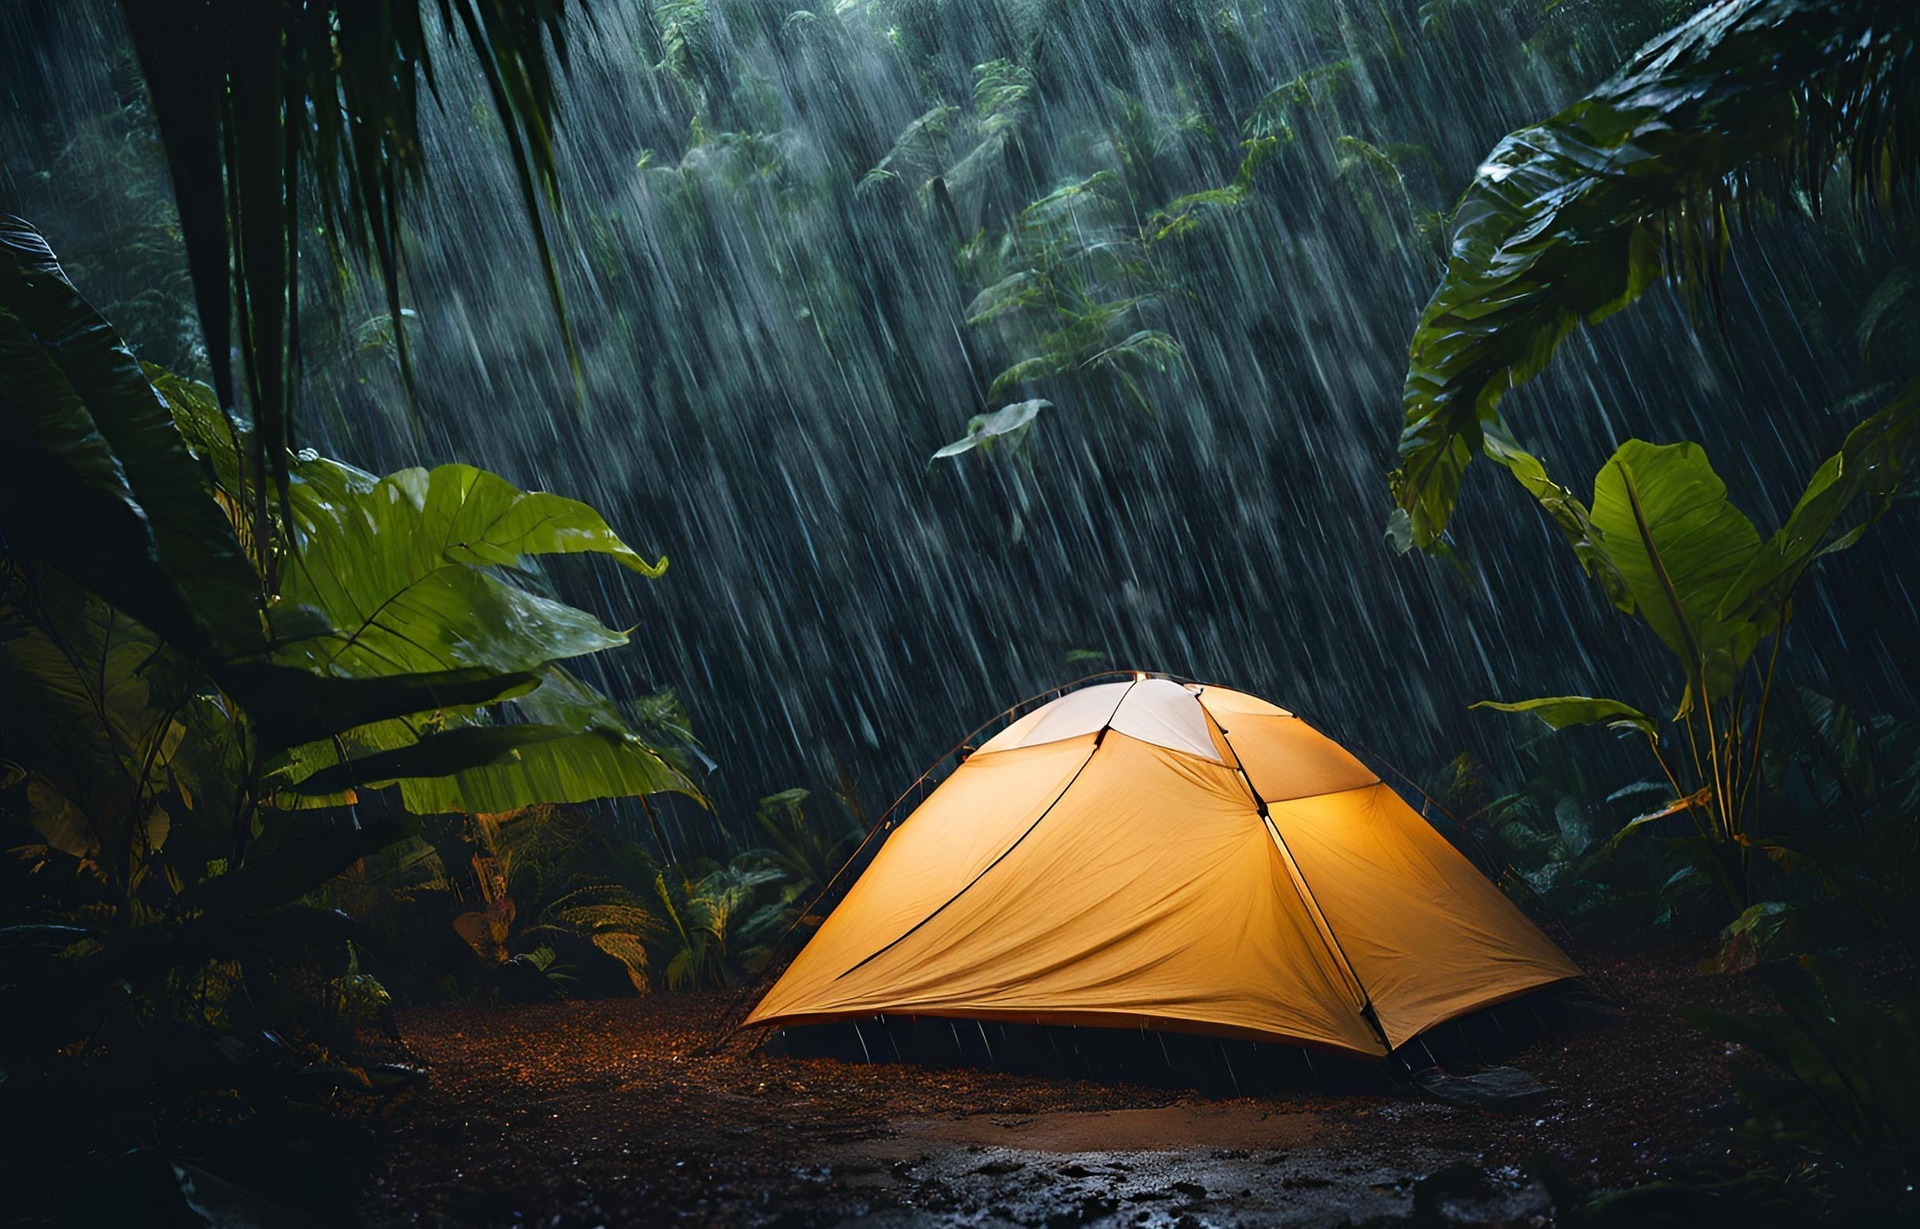
How to Choose a Good Tent Pitching Spot
Choosing the right place to pitch a tent is one of the simplest camping skills to learn, but it can make a big difference to comfort, safety and how well the tent performs.
A good campsite isn’t always the flattest-looking patch of grass. Scouts should learn to look at the whole area before unpacking the tent and consider the ground, water, wind, trees and what is happening around them.
Look at the Ground
Start by finding ground that is reasonably level and firm.
Avoid obvious dips because they can collect water if it rains. Even a shallow depression can become surprisingly wet overnight.
Look for stones, sticks, roots and other objects that could make sleeping uncomfortable or damage the tent floor. Remove small loose objects where appropriate, but don’t unnecessarily disturb the ground or vegetation.
Avoid ground that is already waterlogged or muddy.
Think About Rain
Try to imagine where rainwater will flow if there is a heavy shower.
Don’t pitch at the bottom of a slope or in a natural drainage channel. Water always finds the lowest point, and you don’t want that point to be underneath your tent.
A slightly raised area with good natural drainage is usually preferable.
Check Above You
Before pitching, look upwards.
Avoid camping beneath dead branches, damaged trees or trees that could present a falling-object hazard.
Don’t choose a location simply because it has convenient branches for hanging equipment or attaching shelter systems.
The area above your tent should be considered as carefully as the ground beneath it.
Consider the Wind
Think about where the wind is coming from.
A sheltered position can make a tent more comfortable and reduce the amount of work the pegs and guy lines have to do.
However, don’t place the tent somewhere potentially unsafe just to get out of the wind.
Once you’ve chosen a location, consider which direction the tent should face.
Avoid Busy Areas
Don’t pitch directly across paths, access routes or areas where people are likely to walk.
Guy lines can create trip hazards, particularly in poor light.
Leave enough space around the tent for people to move safely without walking through neighbouring tents or ropes.
Check for Other Hazards
Before pitching, take a quick look around the area.
Watch for:
Sharp objects.
Unstable ground.
Flood-prone areas.
Animal activity.
Insect nests.
Low branches.
Nearby water.
Steep slopes.
Potential trip hazards.
You don’t need to turn choosing a campsite into a complicated exercise. A short visual check can identify many obvious problems.
Think About the Morning
A good campsite should work throughout the activity, not just when you first arrive.
Consider where the sun will rise and whether the tent could become very warm later in the day.
Think about where people will walk when they get up.
Make sure the entrance isn’t likely to open directly into a puddle or muddy area.
Small decisions made during pitching can make the rest of the camping experience much easier.
Don’t Pitch Too Close to Water
Camping beside a stream or river may look attractive, but water levels can change.
Heavy rain elsewhere can cause water levels to rise quickly.
Stay well away from water margins and follow the rules and guidance for the site you’re using.
The same principle applies to dry-looking stream beds. They may become waterways during heavy rainfall.
Give Yourself Enough Space
Make sure there is enough room for the whole tent and its guy lines.
Don’t squeeze a tent into a space that is only just large enough for the fabric.
Guy lines need to be positioned safely, and doors should be accessible.
If the tent is too close to another tent, tree or obstacle, moving it before pitching is usually much easier than trying to solve the problem afterwards.
Protect the Tent
The location you choose can affect how much strain the tent experiences.
Hard, rocky ground can make pegging difficult.
Very soft ground may not hold pegs securely.
Uneven ground can put unnecessary tension on parts of the tent.
Choosing suitable ground before you start makes pitching much easier.
A Simple Scout Site Check
Before pitching, ask Scouts to answer five questions:
Is the ground suitable?
Could water collect here?
Is anything dangerous above us?
Where is the wind coming from?
Can people move around the tent safely?
If the answer to any of these raises concerns, look for another location.
Younger Scouts
For younger Scouts, make site selection a simple observation exercise.
Ask them to find two possible tent locations and compare them.
Which one is flatter?
Which one would get wetter?
Which one has fewer hazards?
Which one gives people enough room?
This encourages Scouts to think about the reasons behind a good campsite rather than simply being told where to pitch.
Older Scouts
Older Scouts can take more responsibility for assessing a potential campsite.
Ask them to inspect the area and explain their choice before pitching.
You can introduce additional considerations such as prevailing wind, drainage, access, privacy, ground conditions and the position of other tents.
The aim is to develop judgement rather than teach one perfect campsite layout.
Leader Notes
Don’t automatically point out every problem as soon as Scouts arrive at a campsite.
Where appropriate, give them a chance to identify hazards themselves.
Ask questions such as:
“Where do you think the rain will go?”
“What happens if the wind changes?”
“Is anything above the tent that concerns you?”
This helps Scouts develop the habit of assessing their surroundings before starting an activity.
Safety
Always assess the proposed camping area before pitching.
Avoid low ground, drainage channels, flood-prone locations and areas immediately beside water.
Do not pitch beneath dead, damaged or unstable trees or branches.
Check for animal activity, insect nests and other environmental hazards.
Make sure the tent and guy lines do not obstruct paths or create unnecessary trip hazards.
Don’t pitch where unstable ground, steep slopes or other site conditions could present a significant risk.
Follow any restrictions, instructions or designated camping areas provided by the landowner or campsite.
If weather conditions change significantly, reassess the campsite rather than assuming the original location remains suitable.
Learning Outcomes
Scouts learning to choose a tent pitching spot can develop their ability to:
Final Thought for Scouts
A few minutes spent choosing the right place for your tent can save you a lot of trouble later.
Pitching well starts before the tent comes out of the bag.
Look around, think about what could change and choose a site that is safe, practical and comfortable.
🔒Ready to test your survival skills?
Join Survival Guides UK for free, complete challenges, earn badges and increase your Survival Level.
JOIN FREE →
CRAIG BURR
FOUNDER · SURVIVAL GUIDES UK
I'm Craig, the person behind Survival Guides UK. I created SGUK because I wanted somewhere people could learn real outdoor skills in a practical, straightforward way — from lighting a fire and tying knots to navigation, campcraft and everything in between.
You can read more about the story behind SGUK here as well as our approach here.